

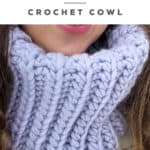
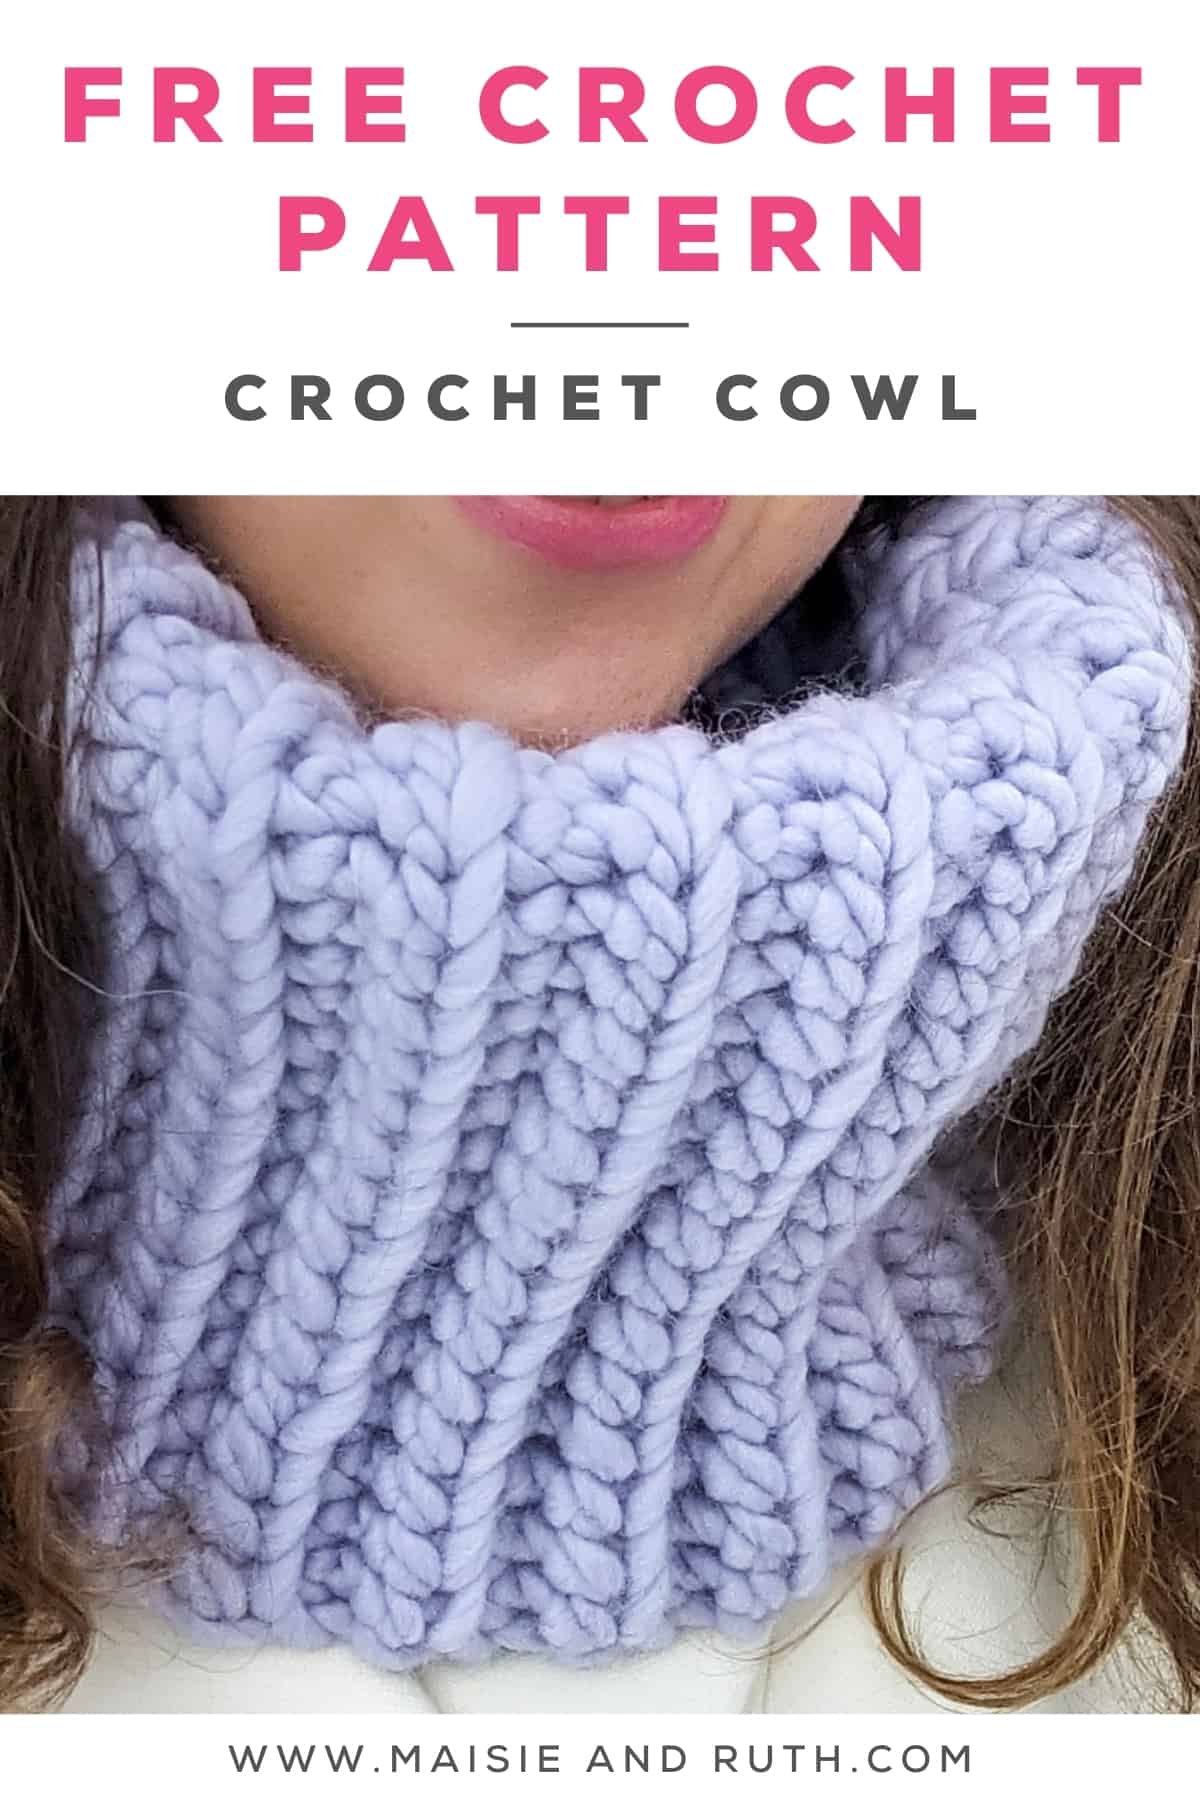
Learn to crochet the Caitlin Super Chunky Cowl! This FREE crochet cowl pattern is really simple to follow and works up in record time!
I’ve also made a VIDEO TUTORIAL to accompany the pattern!
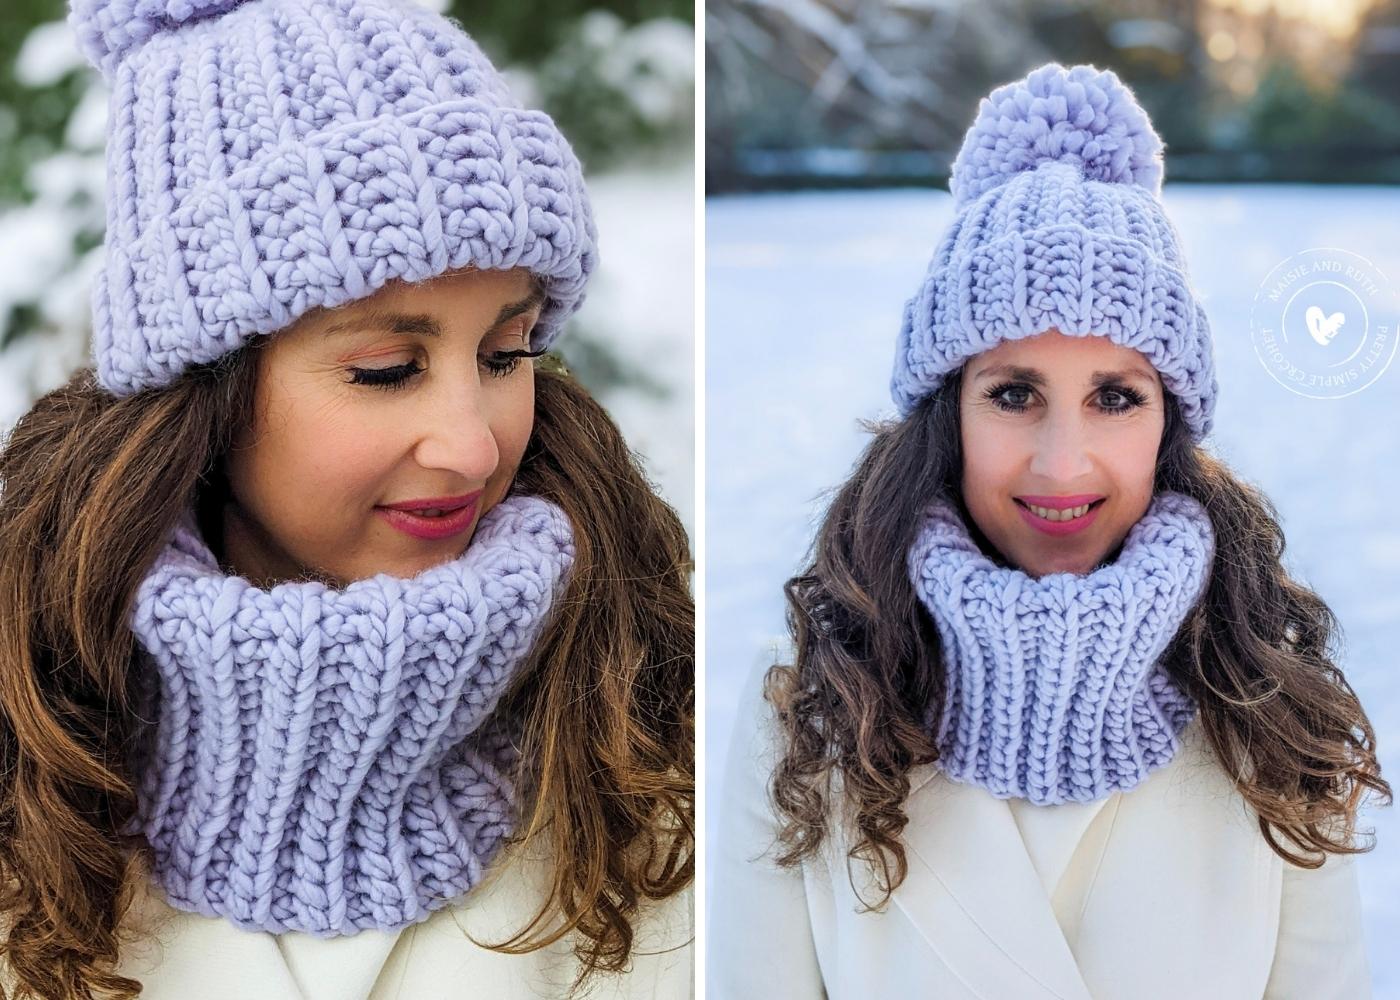
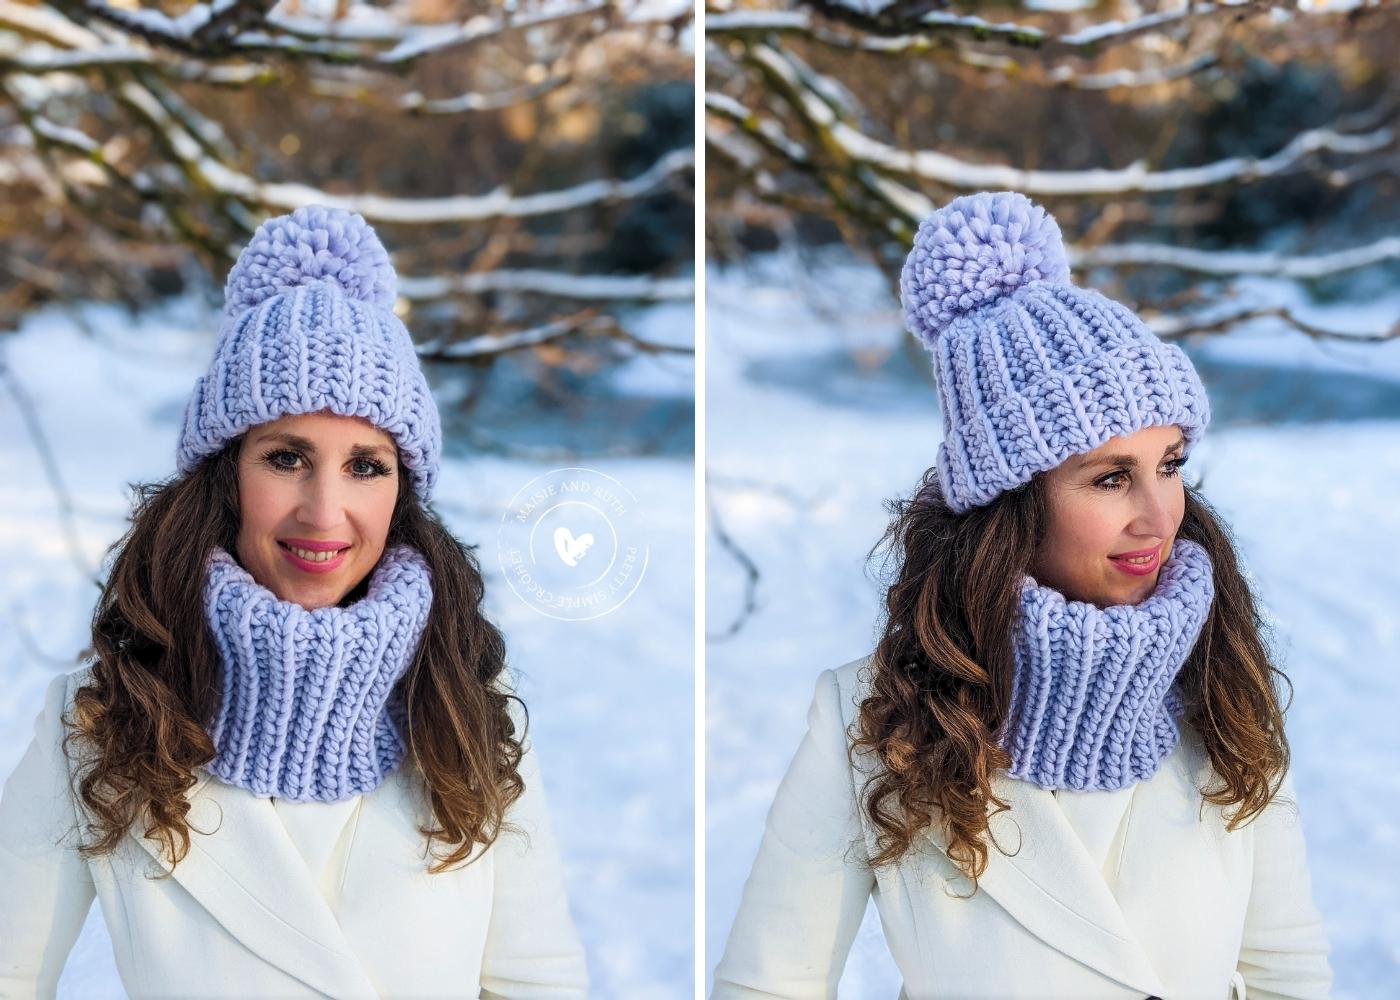
You can pair the cowl with the matching beanie.
QUICK AND EASY BEGINNER PROJECT
This crochet cowl pattern is really easy – and quick – to work up.
A super bulky / chunky yarn is used, along with a size O (12mm) crochet hook.
The design is super simple – you’ll crochet a rectangle then seam both ends together with the slip stitch seam… it couldn’t be any easier!
KNITTED EFFECT
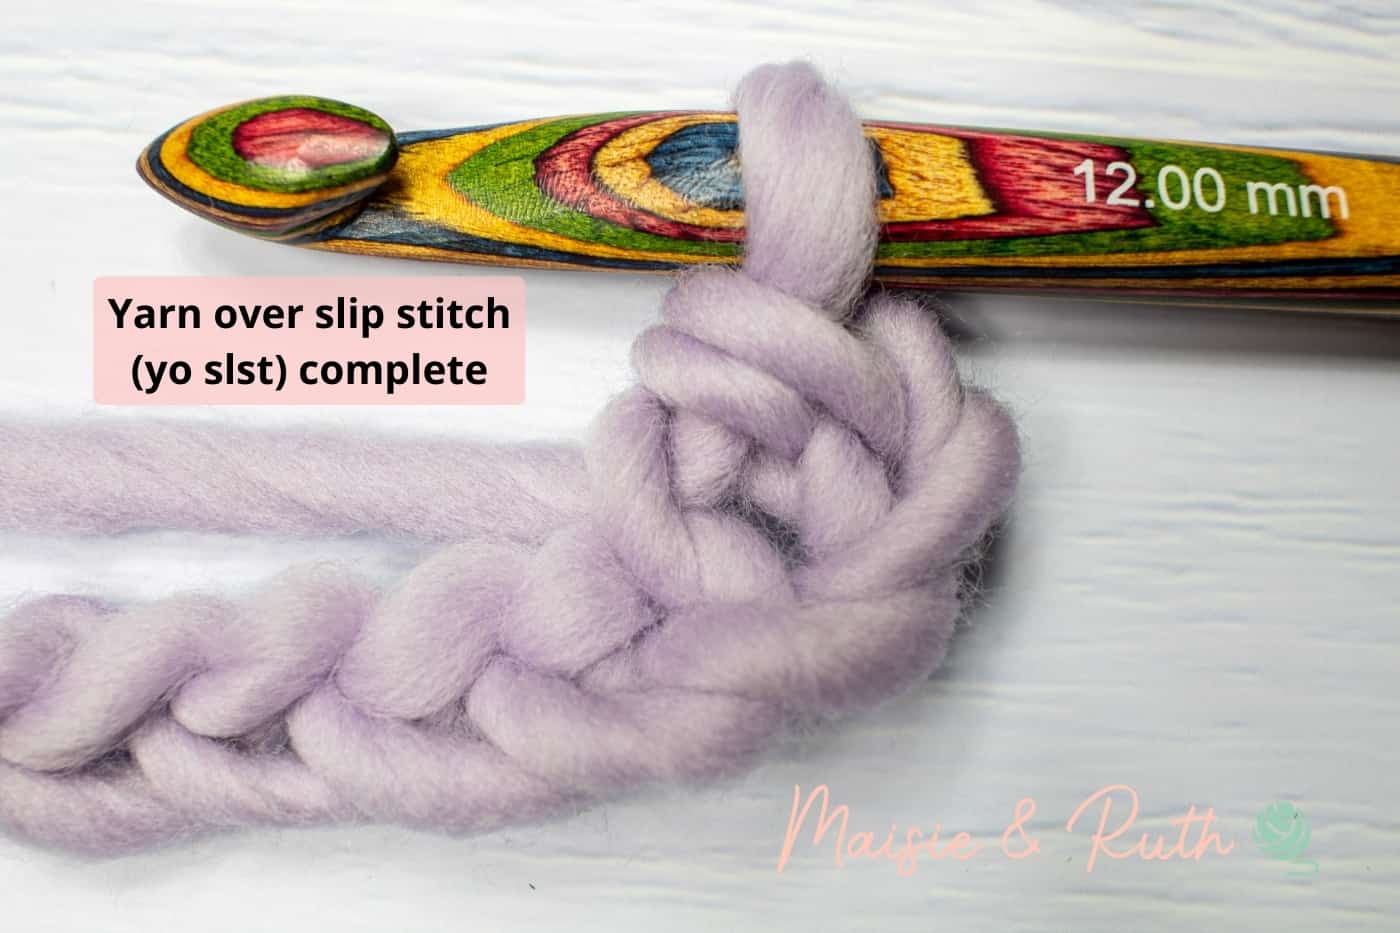
Only one stitch is used throughout – the yarn over slip stitch (yo slst), also known as the half double crochet slip stitch (hdc slst).
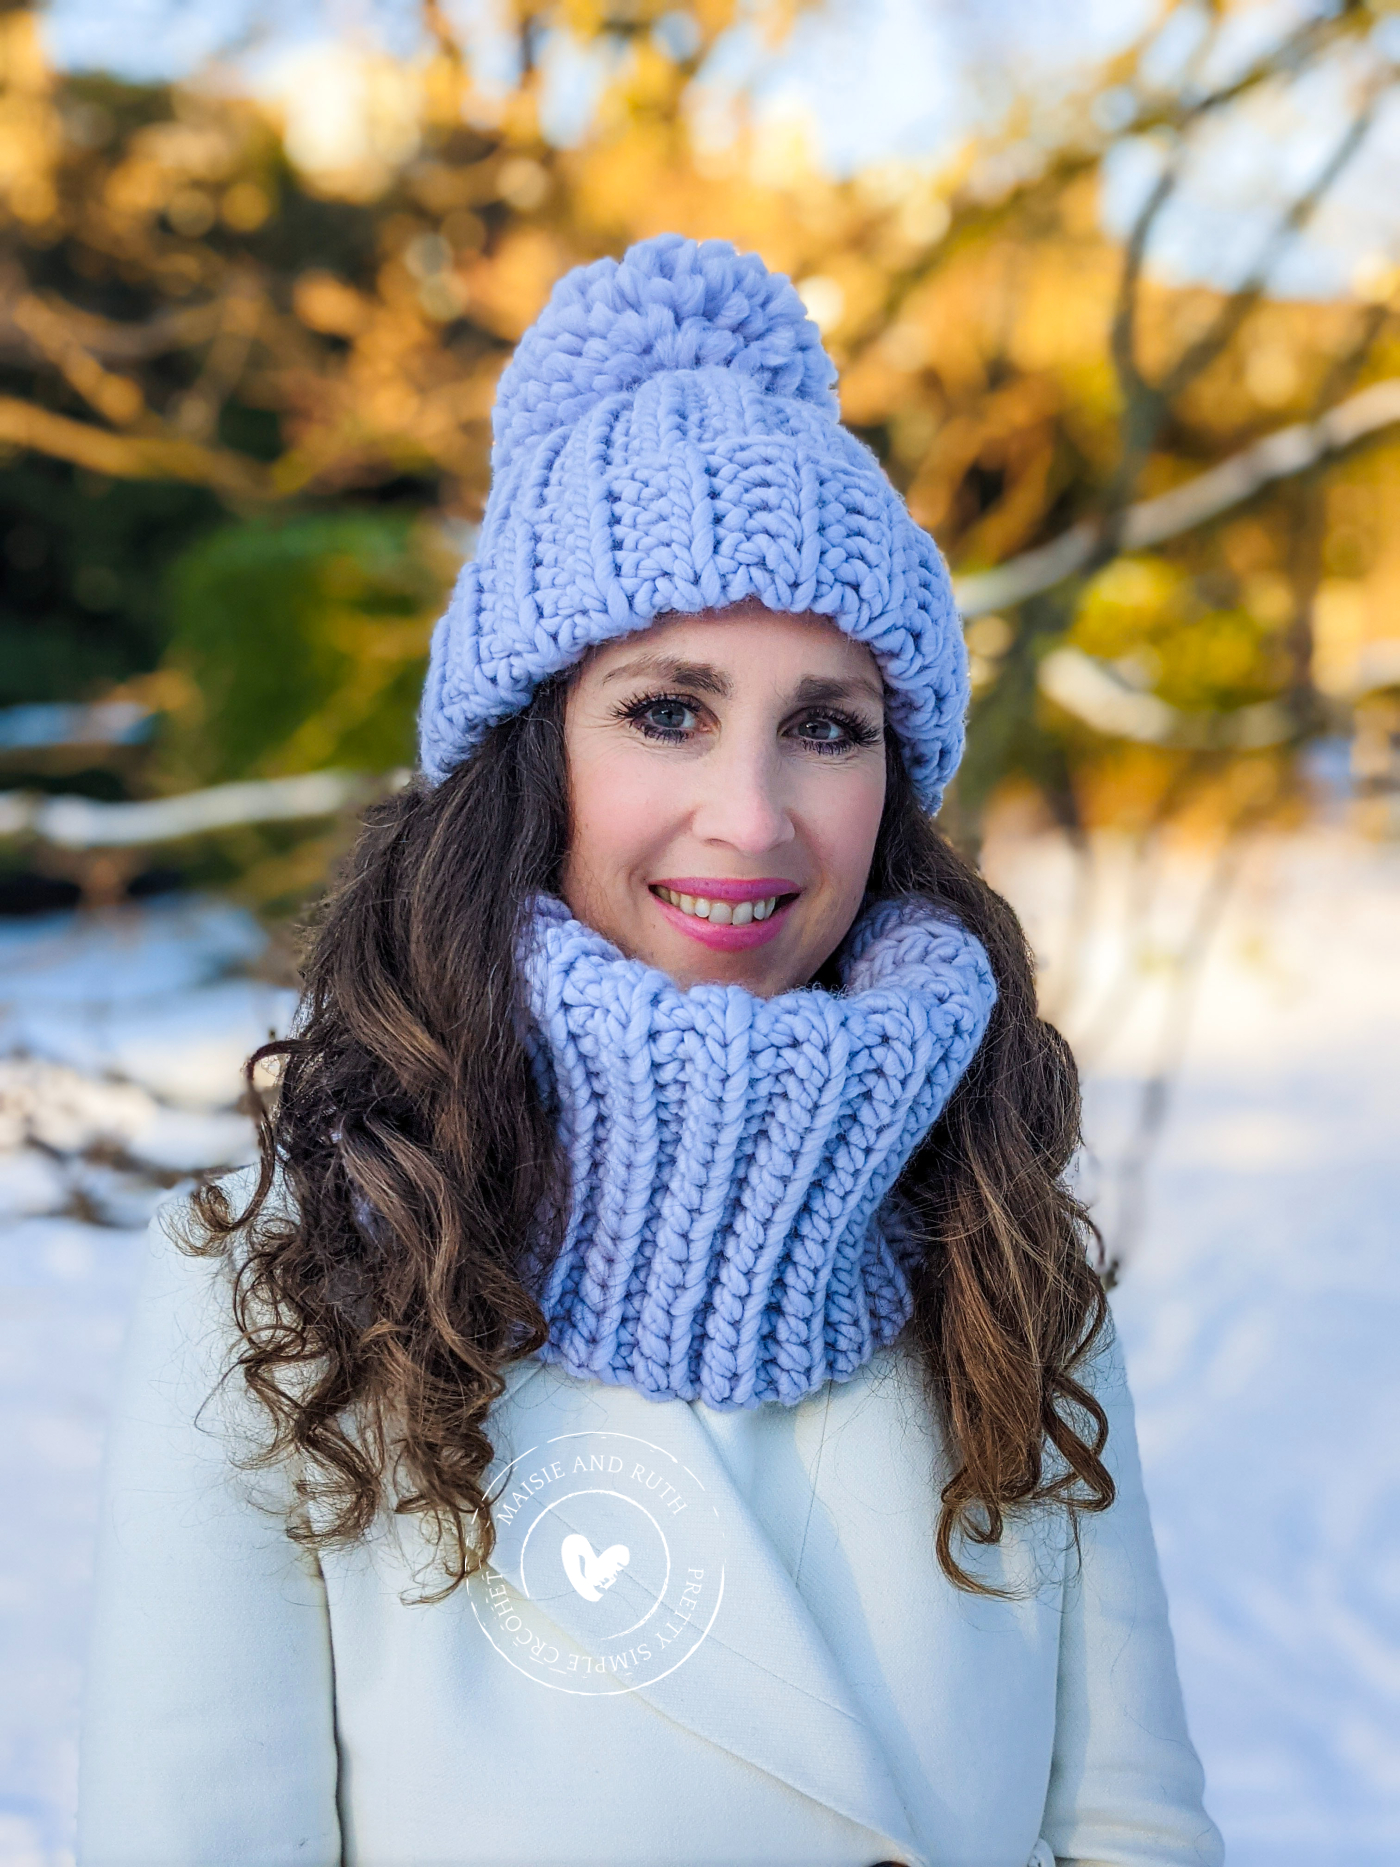
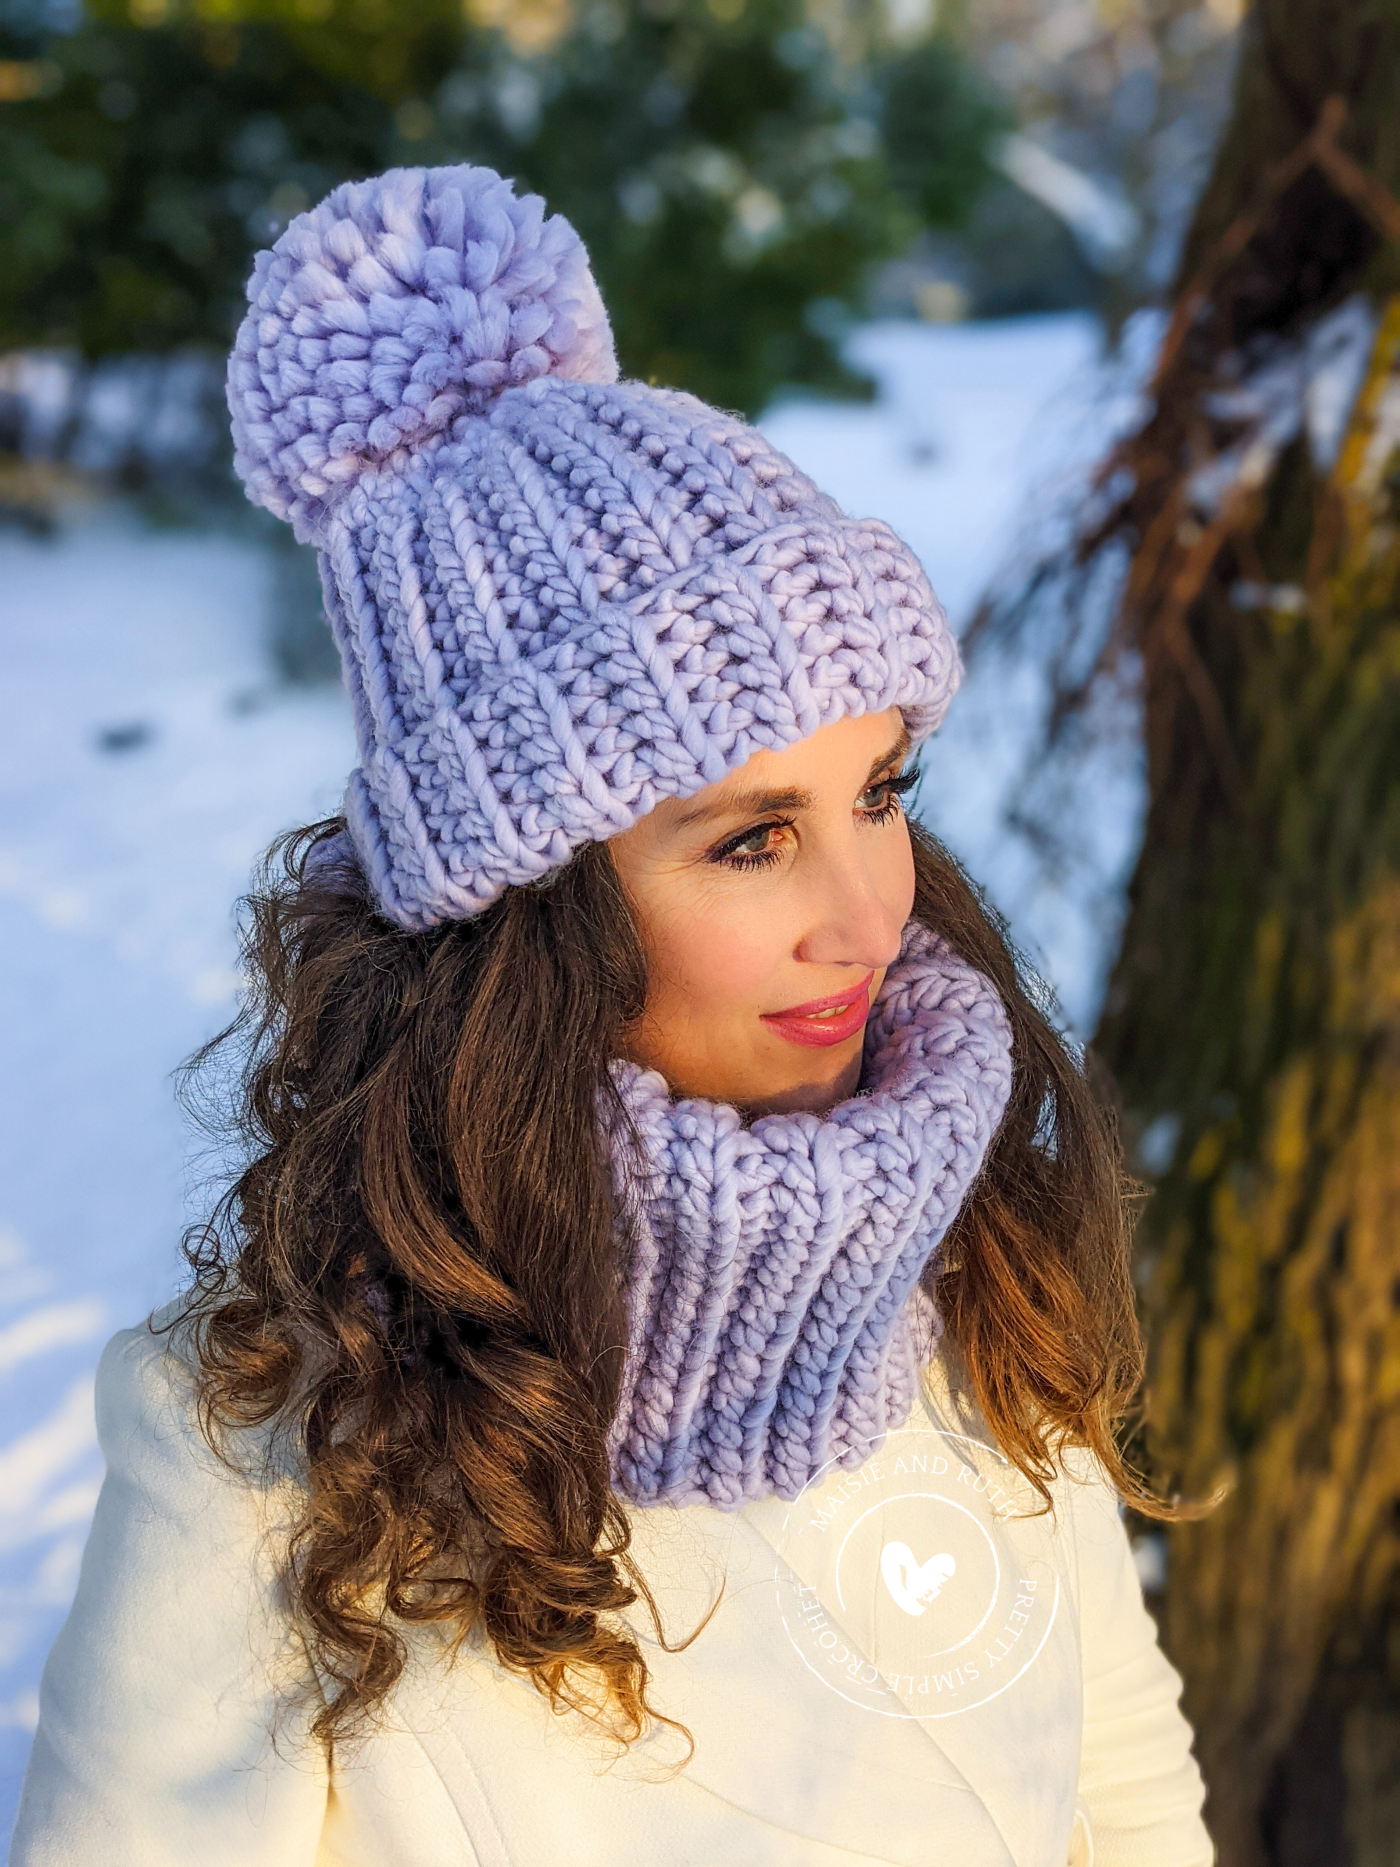
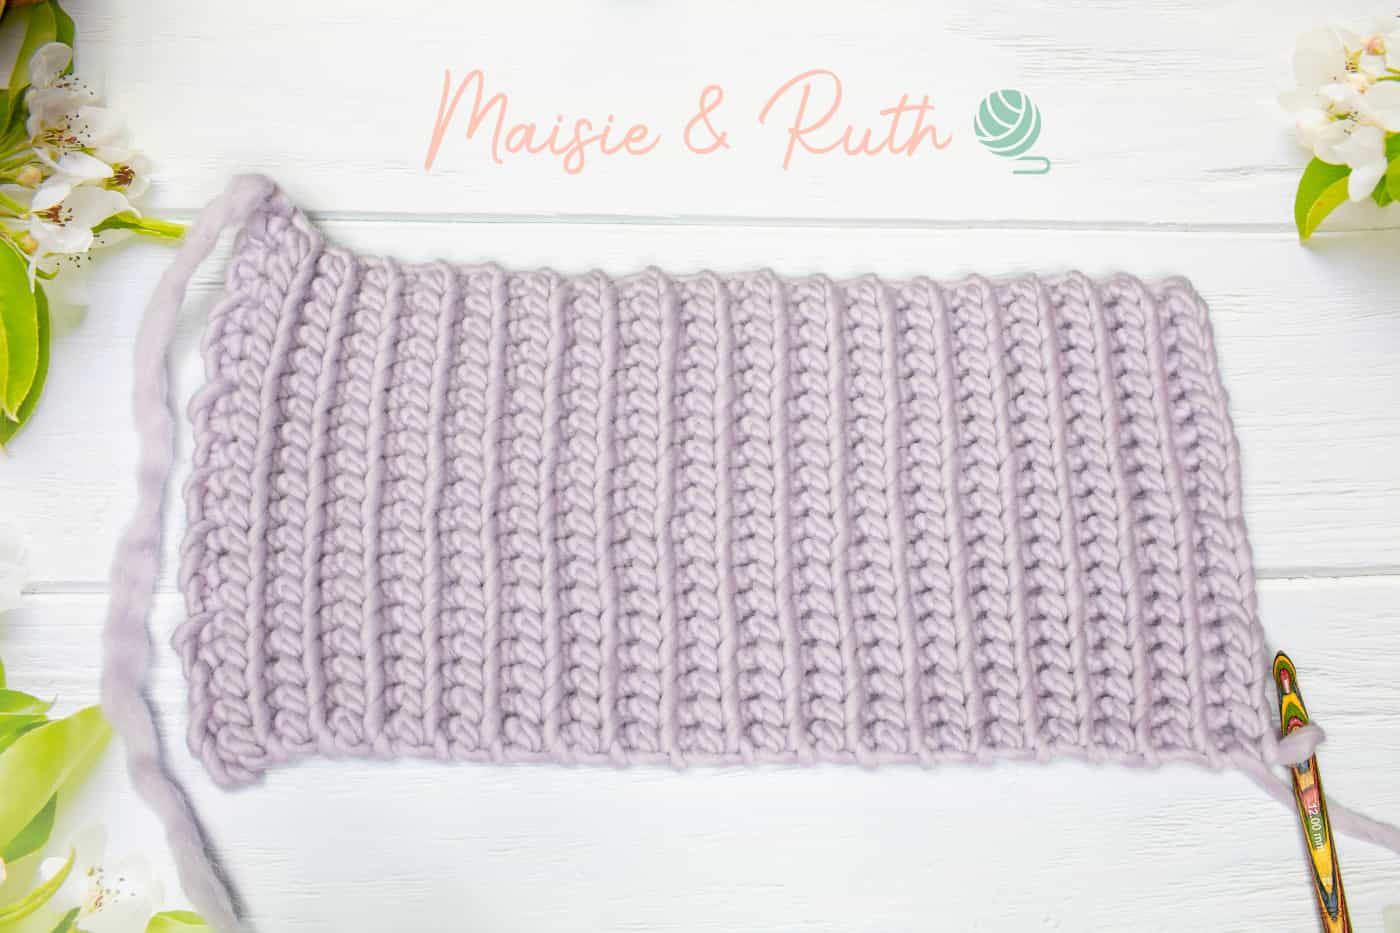
By working this stitch into the back loops only (BLO), it creates a ribbing effect and looks similar to knitting.
If you would like to make the matching beanie for this cowl, head on over to my free pattern for the Caitlin Chunky Hat on the blog.
YARN USED IN THIS CROCHET COWL PATTERN
For the Caitlin Cowl, I opted to use Crazy Sexy Wool by Wool and the Gang.
This yarn is a real joy to work with – it glides along your hook, has great stitch definition and is fabulously soft and squishy!
It’s also 100% natural, renewable and biodegradable. This yarn is both kind to the environment and your skin – I certainly like the cosiness and breathability of the cowl against my skin during the cold winter months.
There are lots of different colours to choose from… take your pick from over 30 colours, ranging from delicate pastel shades to bright and modern jewel colours.
SUBSTITUTE YARN
You can substitute the recommended yarn with any size 6 super bulky / chunky yarn.
Just do a gauge swatch and make sure that it matches the specified gauge detailed below.
Alternatively, make a foundation chain of 14 inches (36 cm) and work in rows until your rectangle measures 23.5 inches (60cm).
VIDEO TUTORIAL
Crochet along with me to make this chunky cowl! Just click on the play button below:
THE CAITLIN COWL – A FREE CROCHET COWL PATTERN
LEVEL
Beginner (see details of project levels at the Craft Yarn Council).
SUPPLIES
- Yarn: Category 6 (super bulky / chunky). I used 2 skeins of Crazy Sexy Wool by Wool and the Gang in the colour Lilac Powder, 7.1oz / 87 yds (80m / 200g).
- Crochet Hook: Size O (12mm)
- Scissors
- Yarn needle
GAUGE
8 sts and 7 rows = 4” (10cm)
FINISHED SIZE
Height – 14″ (36cm)
Width – 10.75″ (30cm) (circumference – 23.5″ / 60cm)
STITCHES AND ABBREVIATIONS (US CROCHET TERMS)
BLO – back loop only: Insert your hook and work the stitch into the back loop only.
ch(s) – chain(s)
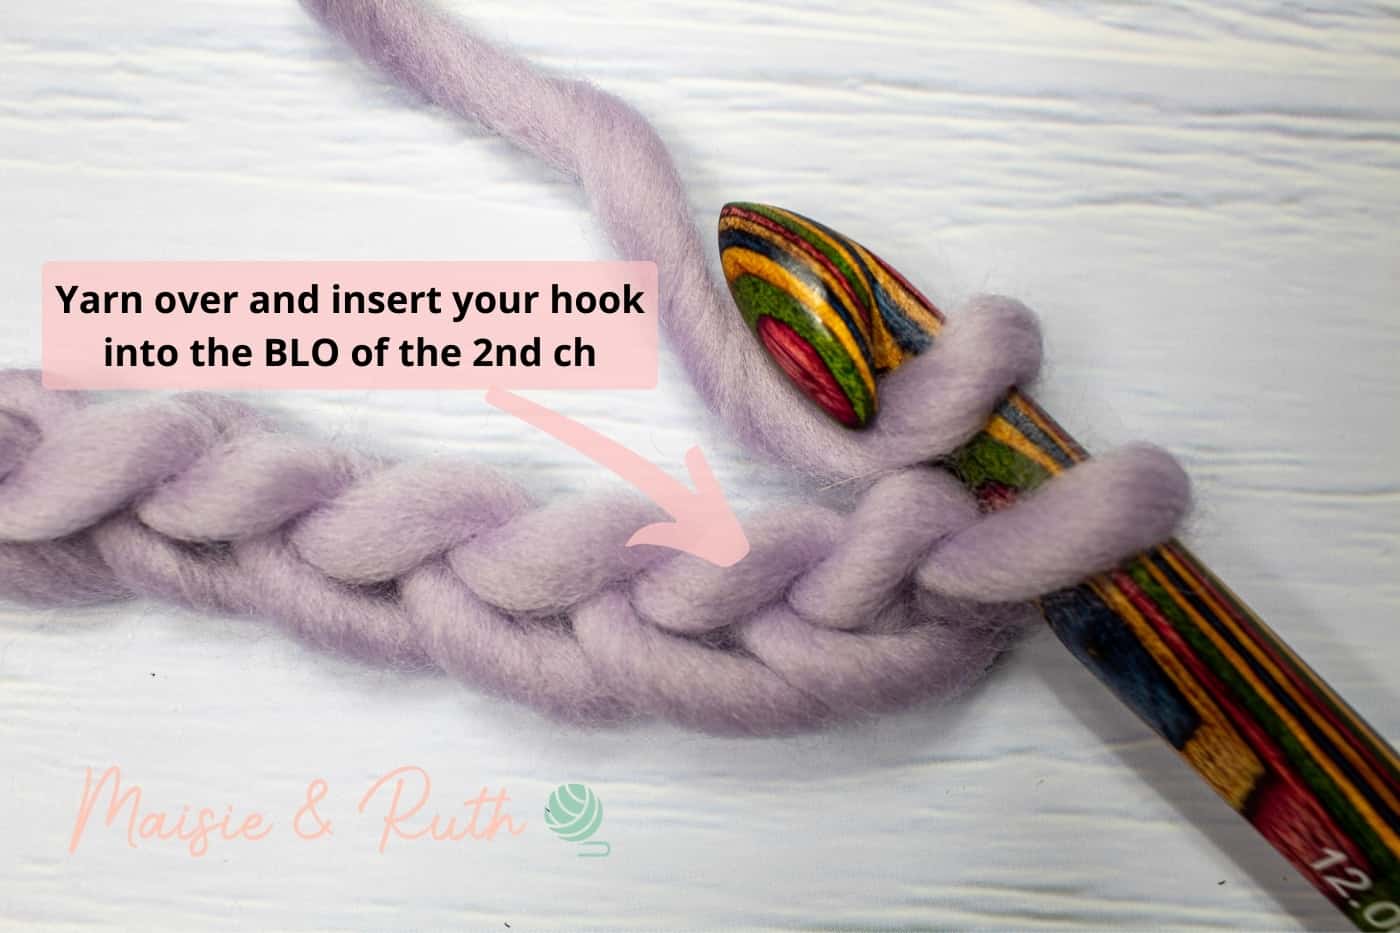
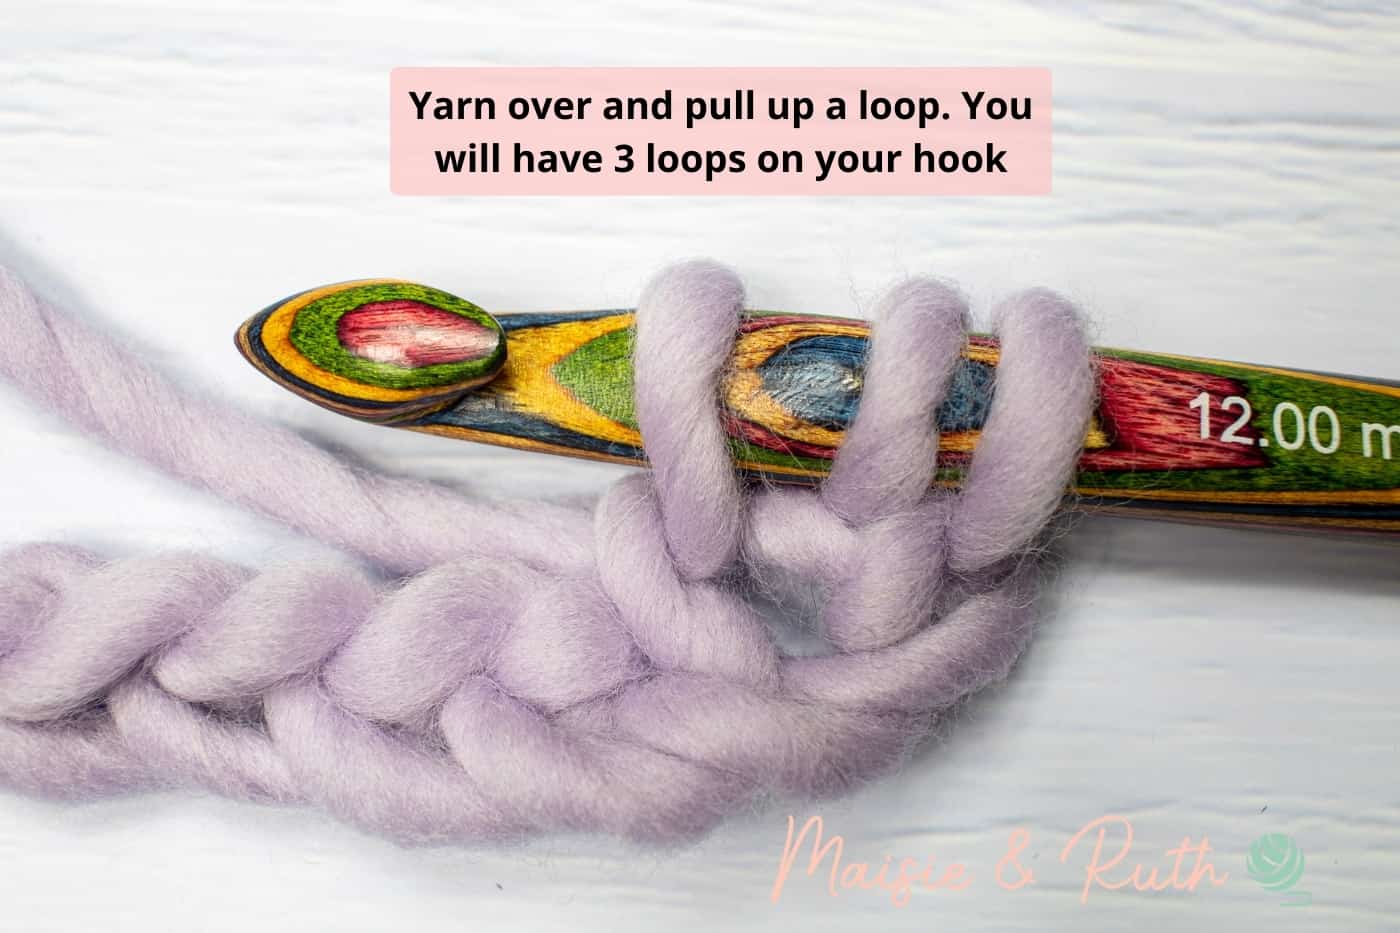
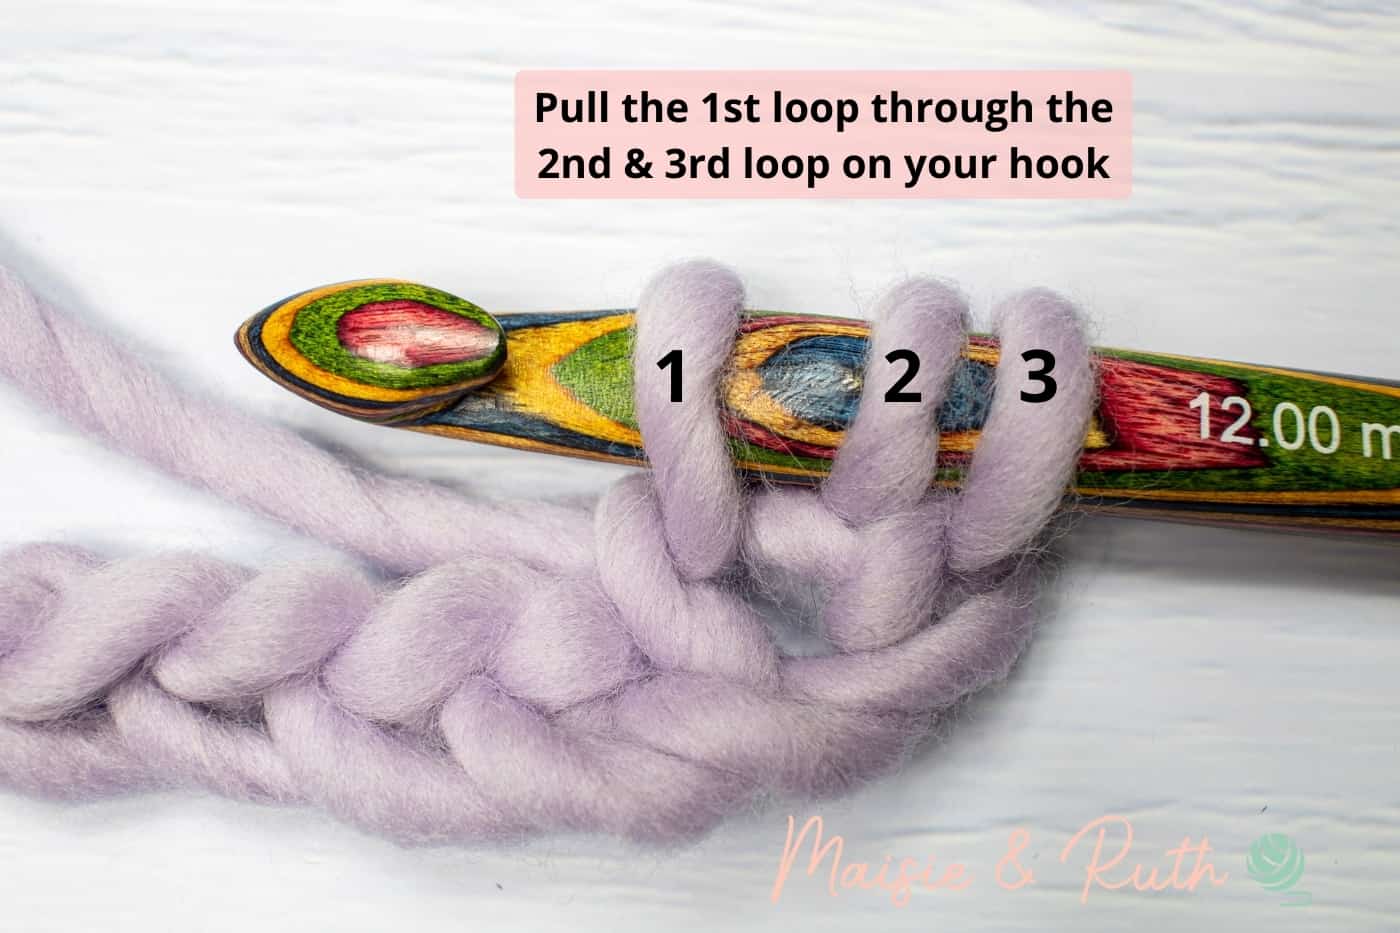
yo slst – yarn over slip stich: yarn over (yo), insert hook into the back loop only (BLO) of the next stitch, yo, pull up a loop (3 loops on hook). Pull the first loop through the next two loops on your hook.
( ) – Sets of stitches to be worked within one stitch or space.
[ ] – The total number of stitches you should have at the end of a row / round.
PATTERN NOTES
- US crochet terms used throughout.
- The ch1 at the beginning of rows does not count as your first stitch.
- You will start by making a rectangle.
- The rectangle will then be seamed together with the slip stitch seam.
PATTERN INSTRUCTIONS
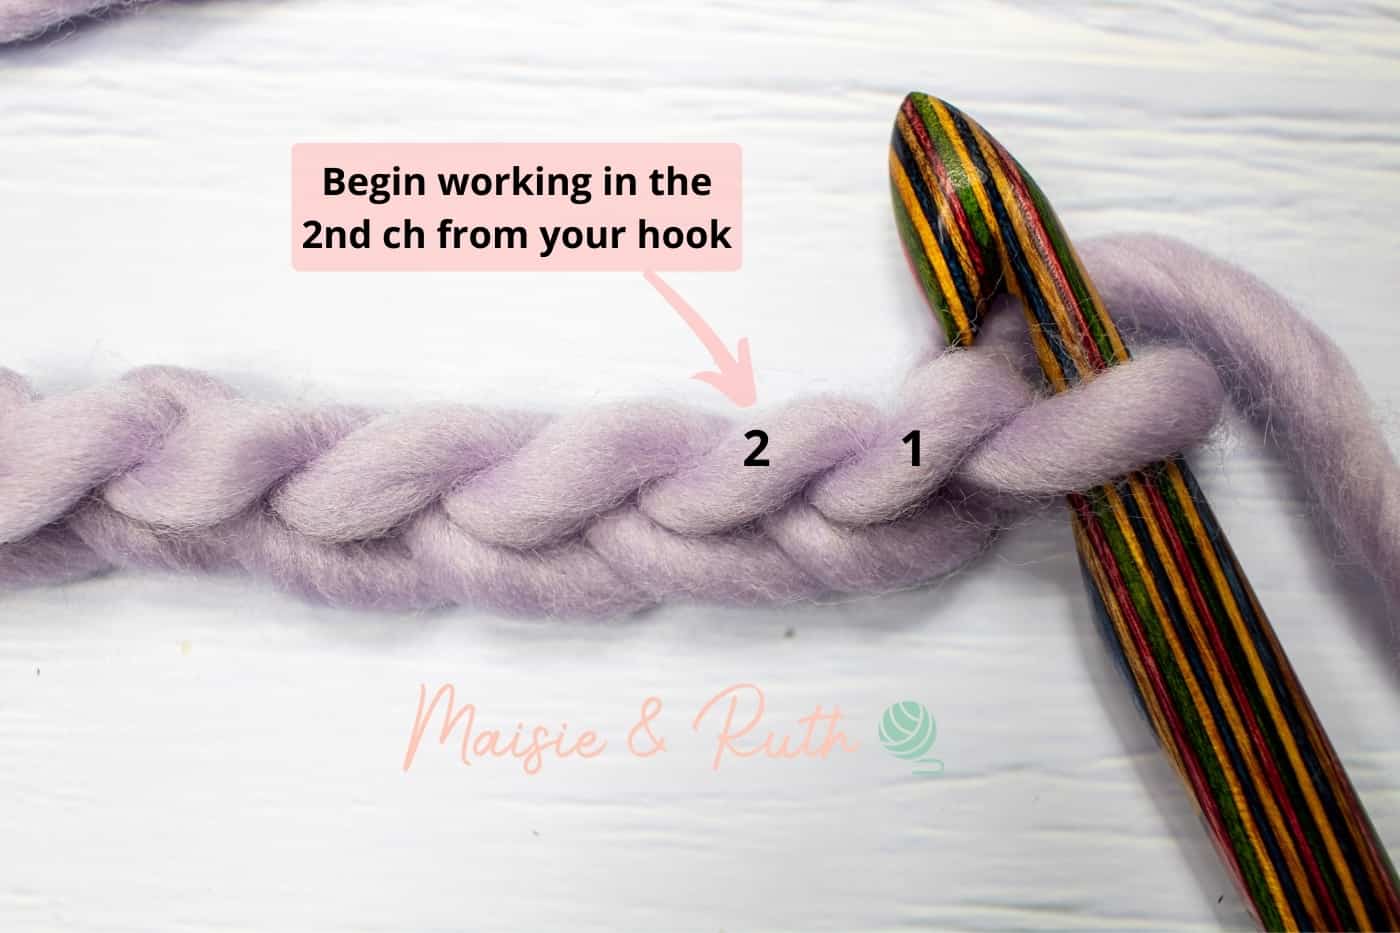
Ch 28
Row 1. Yo slst in the BLO of the 2nd ch from hook, yo slst in the BLO of each ch until end of row, TURN [27 sts].
Row 2. Ch1 (does not count as your first st here and throughout), yo slst in the BLO of same st, yo slst in the BLO of the next and each st until end of row, TURN [27 sts].
Repeat row 2 until your work measures 23.5” / 60cm (unstretched).
SEAMING YOUR COWL
Make sure that your work is positioned so that the tail of your foundation chain is sitting in the top left hand corner and your working yarn and hook are lying at the bottom right hand corner (the image below relates to a smaller sized sample but it shows you how you should position your rectangle before seaming):
Fold your rectangle over so the two ends meet.
Seam both sides together using the slip stitch seam.
Once you’ve finished seaming, cut your yarn, fasten off and weave in your ends.
Turn your work inside out so that your seam is now running along the inside of your cowl.
And it’s as simple as that – you’ve just completed your chunky cowl!
To wear your cowl: fold it over the top or, alternatively, tuck it inwards – that’s how I’m wearing it in all the photos 😊
PIN IT FOR LATER!
I really hope you enjoyed this crochet cowl pattern.
If you make the Caitlin Cowl I’d love to see it! 😊
If you’re on Instagram and post photos, you can tag me using @maisieandruth.
Happy crocheting,


