There are several ways to join your crochet pieces together and in this tutorial I’ll show you one very easy technique… the slip stitch crochet seam.

WAYS OF WORKING THE SLIP STITCH CROCHET SEAM
The slip stitch crochet seam, like all the seam tutorials on this blog, is a quick and easy way to join your crochet pieces. Some useful points to note about this seam are:
- Can be worked with right sides together (seam will be inside).
- Can be worked with wrong sides together (seam will show as a ridge on the right side of your work).
- You can insert your hook under both loops on each piece, or
- For a less bulky seam, insert your hook through the back loops only.
STEP-BY-STEP TUTORIAL
NOTES
- It’s normal to work this seam with a matching yarn, however for greater clarity I used a yarn of contrasting colour.
- For the photo tutorial below, I decided to work the seam by inserting my hook under both loops on each piece of crochet.
- I skipped the chain 2 at the end of each of my two pieces and started the seam in the next set of double crochet stitches (again, for increased clarity). If the turning chains are your first stitches, you would insert your hook and begin the process of seaming through the tops of these chains.
- In the photos below, the seam has been worked with the wrong sides together.
Step 1.
Align the two pieces of crochet that you wish to join together. When working this seam along the edges, it’s important that you match the row ends carefully.
Step 2.
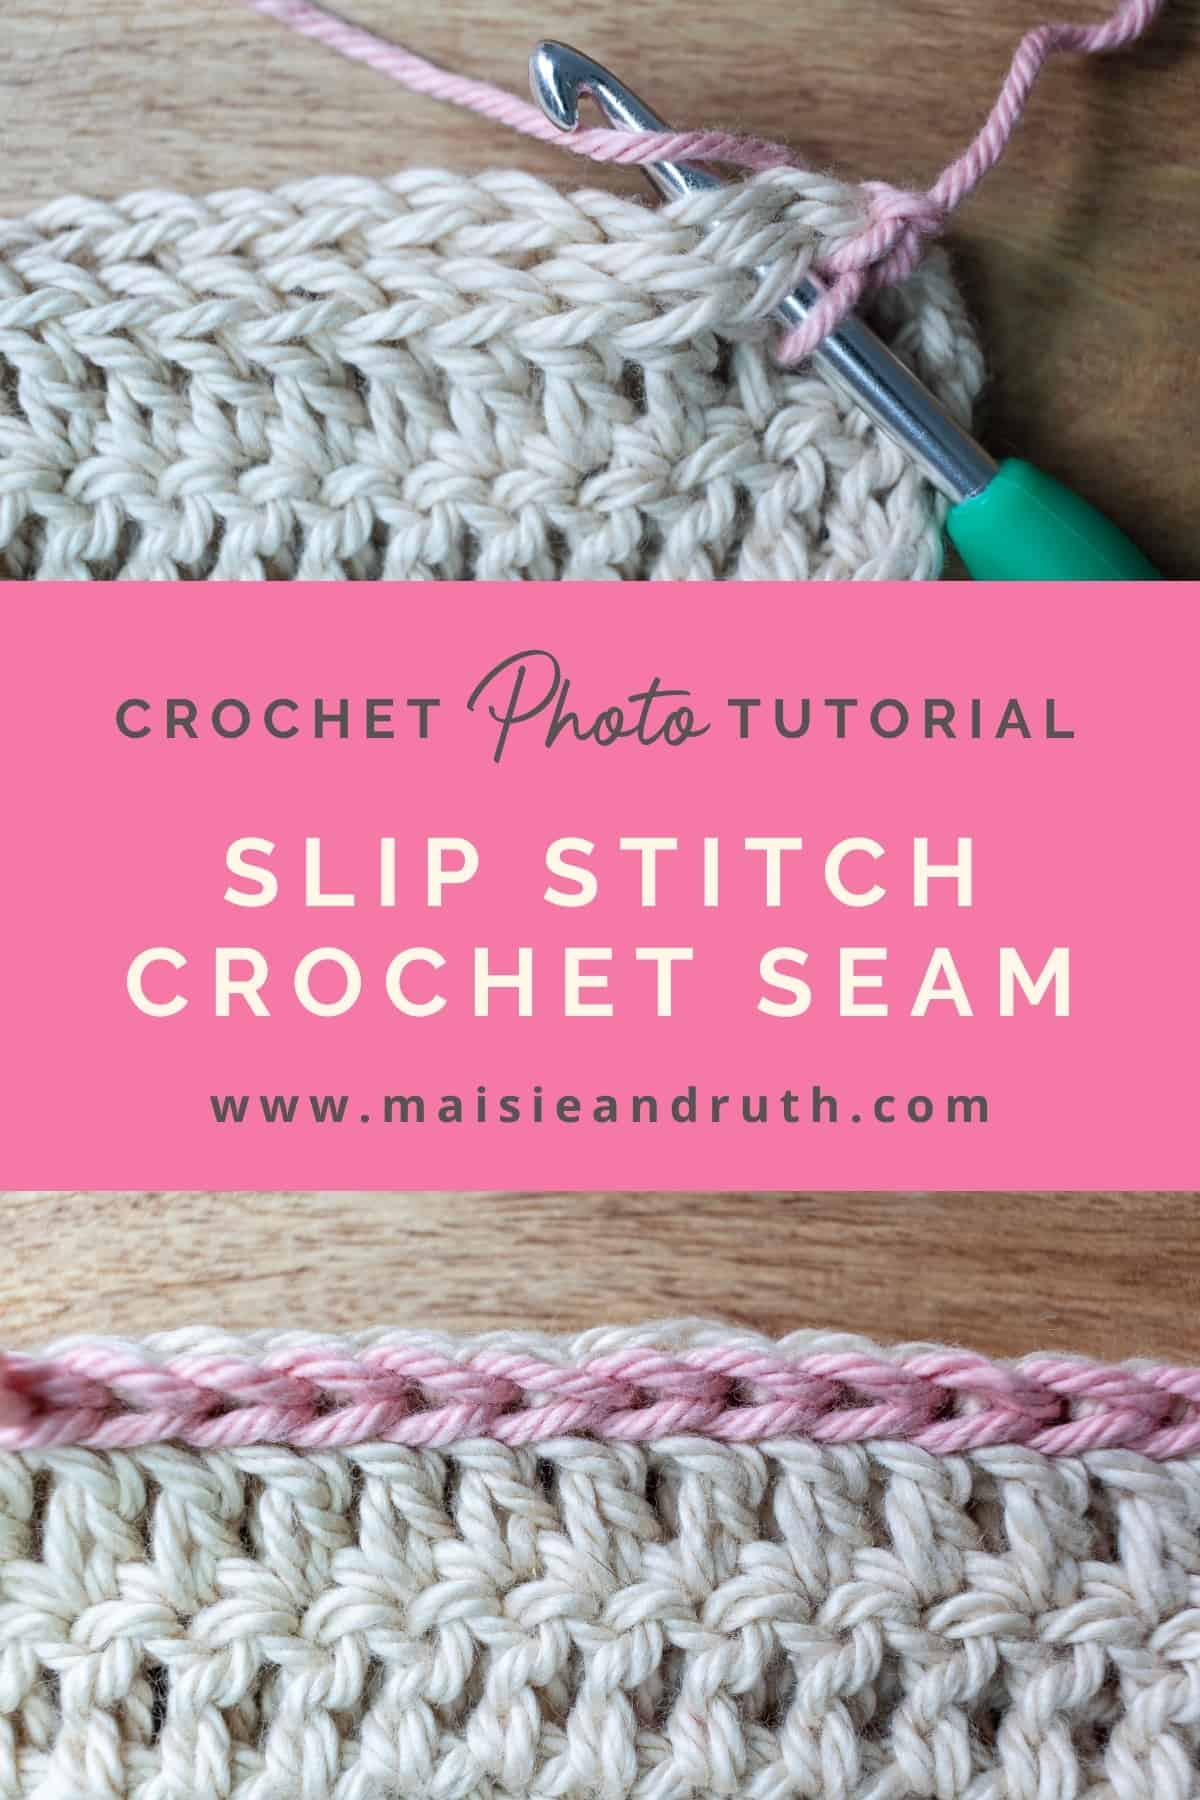
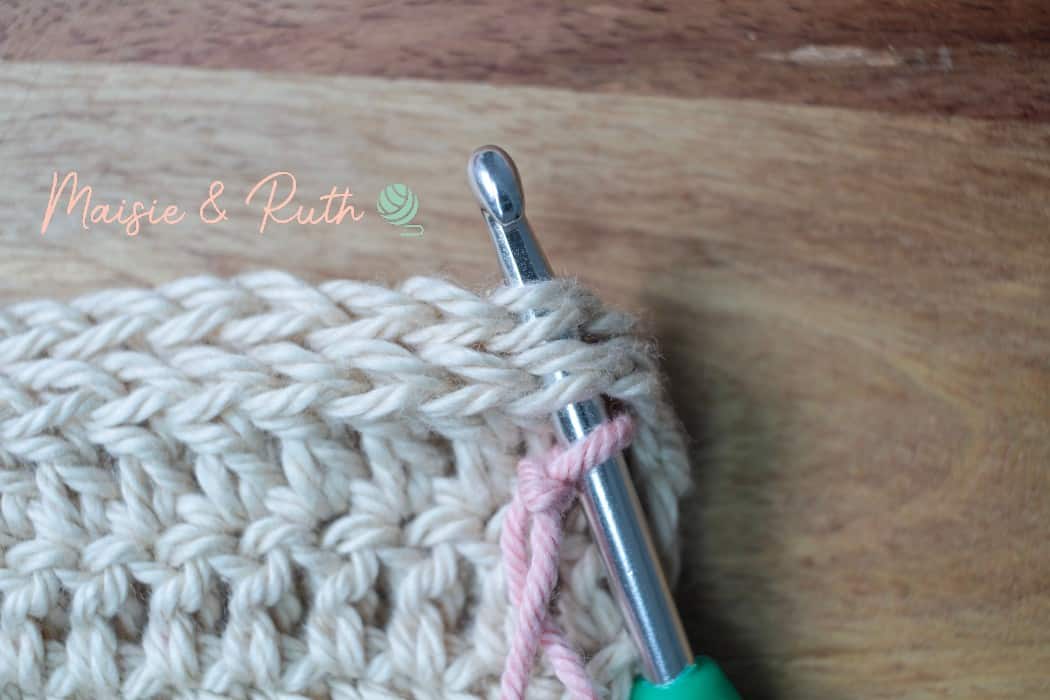
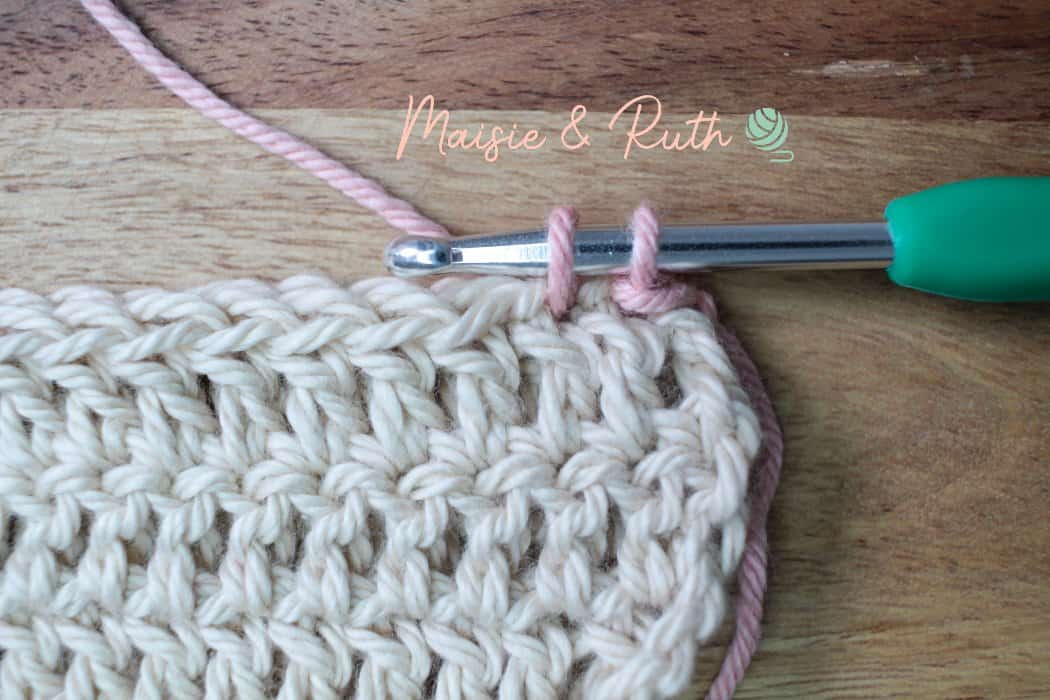
Place a slip knot on your hook and insert the hook under both loops of the first stitch of each piece:
Step 3.
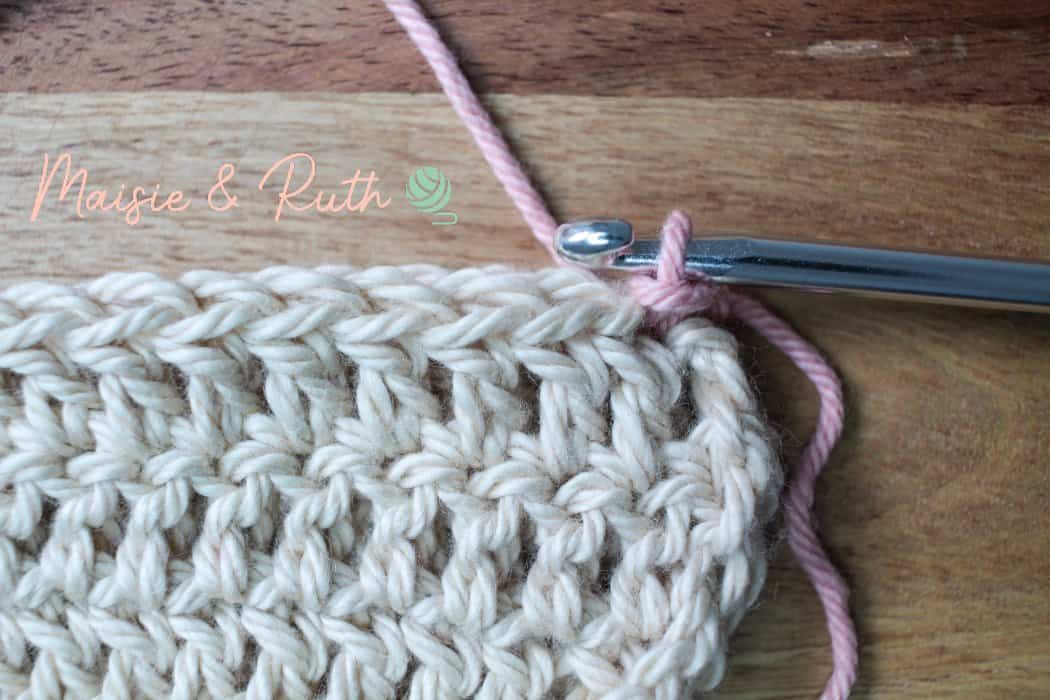
Make your first slip stitch: Wrap the yarn over your hook and draw up a loop, you will have 2 loops on your hook. Pull the first loop through the second loop to complete the slip stitch. You have now made a slip stitch and joined the two pieces together:
Step 4.
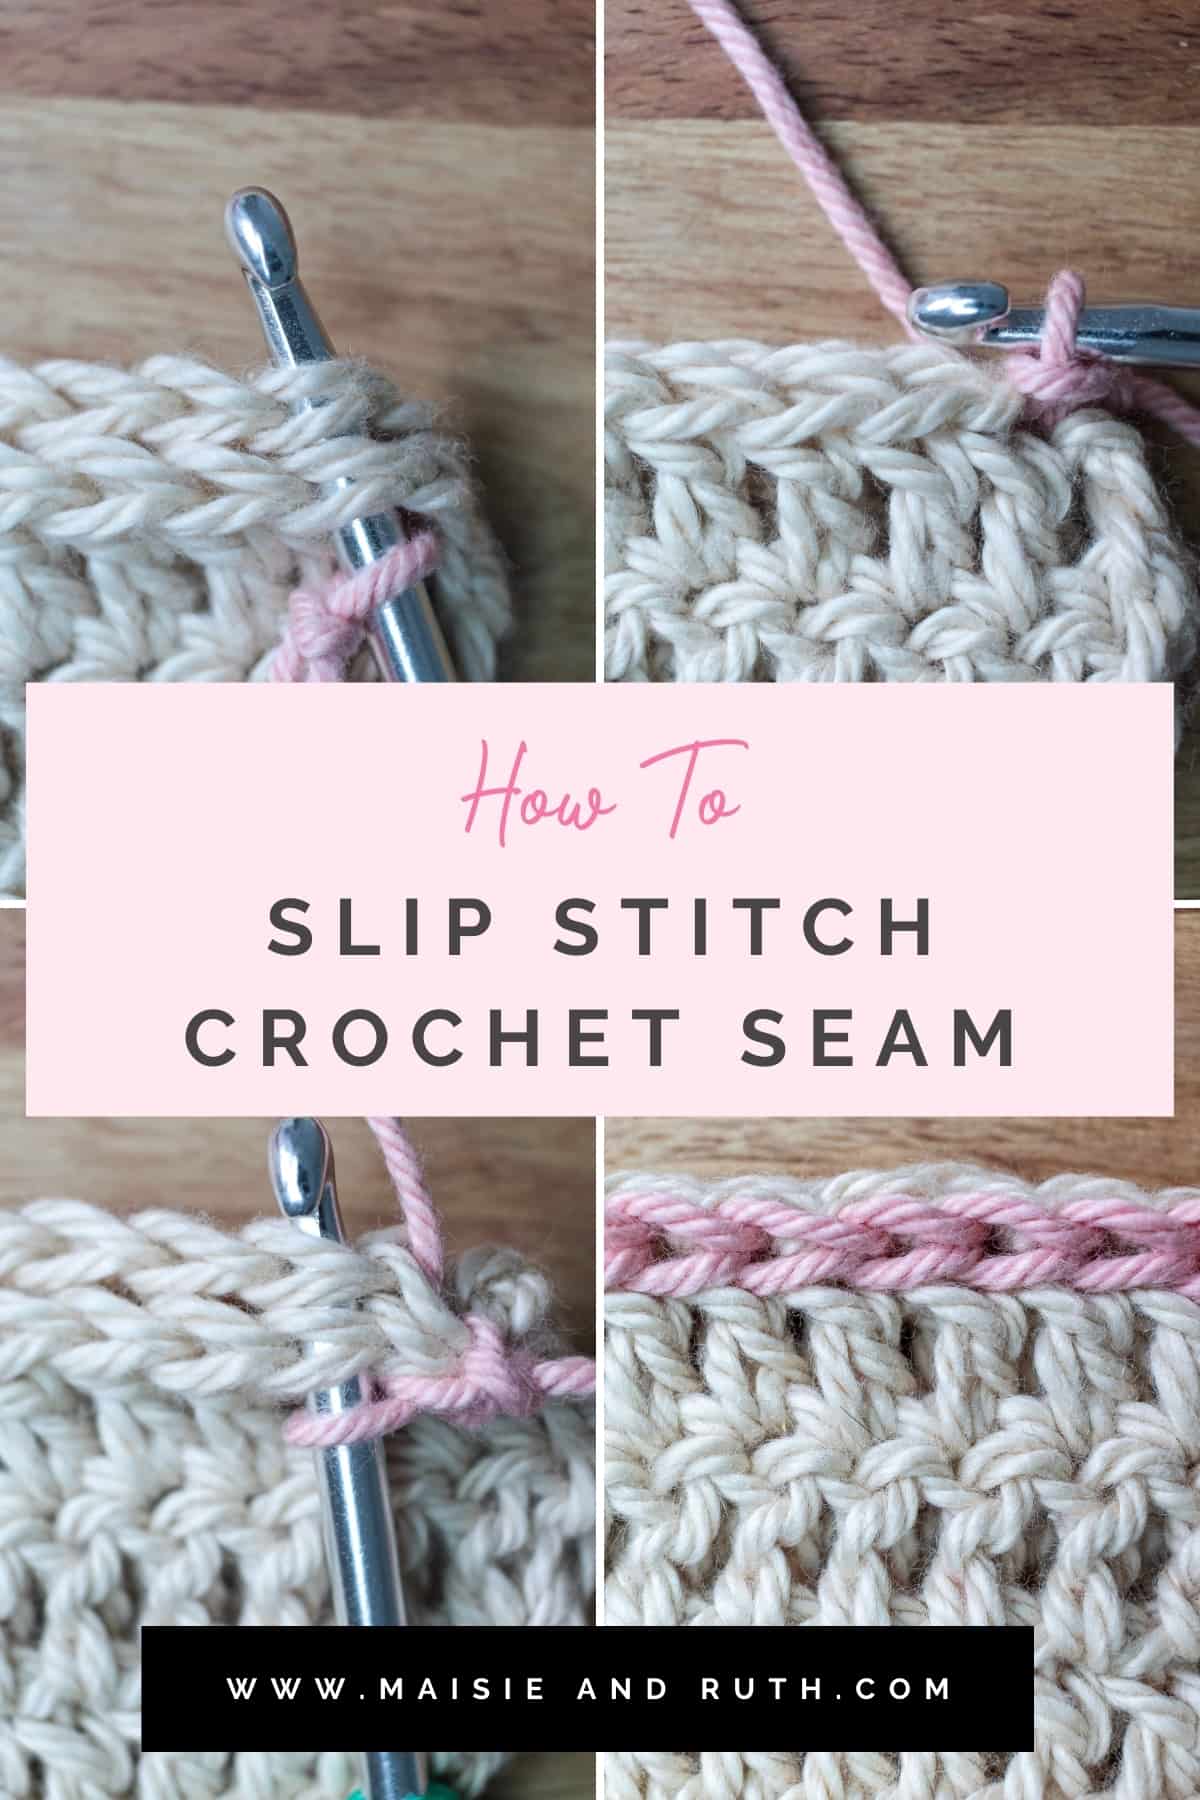
You will move on now and make your next slip stitch.
Insert your hook under both loops of the next set of stitches:
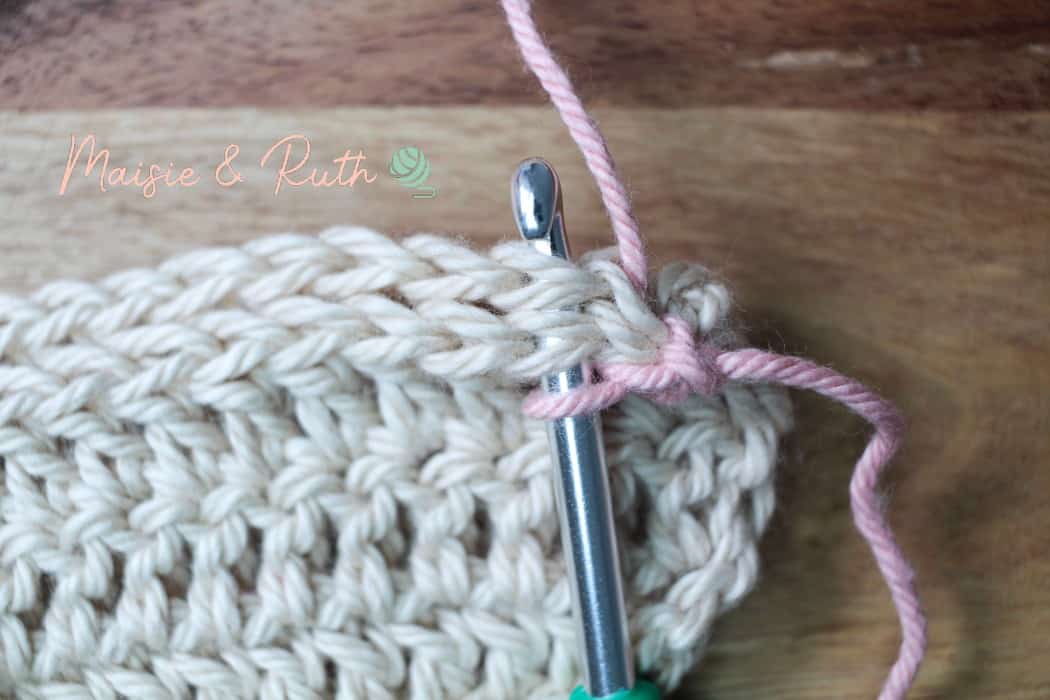
Yarn over hook:
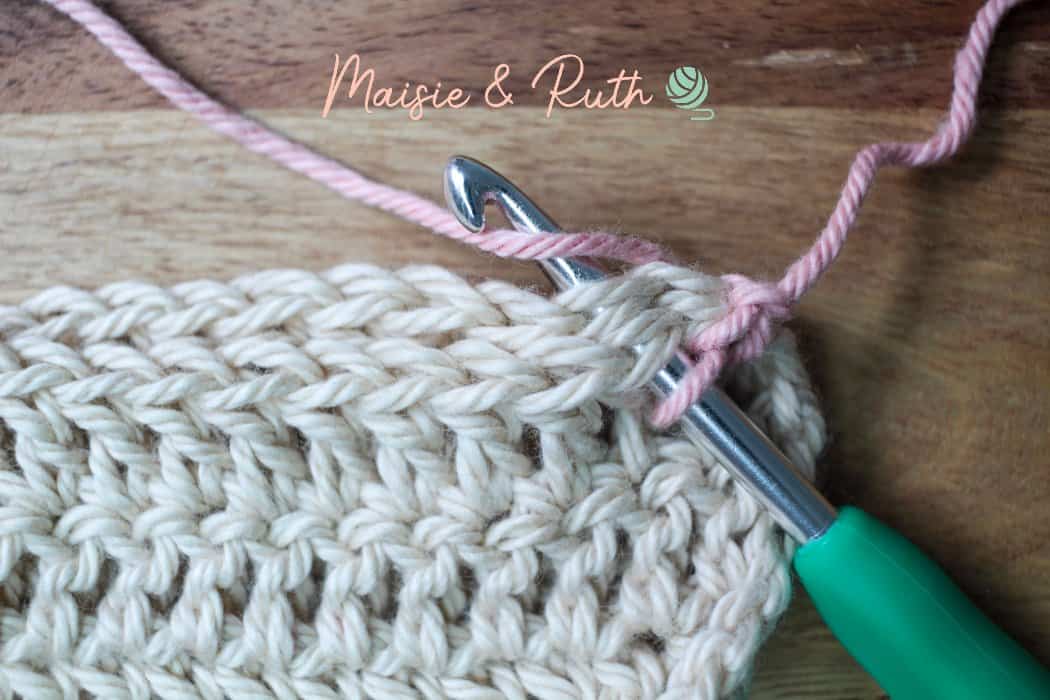
Pull up a loop (2 loops on your hook):
Pull the first loop through the second loop to complete the slip stitch:
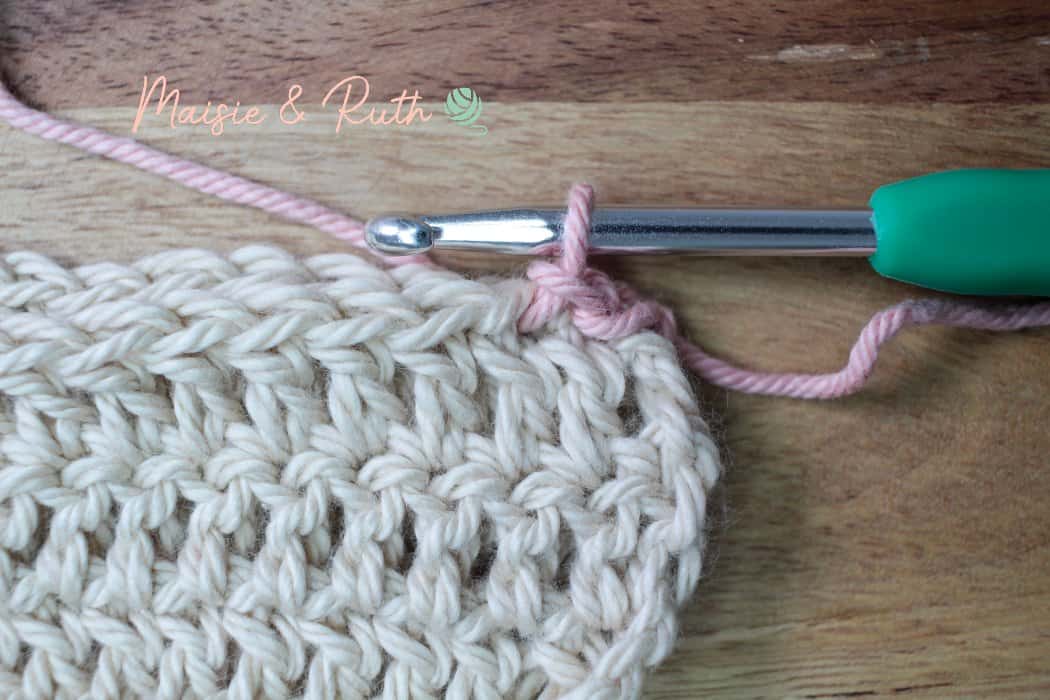
Continue to make slip stitches along the edges that you wish to seam together:
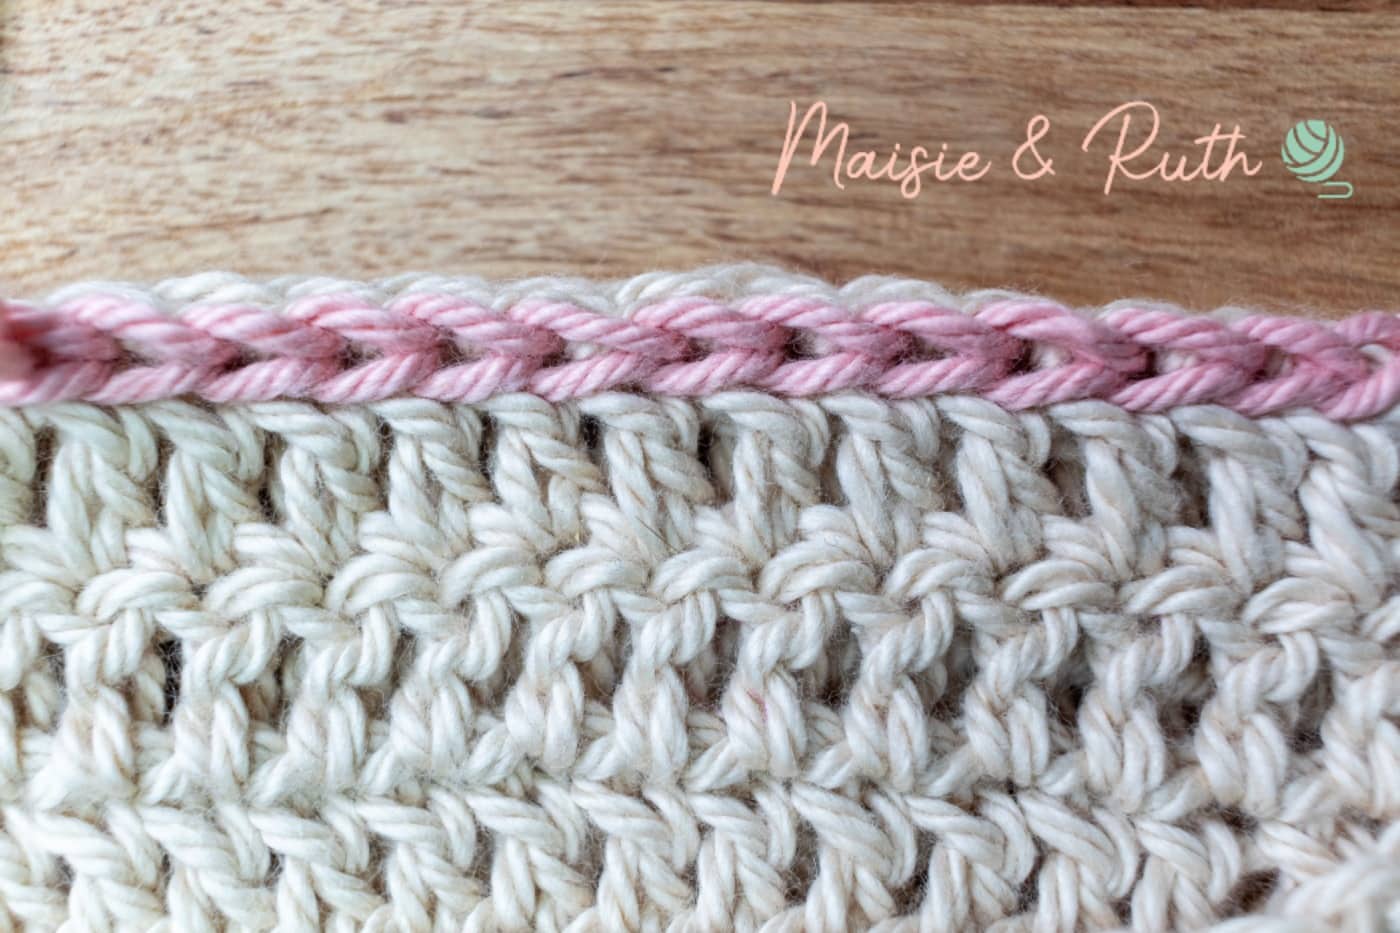
Once you’ve made your seam, cut your yarn, fasten off and weave in your ends.
I hope that this tutorial has shown you just how easy the slip stitch crochet seam actually is 😃
MORE CROCHET TUTORIALS
- Join Granny Squares with the Flat Slip Stitch Seam
- How to Whip Stitch
- Crochet Diamond Trellis Stitch
USEFUL RESOURCES
Happy crocheting,