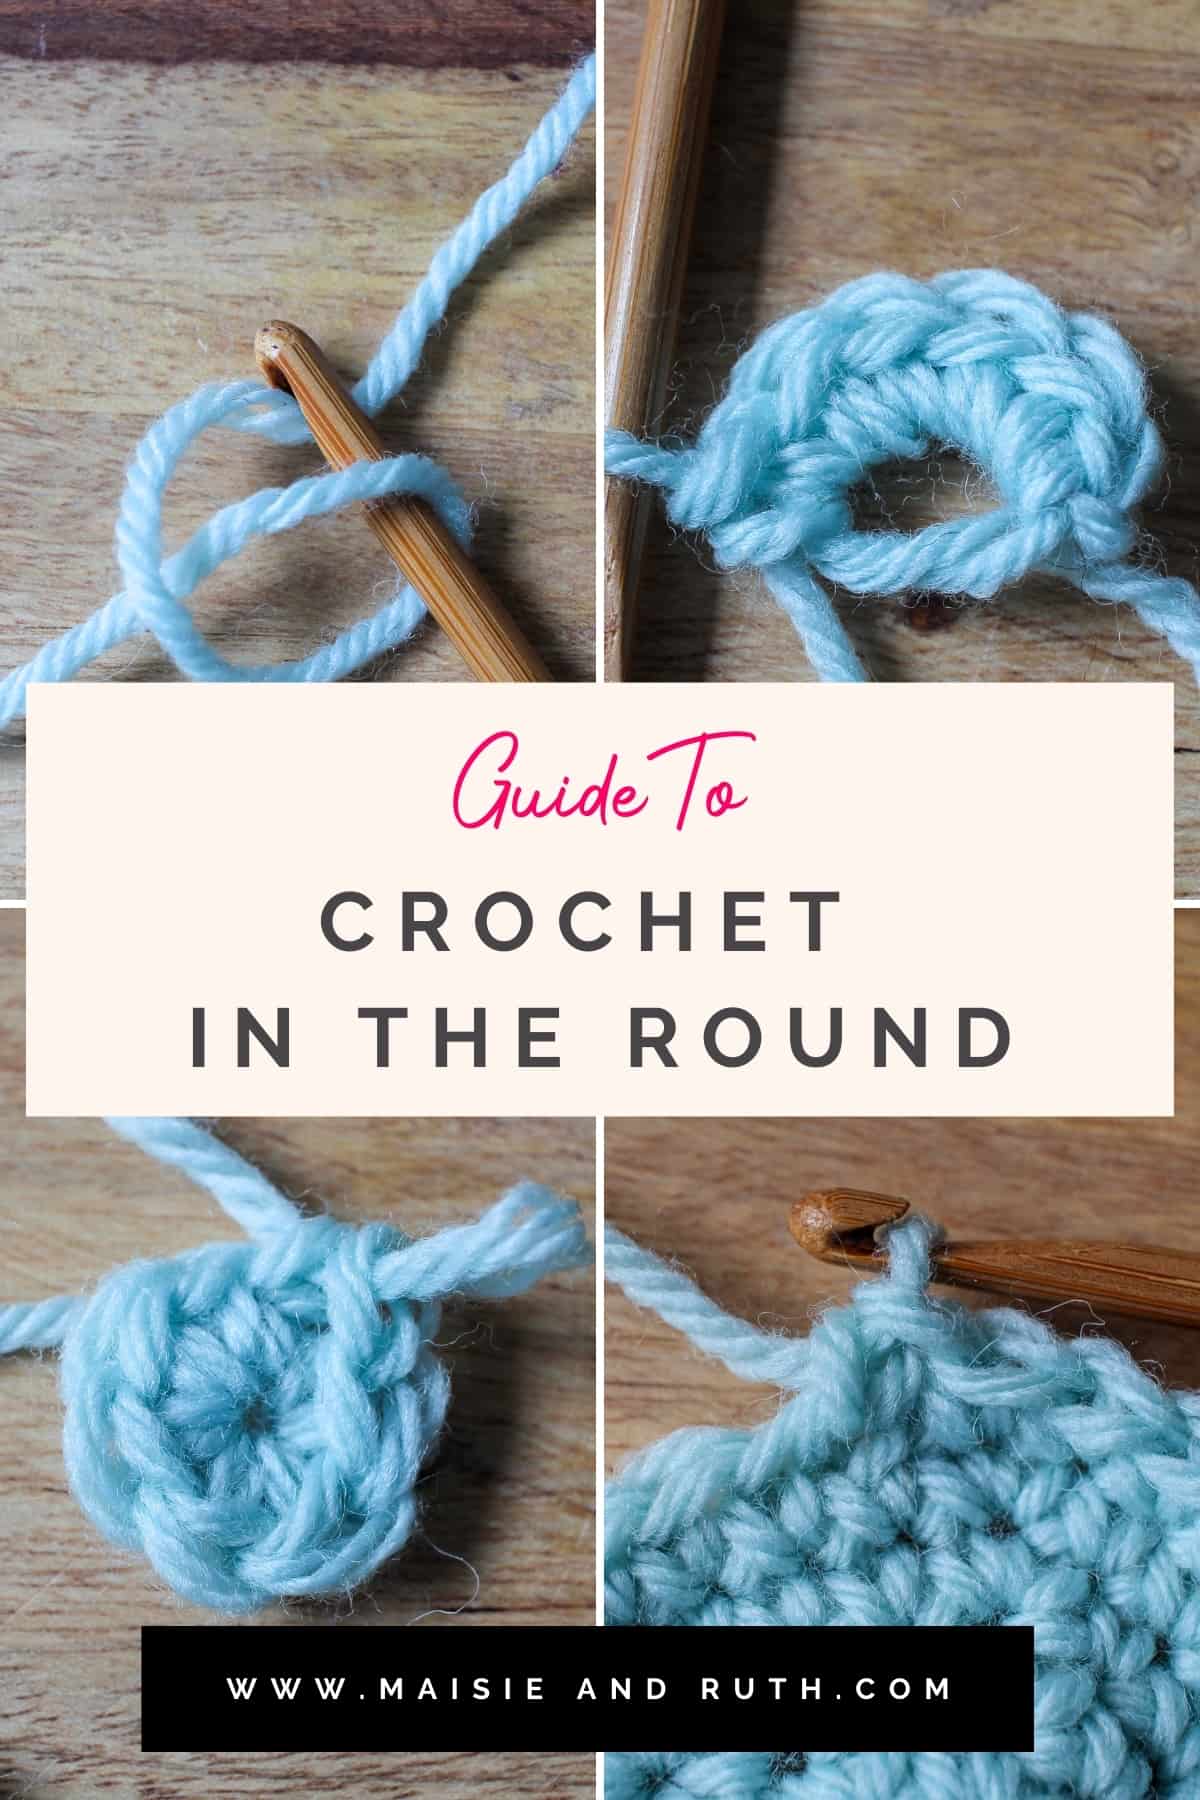
If you’ve ever wondered how to crochet in the round (where you work your crochet stitches in a circle), I’ll show you two common methods for getting started so you can work up an even bigger variety of crochet creations!

Knowing how to crochet in the round will allow you to venture into making more crochet items such as amigurumi, hats, granny squares, coasters and bags.
The Bluebell Baby Bonnet and Bella the Bunny are two free patterns that I have on the Maisie and Ruth blog. They are quick and easy to make, and will offer you some practise for working in the round if you’re a beginner crocheter.
In this tutorial, I will cover the following topics:
GETTING STARTED: HOW TO CROCHET IN THE ROUND
Instead of starting with a foundation chain, you will begin working in the round using one of two methods:
- Magic circle (also known as magic ring)
- Chain ring
When working in the round, my patterns give you instructions on how to start your circle. As some people find the magic circle method a little tricky, I give you options for both the magic circle and chain ring method.
STARTING WITH A MAGIC CIRCLE
Step 1.
Make a circle, as shown in the image below:
Insert your hook through the circle from front to back and grab the working yarn with your hook:

Step 3.
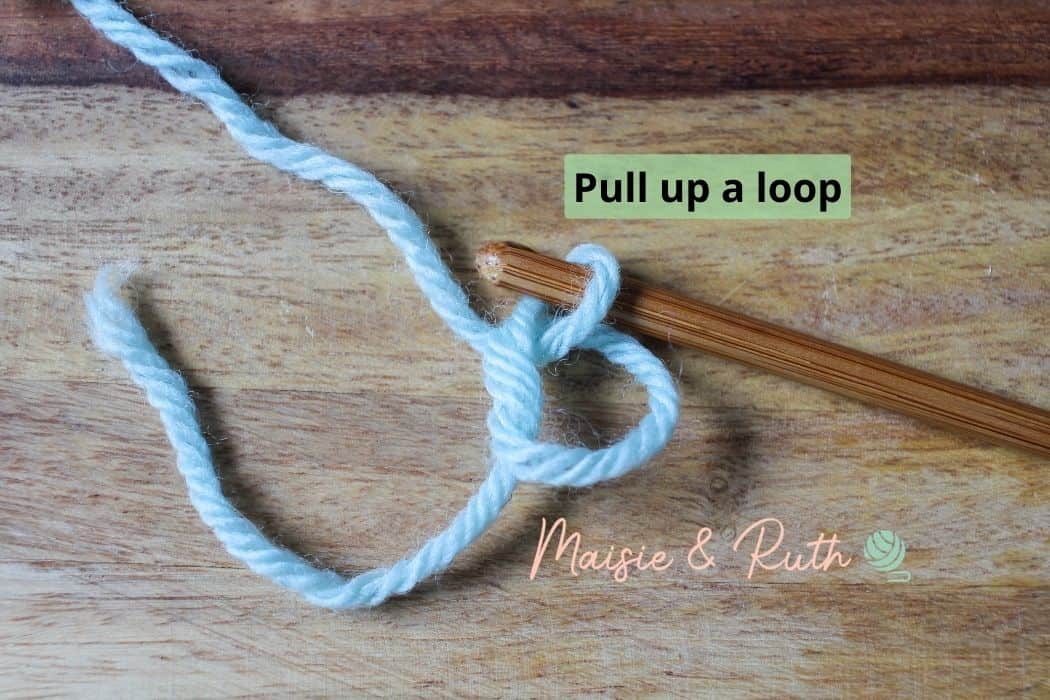
Pull the working yarn through the circle:

And pull up a loop:
Step 4.
Chain 1 to secure the circle:

The magic circle has now been completed.
You will now be required to crochet a certain number of stitches into your magic circle (see step 5 below):
Step 5.
Crochet the required number of stitches into the circle, making sure that you work over the yarn tail as you crochet:

Step 6.
Join the last stitch to the first stitch with a slip stitch. Pull the yarn tail to close the gap in the middle:
The first round has now been completed.
STARTING WITH A CHAIN RING
If using this method, you will be asked to chain a certain amount of chains.
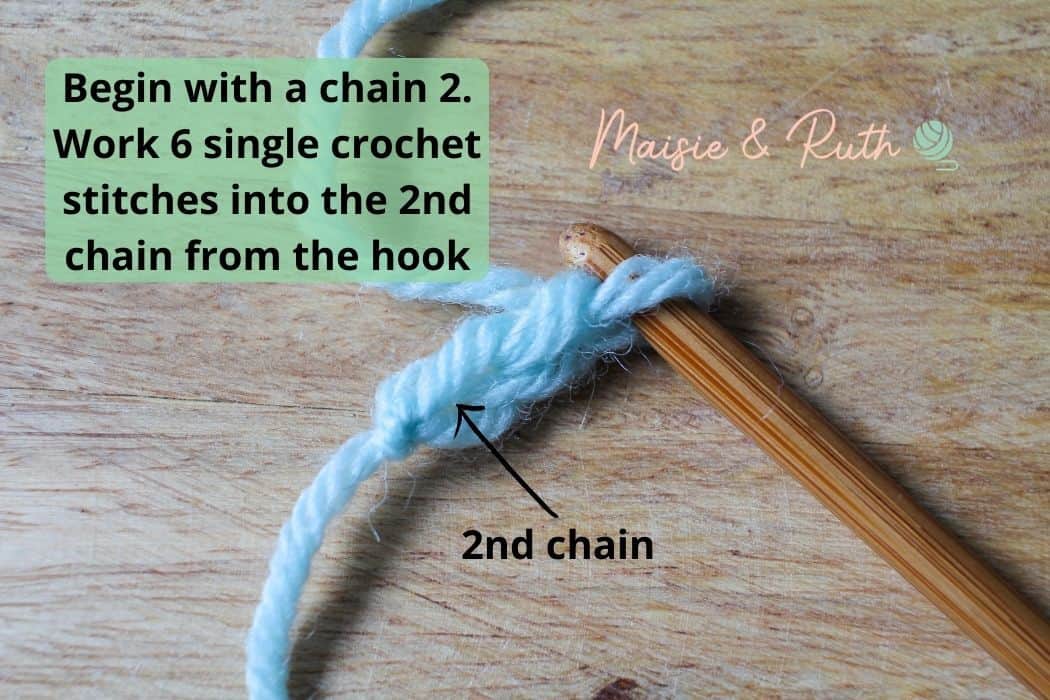
For the purpose of this tutorial, I will make a chain 2.
Step 1.
Work 6 single crochet into the 2nd chain from the hook (make sure that you work over the yarn tail when making your stitches):
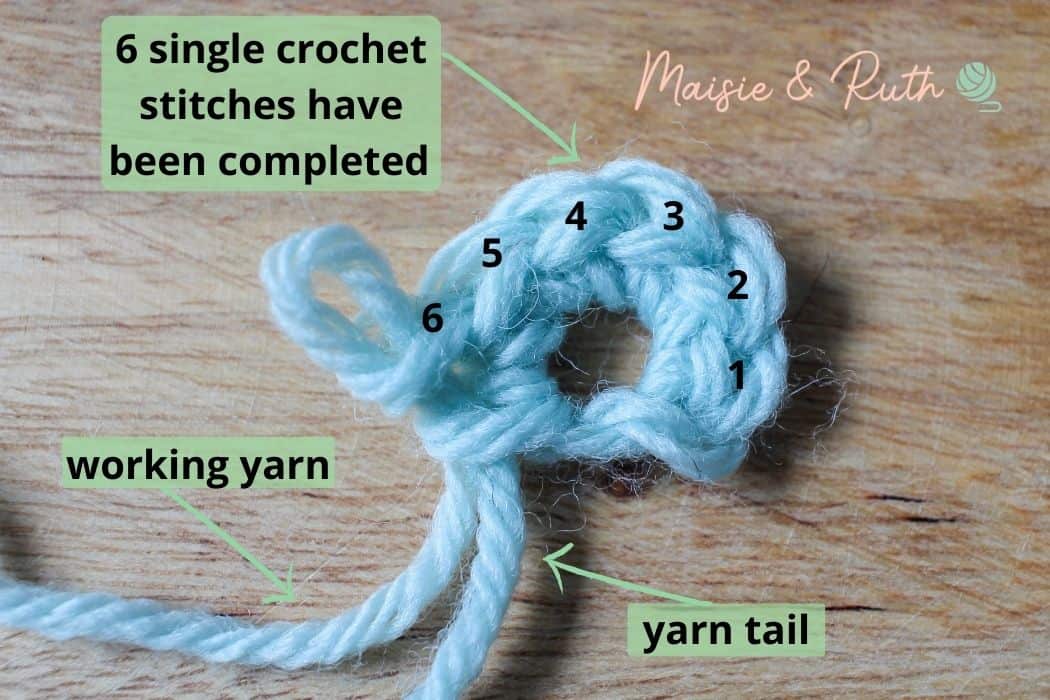
Step 2.
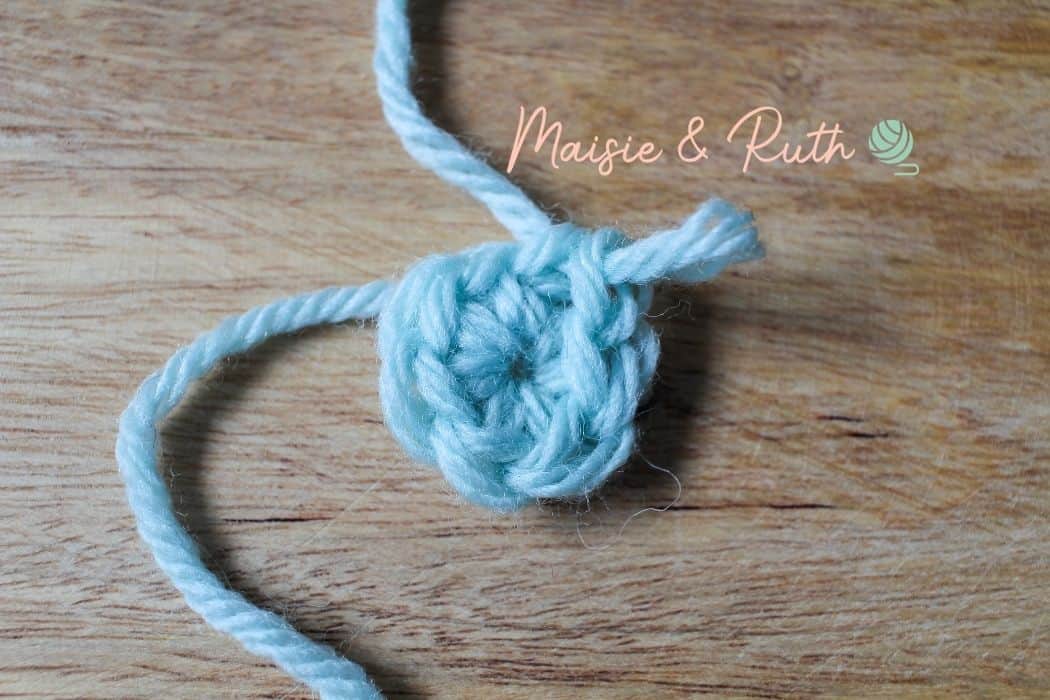
When you have worked all your stitches, slip stitch to the 1st single crochet to join and form your circle. Pull on the yarn tail to close the circle:
The first round has now been completed.
WORKING IN CONTINUOUS ROUNDS
Some crochet patterns will ask that you work in continuous rounds.
When working in the round it is common to join the last stitch of the round to the first stitch of the round with a slip stitch.
However working in continuous rounds means that as soon as you have crocheted the last stitch of the round, you will immediately crochet the first stitch of the following round… you will not join the round with a slip stitch.
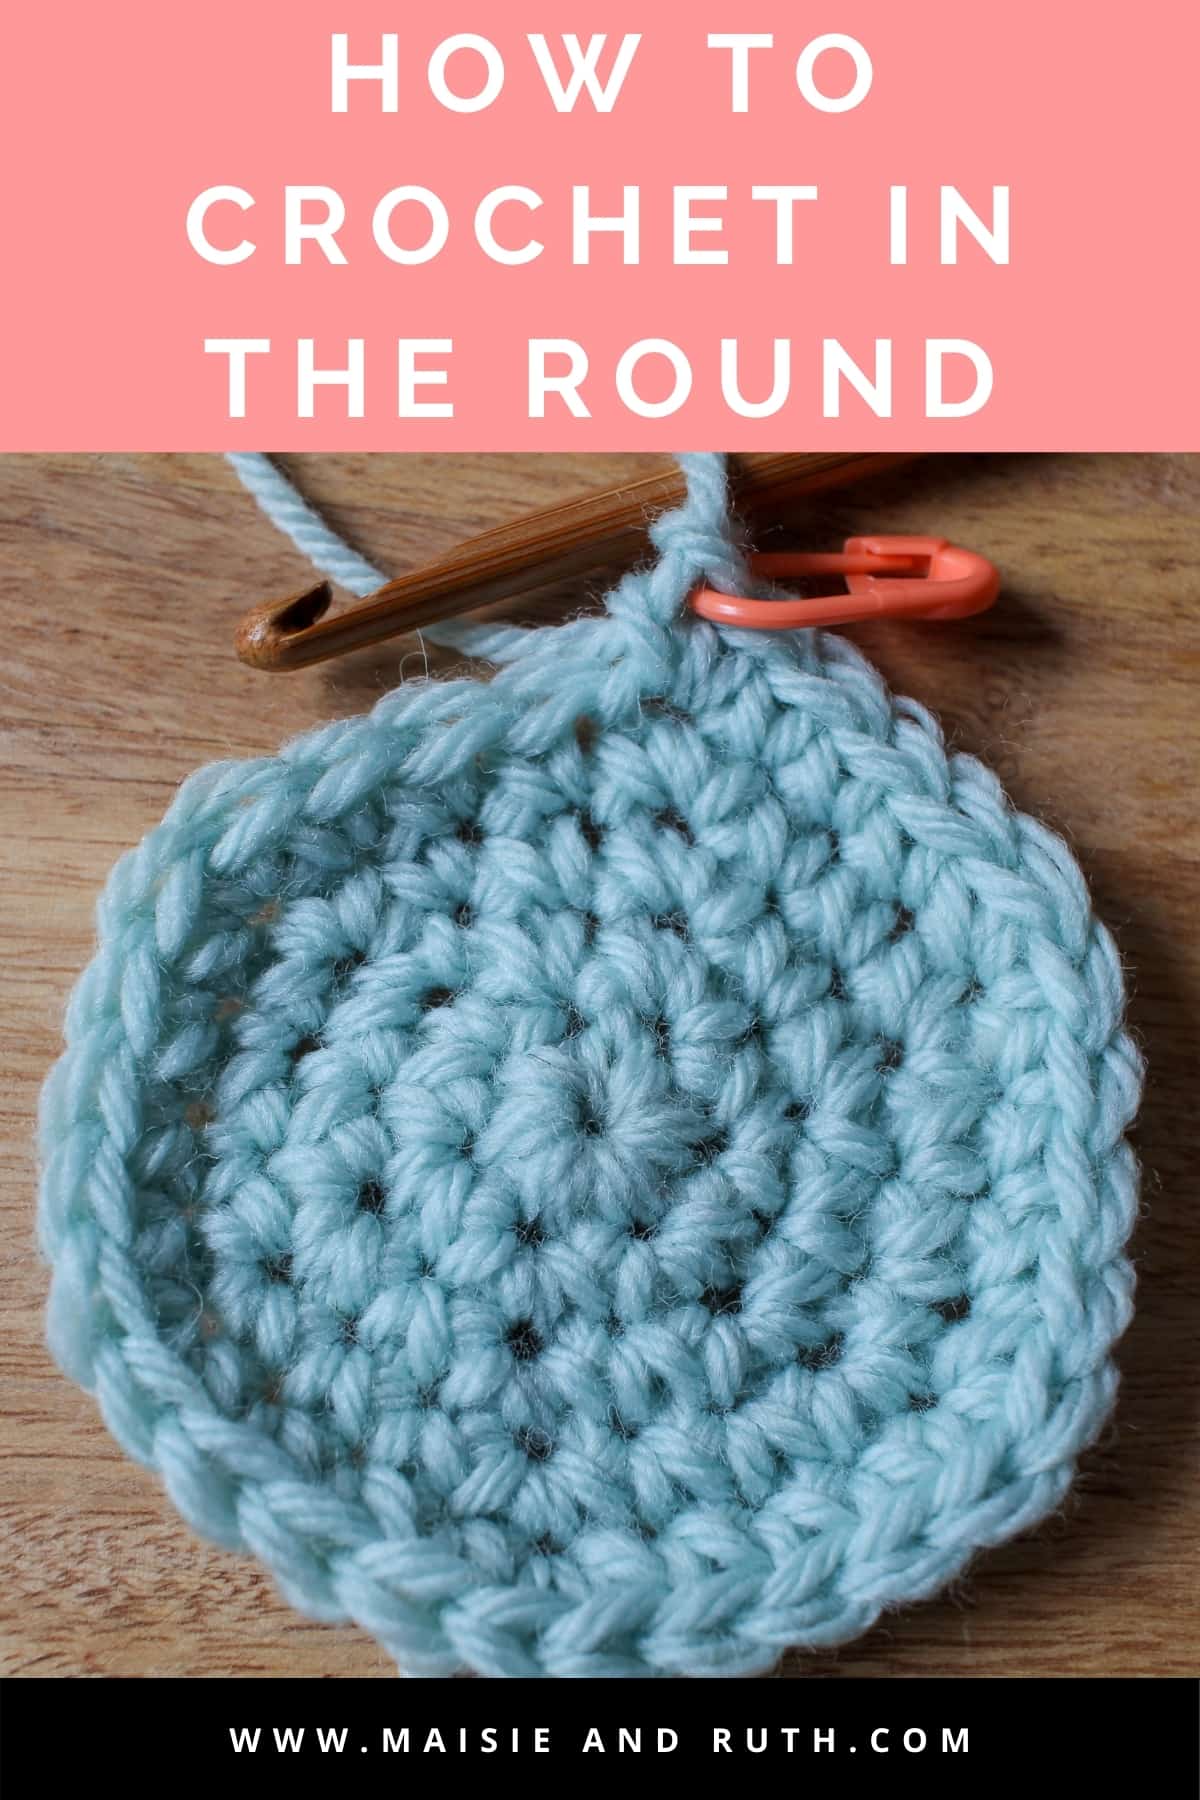
Working in this way means that your work will be seamless, as seen in the image below:
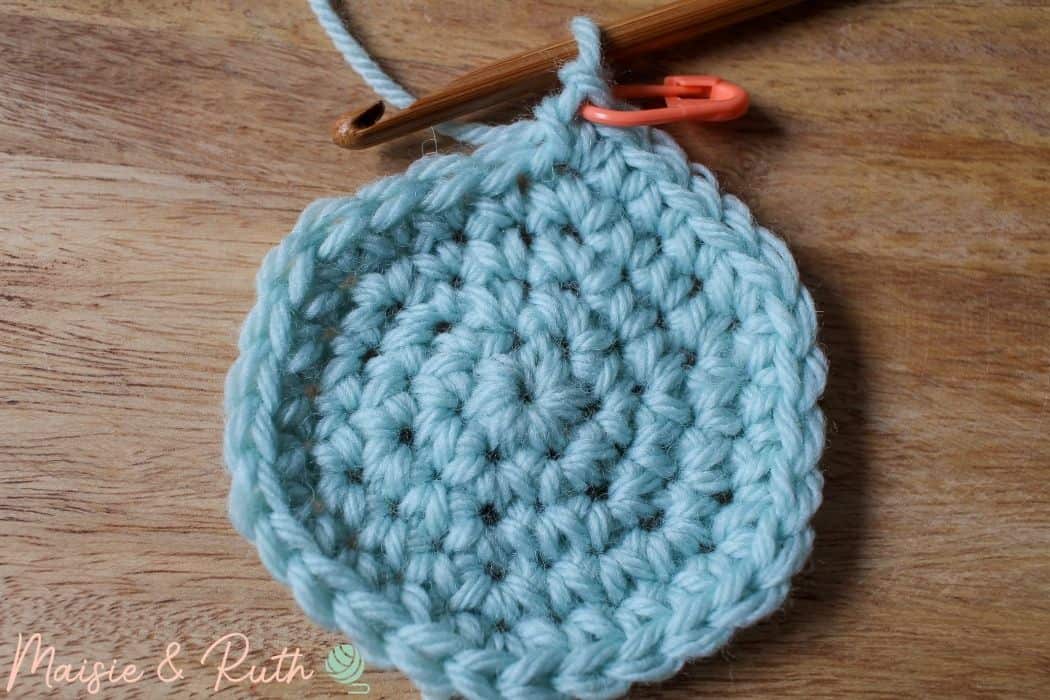
Because working in continuous rounds does not create a seam, it will be very difficult for you to determine where a round begins and where it ends. For this reason, it’s important to place a stitch marker in the first stitch of every round to clearly denote the first stitch of that particular round:
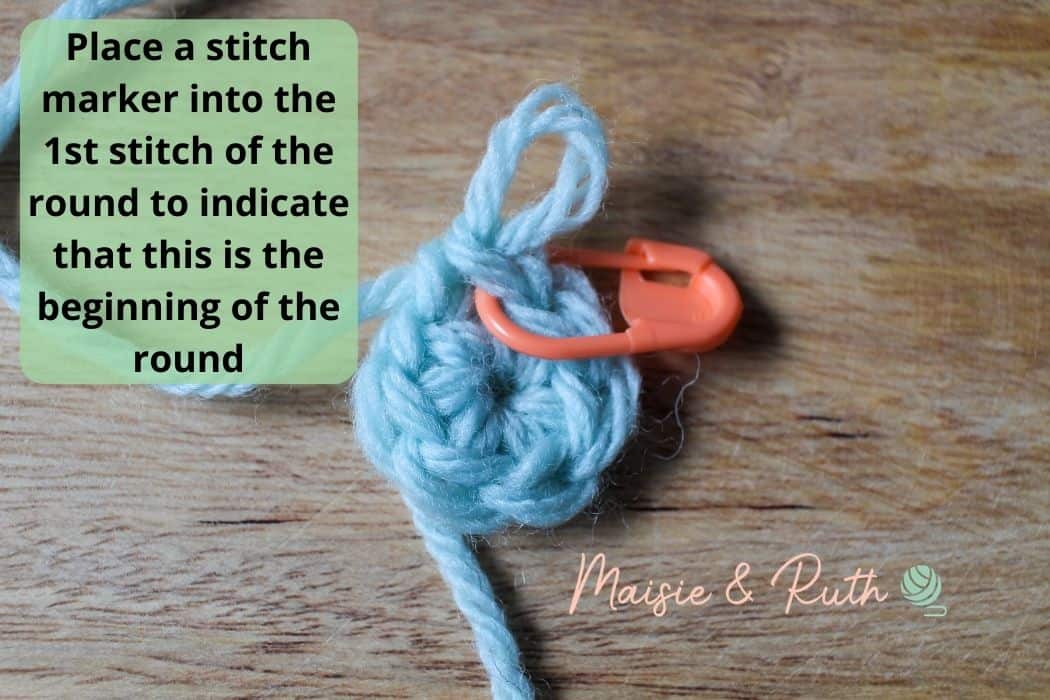
As you continue to work in continuous rounds, remember to keep on moving the stitch marker up to the first stitch of subsequent rounds to keep track of where you are in the pattern.
How did you find this tutorial in how to crochet in the round?
What method do you prefer – the magic circle or the chain ring?
Leave me a comment below… I would really like to hear your opinions! 😃
MORE CROCHET TUTORIALS
USEFUL RESOURCES
Happy crocheting,