

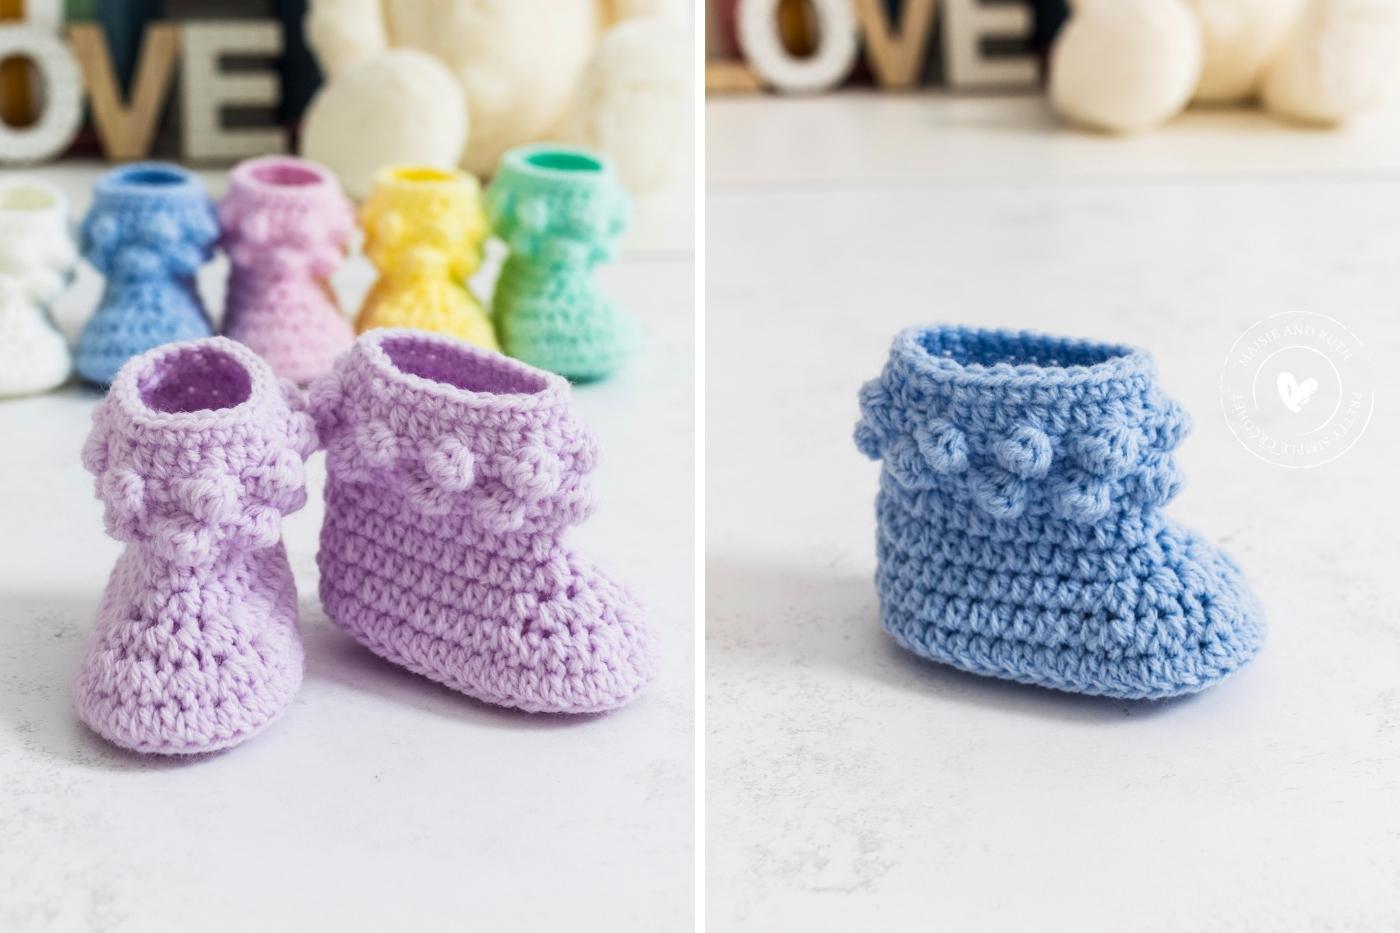
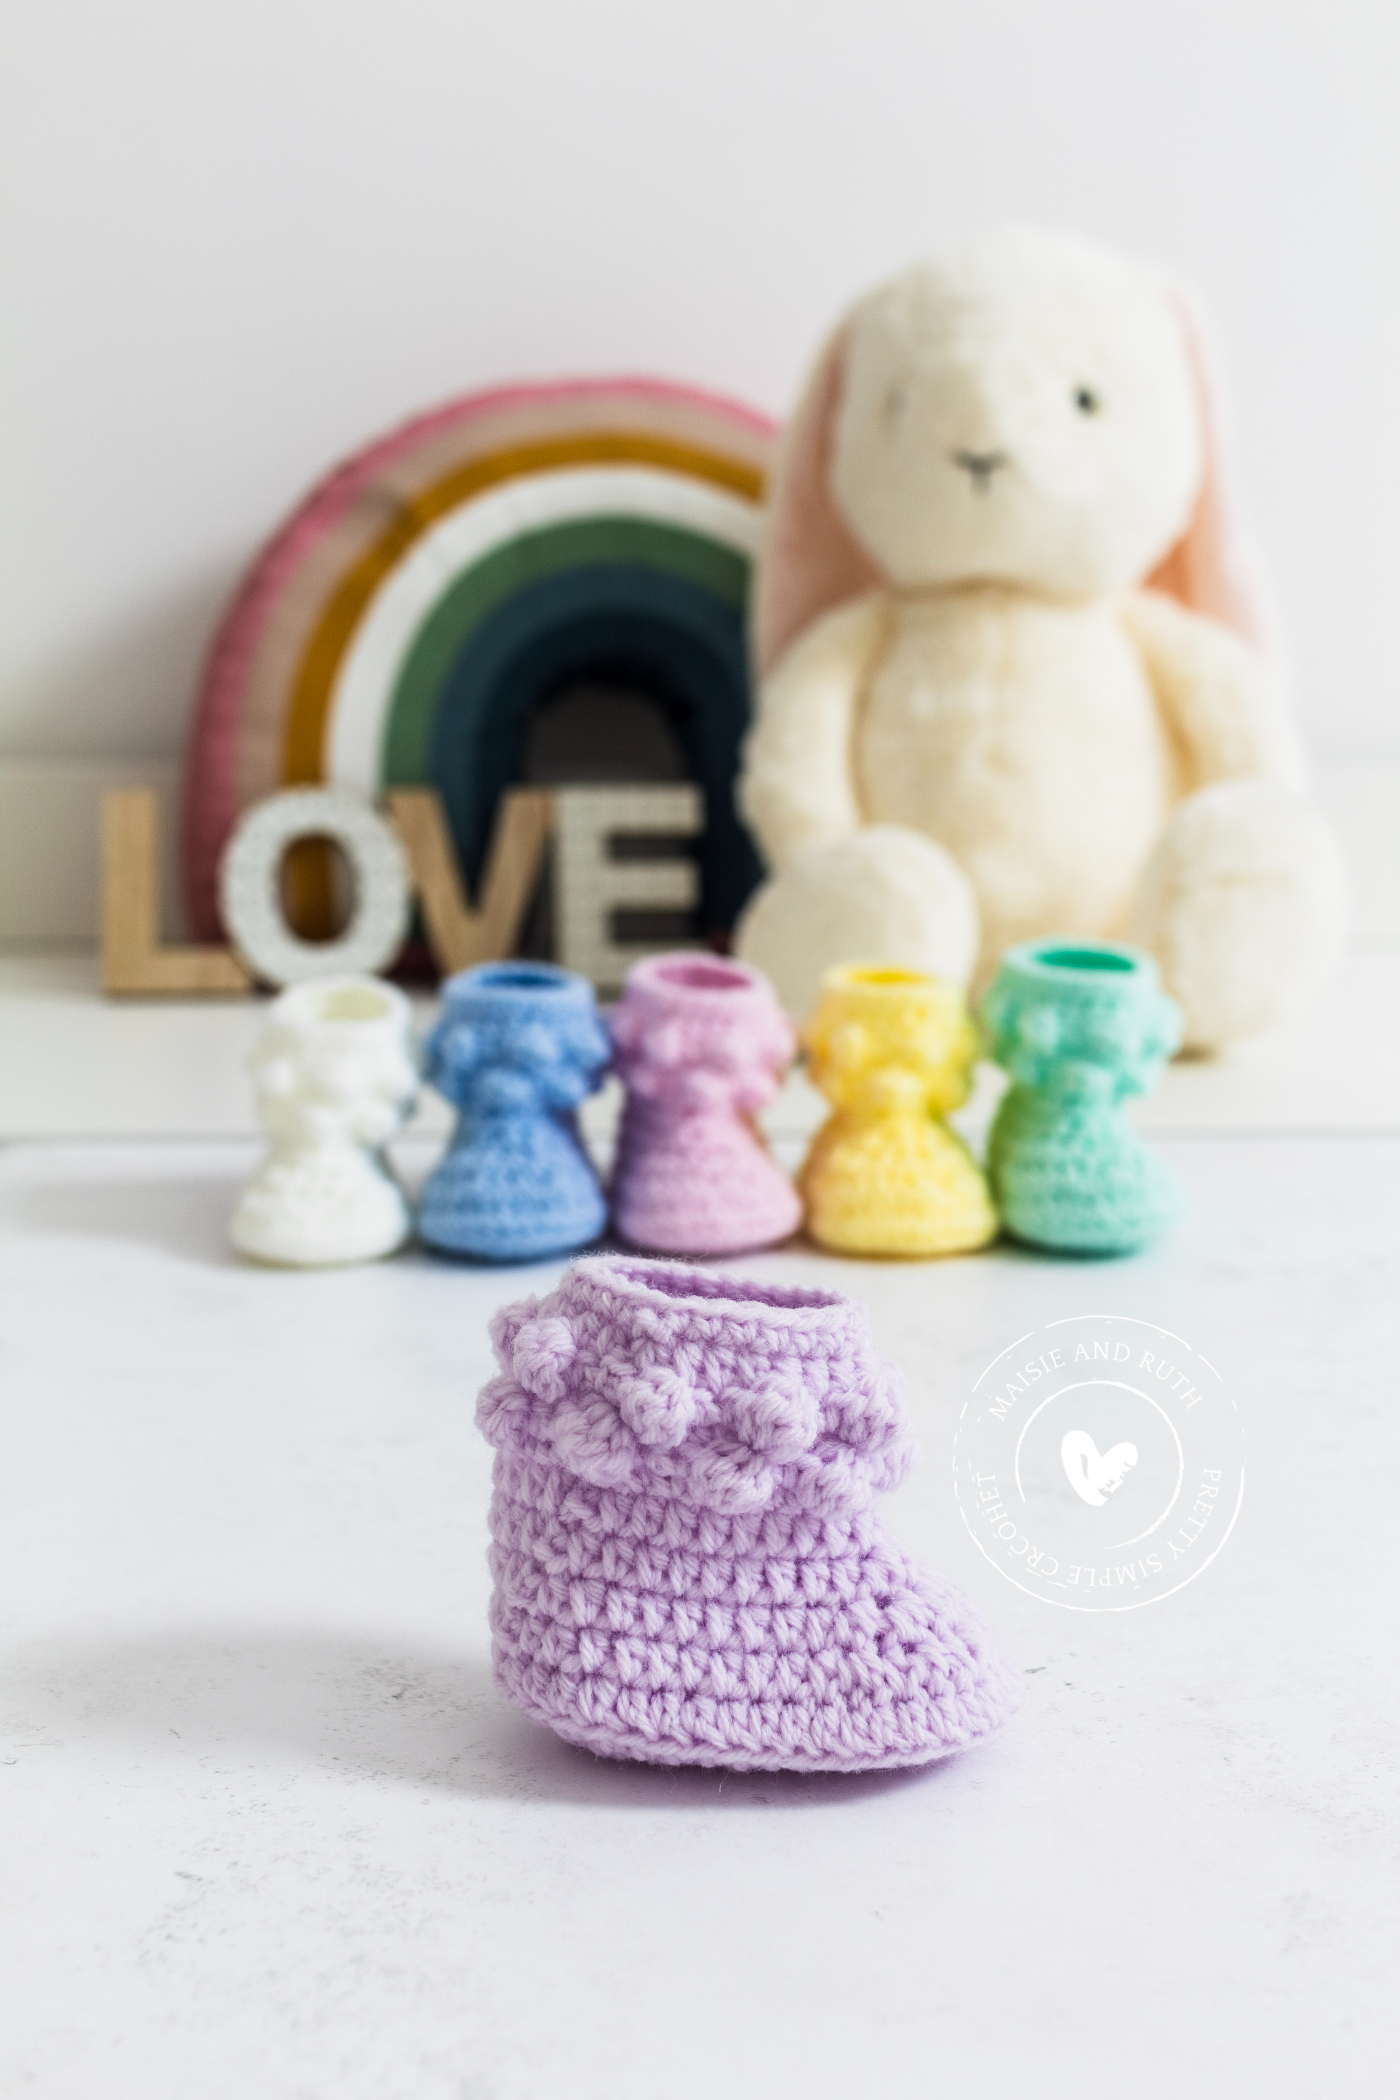
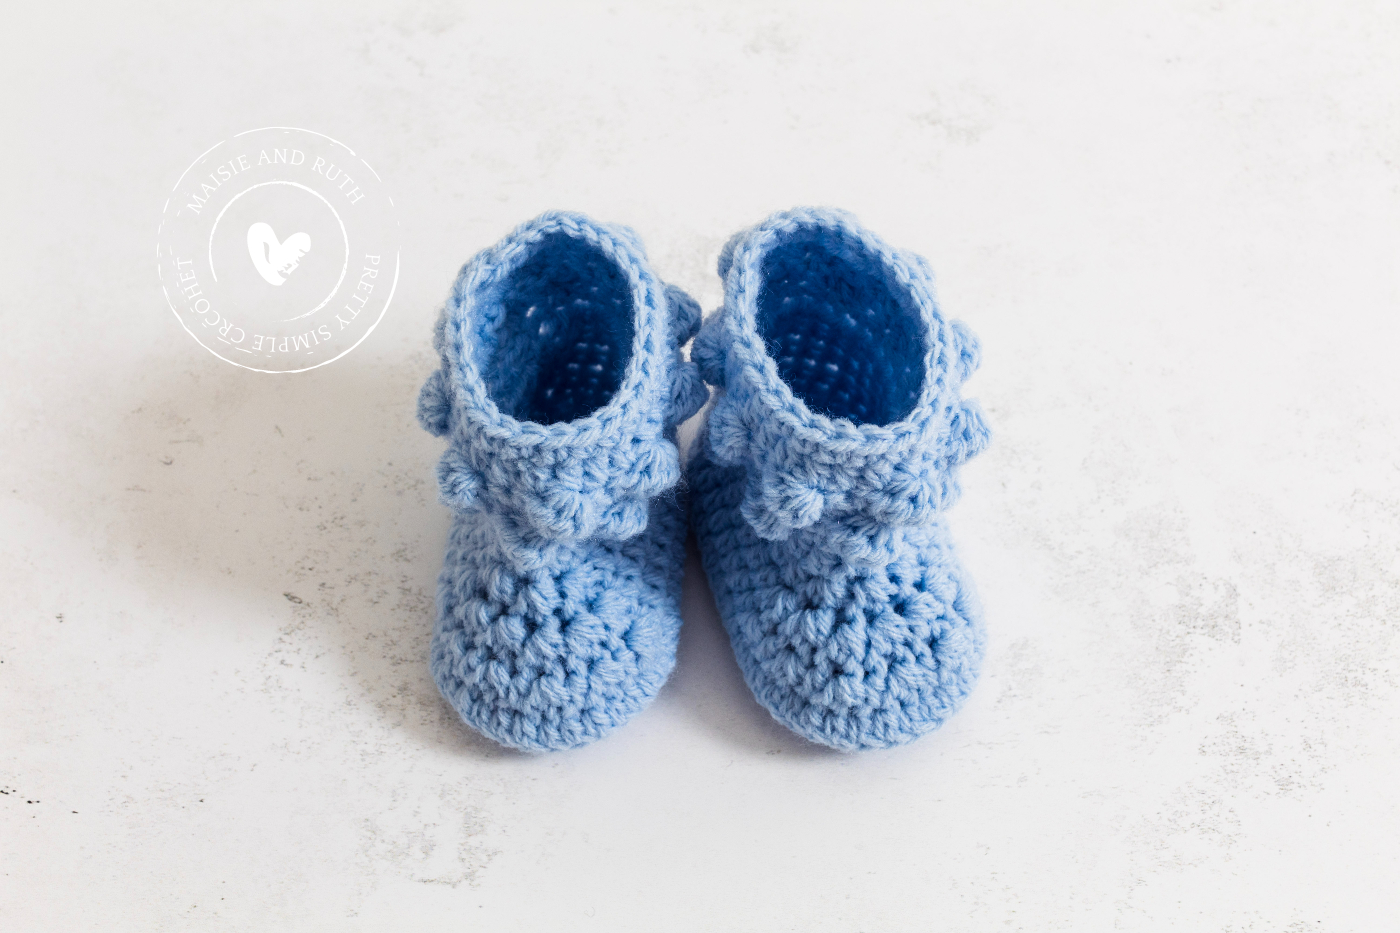
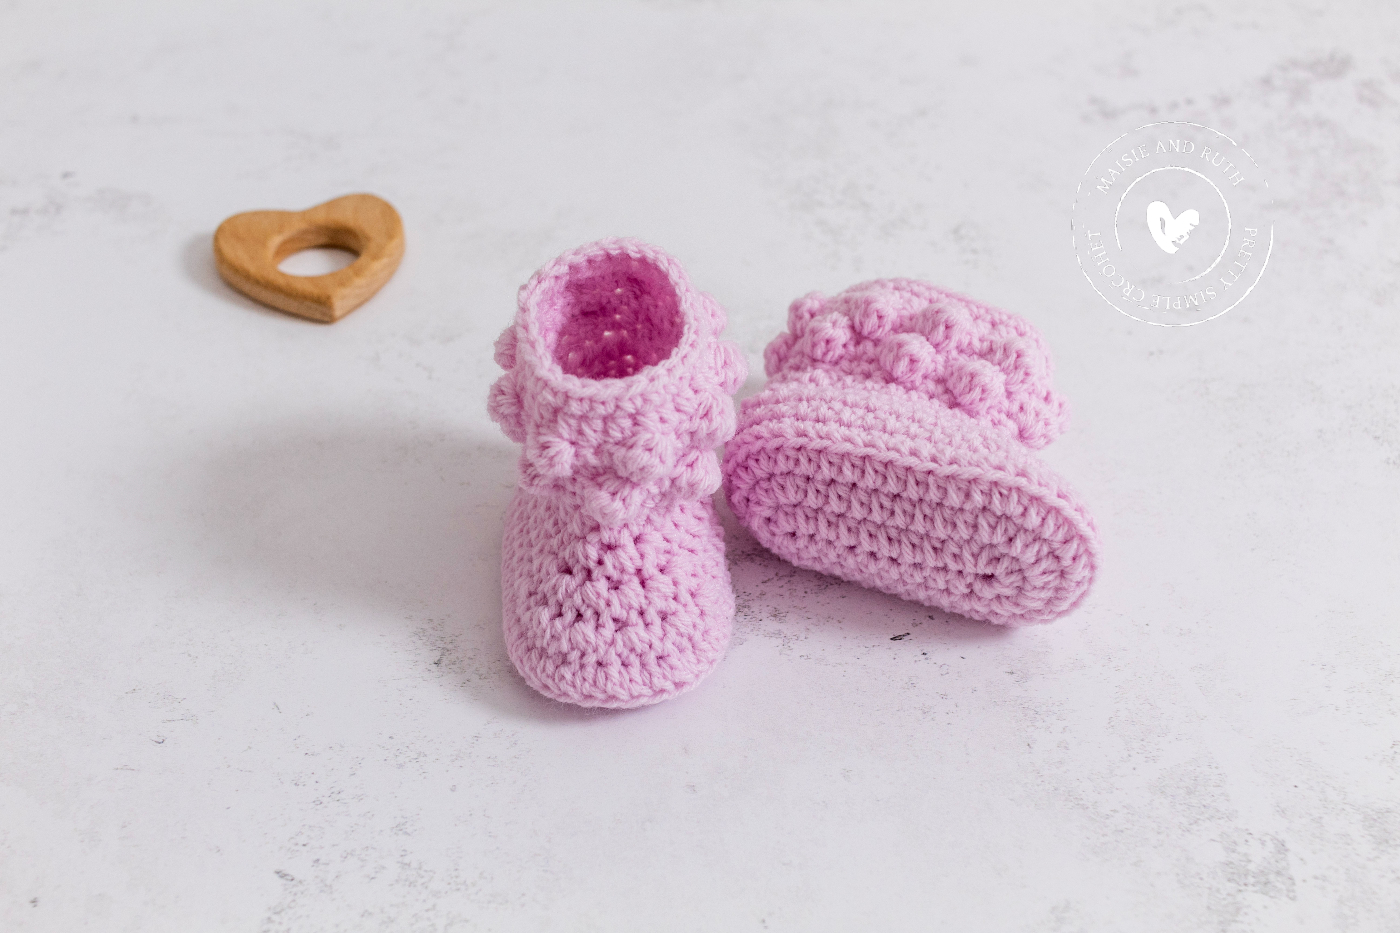
If you’re looking for a CUTE and Easy Crochet Baby Booties pattern then read on for the FREE instructions to make a pair of adorable bobble stitch baby booties!
A VIDEO TUTORIAL is also included to help you further. And to purchase an ad-free printable version, please visit the Etsy store HERE

CUTE HANDMADE GIFT
Who doesn’t love a pair of handmade baby booties?! They really popular gifts for a new arrival.
And if you’ve got an upcoming baby shower then consider presenting the new parent(s) to be with a pair of handmade baby shoes… they’re sure to be one of the (if not the) cutest items there!
QUICK CROCHET PROJECT
Crochet baby booties are a great way to use up small amounts of yarn from your yarn stash.
And as they’re so small, they’re super quick (and fun) little projects for you too!
You may also like to consider donating your finished baby booties to a local charity or hospital – I know many of my readers often make booties for this purpose alone.

ADORABLE CROCHET BABY SET
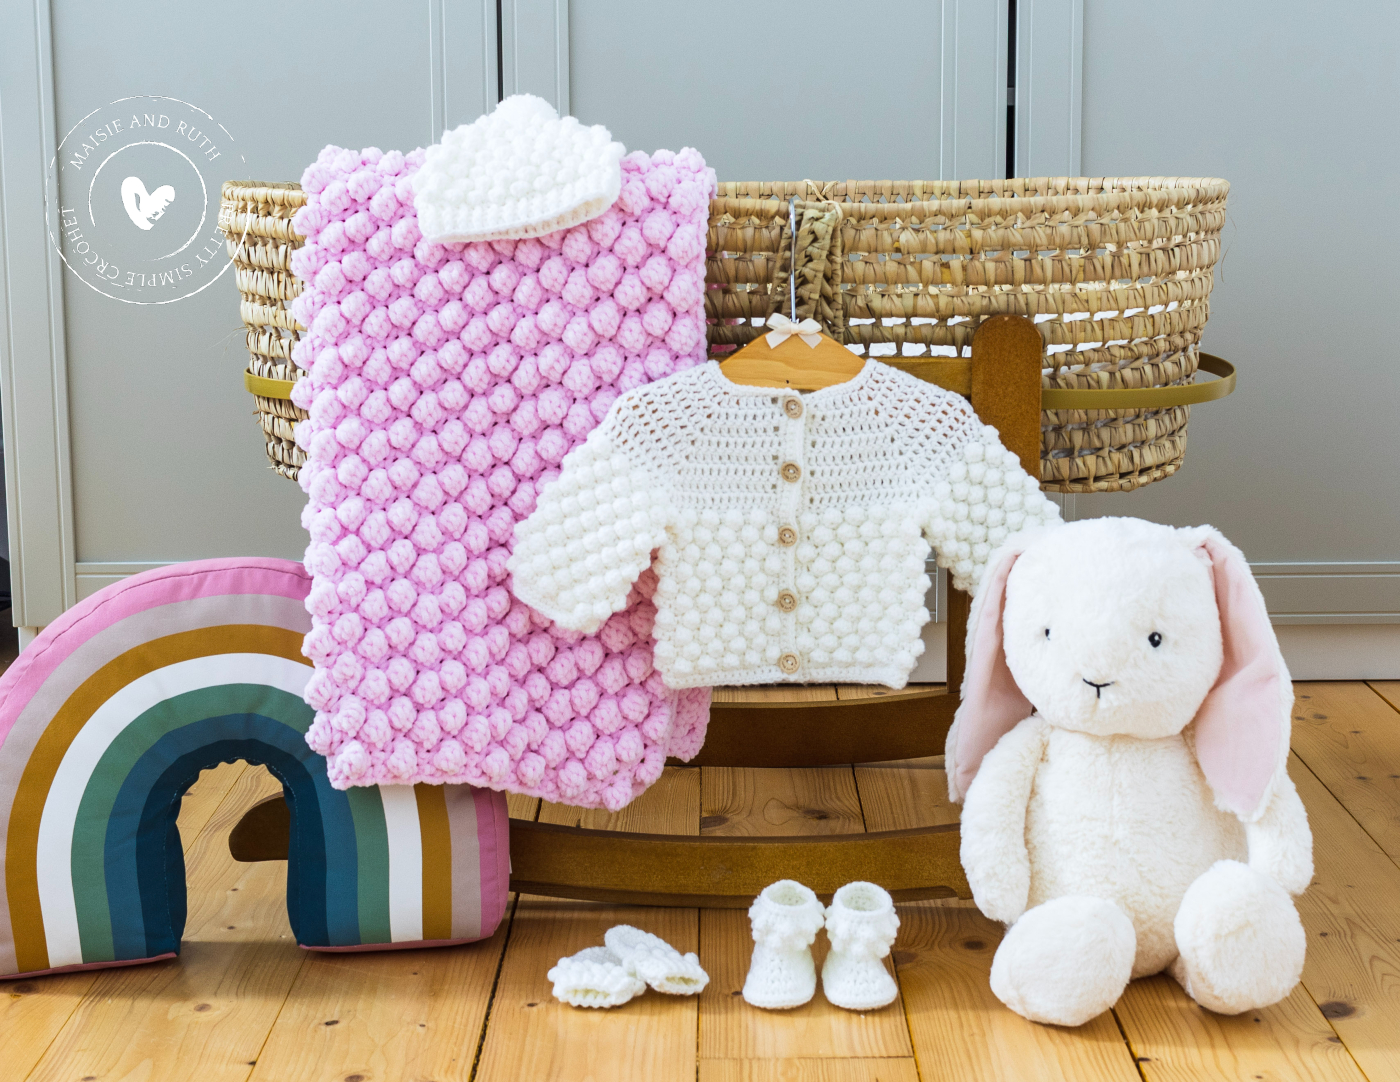
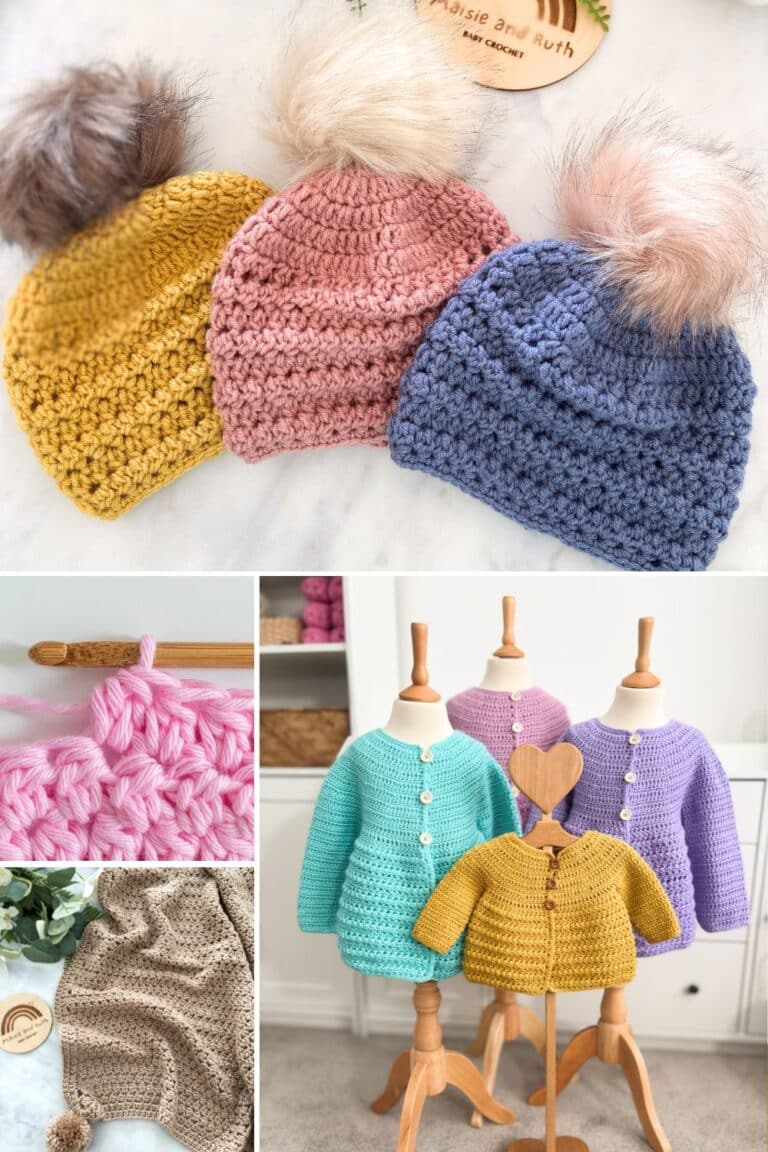
These cute and easy crochet baby booties are part of a baby set.
There’s a matching bobble stitch baby cardigan, a bobble stitch baby hat, baby mittens and a super soft and squishy bobble stitch baby blanket.
The set includes 6 sizes from preemie up to 2 years of age.
The free patterns (and video tutorials) will be uploaded to the blog soon, so be sure to sign-up to the Maisie and Ruth newsletter and be the first to know when I release a new pattern!
YARN USED
For these cute and easy crochet baby booties, I used Paintbox Yarns Baby DK for sizes preemie, newborn, 0-3 months and 3-6 months.
This yarn is a lovely blend of acrylic and nylon, and is an incredibly soft yarn, perfect for tiny toes to nestle against.
For sizes 6-12 months, 12-18 months and age 18-24 months I used Stylecraft Special Aran, which is a quality worsted / aran weight yarn and comes in a huge selection of colours!
SUBSTITUTE YARN
For sizes preemie, newborn, 0-3 months and 3-6 months you can use any #3 / light worsted / DK / 8 ply yarn.
For sizes 6-12 months, 12-18 months and age 18-24 months you can substitute with any other #4 / worsted / aran / 10 ply yarn.
If you use a different brand of yarn to the recommended one, please ensure that you do a quick gauge / tension test (details below).
PIN IT FOR LATER!
Follow me on Pinterest!

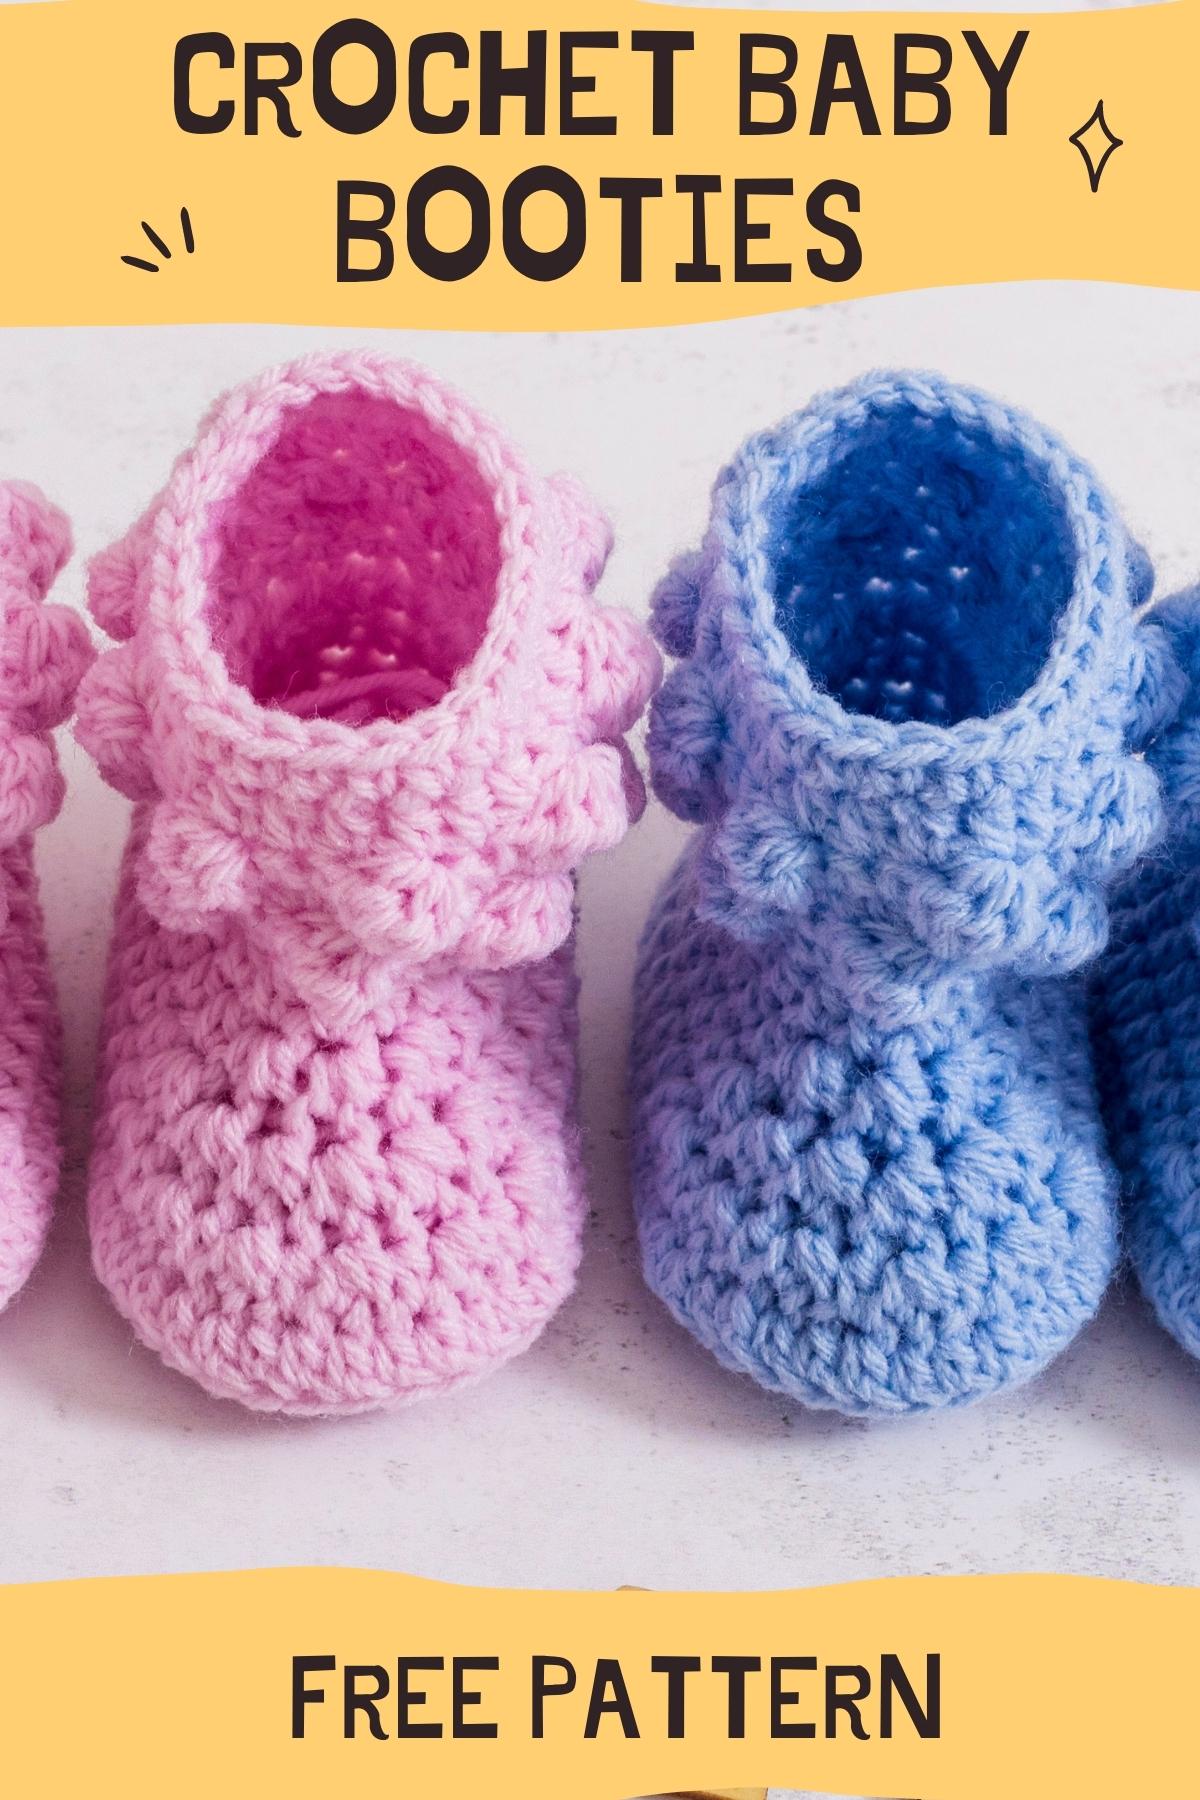
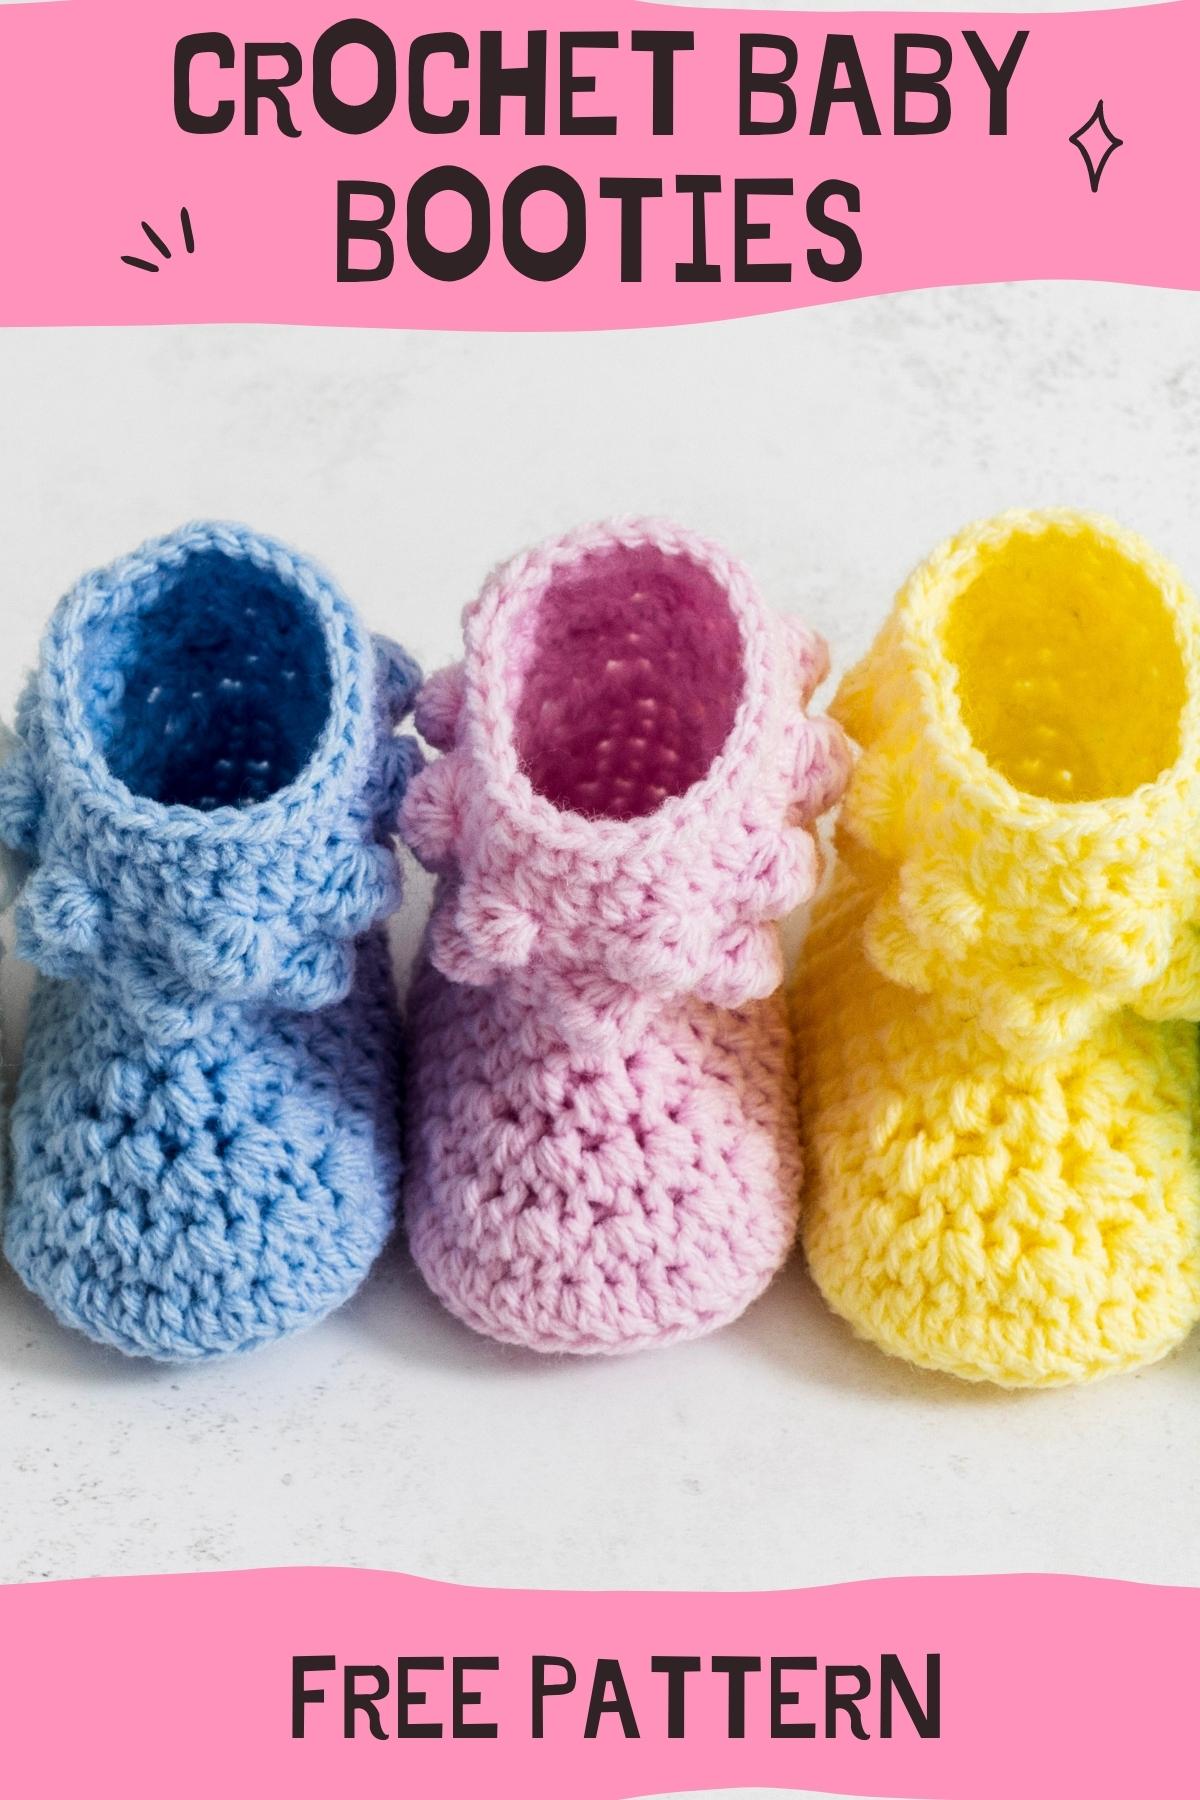
PDF PRINTABLE PATTERNS!
If you would prefer an ad-free, printable version of this pattern, you can purchase it from my Etsy store
These booties are also part of a Pattern Bundle! Check it out here
Thank you for supporting my shop!
CUTE & EASY CROCHET BABY BOOTIES: A FREE PATTERN
This post for cute and easy crochet baby booties may contain affiliate links, which means I’ll receive a commission if you purchase through my links, at no extra cost to you. Please read full disclosure for more information.
Please carefully read all the information below.
LEVEL

This is defined by the Craft Yarn Council as ‘projects may include simple stitch patterns, colour work and / or shaping’.
Source: Craft Yarn Council of America’s www.YarnStandards.com
PATTERN NOTES
- US crochet terminology used throughout.
- There is one set of instructions for size preemie.
- And another set of instructions that cover sizes newborn, 0-3 months, 3-6 months, 6-12 months, 12-18 months and 18-24 months.
- Use the weight of yarn and hook size according to the size of bootie that you wish to make (details below in ‘Materials’).
- The bootie is made in rounds.
- The ch2 at the beginning of each round does not count as a stitch. Therefore, you should make the first stitch of the round in the same stitch (at the base of the ch2).
- As the ch2 at the beginning of rounds does not count as a stitch, you should join the round by making a slip stitch into the very first stitch of the round.
- When counting the total number of stitches at the end of each round, please be careful not to include the ch2 in the final stitch count.
- For beginners, it will be helpful to place a stitch marker in the first stitch made at the beginning of each round. This will ensure that you slip stitch into the correct stitch when joining at the end of the round.
- At the end of round 9 onwards, you will be instructed to TURN your work and work into the 1st stitch of the round. It can be tricky to know which stitch to work into first; the easiest way to remember this is to work your first stitch into the 3rd chain from the hook.
MATERIALS
- YARN
Preemie / Newborn / 0-3 months / 3-6 months:
Category #3 / light worsted / DK / 8 ply yarn. I used a small amount of yarn from 1 ball of Paintbox Yarns Baby DK, 183 yds / 1.8 oz (167m / 50g).
6-12 months / 12-18 months / 18-24 months:
Category #4 / worsted / aran / 10 ply yarn. I used a small amount of yarn from 1 ball of Stylecraft Special Aran, 214 yds / 3.5 oz (196m / 100g).
- CROCHET HOOK: Preemie 3mm; Newborn 3mm; 0–3 months E (3.5mm); 3–6 months G (4mm); 6-12 months G (4mm); 12-18 months size 7 (4.5mm); 18-24 months H (5mm)
- Yarn needle (the bent tip makes sewing much easier)
- Scissors (super sharp… and pretty)
- Stitch marker (these interlocking ones will not fall out!)
GAUGE / TENSION
To check your gauge / tension, work the first three rounds of the relevant pattern below.
To check that you’re okay for size, the length of your sole (which is also the completed length of your baby bootie) should measure as follows:
Preemie (3mm hook): 7.5cm
Newborn (3mm hook): 8cm
0–3 months (E / 3.5mm hook): 9cm
3–6 months (G / 4mm hook): 10cm
6-12 months (G / 4mm hook): 11.5cm
12-18 months (Size 7 / 4.5mm hook): 12cm
18-24 months (H / 5mm hook): 12.5cm
STITCHES & ABBREVIATIONS (US CROCHET TERMS)
beg – beginning
ch(s) – chain(s)
BLOhdc – back loop only half double crochet: Yarn over (yo), insert hook into back loop only of next stitch, yo, pull up a loop (3 loops on hook). Yo, pull through all 3 loops. 1 back loop only half double crochet completed.
sc – single crochet: Insert hook into stitch, yarn over (yo), pull up a loop (2 loops on hook). Yo, pull through both loops on hook. 1 single crochet completed.
sl st – slip stitch: Insert hook into stitch, yarn over (yo), pull up a loop, you will have 2 loops on your hook. Pull the first loop through the second loop. 1 slip stitch completed.
st(s) – stitch(es)
Turn: Turn your work clockwise.
* to * – Repeat instructions between asterisks as many times as directed.
( ) – Sets of stitches to be worked as many times as directed.
[ ] – The total number of stitches at the end of a row.
SPECIAL STITCHES
bo – bobble stitch: *yarn over (yo), insert hook into stitch, yo, pull up a loop, yo, pull through first 2 loops only*, repeat from * to * into the same stitch 3 times more until you have a total of 5 loops on your hook, yo, pull through all 5 loops. 1 bobble stitch completed.
Inv hdc2tog – invisible half double crochet two together (also known as an invisible hdc decrease): Yarn over (yo), insert hook into front loop only of next stitch, yo, pull up a loop (3 loops on hook). Yo, insert hook into front loop only of next st, yo, pull up a loop (5 loops on hook). Yo, pull through all 5 loops. Invisible hdc2tog completed.
NOTE: these special stitches are slowly demonstrated in the video tutorial above.
PATTERN INSTRUCTIONS (PREEMIE)
SOLE
Ch 10 (relaxed, not too tight)
Round 1. 1hdc in 2nd ch from hook, 1hdc in next 7 ch, 6 hdc in last ch, working up other side of ch, 1hdc in next 7 ch, 2hdc in last ch, sl st to 1st hdc to join, DO NOT TURN [23 hdc].
Round 2. Ch2 (does not count as your 1st st here and throughout), 2hdc in same st (at base of ch2), 1hdc in next 7 sts, 2hdc in next 6 sts, 1hdc in next 7 sts, 2hdc in last 2 sts, sl st to 1st hdc to join, DO NOT TURN [32 hdc].
Round 3. Ch2, 2hdc in same st (at base of ch2), 2hdc in next st, 1hdc in next 8 sts, (2hdc in next st, 1hdc in next st) 6 times, 1hdc in next 8 sts, 2hdc in last 2 sts, sl st to 1st hdc to join, DO NOT TURN [42 hdc].
Round 4. Ch2, BLOhdc in same st (at base of ch2), BLOhdc in next 41 sts, sl st to 1st BLOhdc to join, DO NOT TURN [42 BLOhdc].
SHAPE THE TOE
Round 5. Ch2, 1hdc in same st (at base of ch2), 1hdc in next 14 sts, (inv hdc2tog, 1hdc in next st) 6 times, 1hdc in next 9 sts, sl st to 1st hdc to join, DO NOT TURN [36 hdc].
Round 6. Ch2, 1hdc in same st (at base of ch2), 1hdc in next 14 sts, (inv hdc2tog) 6 times, 1hdc in next 9 sts, sl st to 1st hdc to join, DO NOT TURN [30 hdc].
Round 7. Ch2, 1hdc in same st (at base of ch2), 1hdc in next 14 sts, (inv hdc2tog) 3 times, 1hdc in next 9 sts, sl st to 1st hdc to join, DO NOT TURN [27 hdc].
Round 8. Ch2, 1hdc in same st (at base of ch2), 1hdc in next 26 sts, sl st to 1st hdc to join, DO NOT TURN [27 hdc].
Round 9. Ch1 (does not count as your 1st st here and throughout), 1sc in same st (at base of ch1), 1sc in next 26 sts, sl st to 1st sc to join, TURN [27 sc].
ANKLE
NOTE: When working the following rounds, see ‘Pattern Notes’ above reference where to work your first stitch.
Round 10. Ch1, 1sc in 1st sc, 1sc in next sc, *bo in next sc, 1sc in next 2 sc*, repeat from * to *, ending bo in last sc, sl st to 1st sc to join, TURN [9 bo sts].
Round 11. Ch1, *1sc in next bo, 1sc in next 2 sc*, repeat from * to * until end, sl st to 1st sc to join, TURN [27 sc].
Round 12. Ch1, bo in 1st sc, *1sc in next 2 sc, bo in next sc*, repeat from * to *, ending 1sc in last 2 sc, sl st to 1st bo to join, TURN [9 bo sts].
Round 13. Ch1, 1hdc in 1st sc, 1hdc in next sc, *1hdc in next bo, 1hdc in next 2 sc*, repeat from * to *, ending 1hdc in last bo, sl st to 1st hdc to join, DO NOT TURN [27 hdc].
Round 14. Ch1, 1sc in same st (at base of ch1), 1sc in next 26 sts, sl st to 1st sc to join [27 sc].
Cut yarn, fasten off and weave in ends.
PATTERN INSTRUCTIONS (NEWBORN TO 24 MONTHS)
SOLE
Ch 11 (relaxed, not too tight)
Round 1. 1hdc in 2nd ch from hook, 1hdc in next 8 ch, 6 hdc in last ch, working up other side of ch, 1hdc in next 8 ch, 2hdc in last ch, sl st to 1st hdc to join, DO NOT TURN [25 hdc].
Round 2. Ch2 (does not count as your 1st st here and throughout), 2hdc in same st (at base of ch2), 1hdc in next 8 sts, 2hdc in next 6 sts, 1hdc in next 8 sts, 2hdc in last 2 sts, sl st to 1st hdc to join, DO NOT TURN [34 hdc].
Round 3. Ch2, 2hdc in same st (at base of ch2), 2hdc in next st, 1hdc in next 9 sts, (2hdc in next st, 1hdc in next st) 6 times, 1hdc in next 9 sts, 2hdc in last 2 sts, sl st to 1st hdc to join, DO NOT TURN [44 hdc].
Round 4. Ch2, BLOhdc in same st (at base of ch2), BLOhdc in next 43 sts, sl st to 1st BLOhdc to join, DO NOT TURN [44 BLOhdc].
SHAPE THE TOE
Round 5. Ch2, 1hdc in same st (at base of ch2), 1hdc in next 15 sts, (inv hdc2tog, 1hdc in next st) 6 times, 1hdc in next 10 sts, sl st to 1st hdc to join, DO NOT TURN [38 hdc].
Round 6. Ch2, 1hdc in same st (at base of ch2), 1hdc in next 15 sts, (inv hdc2tog) 6 times, 1hdc in next 10 sts, sl st to 1st hdc to join, DO NOT TURN [32 hdc].
Round 7. Ch2, 1hdc in same st (at base of ch2), 1hdc in next 15 sts, (inv hdc2tog) 3 times, 1hdc in next 10 sts, sl st to 1st hdc to join, DO NOT TURN [29 hdc].
Round 8. Ch2, 1hdc in same st (at base of ch2), inv hdc2tog, 1hdc in next 24 sts, inv hdc2tog, sl st to 1st hdc to join, DO NOT TURN [27 hdc].
Round 9. Ch1 (does not count as your 1st st here and throughout), 1sc in same st (at base of ch1), 1sc in next 26 sts, sl st to 1st sc to join, TURN [27 sc].
ANKLE
NOTE: When working the following rounds, see ‘Pattern Notes’ above reference where to work your first stitch.
Round 10. Ch1, 1sc in 1st sc, 1sc in next sc, *bo in next sc, 1sc in next 2 sc*, repeat from * to *, ending bo in last sc, sl st to 1st sc to join , TURN [9 bo sts].
Round 11. Ch1, *1sc in next bo, 1sc in next 2 sc*, repeat from * to * until end, sl st to 1st sc to join, TURN [27 sc].
Round 12. Ch1, bo in 1st sc, *1sc in next 2 sc, bo in next sc*, repeat from * to *, ending 1sc in last 2 sc, sl st to 1st bo to join, TURN [9 bo].
Round 13. Ch1, 1hdc in 1st sc, 1hdc in next sc, *1hdc in next bo, 1hdc in next 2 sc*, repeat from * to *, ending 1hdc in last bo, sl st to 1st hdc to join, DO NOT TURN [27 hdc].
Round 14. Ch1, 1sc in same st (at base of ch1), 1sc in next 26 sts, sl st to 1st sc to join [27 sc].
Cut yarn, fasten off and weave in ends.
I really hope that you enjoyed the pattern for these cute and easy crochet baby booties 💝
I would love to see photos of your finished booties… please tag me on Instagram using @maisieandruth
And remember to pin this pattern for later if you can’t make it right now!
Happy crocheting,


I love your baby bobble patterns. Can we purchase ad-free patterns? If yes, where do we go for it? I would love to make these items but want a paper pattern instead of having to use my phone. Thanks again for your lovely patterns. ❤
Thank you, Karen – I’m really pleased to know that! 🥰
At the moment I don’t have PDFs of my patterns, however I plan to work on this task next.
In the meantime, I hope you manage to work up the bobble set ok 💝
Hi Amanda, I really enjoy your video tutorials with your calm voice and clear instructions, especially the closeups showing where the ‘same st ‘ should be when starting a new row.
You have taught me how to crochet from scratch!
However, with the latest bobble st booties, I am finding my stitch count either more or less (by one) at the end of the bobble st row. E.g. I should have 10 st to hdc but I only have 9. So my final st count at the end of these rows isn’t correct. Could I be making a mistake at the start of the row?
Appreciate any advice you can give. Many thanks. Veronica
Hi Veronica, thank you! I’m so pleased that you’re enjoying my patterns and video tutorials! It’s really great that you’ve taken up crochet 👏 That is correct – you should only count 9 bobble stitches at the end of your bobble stitch rounds. People may run into a bit of difficulty with this pattern if they don’t correctly identify the first stitch of the round after turning their work in the ankle section, however I’ve put information about this in the ‘Pattern Notes’ section (the first stitch is the third chain from the hook). Hope that this helps and I hope you’re pleased with the finished result 🥰
These are soooo adorable! We are expecting our first grandchild and I can’t stopppp!!! Where can I find the matching blanket pattern?
Thank you for these awesome patterns!
Many congratulations to you, Karen! Exciting news!! 💝 The matching blanket hasn’t been published yet. However the cardigan pattern will be landing on the blog in the next couple of days if you’re interested in making that next (I hope to release all the other patterns within the next couple of weeks) 😊
Super easy pattern. Very clear instructions. My new favorite pattern!!! Thank you for sharing!
I’m so pleased that you enjoyed working up these little booties, Joyce! 🥰
Can you tell me where I can find the baby bobble stitch cardigan pattern?
Thank you!
Hi Sandy, thanks so much for your interest… the pattern for the matching cardigan should be published in the next couple of days 😊
I can not find a way to leave a reply on the fast crochet baby booties that you have posted here https://maisieandruth.com/fast-crochet-baby-booties-a-free-and-easy-pattern/
I keep trying to do that one and for some reason, every single time I make them the section for shaping the toe ends up looking off center / not symmetrical. I am making sure to do the first sc in the same stitch as stated in the directions and everything goes well, but when done all the toe shaping steps that area looks completely off center.
Any suggestions would be greatly appreciated.
Hi Lisa, make sure that you’re not working your decrease stitches super tight around the toe area. Also, when finished, gently shape your booties by using either plastic shoe inserts for baby shoes (Amazon is a good place), some tissue paper or scrap yarn – it makes a huge difference! Finally, crochet baby shoes are never 100% symmetrical at the front. It’s frustrating and I’ve tried too many stitch combinations in an attempt to remedy this but it’s just the way it is when working a project of this type in the round. Hope this helps 💝
Love the booties!
Thank you so much, Karen! 🥰 Enjoy making them! 💖
Finally a pattern with clear instructions and accurate stitch count. This was a pleasure to crochet. TFS
You’re so welcome, Cheryle! Thanks for your feedback and I’m really pleased that you enjoyed making these little booties 💝