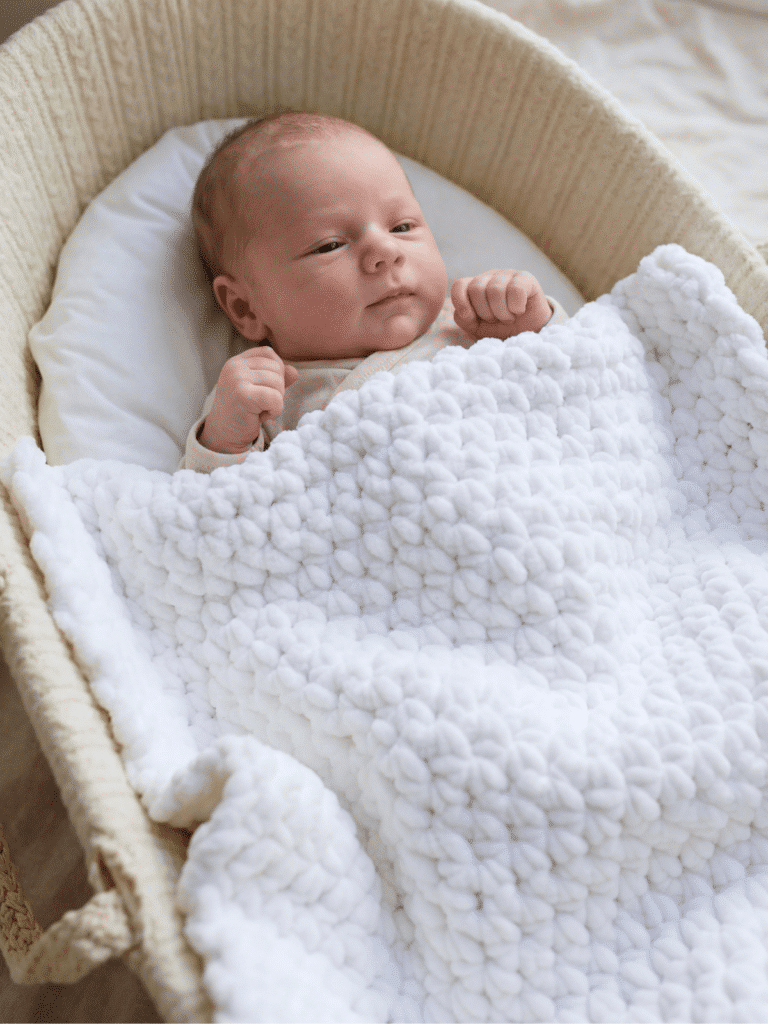

If you’re looking for a crochet stitch that’s simple to learn but creates a gorgeous textured fabric, the piqué stitch is one you’ll want to add to your favourites. With its raised ridges, soft feel, and easy one-row repeat, it’s perfect for everything from cozy blankets to stylish garments and accessories.
In this free photo tutorial, I’ll show you exactly how to crochet the piqué stitch step by step so you can confidently use it in your own crochet projects.

Why You’ll Love the Piqué Stitch
- Easy one-row repeat that’s beginner friendly
- Creates lovely raised “ridges” for extra texture
- Produces a dense, cozy fabric with excellent stitch definition
- Looks beautiful on both garments and blankets
- Perfect for modern, timeless crochet projects
About the Special Stitch
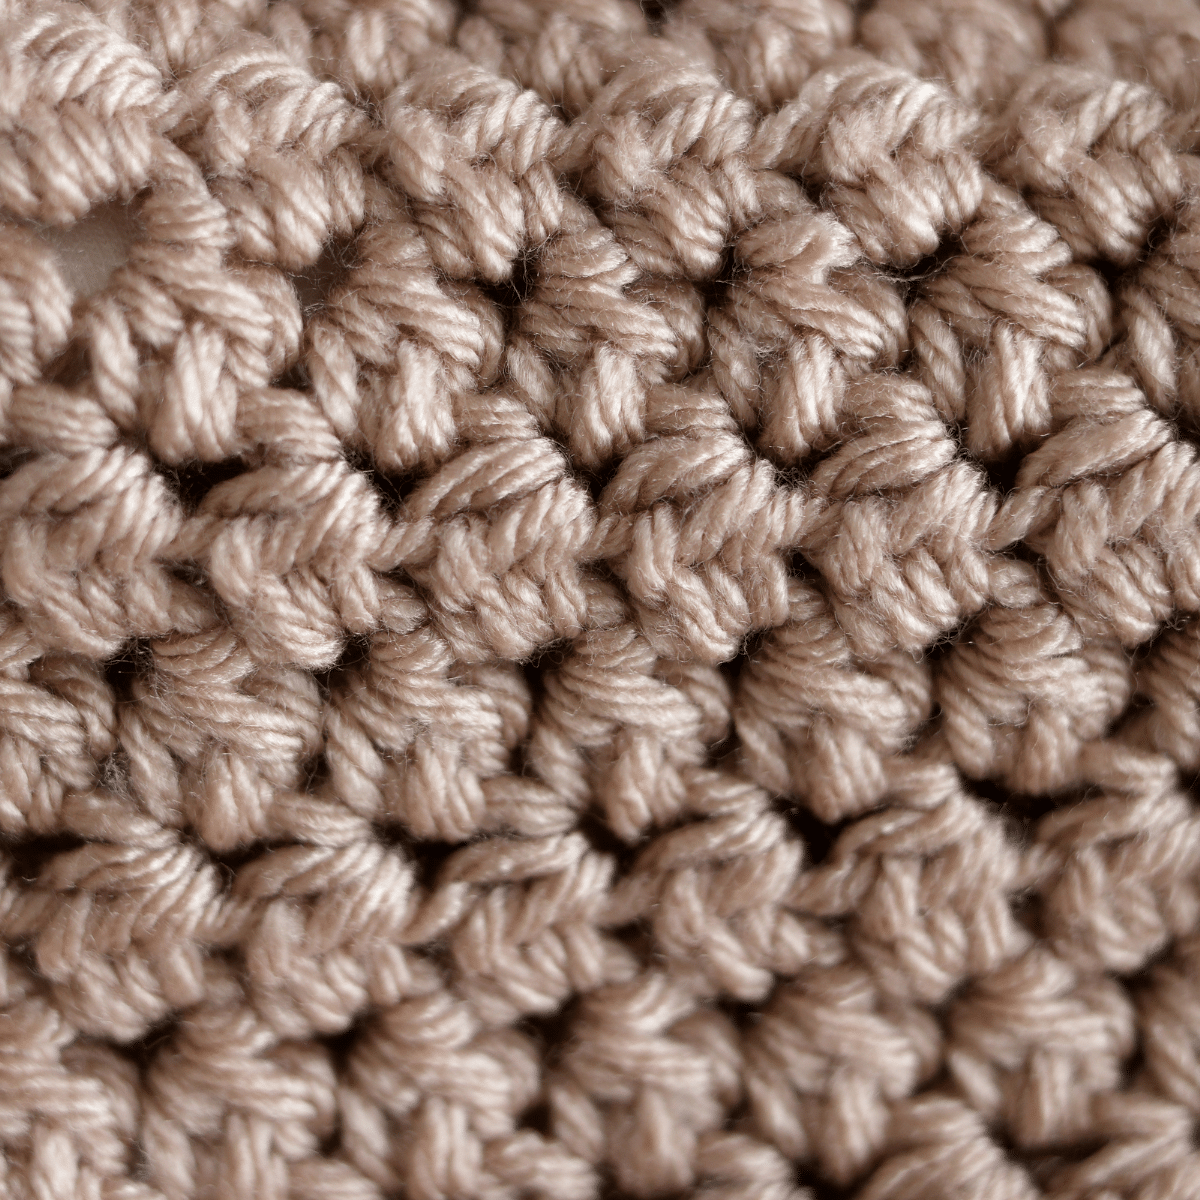
The piqué stitch pattern is created by repeating a stitch called the Special Cluster (abbreviated to SPcl). Throughout this tutorial, I’ll show you how to work the SPcl, and by repeating it you’ll create the beautiful textured piqué stitch fabric.
Don’t let the name intimidate you—it’s surprisingly simple to work and quickly becomes second nature after a few repeats. This special stitch is what creates the beautiful raised ridges and textured fabric that make the piqué stitch so distinctive.
I’ll show you exactly how to work the SPcl in the step-by-step photo tutorial below, so even if you’ve never used it before, you’ll be able to follow along with confidence.
What Can You Make with the Piqué Stitch?
The piqué stitch has a beautifully textured appearance that looks far more intricate than it actually is. Once you’ve learned the special stitch, you’ll simply repeat it across each row, making it wonderfully relaxing to crochet.
Because the fabric is both warm and textured, the piqué stitch works especially well for:
- Baby blankets
- Throw blankets
- Beanies and hats
- Cardigans and sweaters
- Scarves and cowls
- Home décor projects
Its reversible texture also means it looks fantastic from either side, making it ideal for blankets and accessories.
Crochet Patterns Featuring the Piqué Stitch
Once you’ve mastered the stitch, why not put your new skills to use with one of these coordinating patterns from the Maisie and Ruth collection?
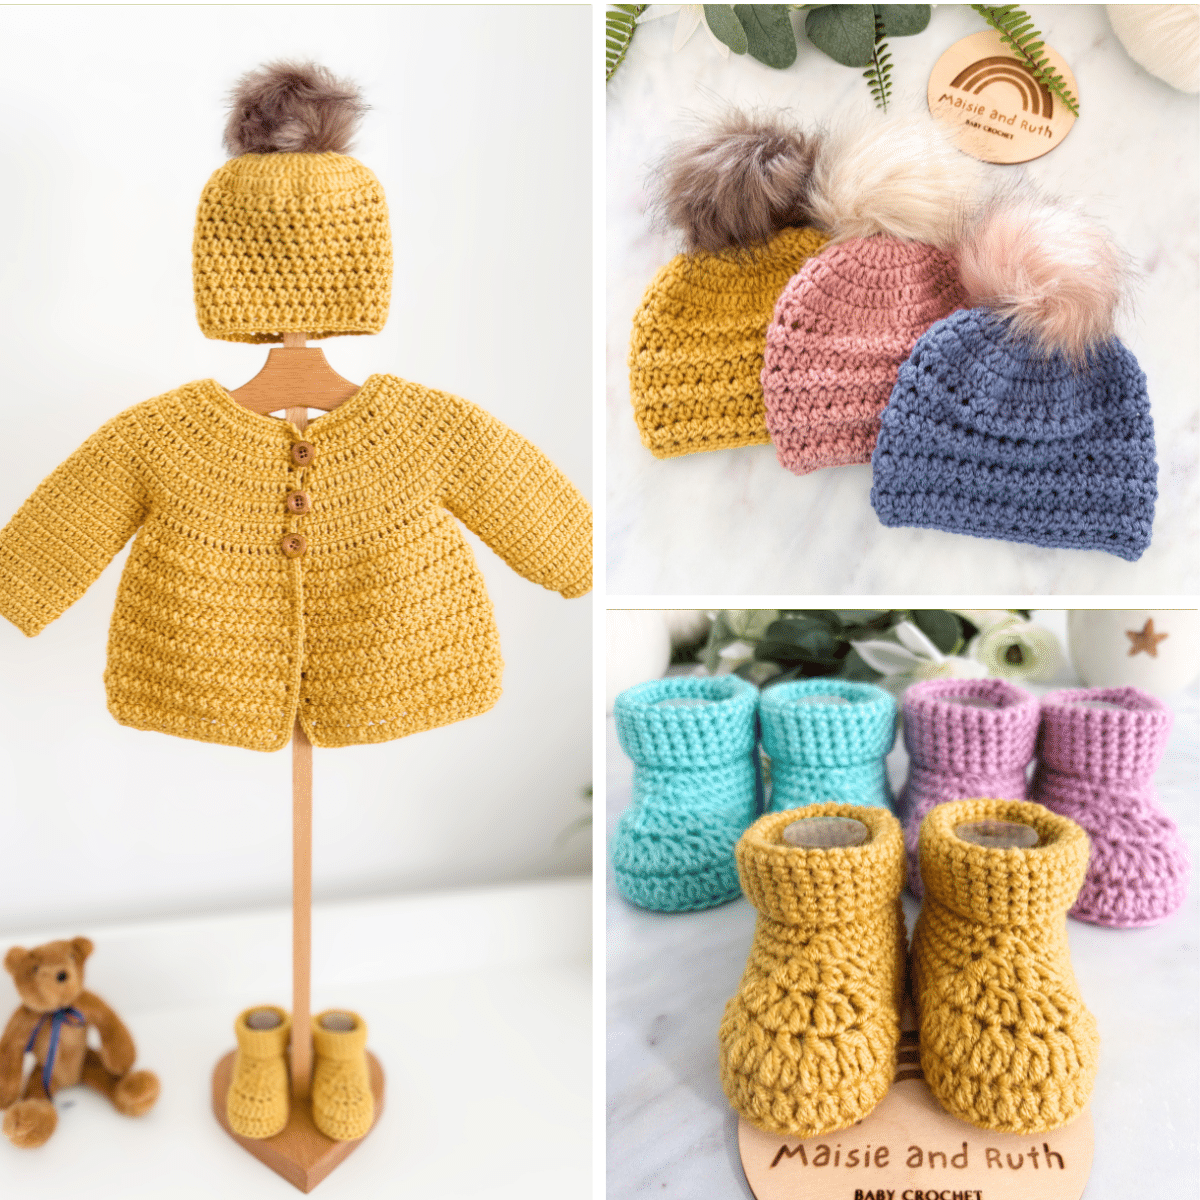
Ella Cardigan
The Ella Cardigan is worked from the top down and showcases the beautiful texture of the piqué stitch throughout the body of the garment. Available in sizes from newborn to 8 years, it’s a timeless design that’s perfect for gifting or everyday wear.
Willow Ridge Beanie
With sizes ranging from newborn to large adult, the Willow Ridge Beanie lets the piqué stitch shine, creating a wonderfully textured fabric with distinctive raised ridges. It’s quick to make and pairs beautifully with the matching cardigan and blanket.
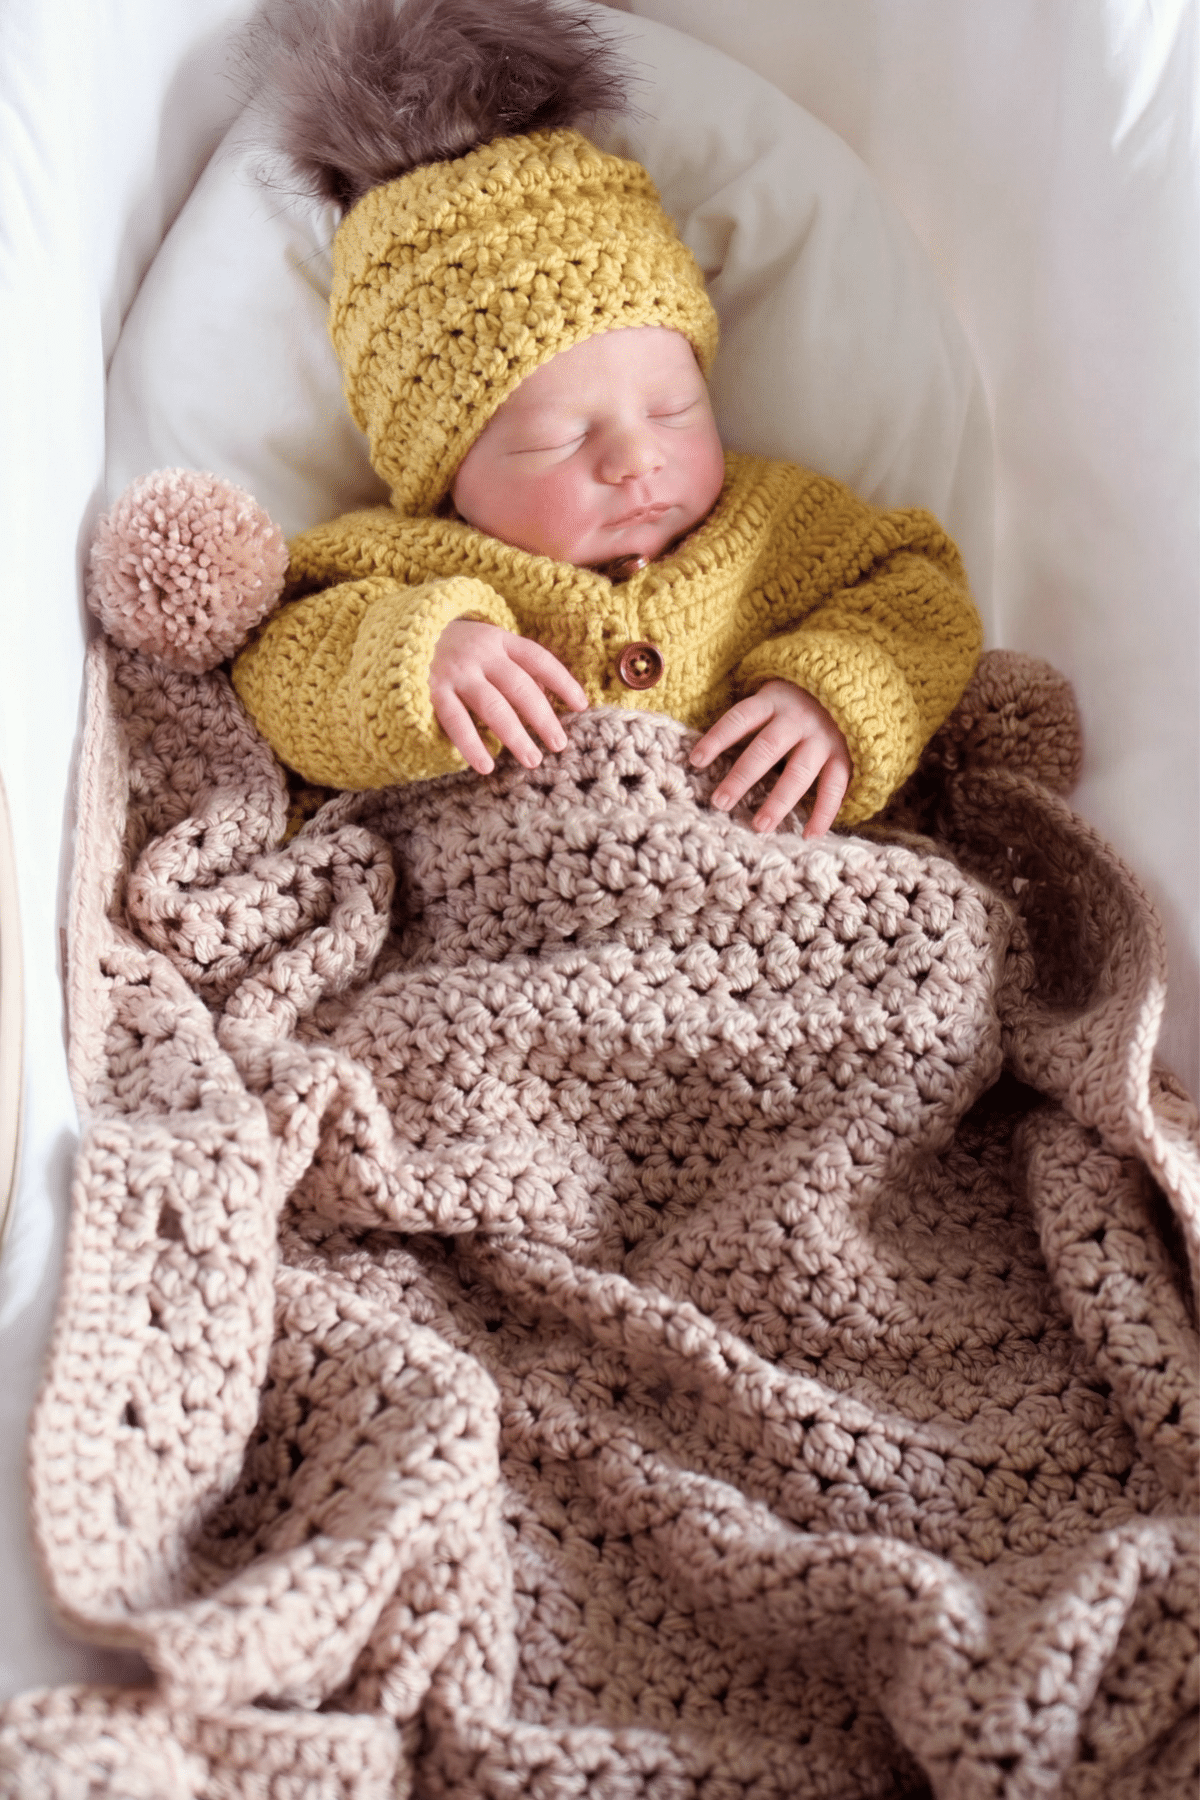
Willow Ridge Blanket
Featuring twenty sizes from a tiny lovey all the way to California King, the Willow Ridge Blanket demonstrates just how stunning the piqué stitch can look on a larger scale. The reversible texture and simple repeat make it an enjoyable project for crocheters of all experience levels.
Complete the Collection
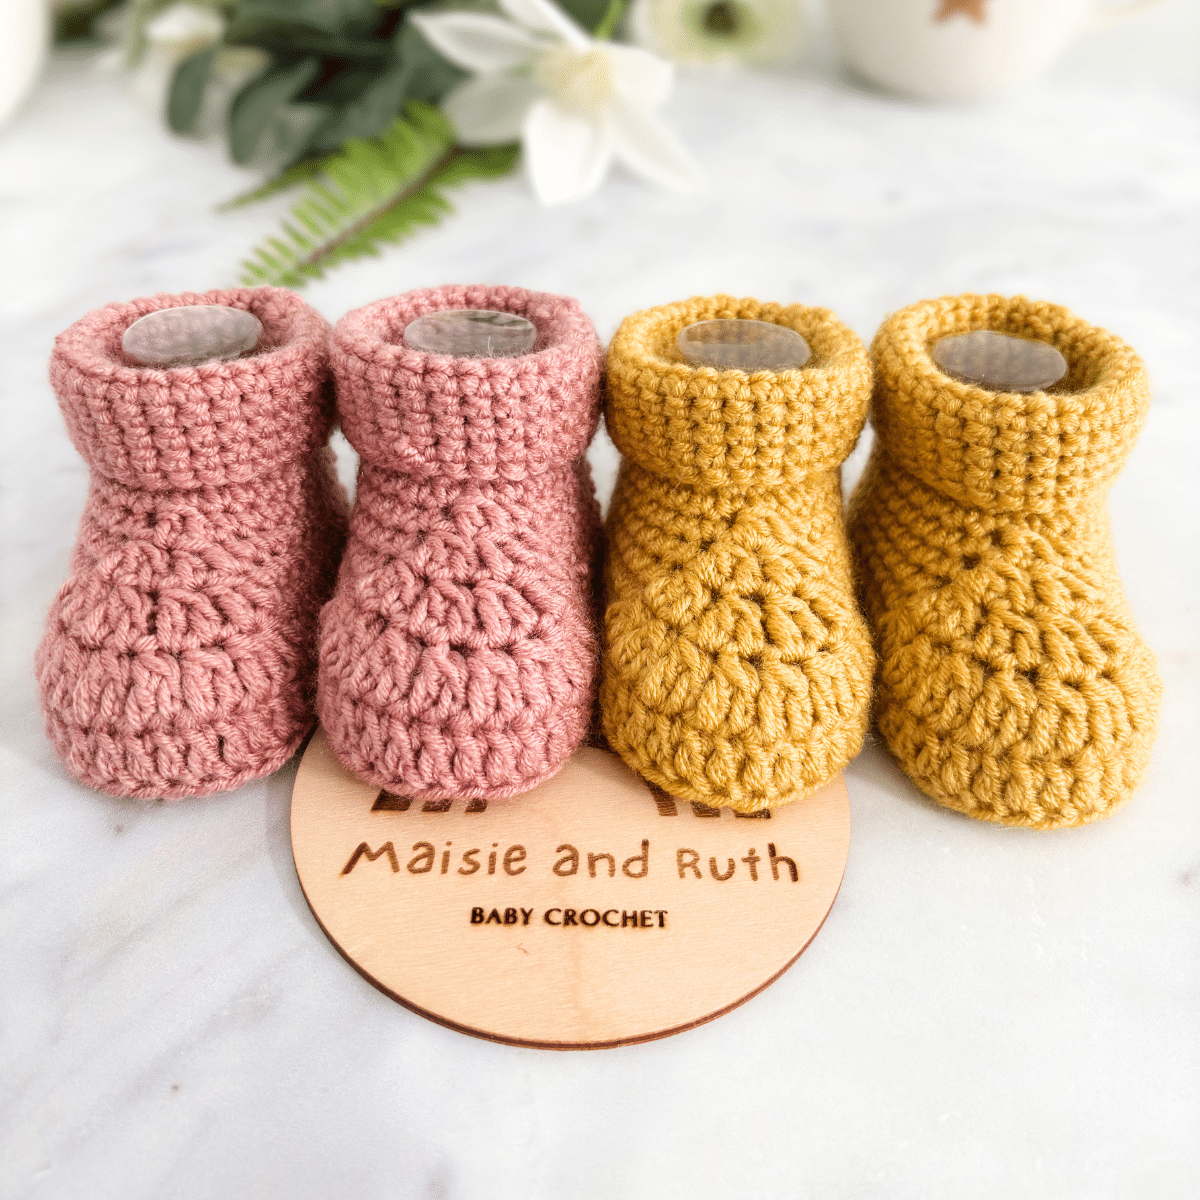
Although they aren’t worked in the piqué stitch, the Cozy Steps Booties were designed to coordinate perfectly with the Ella Cardigan, Willow Ridge Beanie, and Willow Ridge Blanket. Together, they create a beautiful matching collection that’s ideal for baby showers, handmade gifts, and family photo sessions.
Pin Me For Later!

Ready to Get Started?
Grab your favourite yarn and hook, follow the photo tutorial below, and enjoy learning this wonderfully textured stitch. Once you’ve mastered it, be sure to check out the coordinating patterns in the collection to create beautiful handmade pieces you’ll treasure for years to come.
Happy crocheting!
Practice Swatch
Before diving into a larger project, I recommend making a small practice swatch to get comfortable with the piqué stitch. It’s a great way to learn the stitch rhythm, build confidence, and see those lovely raised ridges begin to take shape.
For your swatch, I recommend using either:
- DK (light worsted) weight yarn with a G (4 mm) or 7 (4.5 mm) crochet hook, or
- Worsted (aran) weight yarn with an H (5 mm) or I (5.5 mm) crochet hook.
Simply follow the swatch instructions below and work a few rows until the textured pattern is clearly visible. Don’t worry if your first couple of rows look a little uneven—the stitch quickly becomes easier as you settle into the repeat.
As you practice, count your stitches at the end of each row and pay close attention to where your hook is inserted. If you’re new to crochet, placing a stitch marker in the beginning chain 3 of every row (which is counted as your first stitch) can make it much easier to identify where your final stitch should be worked.
Once you’ve completed your swatch, you’ll be ready to use the piqué stitch in all kinds of beautiful projects, from cozy blankets and stylish beanies to cardigans and other garments.
Swatch Instructions
Grab some spare yarn and your hook—it’s time to make a quick practice swatch and learn the piqué stitch step by step!
Tips for Success
- Good to know: The SPcl (Special Cluster) is the building block of the piqué stitch pattern. Once you’ve learned the SPcl, simply repeat the rows as instructed to create the piqué stitch fabric / pattern.
- The starting chain should be made very loosely to help prevent the foundation edge from curling up and becoming shorter than the rest of your work.
- Keep your tension as even as possible for neat, consistent ridges.
- Count your stitches at the end of each row to avoid accidentally adding or losing stitches.
- Beginners may find it helpful to place a stitch marker in the top of the beginning ch3 of each row. This will help you easily locate the final stitch placement on the following row.
- Make a small practice swatch before starting a larger project so you can become familiar with the stitch rhythm.
See the step-by-step photo tutorial below for the SPcl (special cluster stitch)
Chain 20 very loosely
Row 1. SPcl in 4th ch from hook (skipped 3 chs count as your 1st st), SPcl in each ch across to last ch, 1hdc in last ch, TURN [ch3, 16 SPcl sts, 1hdc].
Row 2. Ch3 (counts as your 1st st here and throughout), SPcl in each st across to the turning ch3, 1hdc in top of ch3, TURN [ch3, 16 SPcl sts, 1hdc].
Once you’ve completed the setup, simply repeat Row 2 until you feel confident working the SPcl stitch. After a few repeats, you’ll find the rhythm becomes easy to remember, and that beautiful texture will start to emerge.
Step-by-Step Photo Tutorial
Follow the photos below to learn exactly how to create the SPcl stitch.
Step 1. Yarn over (yo) hook and insert hook into the next stitch:

Step 2. Yo and pull up a loop. 3 loops on your hook:

Step 3. Yo and pull through first 2 loops. 2 loops on your hook:

Step 4. Yo and insert hook into the same st:

Step 5. Yo and pull up a loop. 4 loops on your hook:

Step 6. Yo and pull through all 4 loops. Special cluster stitch complete>

Frequently Asked Questions
Is the piqué stitch suitable for beginners?
Yes! Although the piqué stitch uses a Special Cluster (SPcl), it’s easy to learn with a little practice. Once you’ve mastered the SPcl, you’ll simply repeat the same row, making it an enjoyable stitch for crocheters of all skill levels.
What does SPcl stand for?
SPcl stands for Special Cluster. It’s the unique stitch that creates the raised ridges and beautiful texture of the piqué stitch. Follow the photo tutorial above, and you’ll soon be working it with confidence.
What yarn should I use to practise the piqué stitch?
For a practice swatch, I recommend using DK (light worsted) weight yarn with a G (4 mm) or 7 (4.5 mm) hook, or worsted (aran) weight yarn with an H (5 mm) or I (5.5 mm) hook. Using a lighter-coloured yarn can also make it easier to see your stitches.
Is the piqué stitch reversible?
Yes! One of the best features of the piqué stitch is that it creates an attractive texture on both sides of the fabric, making it an excellent choice for blankets, scarves, and other projects where both sides may be visible.
What projects work well with the piqué stitch?
The piqué stitch is wonderfully versatile and can be used for blankets, beanies, cardigans, scarves, cowls, and many other cosy accessories. In the Maisie and Ruth collection, it’s featured in the Willow Ridge Blanket, Willow Ridge Beanie, and Ella Cardigan.
Why doesn’t my fabric look like the photos?
The texture becomes much more noticeable after you’ve worked several rows. If your sample doesn’t look quite right at first, keep repeating Row 2 and focus on placing each SPcl correctly. Counting your stitches and maintaining even tension will also help produce neat, consistent ridges.
How do I stop losing or gaining stitches?
Be sure to count your stitches at the end of every row, especially while learning the pattern. Placing a stitch marker in the turning chain 3 of each row can make it much easier to identify where your final stitch should be worked.
Can I use this stitch with different yarn weights?
Absolutely! The piqué stitch looks beautiful in a variety of yarn weights, from DK through to worsted and beyond. Just be sure to use an appropriately sized hook for your chosen yarn and check your gauge if you’re following a specific pattern.
COPYRIGHT
- Copyright © 2026 by Maisie and Ruth Limited. All rights reserved. This blog post for How to Crochet the Pique Stitch is for personal viewing only. You may view it for free on this blog, but it is protected under applicable copyrights, trademarks, and other proprietary (including but not limited to intellectual property) rights.
- You may not copy, redistribute, or sell this pattern in any form, including digital, printed or photographic formats without permission. Sharing this pattern (in whole or in part) on social media, websites, or messaging platforms is strictly prohibited. This is a theft of the author’s intellectual property, which may result in civil or criminal penalties.
- Thank you for respecting my work and for your continued support — it truly means a lot!