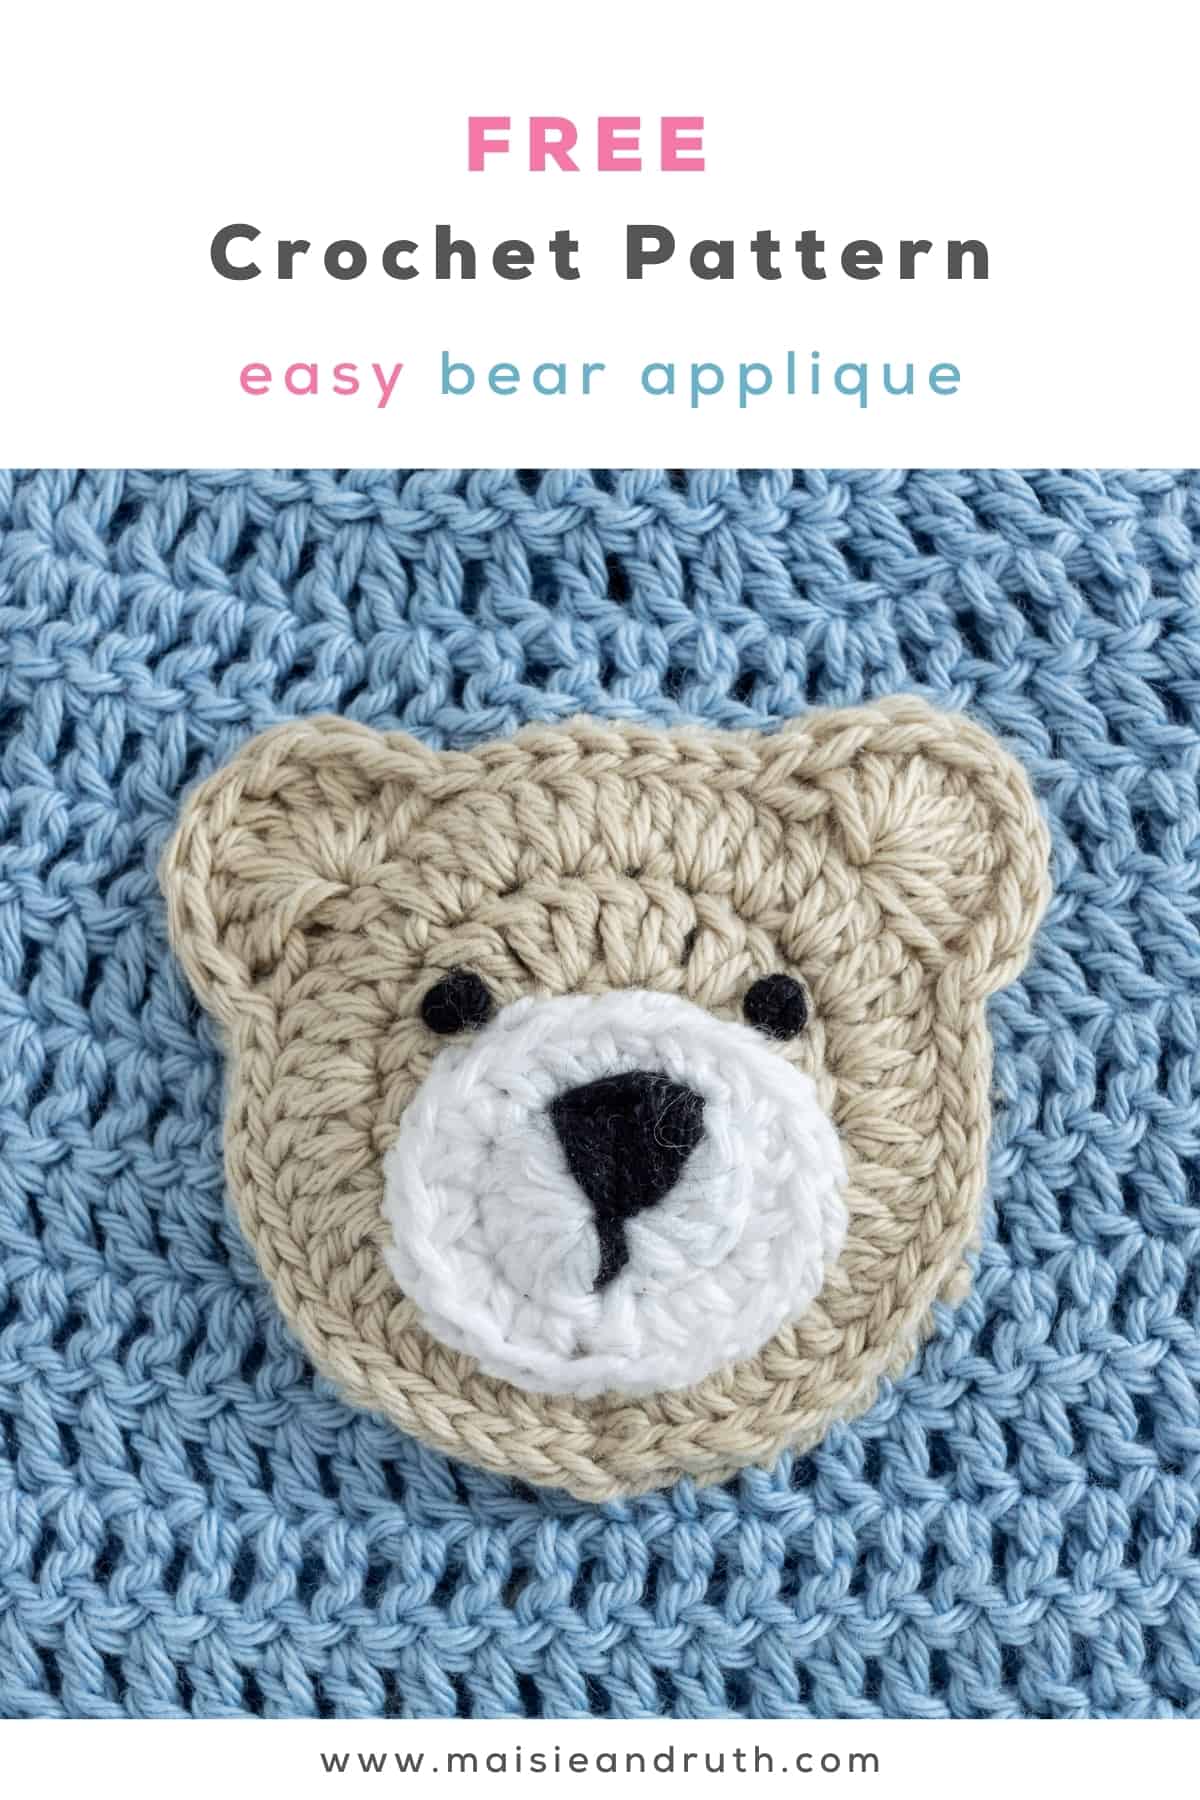
If you would like to learn How to Crochet a Bear Applique then carry on reading for my FREE crochet pattern right here on the blog!
There’s also a VIDEO tutorial to accompany the pattern. And to purchase an ad-free printable version, please visit my Etsy store HERE
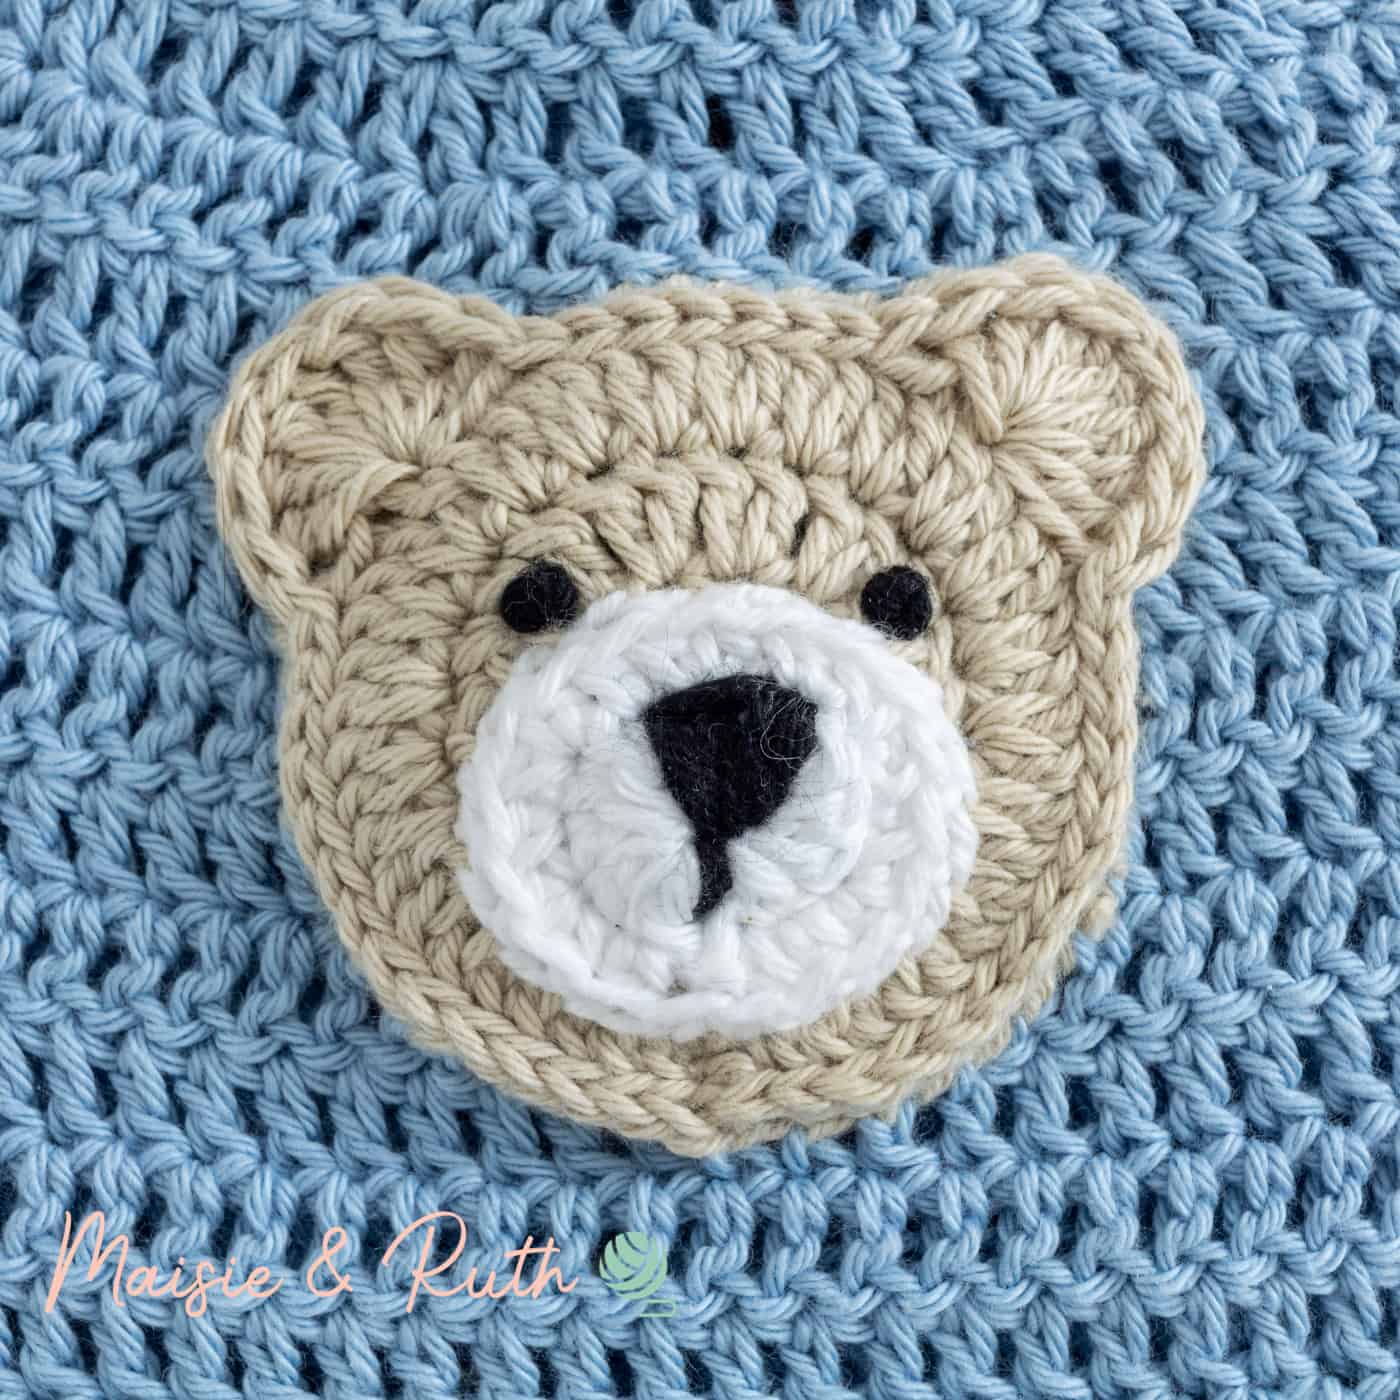
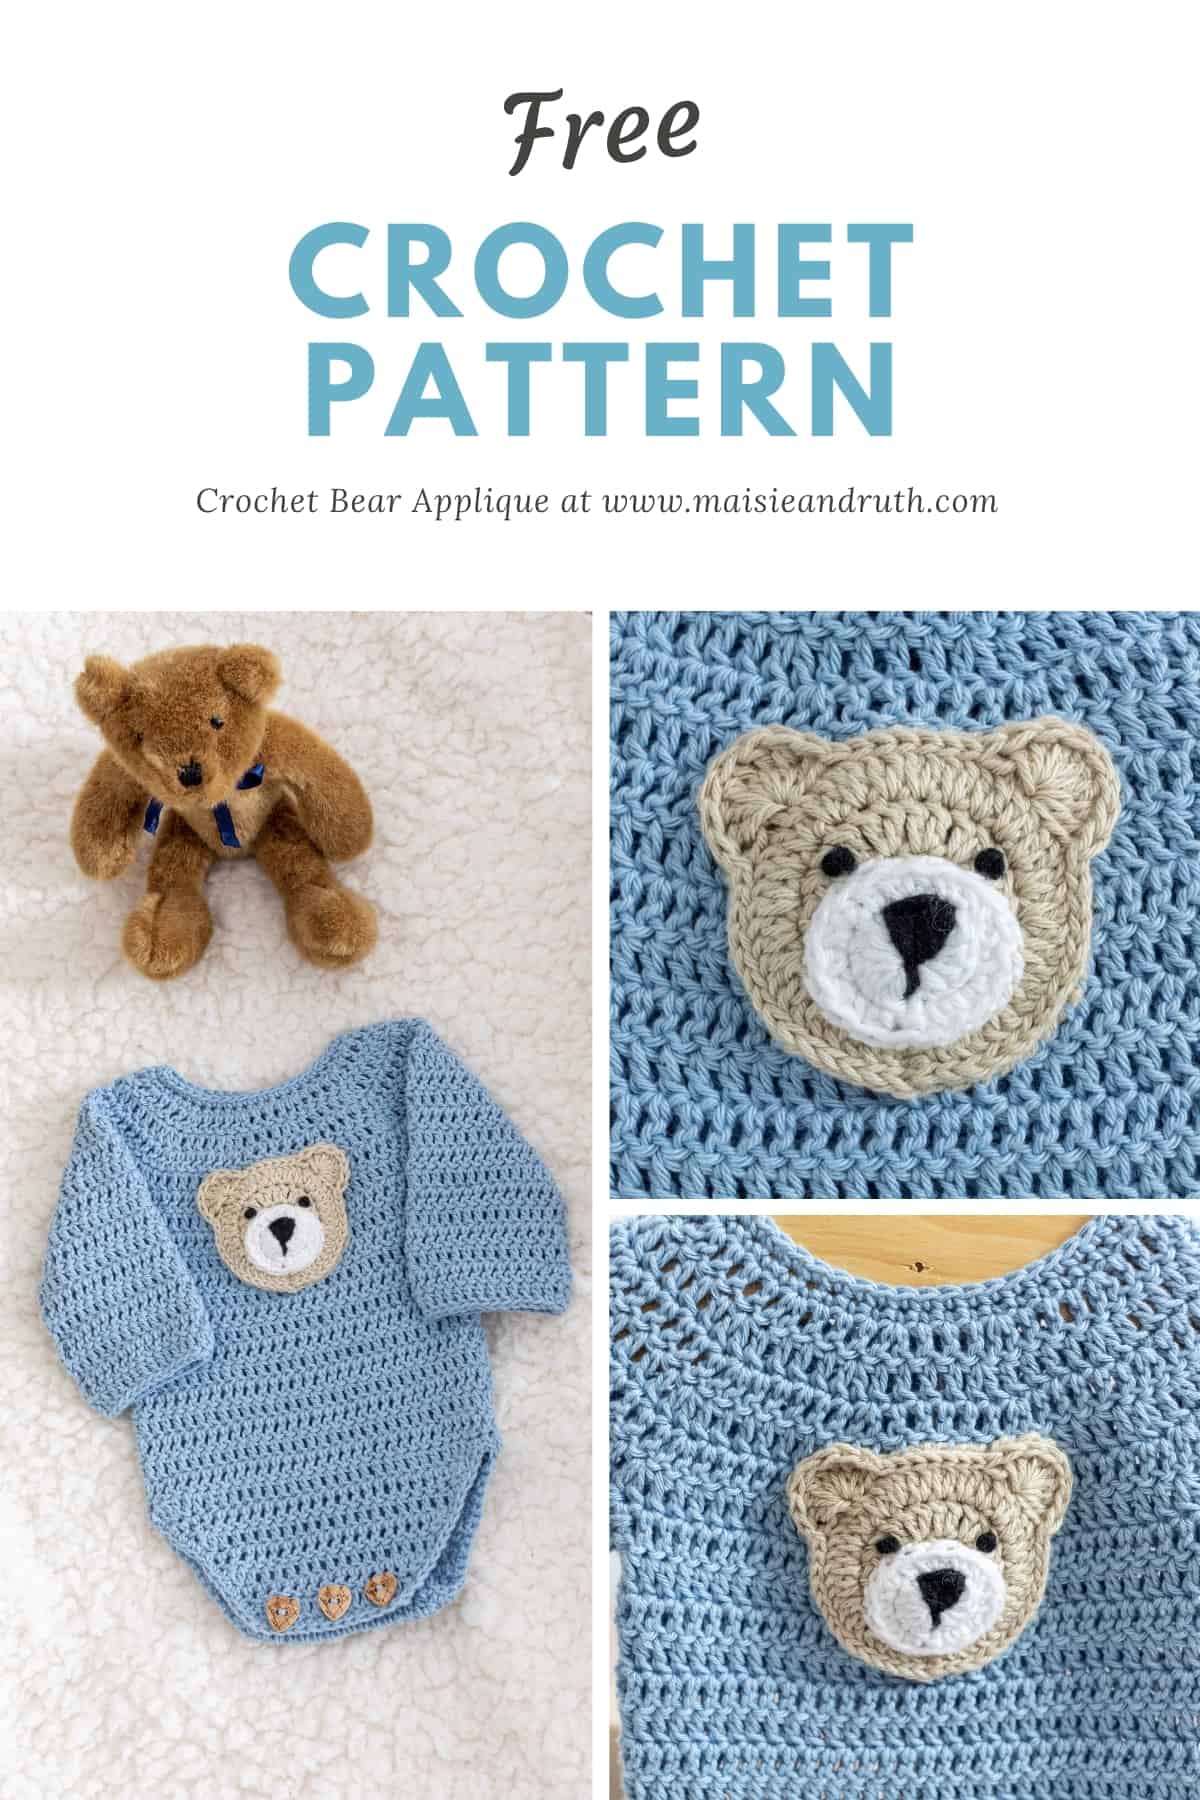
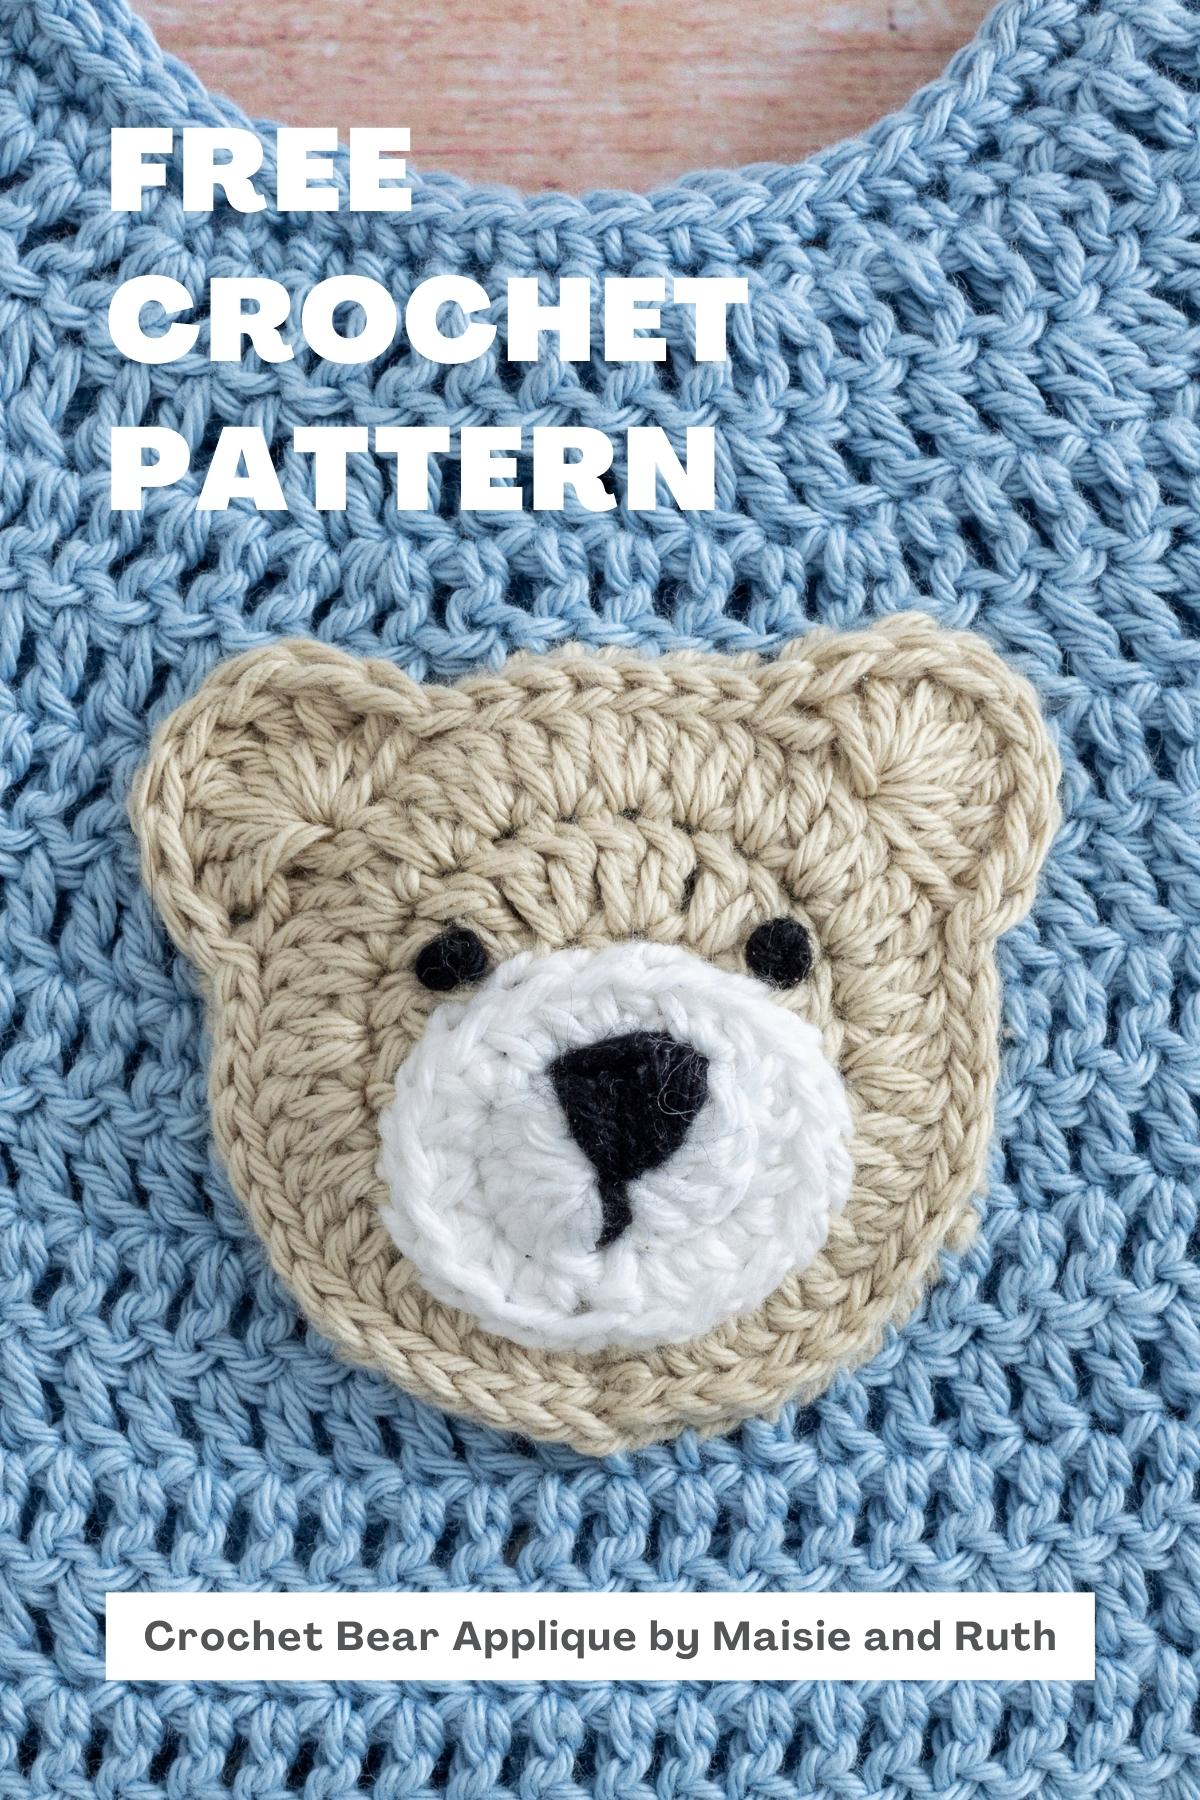
This adorable teddy bear applique is simple to make and is a super quick little project for you!
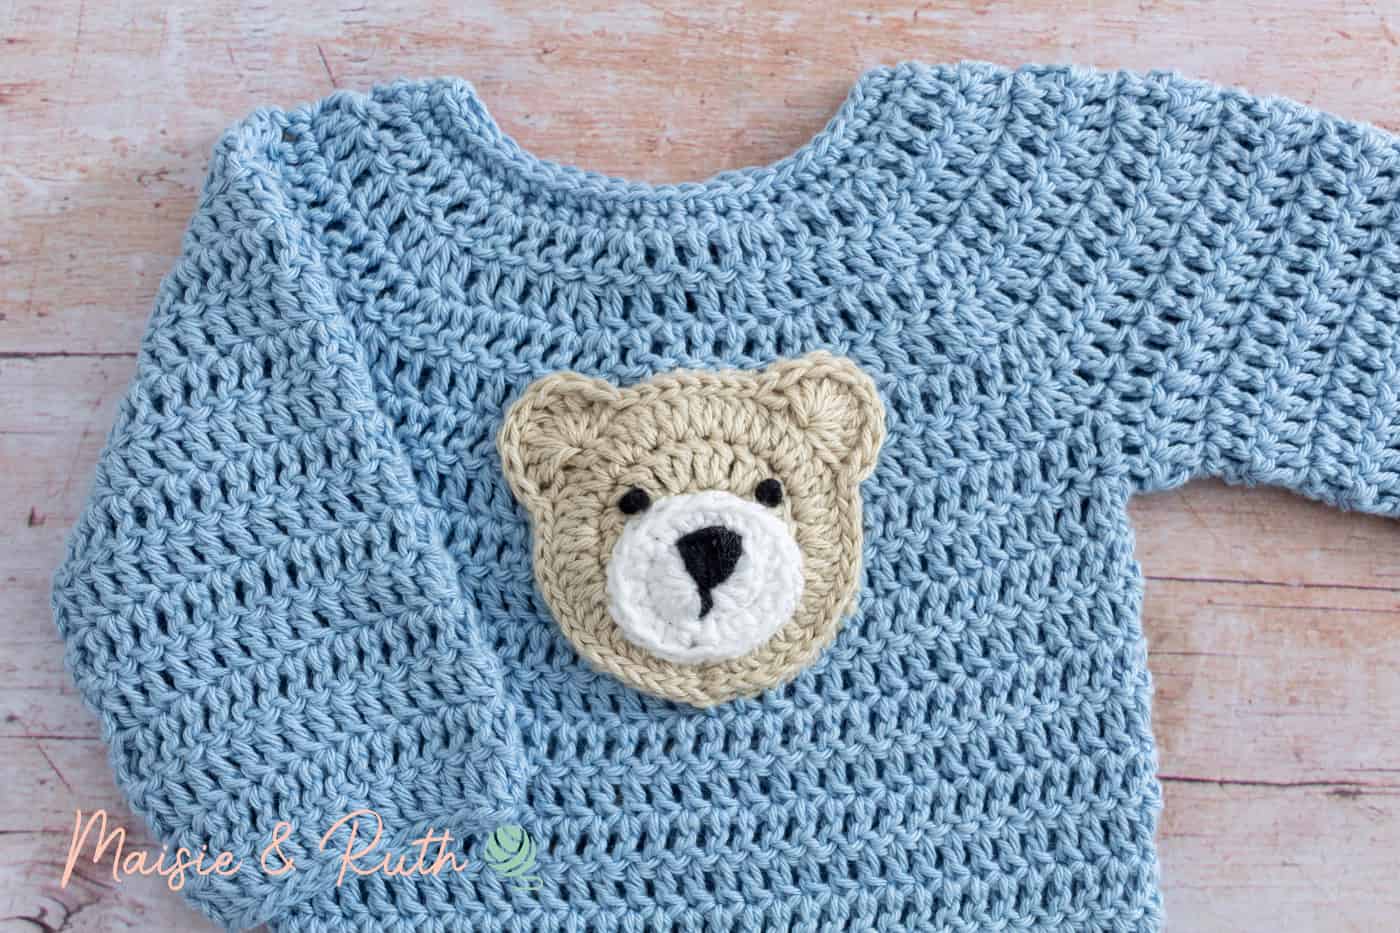
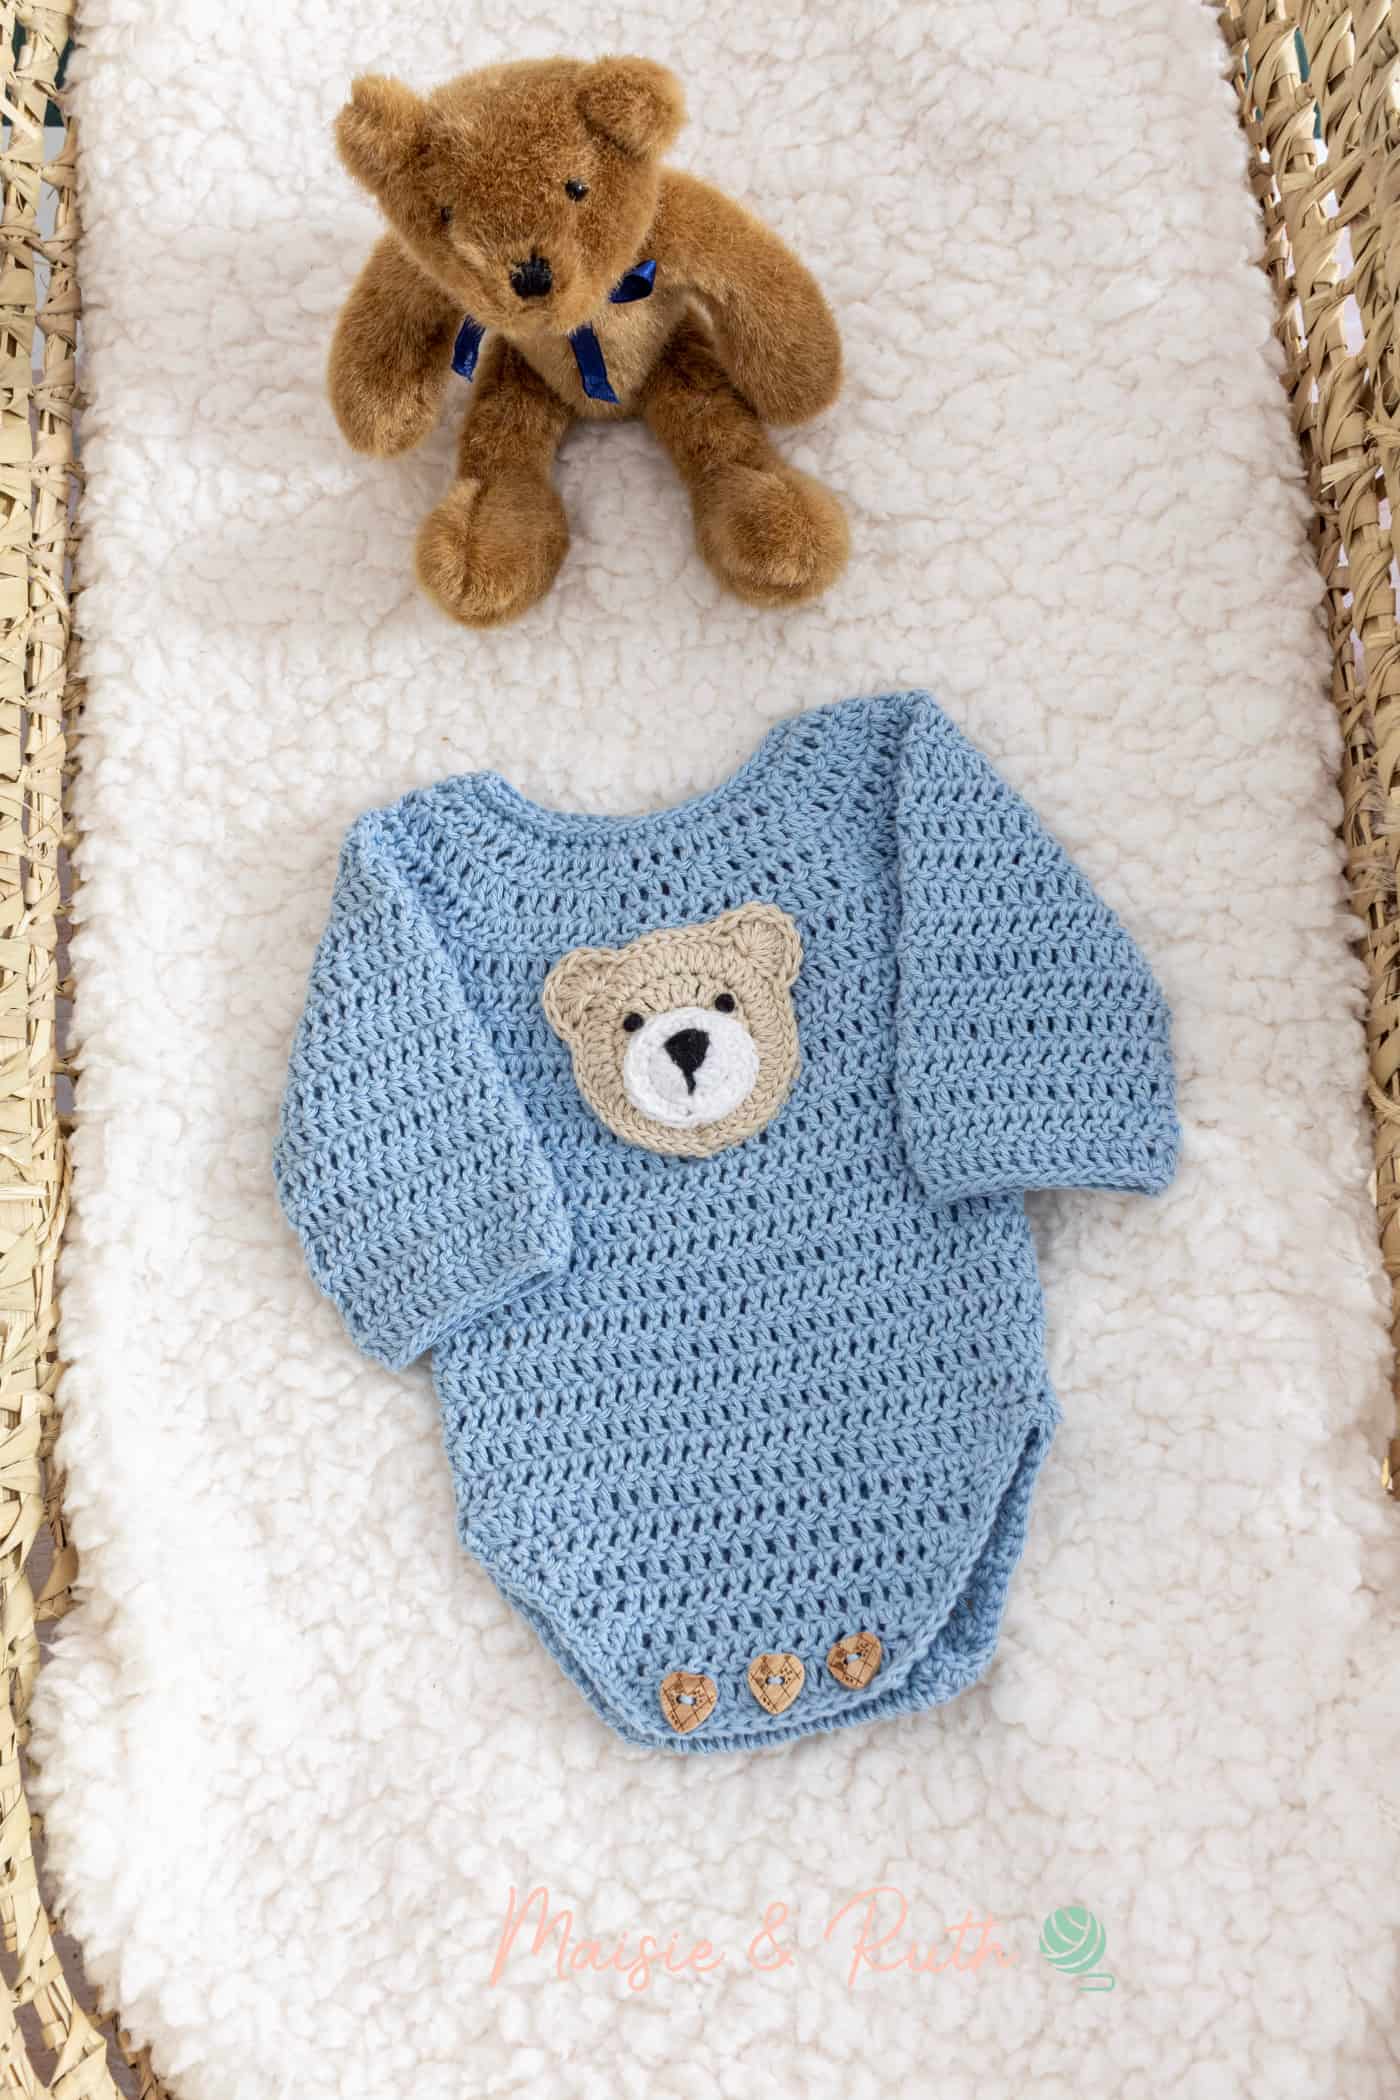
This applique makes a cute addition to many items, such as this baby onesie (pictured above and below).

USES FOR TEDDY BEAR APPLIQUE
This applique is a really fun little item to make. You can use it to adorn lots of different projects such as hats, sweaters, cardigans and baby blankets.
I sewed my applique onto the Little Logan Romper. I think that it makes this crochet baby outfit even cuter!

YARN USED
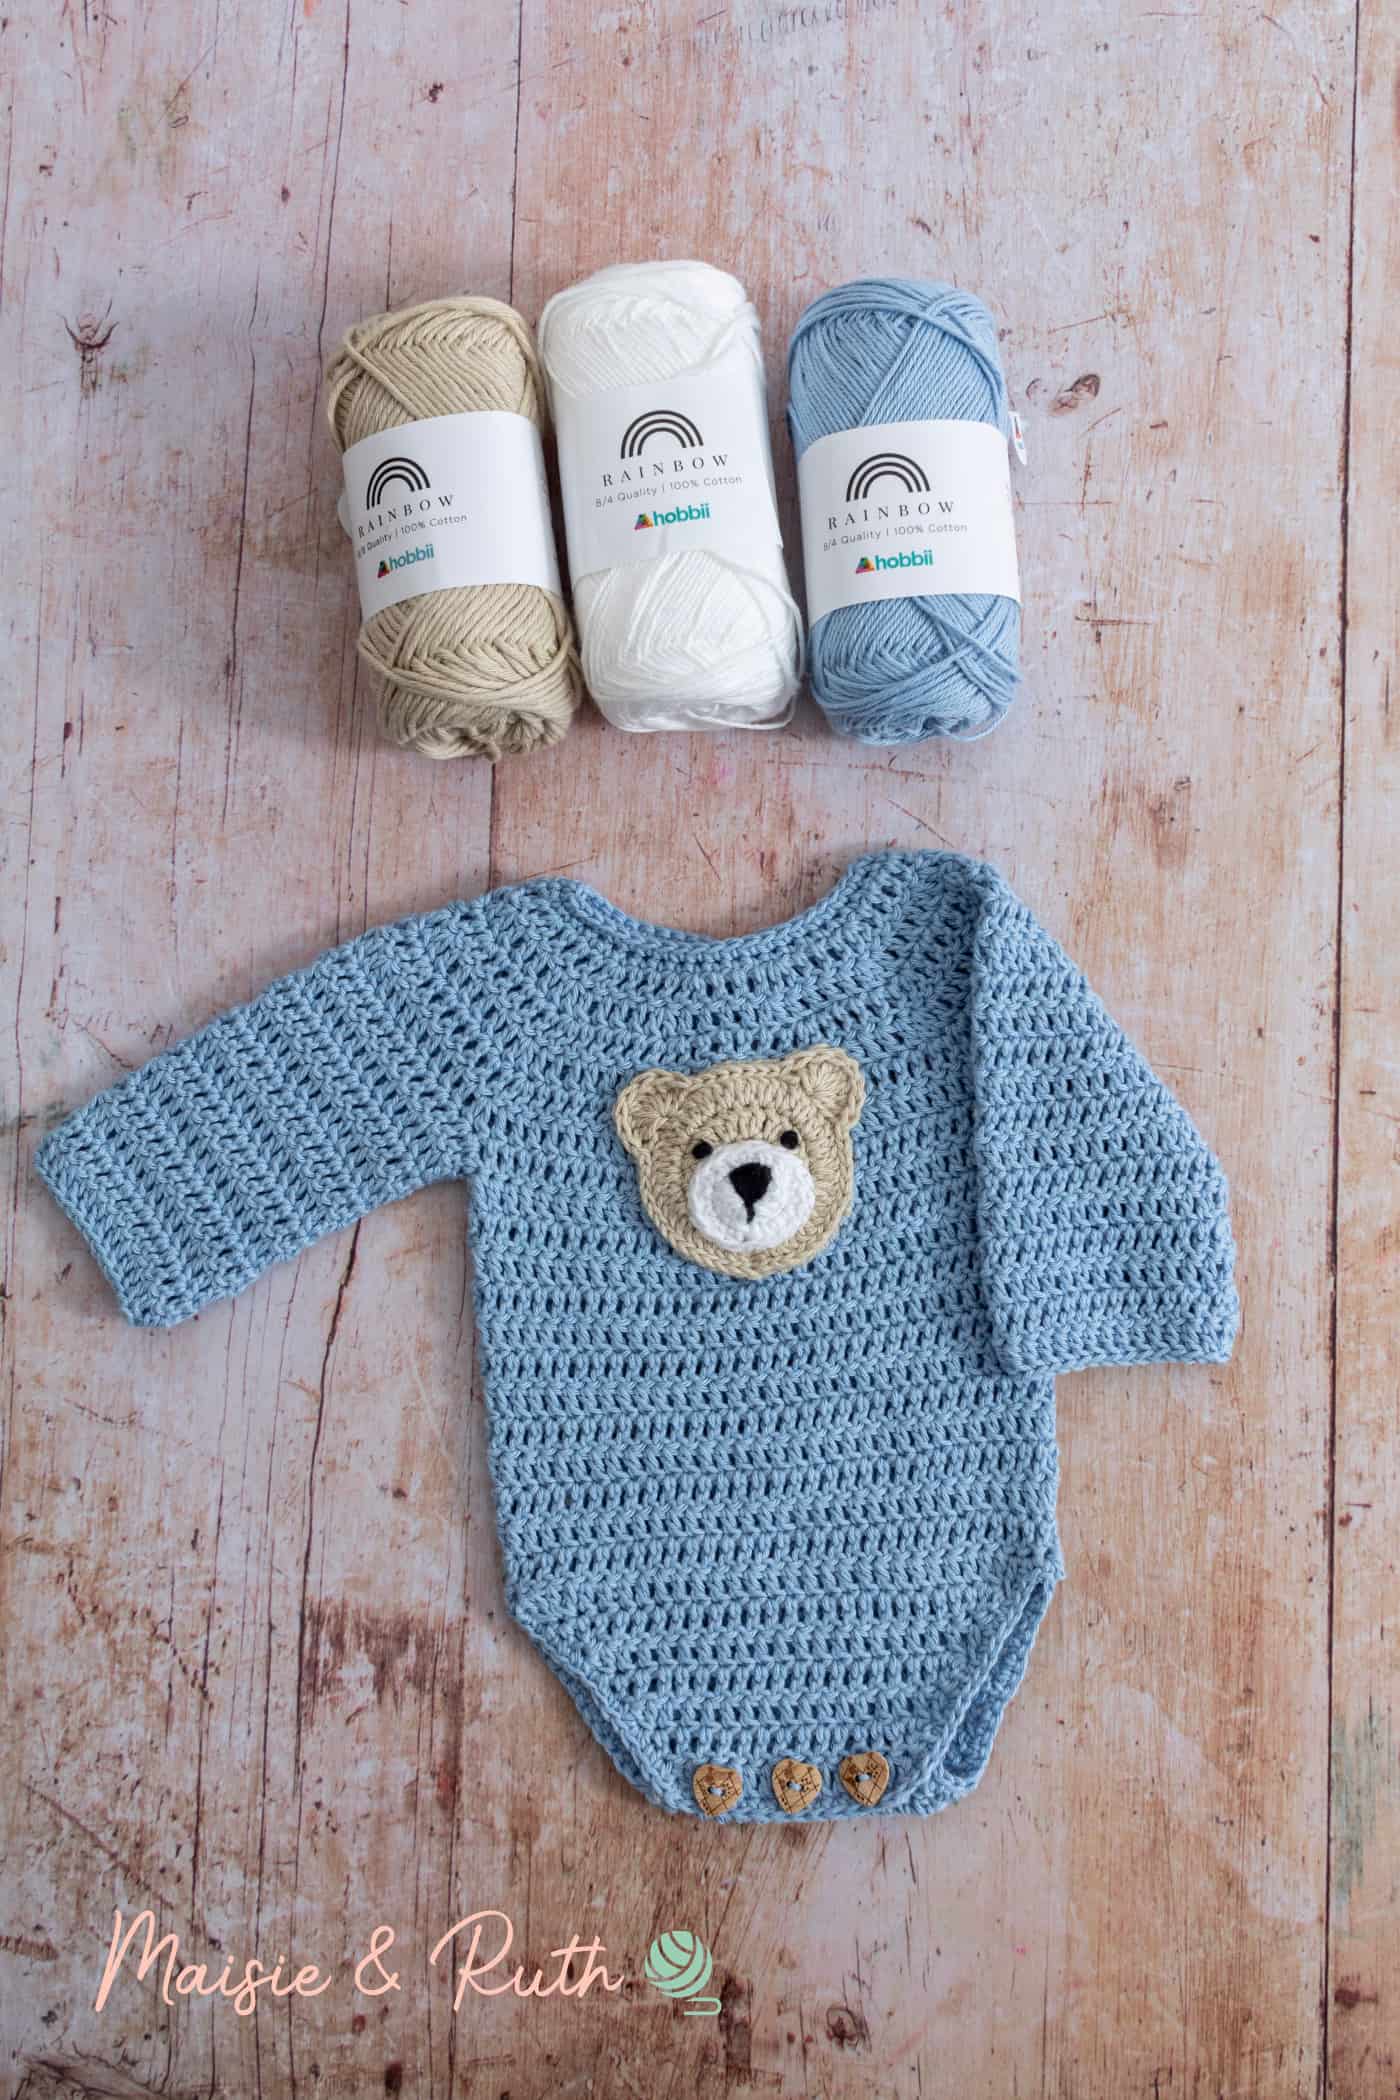
I used Hobbii Rainbow Cotton 8/4 to make my bear applique.
Although advertised as a #1 superfine yarn, I consider it to be more of a #2 sport / 4 ply yarn.
This 100% cotton yarn is so soft to work with and has great stitch definition. There’s also no splitting so it’s really easy to work with.
To embroider the nose and eyes, I used Hobbii Rainbow Cotton 8/8, which is a thicker yarn and is more akin to a #4 worsted / aran weight yarn.
PDF PRINTABLE PATTERNS!
If you would prefer an ad-free, printable version of this pattern, you can purchase it from my Etsy store
This applique is also part of a Pattern Bundle! Check it out here
Thank you for supporting my shop!
HOW TO CROCHET A BEAR APPLIQUE: INSTRUCTIONS
LEVEL
Easy. Please see details of project levels at the Craft Yarn Council.
PATTERN NOTES
- US crochet terms used.
- This pattern is worked in the round.
- The ch1 or ch2 made at the beginning of the round counts as your first stitch. You should, therefore, slip stitch into the ch1 or top of the ch2 to join the round.
MATERIALS
- Yarn for the head and snout: #2 (fine) / sport / 4 ply. I used a small amount from 1 ball of Hobbii Rainbow Cotton 8/4,186 yds/ 1.75oz (170m /50g) in the following colours:
Colour A: Beige (004)
Colour B: White (001)
- Yarn to embroider the nose and eyes: #4 / worsted / aran. I used a small amount from 1 ball of Hobbii Rainbow Cotton 8/8, 82 yds/ 1.8oz (75m /50g) in the following colour:
Colour C: Black (009)
FINISHED SIZE
2.5″ x 2.5″ (6.25 x 6.25 cm)
STITCHES & ABBREVIATIONS (US CROCHET TERMS)
beg – beginning
ch(s) – chain(s)
dc – double crochet: Yarn over (yo), insert hook into stitch, yo, pull up a loop (3 loops on hook). Yo, pull through 2 loops (2 loops on hook). Yo, pull through remaining 2 loops. 1 double crochet completed.
hdc – half double crochet: Yarn over (yo), insert hook into stitch, yo, pull up a loop (3 loops on hook). Yo, pull through all 3 loops. 1 half double crochet completed.
sk – skip: Do not crochet into this stitch / space.
sl st – slip stitch: Insert hook into stitch, yarn over (yo), pull up a loop, you will have 2 loops on your hook. Pull the first loop through the second loop. 1 slip stitch completed.
st(s) – stitch(es)
tr –treble crochet: Yarn over (yo) twice, insert hook into stitch, yo, pull up a loop (4 loops on hook). Yo, pull through 2 loops (3 loops on hook). Yo, pull through 2 loops (2 loops on hook). Yo, pull through remaining 2 loops. 1 treble crochet completed.
* to * – Repeat instructions between asterisks as many times as directed.
[ ] – The total number of stitches at the end of a row.
PATTERN INSTRUCTIONS
HEAD
Using Colour A
Make a magic circle (if you do not like the magic circle method, see the Alternative Round 1 below).
Round 1. Ch2 (counts as your 1st dc here and throughout), 11dc in the circle, sl st to top of beg ch2 to join [12 sts].
Alternative Round 1. Ch2, 12dc in the 2nd ch from the hook, sl st to 1st dc to join [12 sts].
Round 2. Ch2, 1dc in same st, 2dc in next 11 sts, sl st to top of ch2 to join [24sts].
Round 3. Ch2, 1dc in same st, 2dc in next 23 sts, sl st to top of ch2 to join [48 sts].
Round 4. Ch1 (counts as your 1st st), sl st in next 14 sts, sk 2 sts, 7tr in next st, sk 2 sts, sl st in next 8 sts, sk 2 sts, 7tr in next st, sk 2 sts, sl st in next 15 sts, sl st to beg ch1 to join.
Cut yarn, fasten off and weave in ends.
NOTE: At the end of round 4, you may prefer to work an invisible join instead of making a sl st to the beg ch1 to join.
SNOUT
Using Colour B
Make a magic circle (if you do not like the magic circle method, see the Alternative Round 1 below).
Round 1. Ch2 (counts as your 1st dc here and throughout), 11dc in the circle, sl st to top of beg ch2 to join [12 sts].
Alternative Round 1. Ch2, 12dc in the 2nd ch from the hook, sl st to 1st dc to join [12 sts].
Round 2. Ch1 (counts as your 1st st), 1hdc in same st, 1hdc in next st, *2hdc in next st, 1hdc in next st*, repeat from * to * for a total of 5 times, sl st to beg ch1 to join, [18 sts].
Cut yarn, fasten off and weave in ends.
NOTE: At the end of round 2, you may prefer to work an invisible join instead of making a sl st to the beg ch1 to join.
FINISHING
- With colour C, embroider the nose onto the snout.
- Sew the snout to the bottom centre of the head, just above the round of sl sts.
- Using colour C, embroider the eyes just above the snout, on either side of the nose (make sure that they are tightly secured at the back of the head so they cannot be pulled out from the front).
You can watch the video below for further guidance (you can skip straight to the individual parts of the tutorial by clicking on the timestamps in the description box of the video).
PIN IT FOR LATER!
I hope you found this pattern in how to crochet a bear applique easy to follow 😊
I’d love to see your crochet makes with this little applique sewn on… you can tag me on Instagram using @maisieandruth
Happy crocheting!