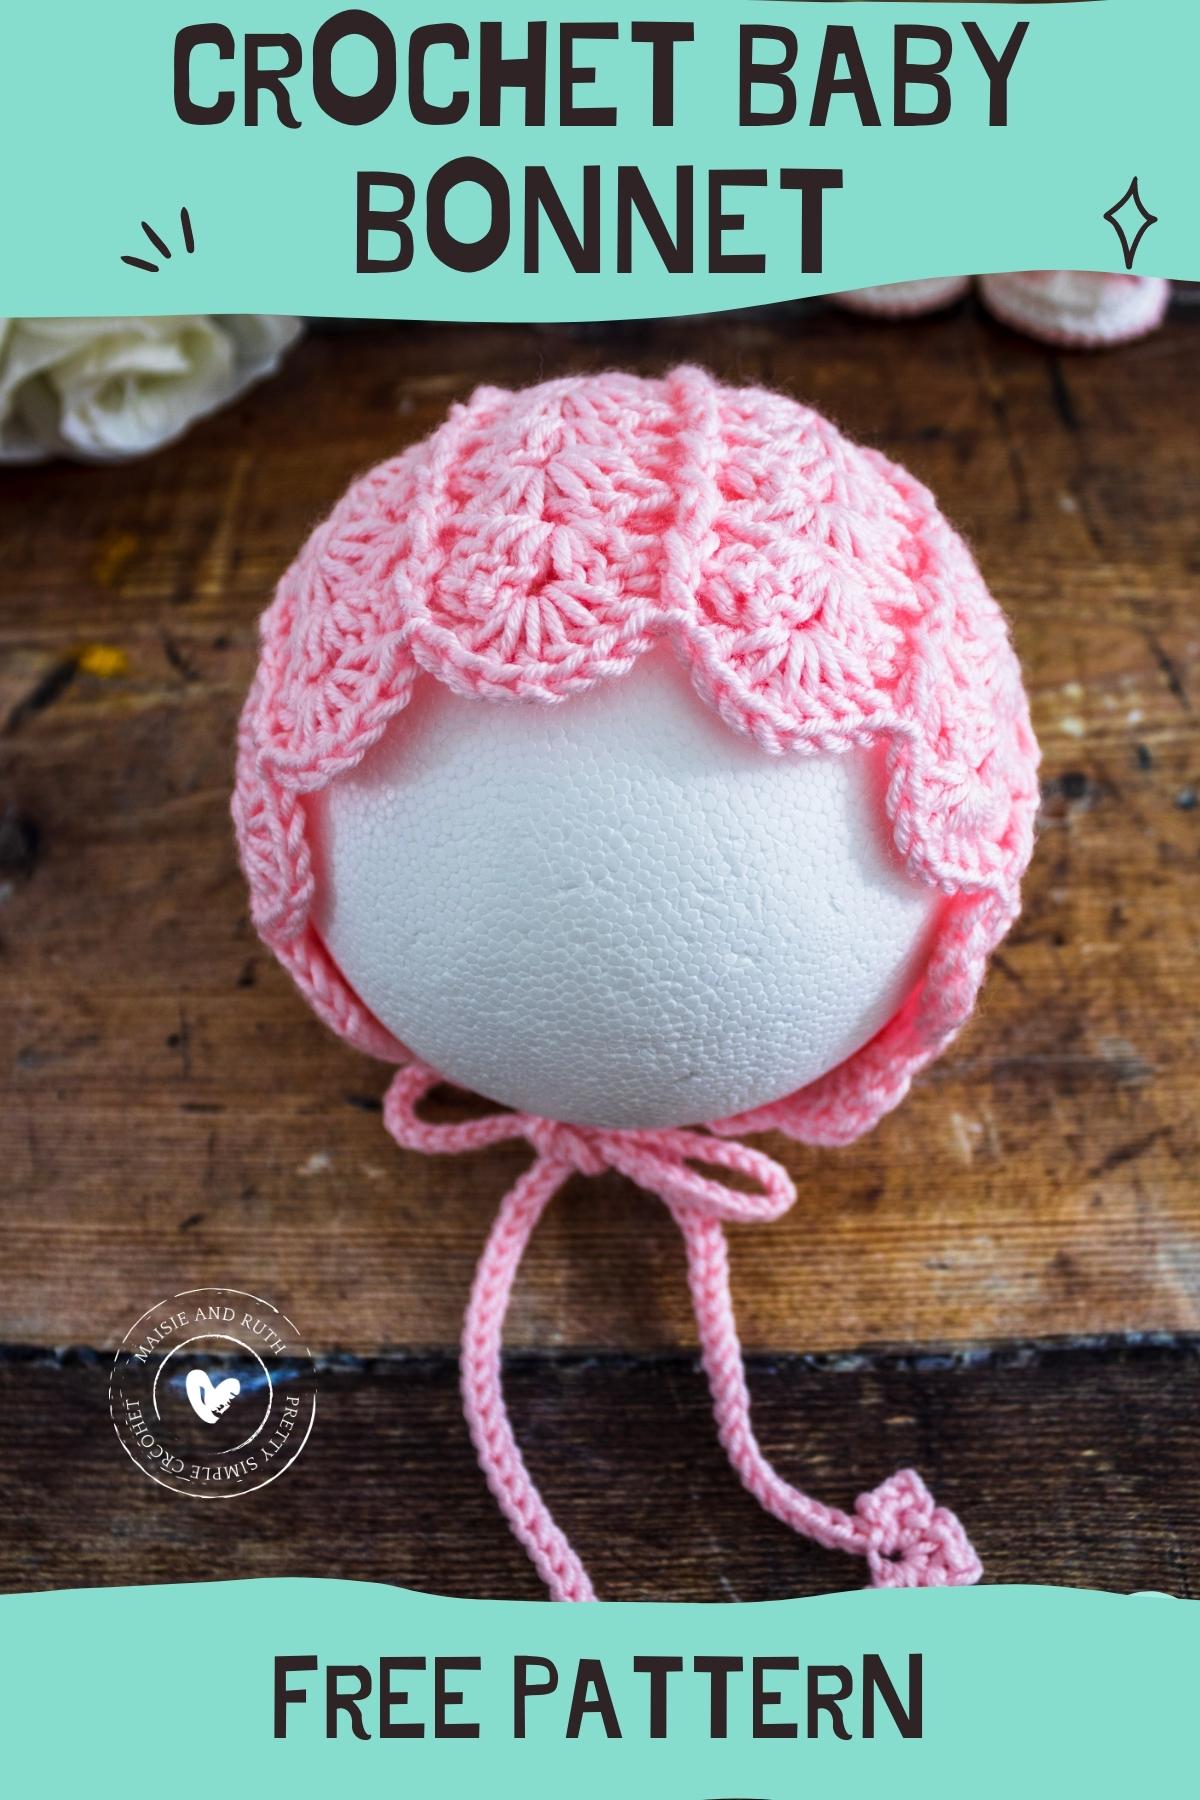
Today’s article is a FREE PATTERN for an Easy Crochet Baby Bonnet that you’re sure to cherish for many years to come!
A step by step VIDEO tutorial is also included. And to purchase an ad-free printable version, please visit the Etsy store HERE
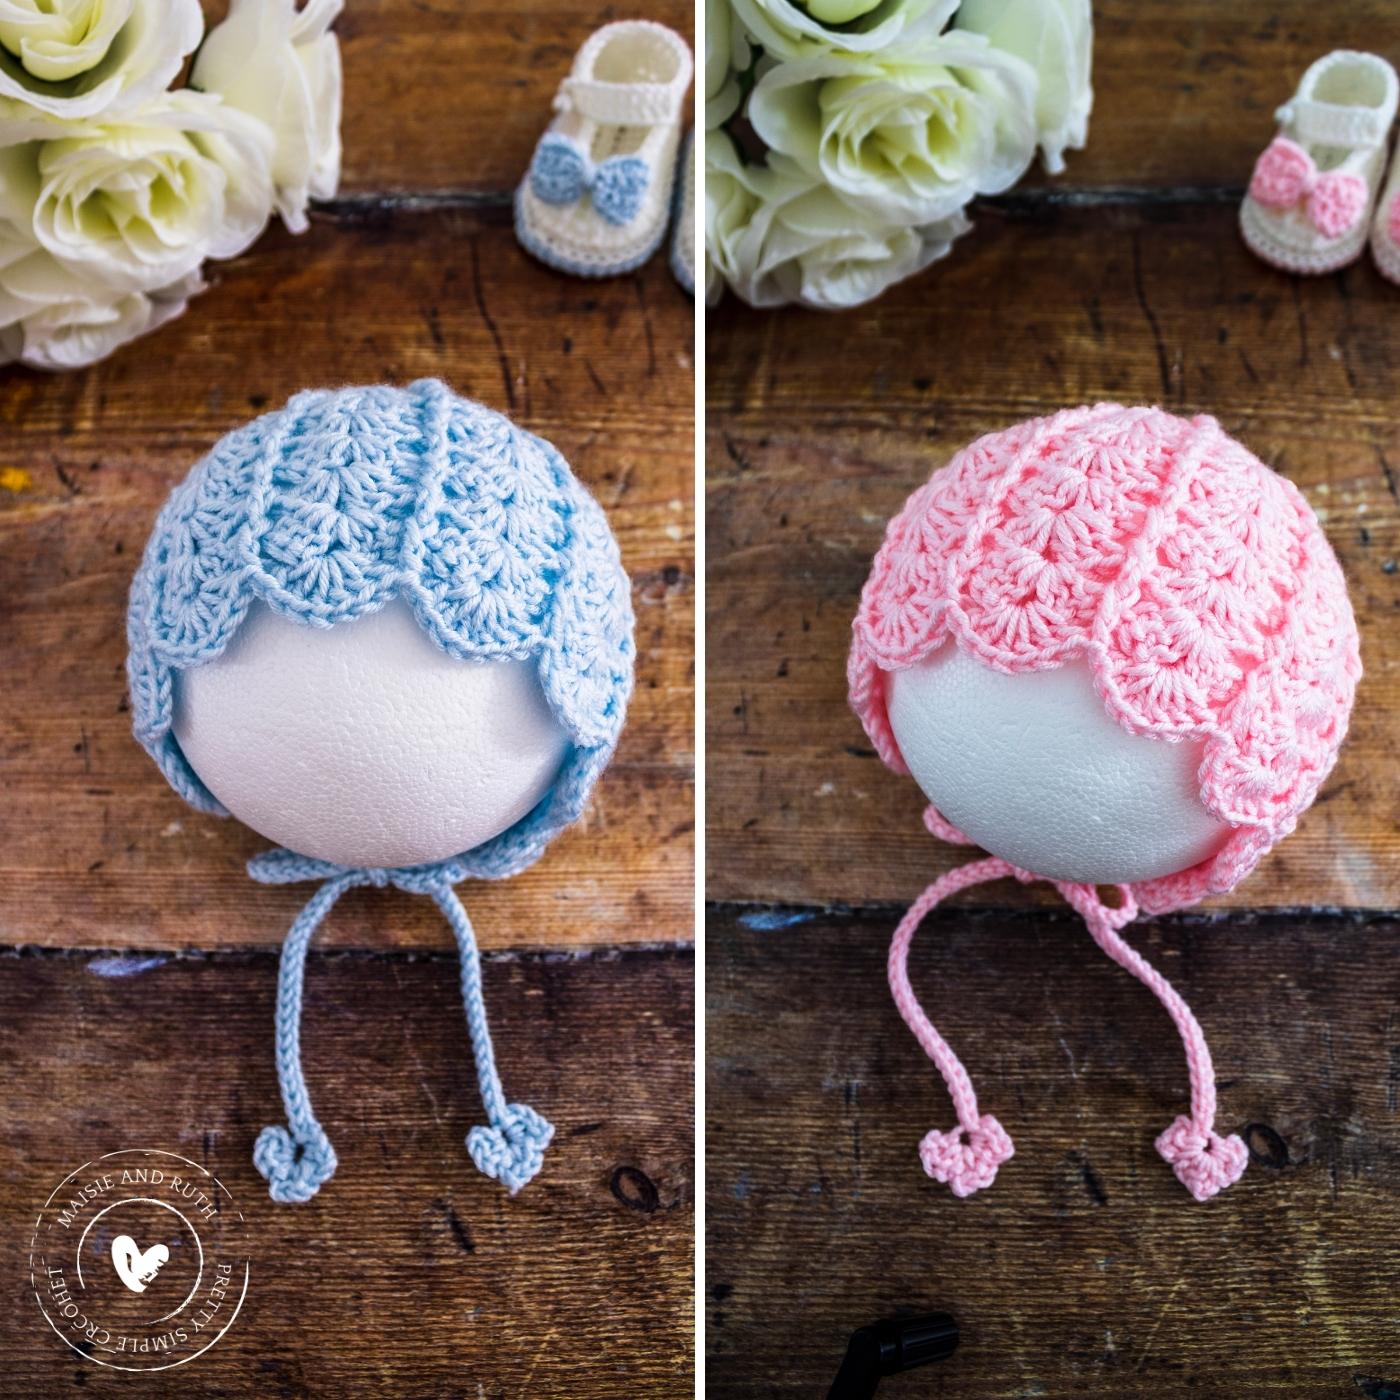
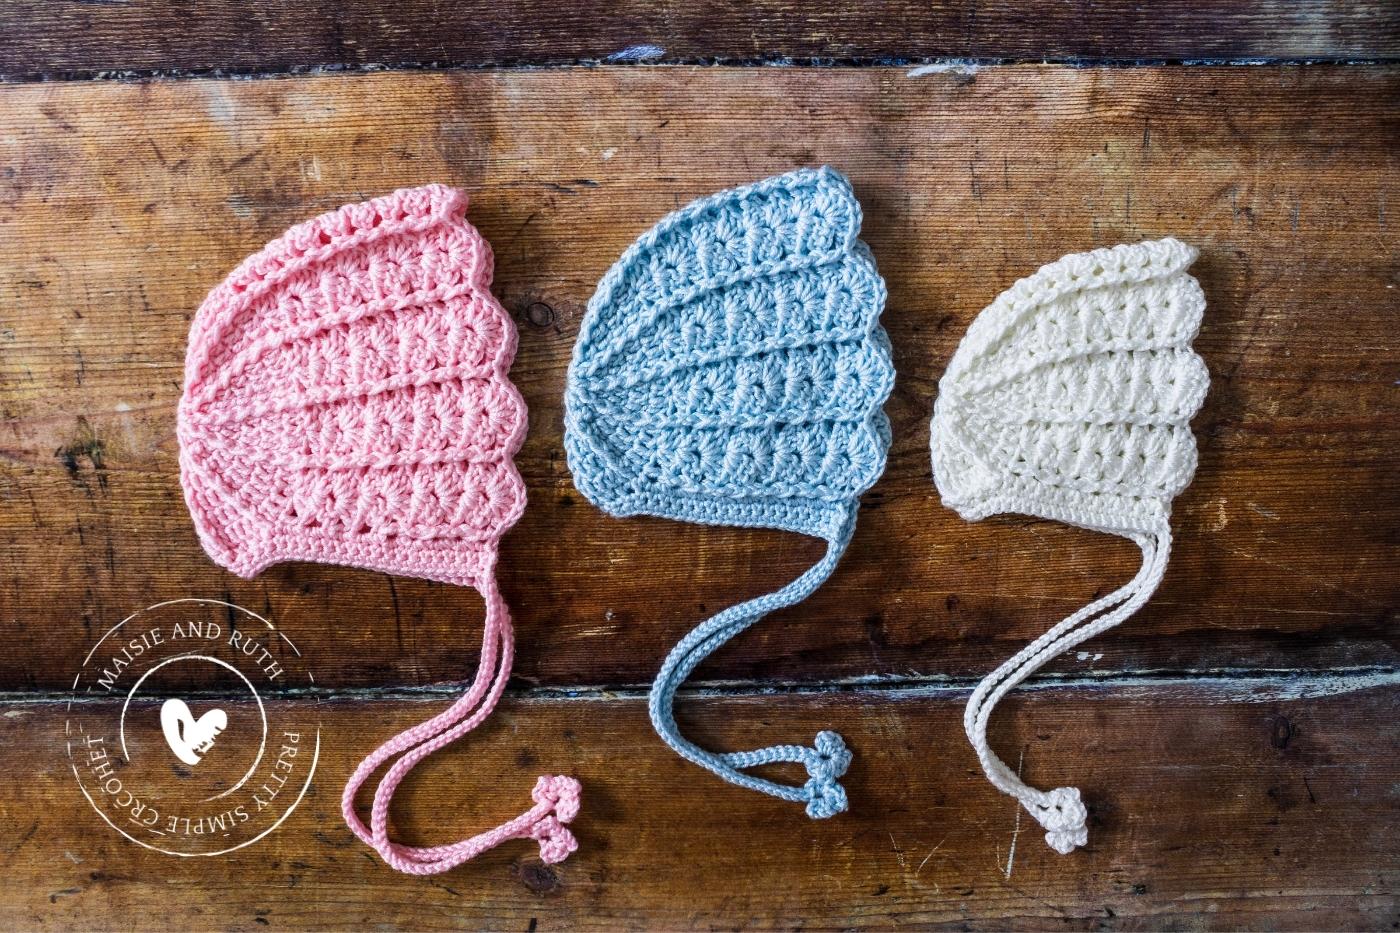
VINTAGE DESIGN
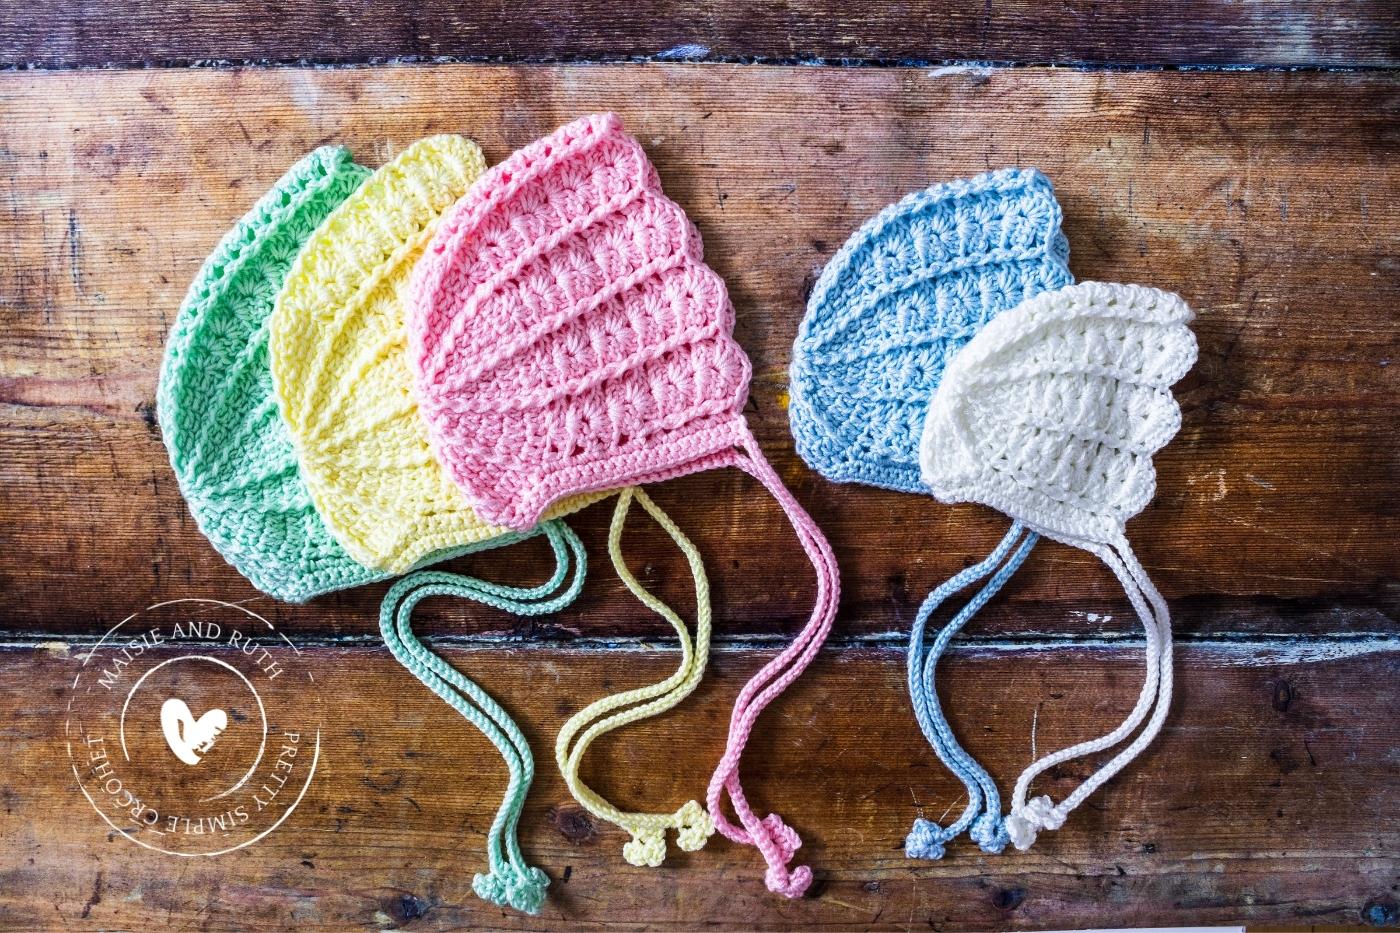
This sweet little baby bonnet has a vintage look to it and has the most amazing texture!
Worked in the round, you’ll begin working at the crown area and then move onto the main body of the bonnet, which is made from really pretty shells and fans stitches.
Lastly, you’ll place a simple trim around the bottom of the bonnet and work a little decorative flower tie in each corner.
It’s not every day that you see a handmade bonnet and this gorgeous design is bound to attract a lot of compliments… be prepared for people to fawn over your little one!

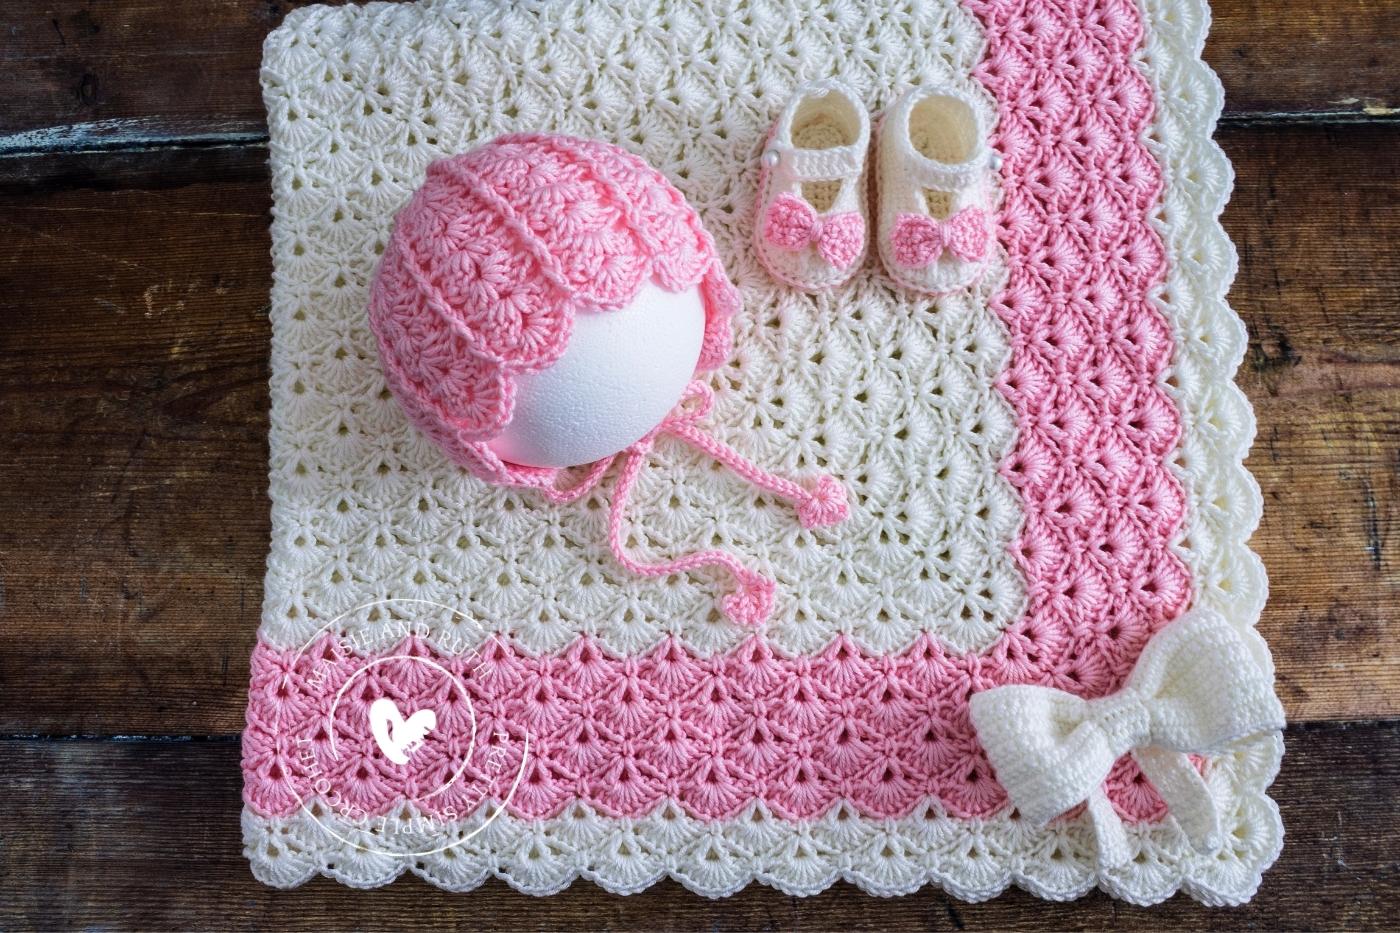
SWEET BABY SET
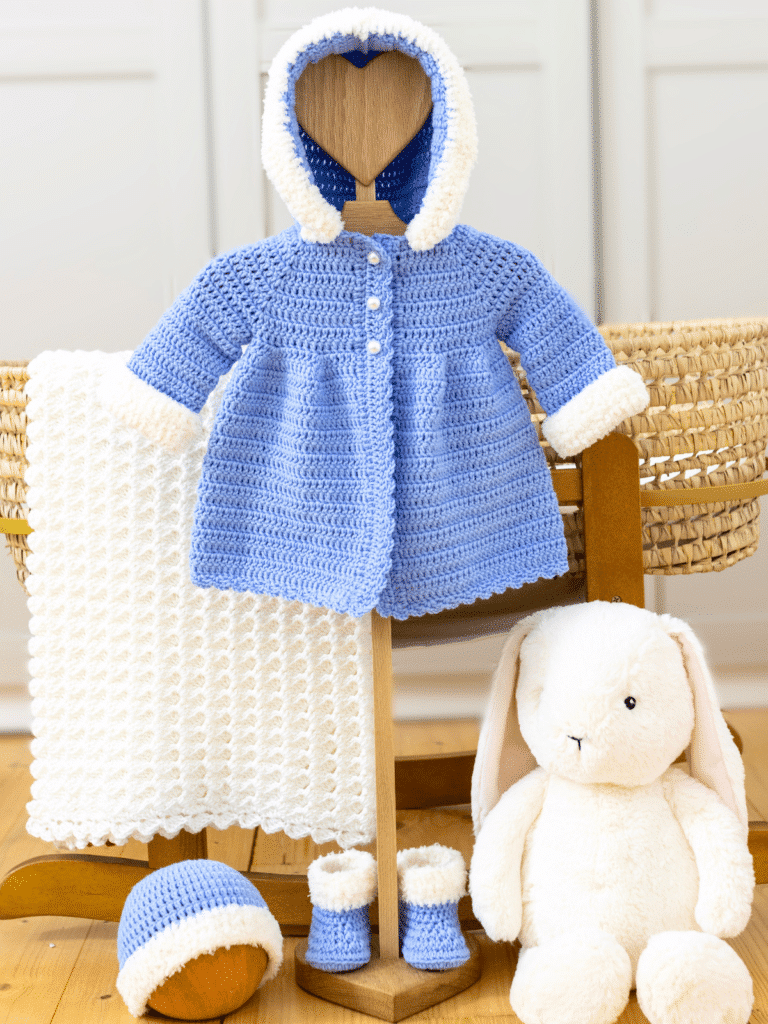
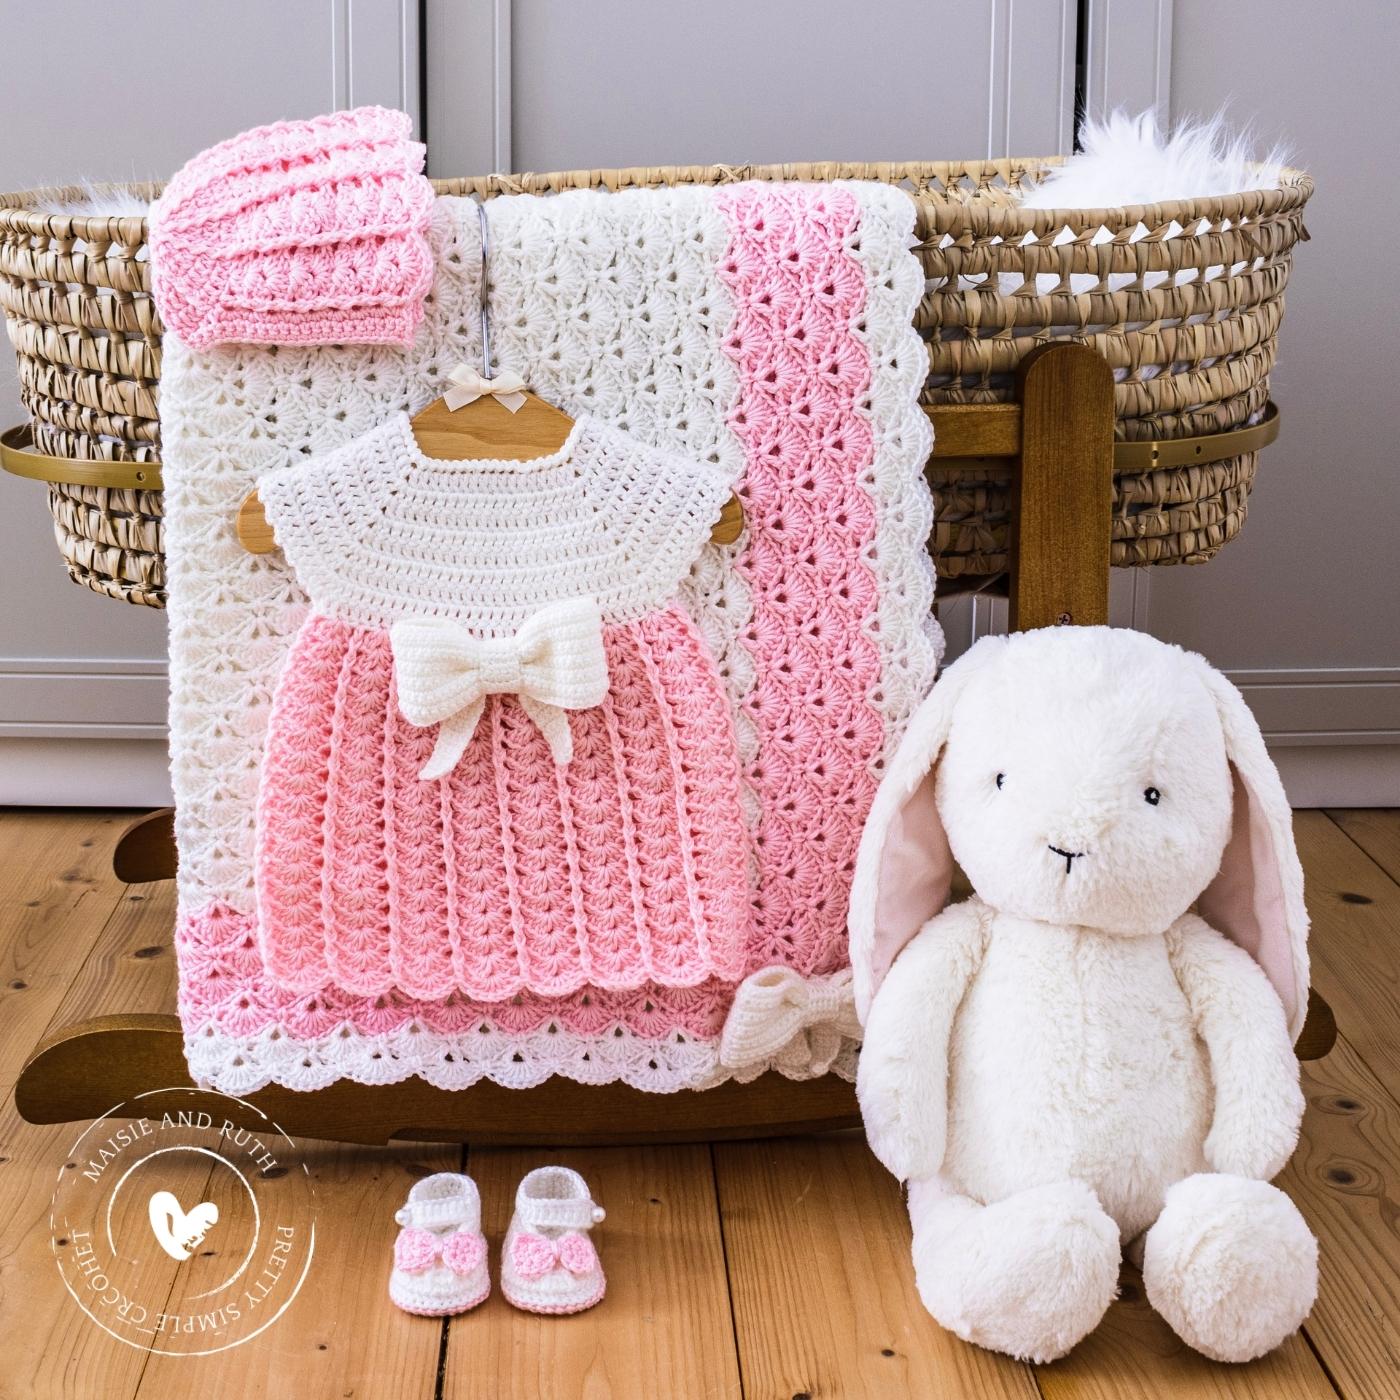
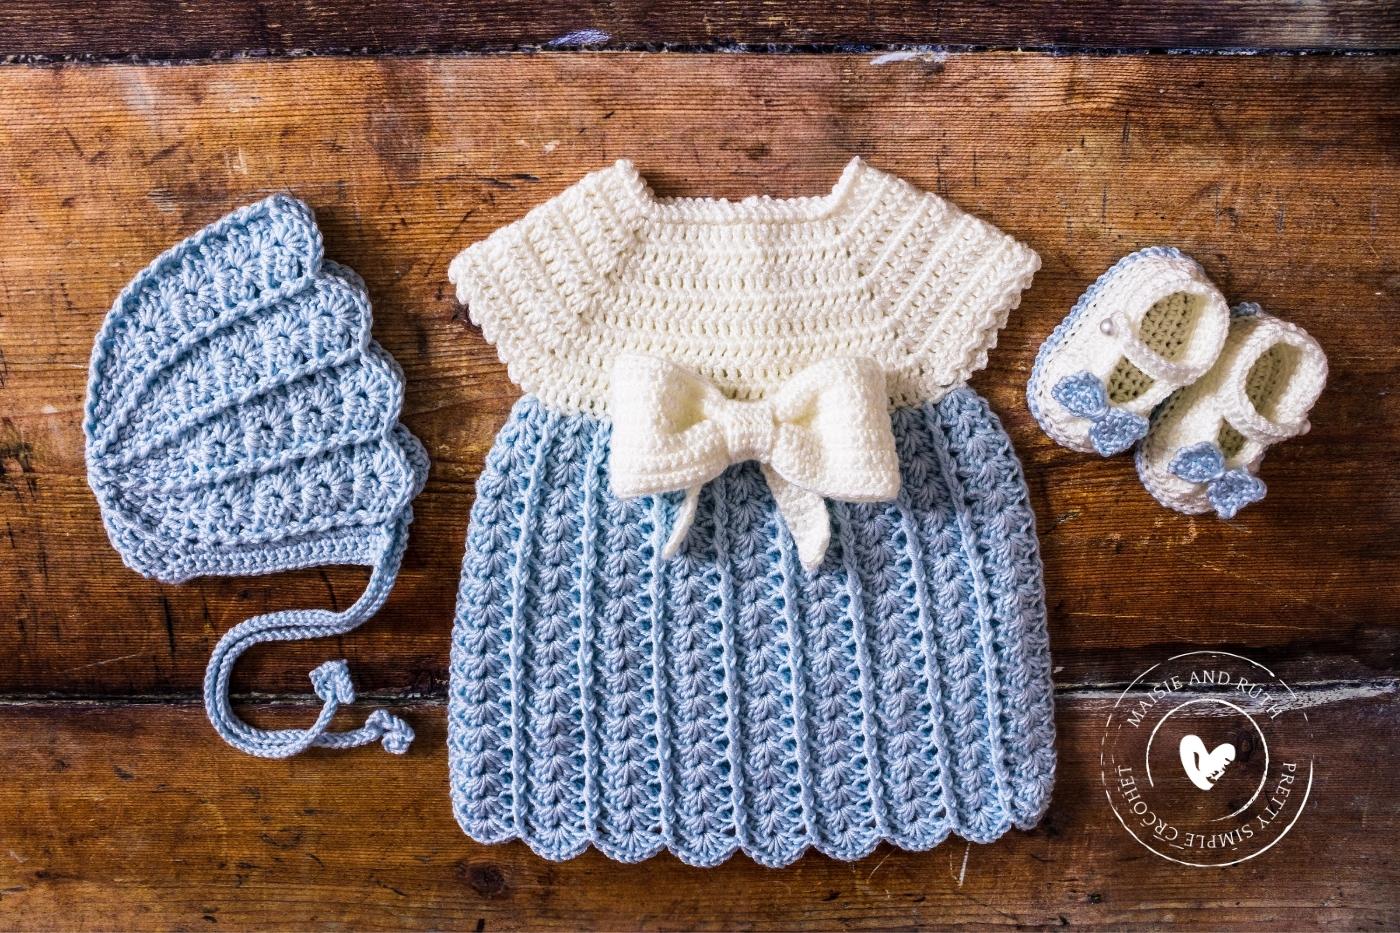
You might like to make this easy crochet baby bonnet alongside the other items from the little set that I designed (see image below).
Baby will look so precious in the matching baby dress, adorable baby booties and sweet shell stitch headband. There’s also a beautiful shells granny square blanket to go with the set.
This baby set would make an ideal handmade gift for someone who’s expecting. And your own bundle of joy will look so adorable dressed up in everything too!
VIDEO TUTORIAL
Crochet along with me to make this baby bonnet! Just click on the play button below:
PIN IT FOR LATER!
If you can’t make this easy crochet baby bonnet right now, then you can always pin it for later!
You can also follow me on Pinterest here
If you’re ready, let’s take a look at the instructions now!
PDF PRINTABLE PATTERNS!
If you would prefer an ad-free, printable version of this pattern, you can purchase it from my Etsy store
This bonnet is also part of a Pattern Bundle! Check it out here
Thank you for supporting my shop!
EASY CROCHET BABY BONNET: A FREE PATTERN
Please carefully read all the information below.
LEVEL

“Projects may include simple stitch patterns, color work, and/or shaping”.
Source: Craft Yarn Council of America’s www.YarnStandards.com
PATTERN NOTES
- US crochet terminology used throughout.
- You can use any #3 / light worsted / DK / 8 ply yarn for this project, providing you meet the gauge as detailed below.
- There are five sets of instructions: 1.Newborn 2. 0-3 months 3. 3-6 months 4. 6-9 months 5. 9-12 months.
- The crown of the bonnet will be worked in rounds.
- After you have completed the crown, you will work back and forth in rows.
- When working in rounds: the ch2 made at the beginning of the round does not count as your first stitch. Therefore, you should join the round by making a slip stitch into the top of the first double crochet.
- When working in rows: the ch3 at the beginning of rows counts as your first stitch. Therefore, at the end of each row you will crochet your last stitch into the top of the beginning ch3.
- For the ties of the bonnet: feel free to adjust the specified number if you would like longer or shorter ties.
MATERIALS
- Yarn: Category #3 / light worsted / DK / 8 ply yarn. FOR ALL SIZES I used 1 x ball of Sirdar Snuggly Soothing, 241yds / 3.5 oz (220m / 100g).
- Crochet Hook: G (4mm)
- Yarn needle (the bent tip makes sewing much easier)
- Scissors (super sharp… and pretty)
- Stitch marker (these interlocking ones will not fall out!)
GAUGE / TENSION
For each size, check your gauge / tension as follows:
Newborn: Work the first 5 rounds of the pattern below. After round 5 the diameter of the crown should measure 3.5” (9cm)
0–3 months: Work the first 5 rounds of the pattern below. After round 5 the diameter of the crown should measure 4” (10cm)
3–6 months: Work the first 6 rounds of the pattern below. After round 6 the diameter of the crown should measure 4.5” (11cm)
6-9 months: Work the first 6 rounds of the pattern below. After round 6 the diameter of the crown should measure 4.75” (12cm)
9-12 months: Work the first 6 rounds of the pattern below. After round 6 the diameter of the crown should measure 5” (13cm)
If you find that your bonnet, after working the required number of rounds above, is too small, try using a larger hook.
On the other hand, if it is too large, try using a smaller hook.
FINISHED SIZE
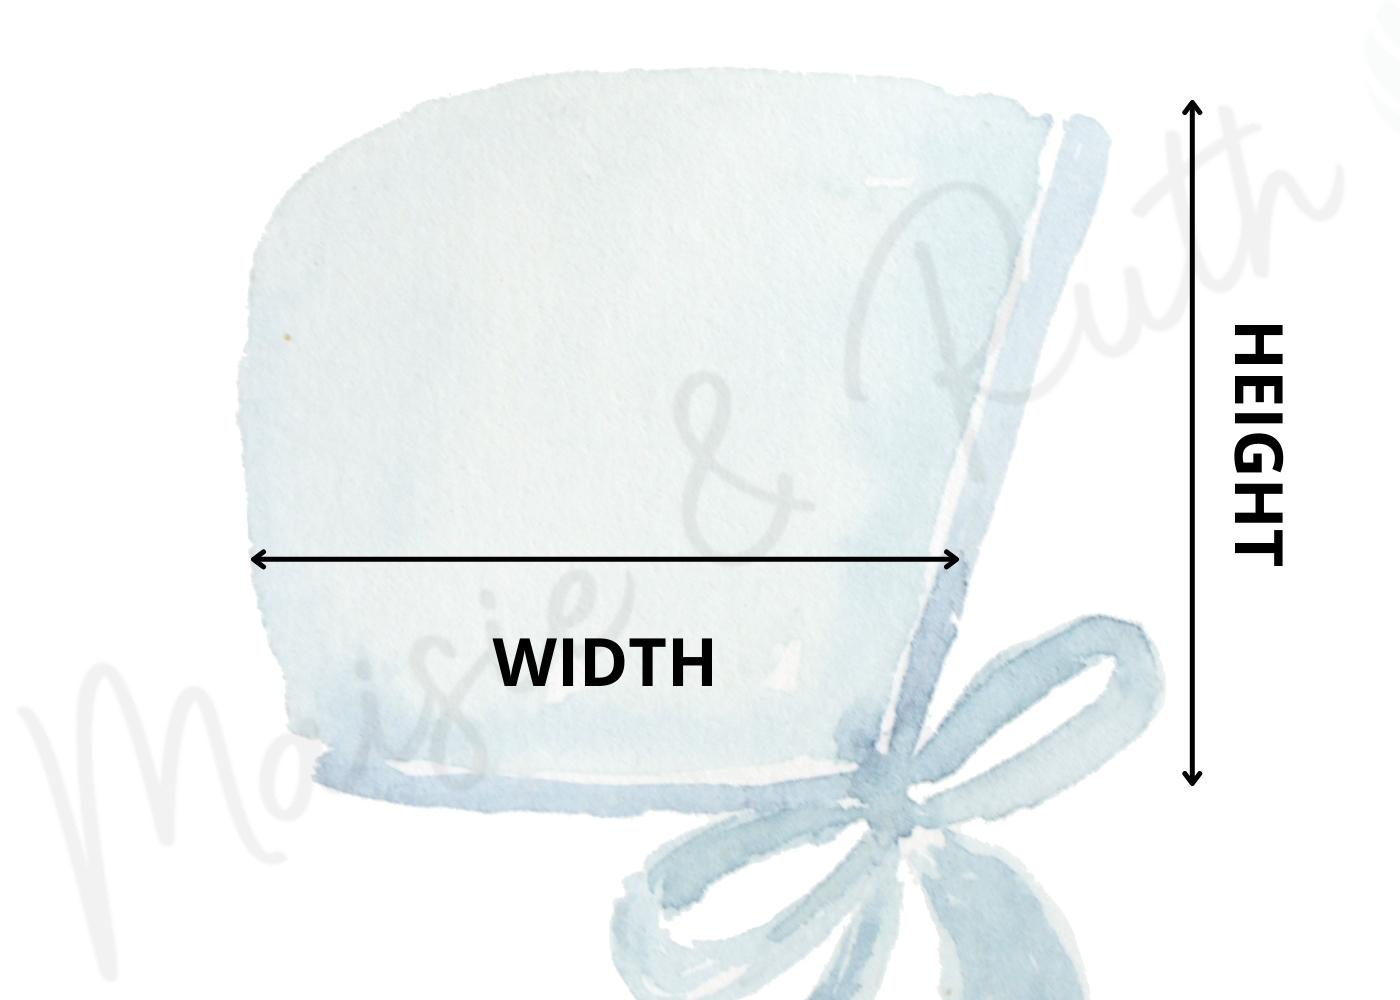
Newborn: width – 5″; height 5.25″
0-3 months: width – 5.5″; height 6″
3-6 months: width – 6″; height 6.75″
6-9 months: width – 6.25″; height 7.5″
6-12 months: width – 6.75″; height 8.25″
STITCHES & ABBREVIATIONS (US CROCHET TERMS)
ch(s) – chain(s)
dc – double crochet: Yarn over (yo), insert hook into stitch, yo, pull up a loop (3 loops on hook). Yo, pull through 2 loops (2 loops on hook). Yo, pull through remaining 2 loops. 1 double crochet completed.
hdc – half double crochet: Yarn over (yo), insert hook into stitch, yo, pull up a loop (3 loops on hook). Yo, pull through all 3 loops. 1 half double crochet completed.
sc – single crochet: Insert hook into stitch, yarn over (yo), pull up a loop (2 loops on hook). Yo, pull through both loops on hook. 1 single crochet completed.
sk – skip: Do not crochet into this stitch / space.
sl st – slip stitch: Insert hook into stitch, yarn over (yo), pull up a loop, you will have 2 loops on your hook. Pull the first loop through the second loop. 1 slip stitch completed.
sp(s) – space(es)
st(s) – stitch(es)
Turn: I prefer to turn my work clockwise.
* to * – Repeat instructions between asterisks as many times as directed.
( ) – Sets of stitches to be worked within one stitch or space.
[ ] – The total number of stitches at the end of a row.
SPECIAL STITCHES
BPdc – back post double crochet: Yarn over (yo), insert hook from back to front to back around the post of the next stitch, yo, pull up a loop, 3 loops remaining on hook. Yo, pull up a loop and pull through 2 loops on hook, 2 loops remaining on hook. Yo, pull up a loop and pull through remaining 2 loops on hook. 1 BPdc completed. See my BPdc Tutorial for helpful step-by-step photos.
Fan – (3dc, ch1, 3dc) in same stitch
FPdc- front post double crochet: Yarn over (yo), insert hook from front to back to front around the post of the next stitch, yo, pull up a loop, 3 loops remaining on hook. Yo, pull up a loop and pull through 2 loops on hook, 2 loops remaining on hook. Yo, pull up a loop and pull through remaining 2 loops on hook. 1 FPdc completed. See my FPdc Tutorial for helpful step-by-step photos
Shell – (2dc, ch1, 2dc) in same stitch
PATTERN INSTRUCTIONS (NEWBORN)
CROWN
Ch4, sl st to 1st ch to form a ring.
Round 1. Ch2 (does not count as your 1st st here and throughout), 10 dc in centre of ring, sl st to 1st dc to join, DO NOT TURN [10 sts].
Round 2. Ch2, (1dc, FPdc) in same st (at base of ch2), (1dc, FPdc) in next 9 sts, repeat from * to * 9 times, sl st to 1st dc to join, DO NOT TURN [20 sts].
Round 3. Ch2, 1dc in same st (at base of ch2), (1dc, FPdc) in next st, *1dc in next st, (1dc , FPdc) in next st*, repeat from * to * 9 times, sl st to 1st dc to join, DO NOT TURN [30 sts].
Round 4. Ch2, 1dc in same st (at base of ch2), 1dc in next st, (1dc, FPdc) in next st, *1dc in next 2 sts, (1dc, FPdc) in next st*, repeat from * to * 9 times, sl st to 1st dc to join, DO NOT TURN [40 sts].
Round 5. Ch2, 1dc in same st (at base of ch2), 1dc in next 2 sts, (1dc, FPdc) in next st, *1dc in next 3 sts, (1dc, FPdc) in next st*, repeat from * to * 9 times, sl st to 1st dc to join, DO NOT TURN [50 sts].
The diameter of the crown at this point should measure 3.5” approximately.
MAIN BODY OF BONNET
Row 1. Ch3, 1dc in same st (at base of ch3), sk next st, shell in next st, sk next st, FPdc in next st, * sk next 2 sts, shell in next st, sk next st, FPdc in next st*, repeat from * to * 6 times, ending 1dc in next st, TURN [7 shells].
Row 2. Ch3, BPdc in next st, *shell in next ch1 sp, BPdc in next FPdc from previous row*, repeat from * to * 7 times, ending 1dc in top of ch3, TURN [7 shells].
Row 3. Ch3, FPdc in next st, *fan in next ch1 sp, FPdc in next BPdc from previous row*, repeat from * to * 7 times, ending 1dc in top of ch3, TURN [7 fans].
Row 4. Ch3, BPdc in next st, *fan in next ch1 sp, BPdc in next FPdc from previous row*, repeat from * to * 7 times, ending 1dc in top of ch3, TURN [7 fans].
Rows 3 & 4 set pattern.
Repeat rows 3 and 4 TWICE more (you should have 8 rows in total).
EDGING & TIES
You will now work edging down the side of your bonnet, along the back and then up the other side. Ties will be made at each corner.
Row 1. Ch1, 2sc in each dc row end down first side, (sc2tog) 8 times along back, 2sc in each dc row end up second side, TURN [40 sts].
Row 2. Ch1, 1sc in same st (at base of ch1), 1sc in next 39 sts back to other corner, TURN [40 sts].
FIRST TIE
Ch 50, working through both loops, (1hdc, ch2, sl st, [(ch2, 1hdc, ch2, sl st) twice]) into 3rd ch from hook, sl st in each ch to bottom.
Row 3. 1sc in next 40 sts to other corner.
You will now make the SECOND TIE as follows:
Ch 50, working through both loops, (1hdc, ch2, sl st, [(ch2, 1hdc, ch2, sl st) twice]) into 3rd ch from hook, sl st in each ch to bottom. Sl st to sc at bottom of ch to secure tie.
Cut yarn, fasten off and weave in ends.
PATTERN INSTRUCTIONS (0-3 MONTHS)
CROWN
Ch4, sl st to 1st ch to form a ring.
Round 1. Ch2 (does not count as your 1st st here and throughout), 11 dc in centre of ring, sl st to 1st dc to join, DO NOT TURN [11 sts].
Round 2. Ch2, (1dc & FPdc) in same st (at base of ch2), (1dc, FPdc) in next 10sts, repeat from * to * 10 times, sl st to 1st dc to join, DO NOT TURN [22 sts].
Round 3. Ch2, 1dc in same st (at base of ch2), (1dc, FPdc) in next st, *1dc in next st, (1dc, FPdc) in next st*, repeat from * to * 10 times, sl st to 1st dc to join, DO NOT TURN [33 sts].
Round 4. Ch2, 1dc in same st (at base of ch2), 1dc in next st, (1dc, FPdc) in next st, *1dc in next 2 sts, (1dc, FPdc) in next st*, repeat from * to * 10 times, sl st to 1st dc to join, DO NOT TURN [44 sts].
Round 5. Ch2, 1dc in same st (at base of ch2), 1dc in next 2 sts, (1dc, FPdc) in next st, *1dc in next 3 sts, (1dc, FPdc) in next st*, repeat from * to * 10 times, sl st to 1st dc to join, DO NOT TURN [55 sts].
The diameter of the crown at this point should measure 4”
MAIN BODY OF BONNET
Row 1. Ch3 (counts as your 1st st here and throughout), 1dc in same st (at base of ch3), sk next st, shell in next st, sk next st, FPdc in next st, * sk next 2 sts, shell in next st, sk next st, FPdc in next st*, repeat from * to * 7 times, ending 1dc in next st, TURN [8 shells].
Row 2. Ch3, BPdc in next st, *shell in next ch1 sp, BPdc in next FPdc from previous row*, repeat from * to * 8 times, ending 1dc in top of ch3, TURN [8 shells].
Row 3. Ch3, FPdc in next st, *fan in next ch1 sp, FPdc in next BPdc from previous row*, repeat from * to * 8 times, ending 1dc in top of ch3, TURN [8 fans].
Row 4. Ch3, BPdc in next st, *fan in next ch1 sp, BPdc in next FPdc from previous row*, repeat from * to * 8 times, ending 1dc in top of ch3, TURN [8 fans].
Rows 3 & 4 set pattern.
Repeat rows 3 and 4 TWICE more. Then repeat row 3 ONCE more (you should have 9 rows in total).
EDGING & TIES
You will now work edging down the side of your bonnet, along the back and then up the other side. Ties will be made at each corner.
Row 1. Ch1, 2sc in each dc row end down first side, (sc2tog) 8 times along back, 2sc in each dc row end up second side, TURN [44 sts].
Row 2. Ch1, 1sc in same st (at base of ch1), 1sc in next 43 sts back to other corner, TURN [44 sts].
FIRST TIE
Ch 55, working through both loops: (1hdc, ch2, sl st, [(ch2, 1hdc, ch2, sl st) twice]) into 3rd ch from hook, sl st in each ch to bottom.
Row 3. 1sc in next 44 sts to other corner.
You will now make the SECOND TIE as follows:
Ch 55, working through both loops: (1hdc, ch2, sl st, [(ch2, 1hdc, ch2, sl st) twice]) into 3rd ch from hook, sl st in each ch to bottom. Sl st to sc at bottom of ch to secure tie.
Cut yarn, fasten off and weave in ends.
PATTERN INSTRUCTIONS (3-6 MONTHS)
CROWN
Ch4, sl st to 1st ch to form a ring.
Round 1. Ch2 (does not count as your 1st st here and throughout), 12 dc in centre of ring, sl st to 1st dc to join, DO NOT TURN [12 sts].
Round 2. Ch2, (1dc, FPdc) in same st (at base of ch2), (1dc, FPdc) in next 11 sts, repeat from * to * 11 times, sl st to 1st dc to join, DO NOT TURN [24 sts].
Round 3. Ch2, 1dc in same st (at base of ch2), (1dc, FPdc) in next st, *1dc in next st, (1dc, FPdc) in next st*, repeat from * to * 11 times, sl st to 1st dc to join, DO NOT TURN [36 sts].
Round 4. Ch2, 1dc in same st (at base of ch2), 1dc in next st, (1dc, FPdc) in next st, *1dc in next 2 sts, (1dc, FPdc) in next st*, repeat from * to * 11 times, sl st to 1st dc to join, DO NOT TURN [48 sts].
Round 5. Ch2, 1dc in same st (at base of ch2), 1dc in next 2 sts, (1dc, FPdc) in next st, *1dc in next 3 sts, (1dc, FPdc) in next st*, repeat from * to * 11 times, sl st to 1st dc to join, DO NOT TURN [60 sts].
Round 6. Ch2, 1dc in same st (at base of ch2), 1dc in next 3 sts, (1dc, FPdc) in next st, *1dc in next 4 sts, (1d, FPdc) in next st*, repeat from * to * 11 times, sl st to 1st dc to join, DO NOT TURN [72 sts].
The diameter of the crown at this point should measure 4.5”
MAIN BODY OF BONNET
Row 1. Ch3 (does not count as your 1st st here and throughout), 1dc in same st (at base of ch3), sk next st, shell in next st, sk next 2 sts, FPdc in next st, *sk next 2 sts, shell in next st, sk next 2 sts, FPdc in next st*, repeat from * to * 8 times, ending 1dc in next st, TURN [9 shells].
Row 2. Ch3, BPdc in next st, *shell in next ch1 sp, BPdc in next FPdc from previous row*, repeat from * to * 9 times, ending 1dc in top of ch3, TURN [9 shells].
Row 3. Ch3, FPdc in next st, *fan in next ch1 sp, FPdc in next BPdc from previous row*, repeat from * to * 9 times, ending 1dc in top of ch3, TURN [9 fans].
Row 4. Ch3, BPdc in next st, *fan in next ch1 sp, BPdc in next FPdc from previous row*, repeat from * to * 9 times, ending 1dc in top of ch3, TURN [9 fans].
Rows 3 & 4 set pattern.
Repeat rows 3 and 4 TWICE more. Then repeat row 3 ONCE more (you should have 9 rows in total).
EDGING & TIES
You will now work edging down the side of your bonnet, along the back and then up the other side. Ties will be made at each corner.
Row 1. Ch1, 2sc in each dc row end down first side, (sc2tog) 9 times along back, 1sc in next st, 2sc in each dc row end up second side, TURN [44 sts].
Row 2. Ch1, 1sc in same st (at base of ch1), 1sc in next 43 sts back to other corner, TURN [44 sts].
FIRST TIE
Ch 60, working through both loops, (1hdc, ch2, sl st, [(ch2, 1hdc, ch2, sl st) twice]) into 3rd ch from hook, sl st in each ch to bottom.
Row 3. 1sc in next 44 sts to other corner.
You will now make the SECOND TIE as follows:
Ch 60, working through both loops, (1hdc, ch2, sl st, [(ch2, 1hdc, ch2, sl st) twice]) into 3rd ch from hook, sl st in each ch to bottom. Sl st to sc at bottom of ch to secure tie.
Cut yarn, fasten off and weave in ends.
PATTERN INSTRUCTIONS (6-9 MONTHS)
CROWN
Ch4, sl st to 1st ch to form a ring.
Round 1. Ch2 (does not count as your 1st st here and throughout), 13 dc in centre of ring, sl st to 1st dc to join, DO NOT TURN [13 sts].
Round 2. Ch2, (1dc & FPdc) in same st (at base of ch2), (1dc, FPdc) in next 12 sts, repeat from * to * 12 times, sl st to 1st dc to join, DO NOT TURN [26 sts].
Round 3. Ch2, 1dc in same st (at base of ch2), (1dc, FPdc) in next st, *1dc in next st, (1dc, FPdc) in next st*, repeat from * to * 12 times, sl st to 1st dc to join, DO NOT TURN [39 sts].
Round 4. Ch2, 1dc in same st (at base of ch2), 1dc in next st, (1dc, FPdc) in next st, *1dc in next 2 sts, (1dc, FPdc) in next st*, repeat from * to * 12 times, sl st to 1st dc to join, DO NOT TURN [52 sts].
Round 5. Ch2, 1dc in same st (at base of ch2), 1dc in next 2 sts, (1dc, FPdc) in next st, *1dc in next 3 sts, (1dc, FPdc) in next st*, repeat from * to * 12 times, sl st to 1st dc to join, DO NOT TURN [65 sts].
Round 6. Ch2, 1dc in same st (at base of ch2), 1dc in next 3 sts, (1dc, FPdc) in next st, *1dc in next 4 sts, (1d, FPdc) in next st*, repeat from * to * 12 times, sl st to 1st dc to join, DO NOT TURN [78 sts].
The diameter of the crown should measure 4.75”
MAIN BODY OF BONNET
Row 1. Ch3 (does not count as your 1st st here and throughout), 1dc in same st (at base of ch3), sk next st, shell in next st, sk next 2 sts, FPdc in next st, *sk next 2 sts, shell in next st, sk next 2 sts, FPdc in next st*, repeat from * to * 9 times, ending 1dc in next st, TURN [10 shells].
Row 2. Ch3, BPdc in next st, *shell in next ch1 sp, BPdc in next FPdc from previous row*, repeat from * to * 10 times, ending 1dc in top of ch3, TURN [10 shells].
Row 3. Ch3, FPdc in next st, *fan in next ch1 sp, FPdc in next BPdc from previous row*, repeat from * to * 10 times, ending 1dc in top of ch3, TURN [10 fans].
Row 4. Ch3, BPdc in next st, *fan in next ch1 sp, BPdc in next FPdc from previous row*, repeat from * to * 10 times, ending 1dc in top of ch3, TURN [10 fans].
Rows 3 & 4 set pattern.
Repeat rows 3 and 4 THREE times more (you should have 10 rows in total).
EDGING & TIES
You will now work edging down the side of your bonnet, along the back and then up the other side. Ties will be made at each corner.
Row 1. Ch1, 2sc in each dc row end down first side, (sc2tog) 9 times along back, 1sc in next st, 2sc in each dc row end up second side, TURN [50 sts].
Row 2. Ch1, 1sc in same st (at base of ch1), 1sc in next 49 sts back to other corner, TURN [50 sts].
FIRST TIE
Ch 65, working through both loops: (1hdc, ch2, sl st, [(ch2, 1hdc, ch2, sl st) twice]) into 3rd ch from hook, sl st in each ch to bottom.
Row 3. 1sc in next 50 sts to other corner.
You will now work the SECOND TIE as follows:
Ch 65, working through both loops, (1hdc, ch2, sl st, [(ch2, 1hdc, ch2, sl st) twice]) into 3rd ch from hook, sl st in each ch to bottom. Sl st to sc at bottom of ch to secure tie.
Cut yarn, fasten off and weave in ends.
PATTERN INSTRUCTIONS (9-12 MONTHS)
CROWN
Ch4, sl st to 1st ch to form a ring.
Round 1. Ch2 (does not count as your 1st st here and throughout), 14 dc in centre of ring, sl st to 1st dc to join, DO NOT TURN [13 sts].
Round 2. Ch2, (1dc & FPdc) in same st (at base of ch2), (1dc, FPdc) in next 13 sts, repeat from * to * 13 times, sl st to 1st dc to join, DO NOT TURN [28 sts].
Round 3. Ch2, 1dc in same st (at base of ch2), (1dc, FPdc) in next st, *1dc in next st, (1dc, FPdc) in next st*, repeat from * to * 13 times, sl st to 1st dc to join, DO NOT TURN [42 sts].
Round 4. Ch2, 1dc in same st (at base of ch2), 1dc in next st, (1dc, FPdc) in next st, *1dc in next 2 sts, (1dc, FPdc) in next st*, repeat from * to * 13 times, sl st to 1st dc to join, DO NOT TURN [56 sts].
Round 5. Ch2, 1dc in same st (at base of ch2), 1dc in next 2 sts, (1dc, FPdc) in next st, *1dc in next 3 sts, (1dc, FPdc) in next st*, repeat from * to * 13 times, sl st to 1st dc to join, DO NOT TURN [70 sts].
Round 6. Ch2, 1dc in same st (at base of ch2), 1dc in next 3 sts, (1dc, FPdc) in next st, *1dc in next 4 sts, (1d, FPdc) in next st*, repeat from * to * 13 times, sl st to 1st dc to join, DO NOT TURN [84 sts].
The diameter of the crown should measure 5” approximately.
MAIN BODY OF BONNET
Row 1. Ch3 (does not count as your 1st st here and throughout), 1dc in same st (at base of ch3), sk next st, shell in next st, sk next 2 sts, FPdc in next st, *sk next 2 sts, shell in next st, sk next 2 sts, FPdc in next st*, repeat from * to * 10 times, ending 1dc in next st, TURN [11 shells].
Row 2. Ch3, BPdc in next st, *shell in next ch1 sp, BPdc in next FPdc from previous row*, repeat from * to * 11 times, ending 1dc in top of ch3, TURN [11 shells].
Row 3. Ch3, FPdc in next st, *fan in next ch1 sp, FPdc in next BPdc from previous row*, repeat from * to * 11 times, ending 1dc in top of ch3, TURN [11 fans].
Row 4. Ch3, BPdc in next st, *fan in next ch1 sp, BPdc in next FPdc from previous row*, repeat from * to * 11 times, ending 1dc in top of ch3, TURN [11 fans].
Rows 3 & 4 set pattern.
Repeat rows 3 and 4 THREE times more. Then repeat row 3 ONCE more (you should have 11 rows in total).
EDGING & TIES
You will now work edging down the side of your bonnet, along the back and then up the other side. Ties will be made at each corner.
Row 1. Ch1, 2sc in each dc row end down first side, (sc2tog) 9 times along back, 1sc in next st, 2sc in each dc row end up second side, TURN [54 sts].
Row 2. Ch1, 1sc in same st (at base of ch1), 1sc in next 53 sts back to other corner, TURN [54 sts].
FIRST TIE
Ch 70, working through both loops: (1hdc, ch2, sl st, [(ch2, 1hdc, ch2, sl st) twice]) into 3rd ch from hook, sl st in each ch to bottom.
Row 3. 1sc in next 54 sts to other corner.
You will now make the SECOND TIE as follows:
Ch 70, working through both loops, (1hdc, ch2, sl st, [(ch2, 1hdc, ch2, sl st) twice]) into 3rd ch from hook, sl st in each ch to bottom. Sl st to sc at bottom of ch to secure tie.
Cut yarn, fasten off and weave in ends.
SHARE YOUR WORK!
I really hope that you enjoyed the free pattern for this easy crochet baby bonnet!
I look forward to seeing photos of your completed bonnet… please tag me on Instagram using @maisieandruth and / or #maisieandruth
And remember to pin this pattern for later if you can’t make it right now!
Happy crocheting,