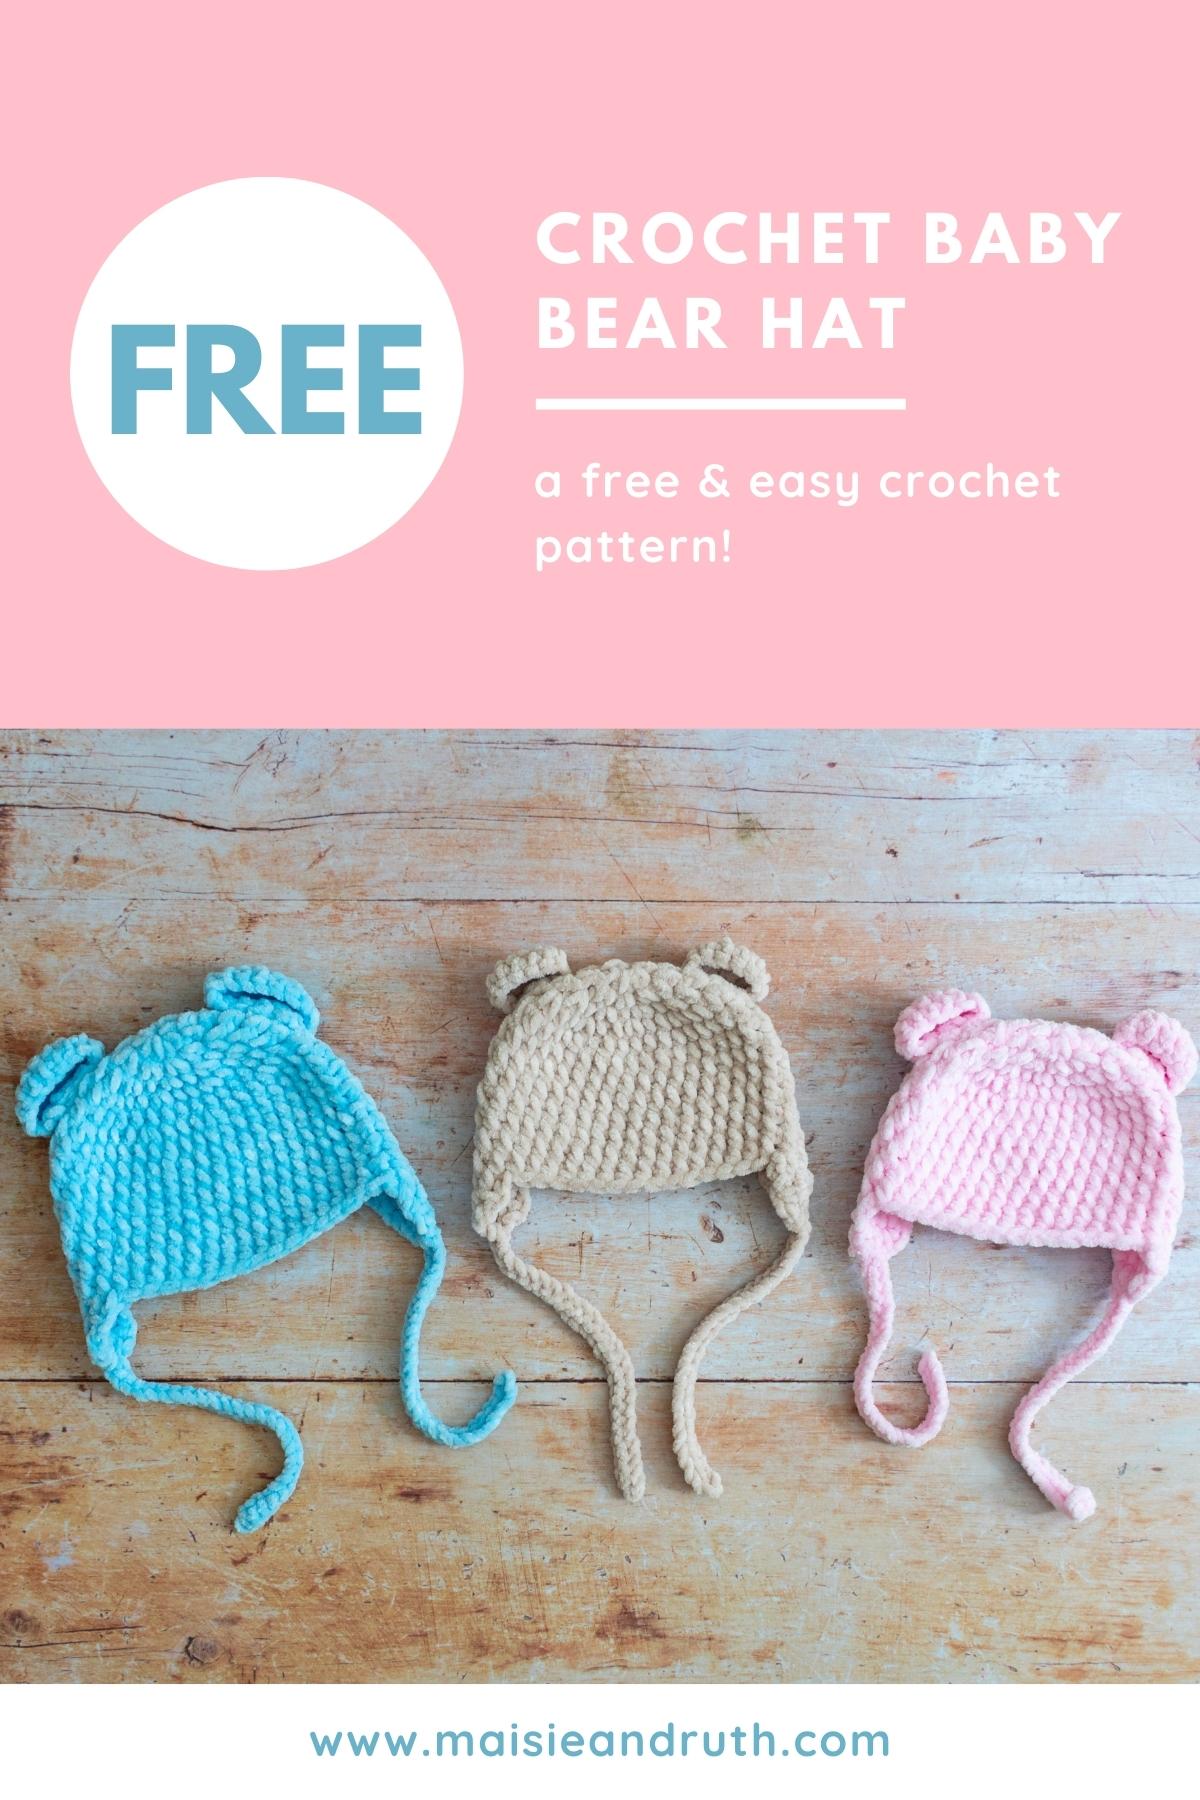
I’m so happy to share the updated free pattern for this crochet baby bear beanie! This soft and snuggly crochet hat has now been refreshed with a new name and additional sizes, while keeping the same adorable design.
In this post, you’ll find the full free pattern and step-by-step video tutorial to guide you through making your own Cozy Cloud Beanie. And if you prefer a tidy version without ads, you can grab the printable PDF pattern here which includes all sizes in one convenient file
Why You’ll Love the Cozy Cloud Beanie
- Ultra-soft and cozy – Made with plush chenille yarn for a cloud-like feel that’s gentle on little heads.
- Quick and satisfying make – Chunky yarn helps the beanie work up fast.
- Multiple sizes included – Pattern includes 6 sizes: newborn, 0–3 months, 3–6 months, 6–12 months, 1–3 years, and 3–10 years.
- Adorable design details – Sweet bear ears, ear flaps, and ties add charm and practicality.
- Perfect for gifts – Ideal for baby showers, birthdays, and handmade holiday presents.
- Video tutorial included – Follow along step-by-step if you prefer visual guidance (US crochet terms).
- Beginner-friendly construction – Worked top-down in rounds with simple shaping.
- Great for sibling sets – Make matching hats for babies and older kids.
About the Cozy Cloud Beanie
This pattern has recently been refreshed and renamed to Cozy Cloud Beanie to better reflect the ultra-soft chenille yarn used in the design. Along with the new name, the pattern has also been updated with additional sizes.
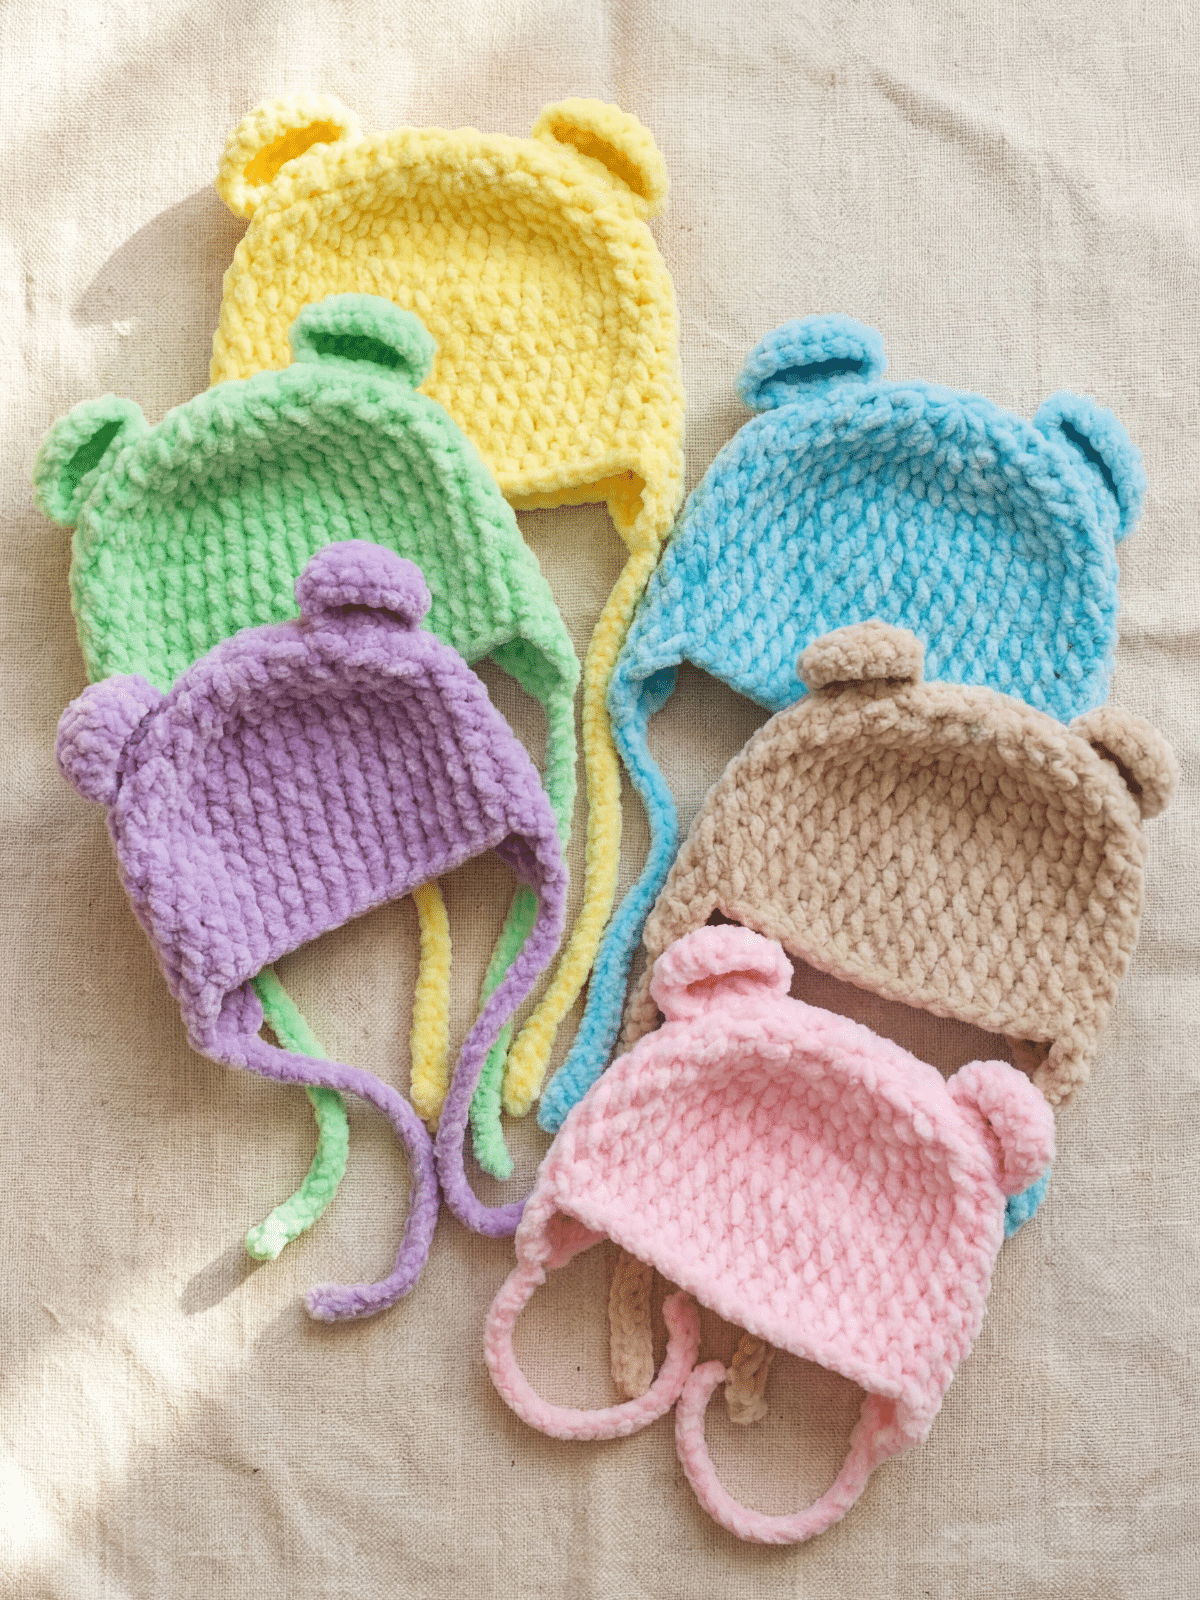
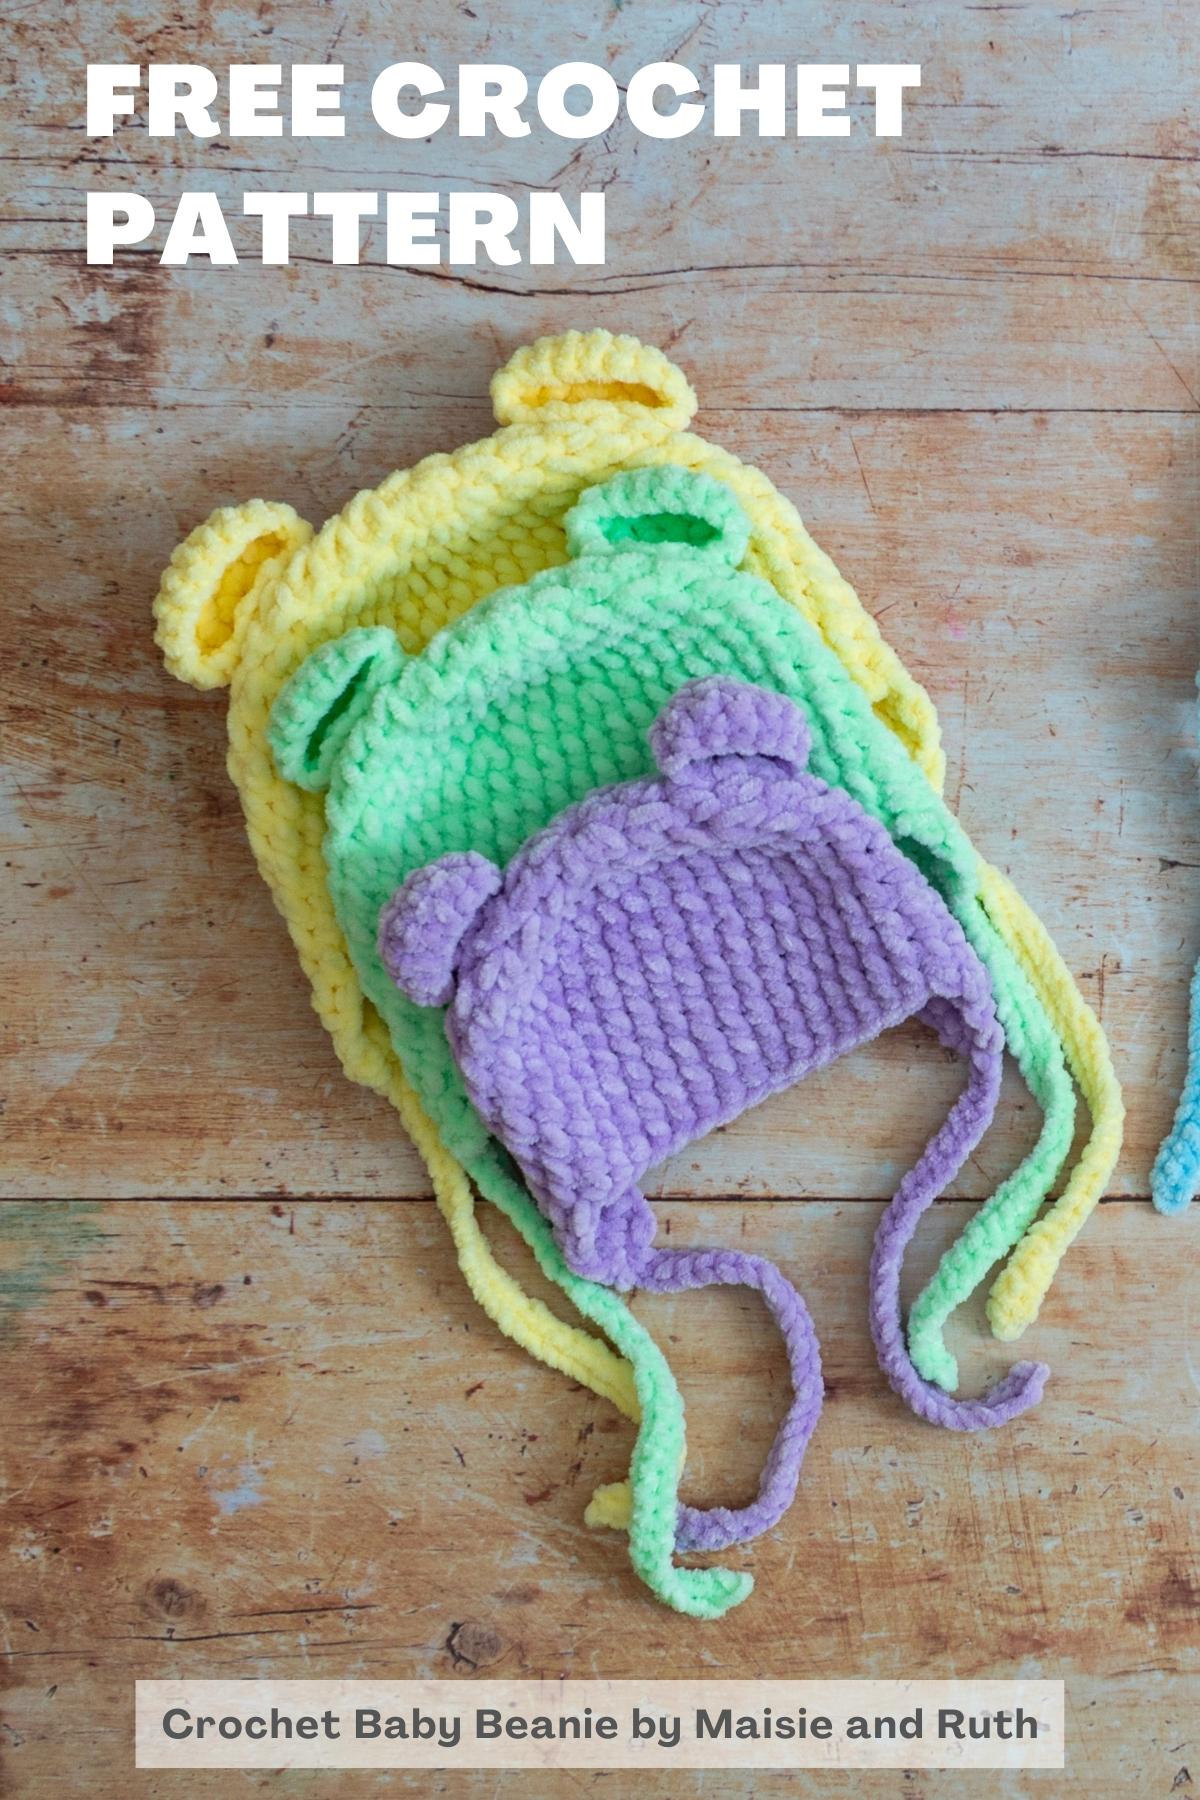
The Cozy Cloud Beanie is a soft and snuggly crochet hat designed to keep little heads warm and comfortable. Made with plush, chunky (bulky) chenille yarn, it has a wonderfully fluffy texture that feels as soft and light as a cloud. With sweet ear flaps, ties, and adorable bear ears, this beanie is both practical and irresistibly cute.

Sizes Included
The pattern has now been expanded to include more sizes, now covering:
- Newborn
- 0–3 months
- 3–6 months
- 6–12 months
- 1–3 years
- 3–10 years
This expanded sizing makes it perfect for creating sibling sets, thoughtful handmade gifts, or cozy winter hats.

A Quick and Cozy Crochet Project
Thanks to the chunky chenille yarn and simple construction, this beanie works up quickly and is a relaxing project to make.
Worked mainly in the round, you’ll be using a chunky, 100% polyester yarn and a J (6mm) crochet hook.
Whether you’re crocheting for a baby shower gift, preparing handmade items for cooler weather, or simply enjoying a cozy crochet session, the Cozy Cloud Beanie is a fun and satisfying project.

Yarn Used
For this design, I used James C. Brett Flutterby Chunky yarn, a beautifully soft chenille yarn that gives the beanie its signature cloud-like texture.
This chunky yarn is incredibly plush and gentle, making it perfect for baby and children’s projects. It works up quickly and creates a warm, cozy fabric that feels wonderfully soft against the skin—ideal for keeping little heads snug and comfortable.

Yarn Substitutes
If you can’t find James C. Brett Flutterby Chunky, you can easily substitute it with other chunky (bulky weight 5) chenille yarns that have a similar plush texture. Look for soft, velvety yarns designed for baby blankets and cozy accessories so the beanie keeps its fluffy, cloud-like feel.
Popular alternatives are:
These substitutes will still give you a beautifully soft, warm beanie that works up quickly and keeps the same cozy look and feel. If you use a substitute yarn, just be sure to check your gauge and adjust hook size if needed.

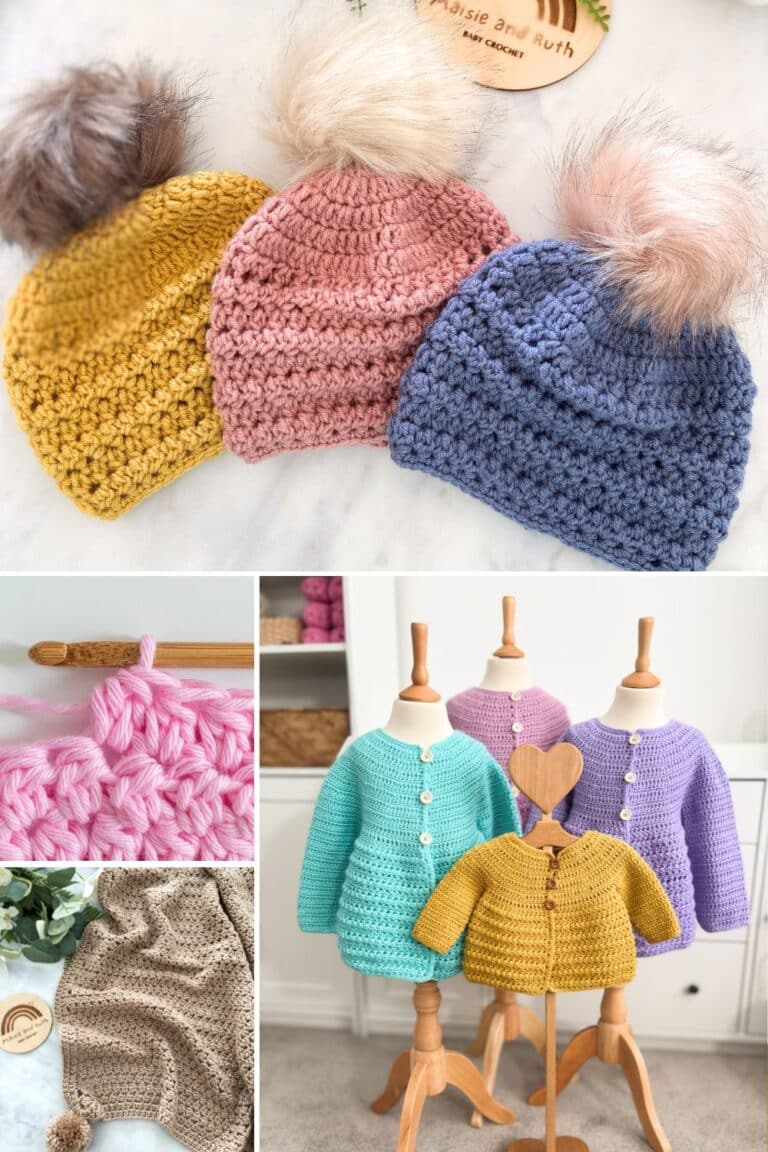
Part of the Cloud Collection
The Cozy Cloud Beanie is part of the cozy and coordinated Cloud Collection of crochet patterns. This sweet set of designs is made with plush, chunky chenille yarn to create ultra-soft, cloud-like pieces that are perfect for babies and growing kids.
Alongside the Cozy Cloud Beanie, the collection also includes the Snuggle Bear Kids Hoodie, Little Cloud Booties, Cozy Cloud Mittens, and the Snuggle Cloud Blanket. Each pattern is designed to mix and match beautifully, making it easy to create a complete set of warm, snuggly handmade pieces.

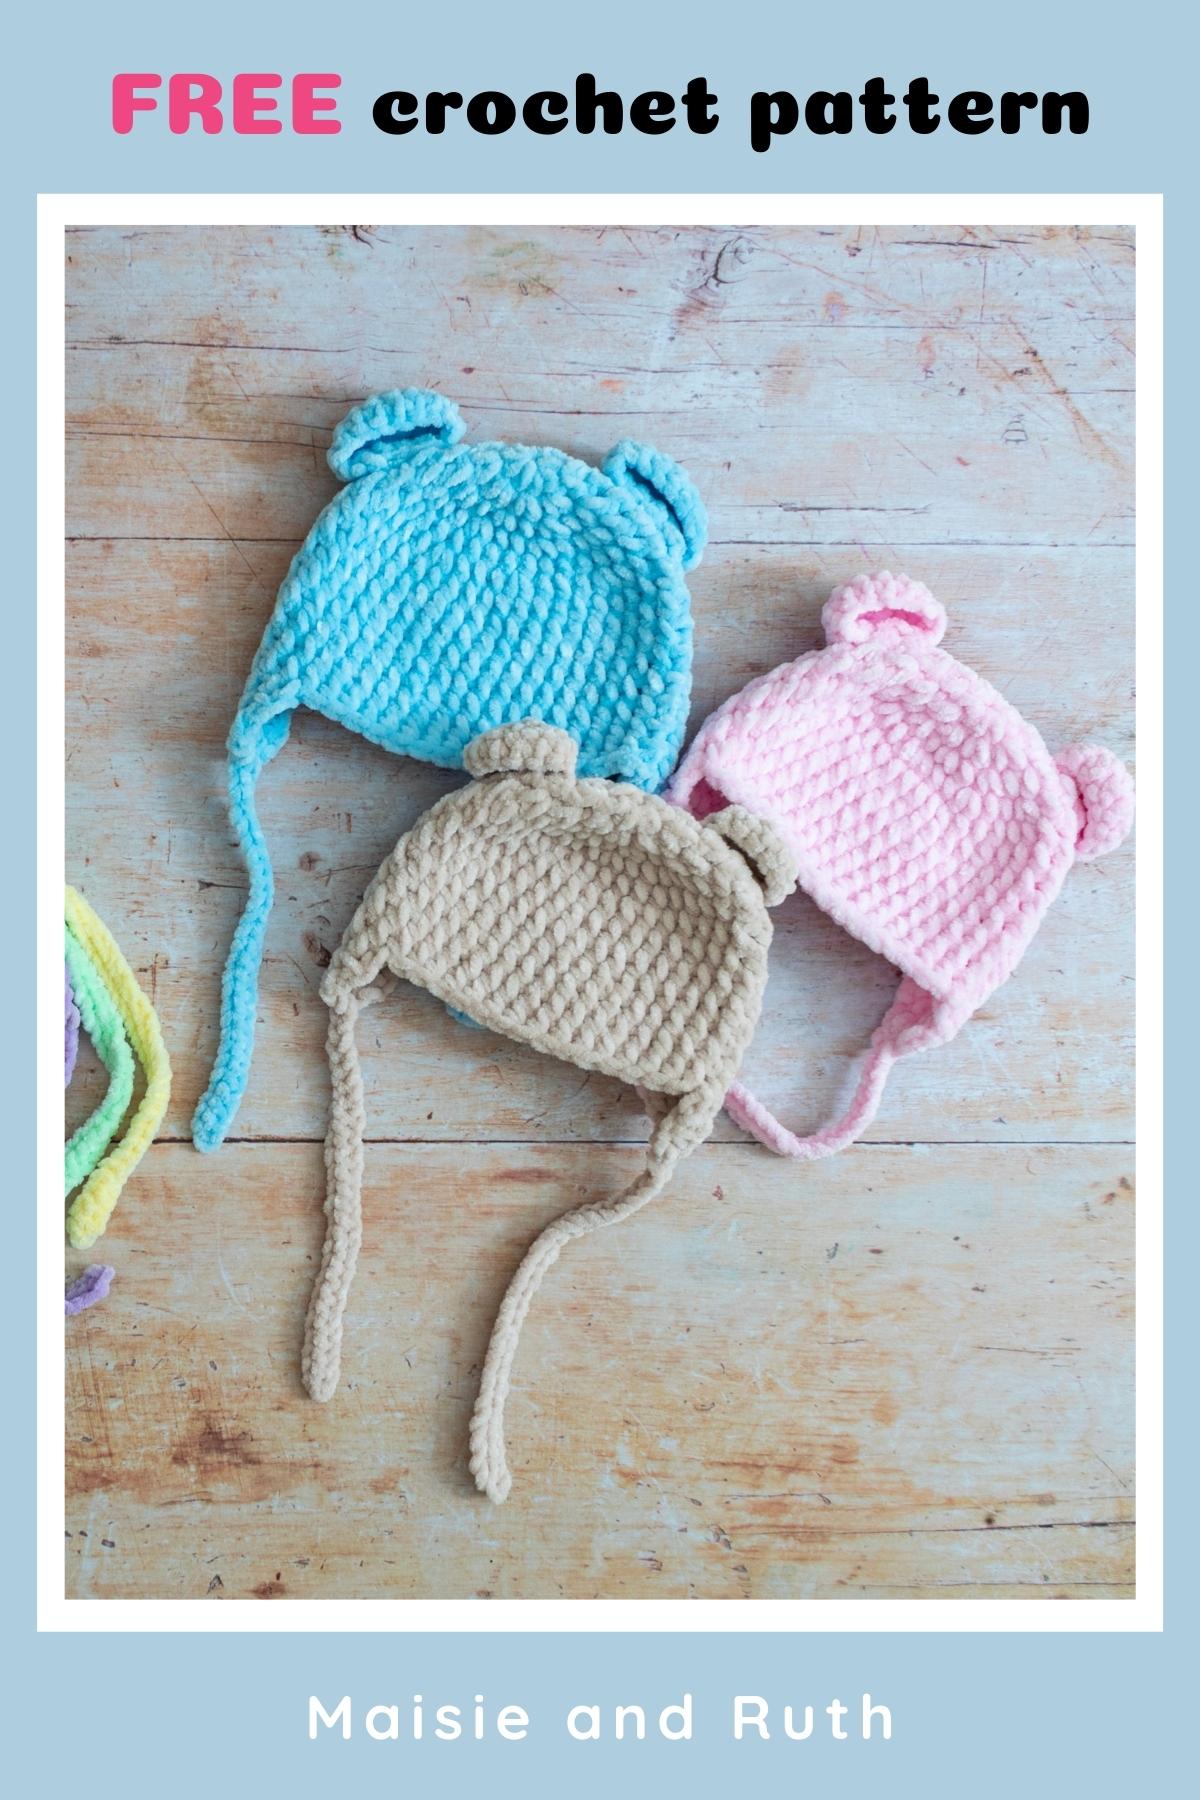
Pin Me For Later!


Let’s Get Started
It’s time to grab your yarn, hook, and supplies and get ready to crochet your Cozy Cloud Beanie. Follow the step-by-step instructions below and enjoy creating this soft, snuggly hat!
Print This Pattern!
Prefer a Printable Version? You can purchase the ad-free, printable PDF of this crochet baby bear beanie pattern! It includes all the same information as the free version, plus more.
The PDF pattern is thoughtfully colour-coded for ease of use, with each size clearly distinguished in alternating red and blue text (for example, newborn in red, 0–3 months in blue, 3–6 months in red etc), making it simple to follow along without confusion.
The Cozy Cloud Beanie is also part of a Crochet Pattern Bundle! Check it out here

Ad-Free Download
PDF PRINTABLE PATTERN
- Enlarged-type
- Print-friendly
- Bonus sections: size charts & colour-coded instructions
Thank you for supporting my shop!
Cozy Cloud Beanie: A Free Crochet Baby Bear Beanie Pattern
This post for a crochet baby bear beanie pattern may contain affiliate links, which means I’ll receive a commission if you purchase through my links, at no extra cost to you. Please read full disclosure for more information.
Please carefully read all the information below.
Level

Basic – (see details of project levels at the Craft Yarn Council).
Pattern Notes
- Quick tip: read these notes first… it’ll make everything easier!
- US standard crochet terms are used throughout.
- Take time to check gauge before starting the garment (details below).
- Numbers given are for smallest size, with numbers for larger sizes in ( ) brackets . E.g. newborn (0–3 mos: 3–6 mos: 6–12 mos: 1–3 yrs: 3–10 yrs).
- If an instruction does not apply to a particular size then a – is used instead of a number. E.g. – (–: 3: 3: 4: 5) means that the newborn and 0–3 mos sizes do not apply to this instruction.
- Circle the size you wish to make beforehand (both stitch and row counts). You can buy and print off the PDF pattern here
- You can use a #5 / bulky / chunky / 12 ply yarn for this project, providing you meet the gauge as detailed below. A chenille yarn is recommended.
- From row 2 onwards, you’ll work your half double crochets in the spaces in between each stitch (as opposed to crocheting through the top of each stitch).
- The ch1 at the beginning of each round / row does not count as the first stitch of the next round/ row. Therefore, you should make the first half double crochet of the round / row in the first space, at the base of the ch1.
- A video tutorial is provided here (newborn size only – use as a handy guide when making the other sizes).
Materials
Yarn
#5 / chunky / bulky / 12 ply
James C. Brett Flutterby Chunky, 191 yds / 3.5 oz (175m / 100g). 100% polyester (chenille). Colours featured in this pattern are as follows: Baby Blue, Baby Pink, Fawn, Lilac, Lemon and Apple.
Yarn amounts for sizes newborn (0–3 mos: 3–6 mos: 6–12 mos: 1–3 yrs: 3–10 yrs):
1 ball for each size
68 (76, 89, 103, 116, 129) yards
Crochet Hooks (All Sizes):
Yarn Substitutes
Other Materials
- Yarn needle (for weaving in ends)
- Scissors
- 1x stitch marker (optional: to mark start of row / round)
Gauge / Tension
With a J (6mm) crochet hook, work the first 4 (5: 5: 5: 5: 5) rounds of the pattern below. After working these rounds, the crown diameter of the beanie (after blocking) should measure as follows:
Newborn: 4” (10cm)
0–3 mos: 4.75″ (12cm)
3–6 mos: 5.25″ (13cm)
6–12 mos: 5.75″ (14.5cm)
1–3 yrs: 6.25″ (16cm)
3–10 yrs: 6.75″ (17cm)
If Your Gauge Doesn’t Match:
- Swatch is too big
→ Try a smaller hook
- Swatch is too small
→ Try a larger hook
Finished Sizes
Sizes newborn (0–3 mos: 3–6 mos: 6–12 mos: 1–3 yrs: 3–10 yrs)
Finished width (IN): 6¼ (7, 7¾, 8½, 9¼,10)
Finished height (IN): 4½ (5, 5½, 6, 6½, 7)
Stitches & Abbreviations (US Crochet Terms)
beg – beginning
ch(s) – chain(s)
hdc – half double crochet: Yarn over (yo), insert hook into next space, yo, pull up a loop (3 loops on hook). Yo, pull through all 3 loops. 1 half double crochet completed.
RS – right side: The side of your work that you want to have on display – the ‘pretty’ side.
sc – single crochet: Insert hook into stitch, yarn over (yo), pull up a loop (2 loops on hook). Yo, pull through both loops on hook. 1 single crochet completed.
sk – skip: Do not crochet into this stitch / space.
sl st – slip stitch: Insert hook into stitch, yarn over (yo), pull up a loop, you will have 2 loops on your hook. Pull the first loop through the second loop. 1 slip stitch completed.
sp(s) – space(es)
st(s) – stitch(es)
Turn: Turn your work clockwise or anti-clockwise. It doesn’t matter as long as you are consistent for a neater edge.
* to * – Repeat instructions between asterisks as many times as directed.
[ ] – The total number of stitches at the end of a row.
Instructions
Crown
Make a magic ring or ch6 and sl st to 1st ch to form a ring.
Round 1. Ch1 (does not count as your 1st st here and throughout), 9 (8: 9: 10: 11: 12) hdc into the centre of ring, sl st to space between ch1 and 1st hdc to join [9 (8: 9: 10: 11: 12) hdc].
Starting from round 2, and throughout the remainder of the pattern, you’ll work your half double crochets in the spaces in between each stitch.
Round 2. Ch1, 2hdc in 1st sp (at base of ch1), 2hdc in next 8 (7: 8: 9: 10: 11) sps, sl st to space between ch1 and 1st hdc to join [18 (16: 18: 20: 22: 24) hdc].
Round 3. Ch1, 2hdc in 1st sp, 1hdc in next sp, *2hdc in next sp, 1hdc in next sp*, repeat from * to * 8 (7: 8: 9: 10: 11) times, sl st to space between ch1 and 1st hdc to join [27 (24: 27: 30: 33: 36) hdc].
Round 4. Ch1, 2hdc in 1st sp, 1hdc in next 2 sps, *2hdc in next sp, 1hdc in next 2 sps*, repeat from * to * 8 (7: 8: 9: 10: 11) times, sl st to space between ch1 and 1st hdc to join [36 (32: 36: 40: 44: 48) hdc].
Sizes 0–3 mos, 3–6 mos, 6–12 mos, 1–3 years, 3–10 years only:
Round 5. Ch1, 2hdc in 1st sp, 1hdc in next 3 sps, *2hdc in next sp, 1hdc in next 3 sps*, repeat from * to * – (7: 8: 9: 10: 11) times, sl st to space between ch1 and 1st hdc to join [– (40: 45: 50: 55: 60) hdc].
Body
For all 6 sizes:
Round 1. Ch1, 1hdc in 1st sp, 1hdc in next 35 (39: 44: 49: 54: 59) sps, sl st to space between ch1 and 1st hdc to join [36 (40: 45: 50: 55: 60) hdc].
Repeat round 1 until you have 12 (14: 15: 16: 17: 18) rounds in total.
The main body of the hat is now finished. Do NOT cut your yarn as it’s now time to work on the first earflap.
First Earflap
Row 1. Ch1, 1hdc in 1st sp, 1hdc in next 4 (4: 4: 6: 6: 8) sps, TURN [5 (5: 5: 7: 7: 9) hdc].
Row 2. Ch1, sk 1st sp, 1hdc in next 4 (4: 4: 6: 6: 8) sps, TURN [4 (4: 4: 6: 6: 8) hdc].
Row 3. Ch1, sk 1st sp, 1hdc in next 3 (3: 3: 5: 5: 7) sps, TURN [3 (3: 3: 5: 5: 7) hdc].
Sizes newborn, 0–3 mos only:
Cut yarn, fasten off and weave in ends.
Sizes 3–6 mos, 6–12 mos, 1–3 yrs, 3–10 yrs only:
Row 4. Ch1, sk 1st sp, 1hdc in next – (–: 2: 4: 4: 6) sps, TURN [– ( –: 2: 4: 4: 6) hdc].
Size 3–6 mos only:
Cut yarn, fasten off and weave in ends.
Sizes 6–12 mos, 1–3 yrs, 3–10 yrs only:
Row 5. Ch1, sk 1st sp, 1hdc in next – (–: –: 3: 3: 5) sps, TURN [– (–: –3: 3: 5) hdc].
Row 6. Ch1, sk 1st sp, 1hdc in next – (–: –: 2: 2: 4) sps, TURN [– (–: –: 2: 2: 4) hdc].
Sizes 6–12 mos, 1–3 yrs only:
Cut yarn, fasten off and weave in ends.
Size 3–10 yrs only:
Row 7. Ch1, sk 1st sp, 1hdc in next 3 sps, TURN [3 hdc].
Row 8. Ch1, sk 1st sp, 1hdc in next 2 sps, TURN [2 hdc].
Cut yarn, fasten off and weave in ends.
Second Earflap
Position your hat as shown in the photo below and re-attach your yarn 15 (16: 20: 26: 30: 34) spaces along to the left from the last stitch worked.

Row 1. Ch1, 1hdc in next 5 (5: 5: 7: 7: 9) sps, TURN [5 (5: 5: 7: 7: 9) hdc].
Row 2. Ch1, sk 1st sp, 1hdc in next 4 (4: 4: 6: 6: 8) sps, TURN [4 (4: 4: 6: 6: 8) hdc].
Row 3. Ch1, sk 1st sp, 1hdc in next 3 (3: 3: 5: 5: 7) sps, TURN [3 (3: 3: 5: 5: 7) hdc].
Sizes newborn, 0–3 mos only:
Cut yarn, fasten off and weave in ends.
Sizes 3–6 mos, 6–12 mos, 1–3 yrs, 3–10 yrs only:
Row 4. Ch1, sk 1st sp, 1hdc in next – (–: 2: 4: 4: 6), TURN [– (–: 2: 4: 4: 6) hdc].
Size 3–6 mos only:
Cut yarn, fasten off and weave in ends.
Sizes 6–12 mos, 1–3 yrs, 3–10 yrs only:
Row 5. Ch1, sk 1st sp, 1hdc in next – (–: –: 3: 3: 5) sps, TURN [– (–: –: 3: 3: 5) hdc].
Row 6. Ch1, sk 1st sp, 1hdc in next – (–: –: 2: 2: 4) sps, TURN [– (–: –: 2: 2: 4) hdc].
Sizes 6–12 mos, 1–3 yrs only: Cut yarn, fasten off and weave in ends.
Size 3–10 yrs only:
Row 7. Ch1, sk 1st sp, 1hdc in next 3 sps, TURN [3 hdc].
Row 8. Ch1, sk 1st sp, 1hdc in next 2 sps, TURN [2 hdc].
Cut yarn, fasten off and weave in ends.
Ties
With the right side facing, re-attach yarn to the bottom of the earflap, in the centre space.
Ch 26 (28: 30: 34: 38: 42)
Row 1. Sl st in 2nd ch from hook, sl st in each chain to bottom of chain, sl st to sp where yarn was first re-attached.
Cut yarn, fasten off and weave in ends.
Repeat the above instructions with the other tie.
Ears (Make 2)
Make a magic ring or ch 6 and sl st to 1st chain to form a circle.
Round 1. Ch1 (does not count as your 1st st here and throughout), 6 (7: 8: 10: 11: 12) sc in centre of ring, sl st to 1st sc to join [6 (7: 8: 10: 11: 12) sc].
Round 2. Ch1, 2sc in same st (at base of ch1), 2sc in next 5 (6: 7: 9: 10: 11) sts, sl st to 1st sc to join [12 (14: 16: 20: 22: 24 sc].
Rounds 3 – 4: Ch1, 1sc in same st (at base of ch1), 1sc in next 11 (13: 15: 19: 21: 23) sts, sl st to 1st sc to join [12 (14: 16: 20: 22: 24) sc].
Sizes newborn, 0–3 mos, 3–6 mos only: Cut yarn, leaving a long tail for sewing on to beanie.
Sizes 6–12 mos, 1–3 yrs, 3–10 yrs only:
Round 5. Ch1, 1sc in same st (at base of ch1), 1sc in next – (–: –: 19: 21: 23) sts, sl st to 1st sc to join [– (–: –: 20: 22: 24) sc].
Cut yarn, leaving a long tail for sewing on to beanie.
Position your ears on the hat, slightly to the back of the beanie. To make the sewing part easier, I like to pin the ears in place.
And that’s your Cozy Cloud Beanie all finished! I loved making and sharing this pattern with you! If you’d like a convenient, ad-free version to crochet from, you can purchase and download the pretty, ad-free PDF here

SHARE YOUR WORK!
I really hope that you enjoyed this free crochet pattern! I would LOVE to see photos of your completed project… please tag me on Instagram using @maisieandruth and / or #maisieandruth
And remember to pin this pattern for later if you can’t make it right now!
PATTERN SUPPORT
Need Help with a Pattern?
We’ve got you! 😊
If you need a hand, come hang out with us in our Facebook group—it’s the best place to ask questions, share your makes, and cheer each other on.
We’ve also put together a step-by-step YouTube tutorial you can follow along with—this should answer most of your questions along the way!
Pop into the Facebook group and join our cozy little community—we’d absolutely love to see you there! 💛
COPYRIGHT
Copyright © 2021 by Maisie and Ruth Limited. All rights reserved. This crochet baby bear beanie pattern is for personal viewing only. You may view it for free on this blog, but it is protected under applicable copyrights, trademarks, and other proprietary (including but not limited to intellectual property) rights.
You may not copy, redistribute, or sell this pattern in any form, including digital, printed or photographic formats without permission. Sharing this pattern (in whole or in part) on social media, websites, or messaging platforms is strictly prohibited. This is a theft of the author’s intellectual property, which may result in civil or criminal penalties.
Thank you for respecting my work and for your continued support — it truly means a lot!
Frequently Asked Questions
Is this pattern suitable for beginners?
Yes! The Cozy Cloud Beanie is a beginner-friendly pattern. It uses simple stitches and is worked top-down in rounds, making it a great project for crocheters who are comfortable with the basics.
What yarn weight is used for this pattern?
This beanie is made using chunky (weight 5) chenille yarn, which gives it a plush, cloud-like texture and helps the project work up quickly.
Can I use a different yarn?
Yes, you can substitute other chunky chenille yarns with a similar thickness and softness. Just be sure to check your gauge and adjust your hook size if needed.
What sizes are included in the pattern?
The pattern includes the following sizes:
Newborn, 0–3 months, 3–6 months, 6–12 months, 1–3 years, and 3–10 years.
Is there a video tutorial available?
Yes! A step-by-step video tutorial is included in this post to help guide you through the pattern.
Is there a printable version of the pattern?
Yes, you can purchase the ad-free PDF version of the Cozy Cloud Beanie if you prefer a clean, printable copy that you can download and crochet from offline.
How long does it take to make the beanie?
Because the pattern uses chunky yarn, it works up quite quickly. Many crocheters can complete a beanie in just a few hours, making it a great project for gifts.
Can I sell finished items made from this pattern?
Yes! You are welcome to sell finished beanies made from this pattern (mass production is prohibited). Please credit the pattern design to Cozy Cloud Beanie by Maisie and Ruth when possible and do not redistribute or resell the pattern itself.