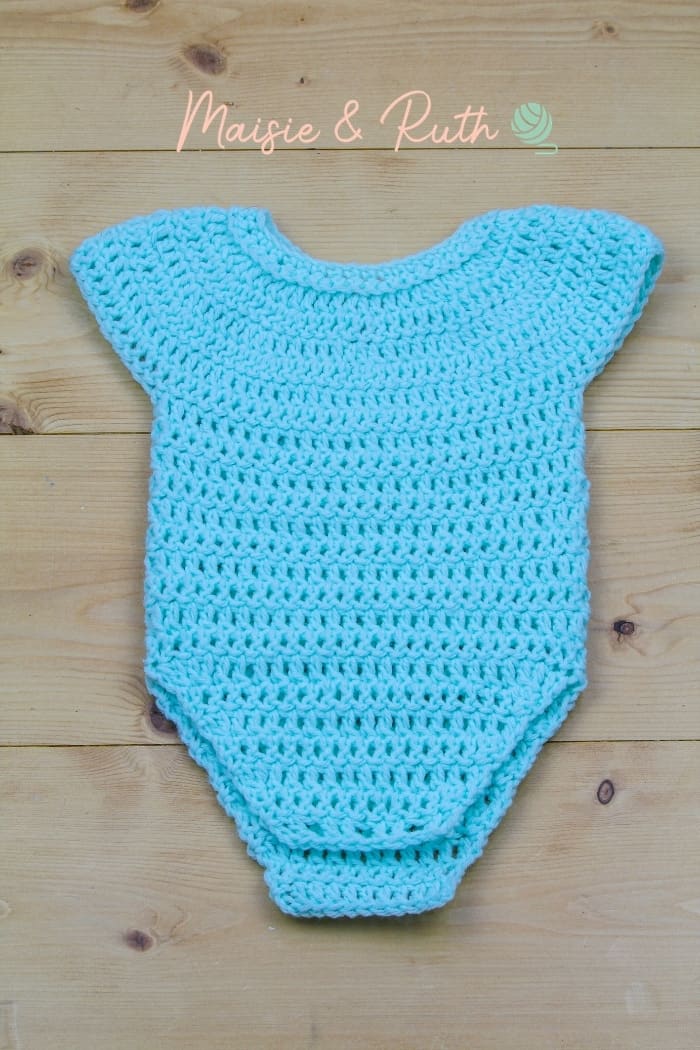
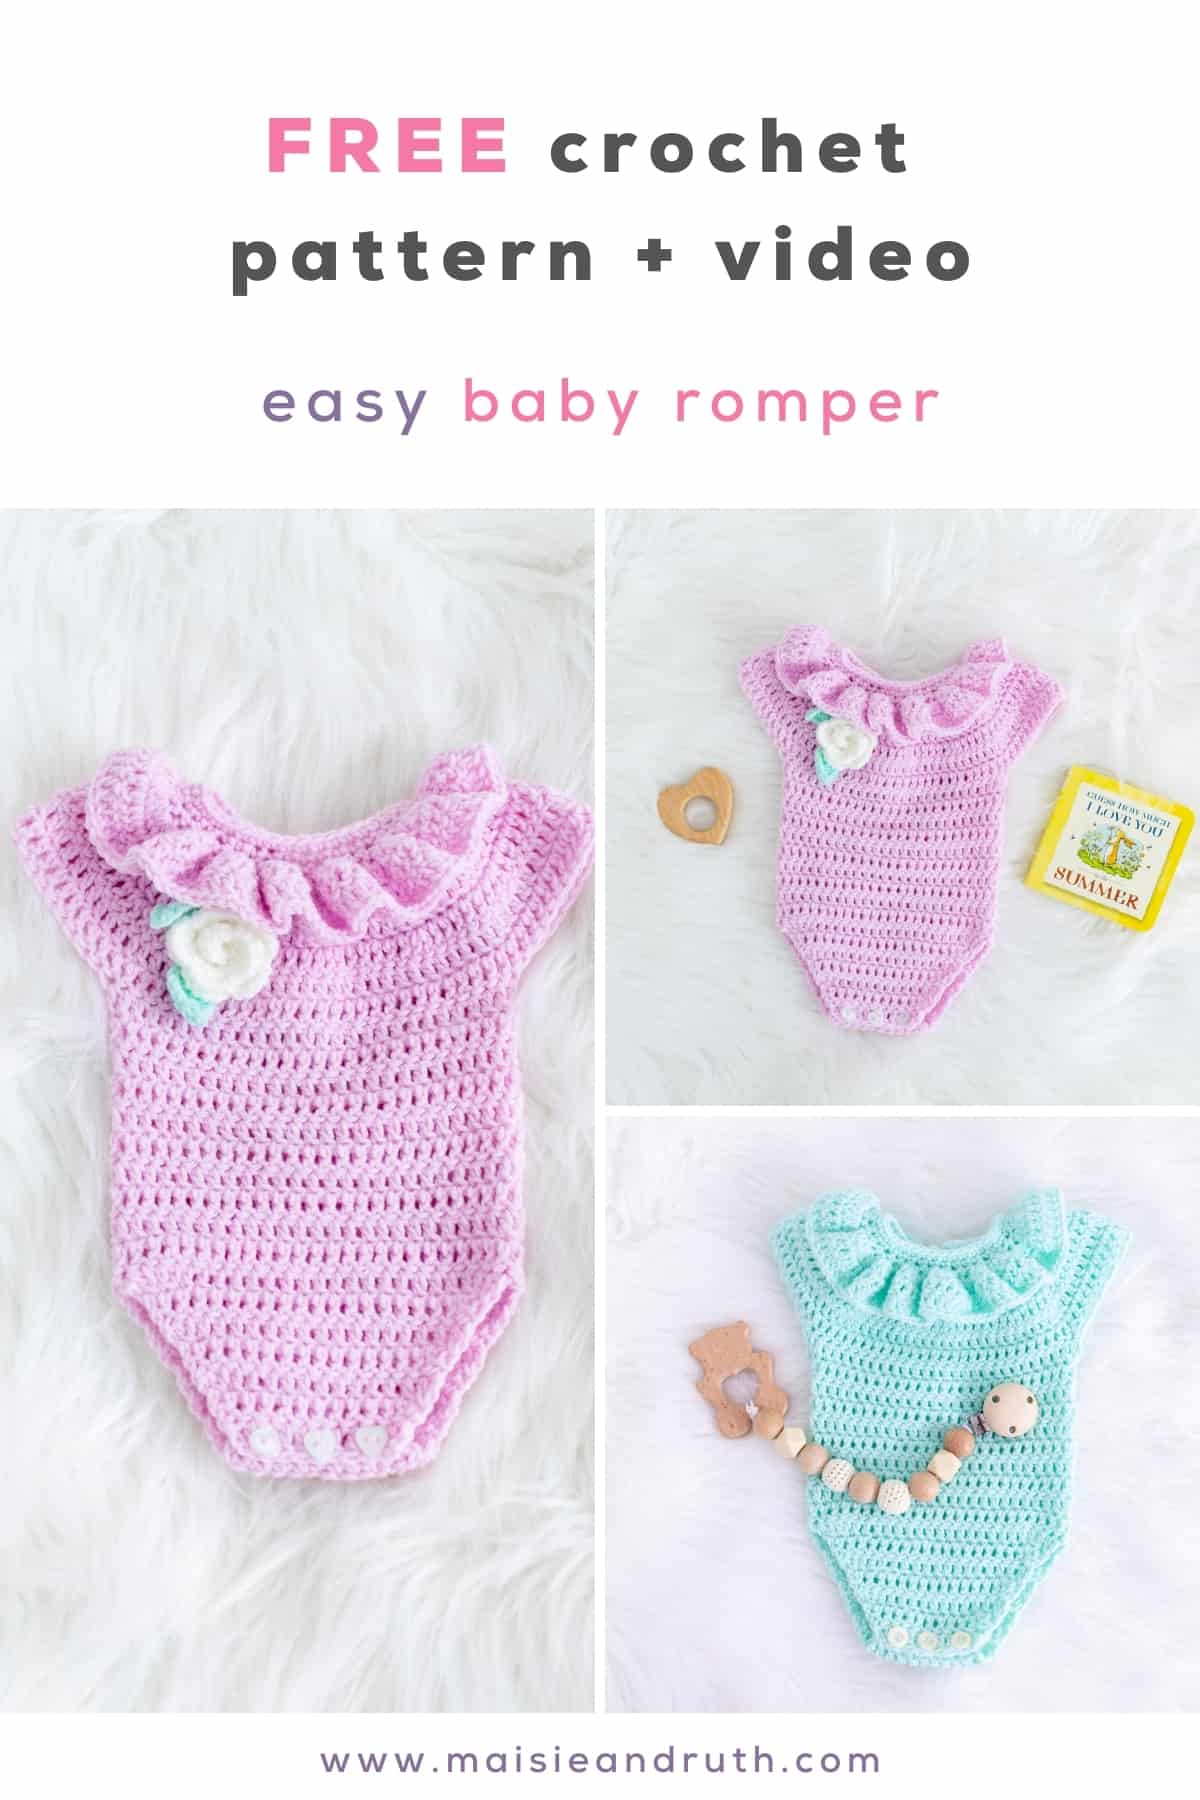
If you’re looking to work up a cute crochet baby romper for a newborn baby, carry on reading for the FREE crochet pattern!
There’s also a VIDEO TUTORIAL to accompany this pattern. And to purchase an ad-free printable version, please visit my Etsy store HERE
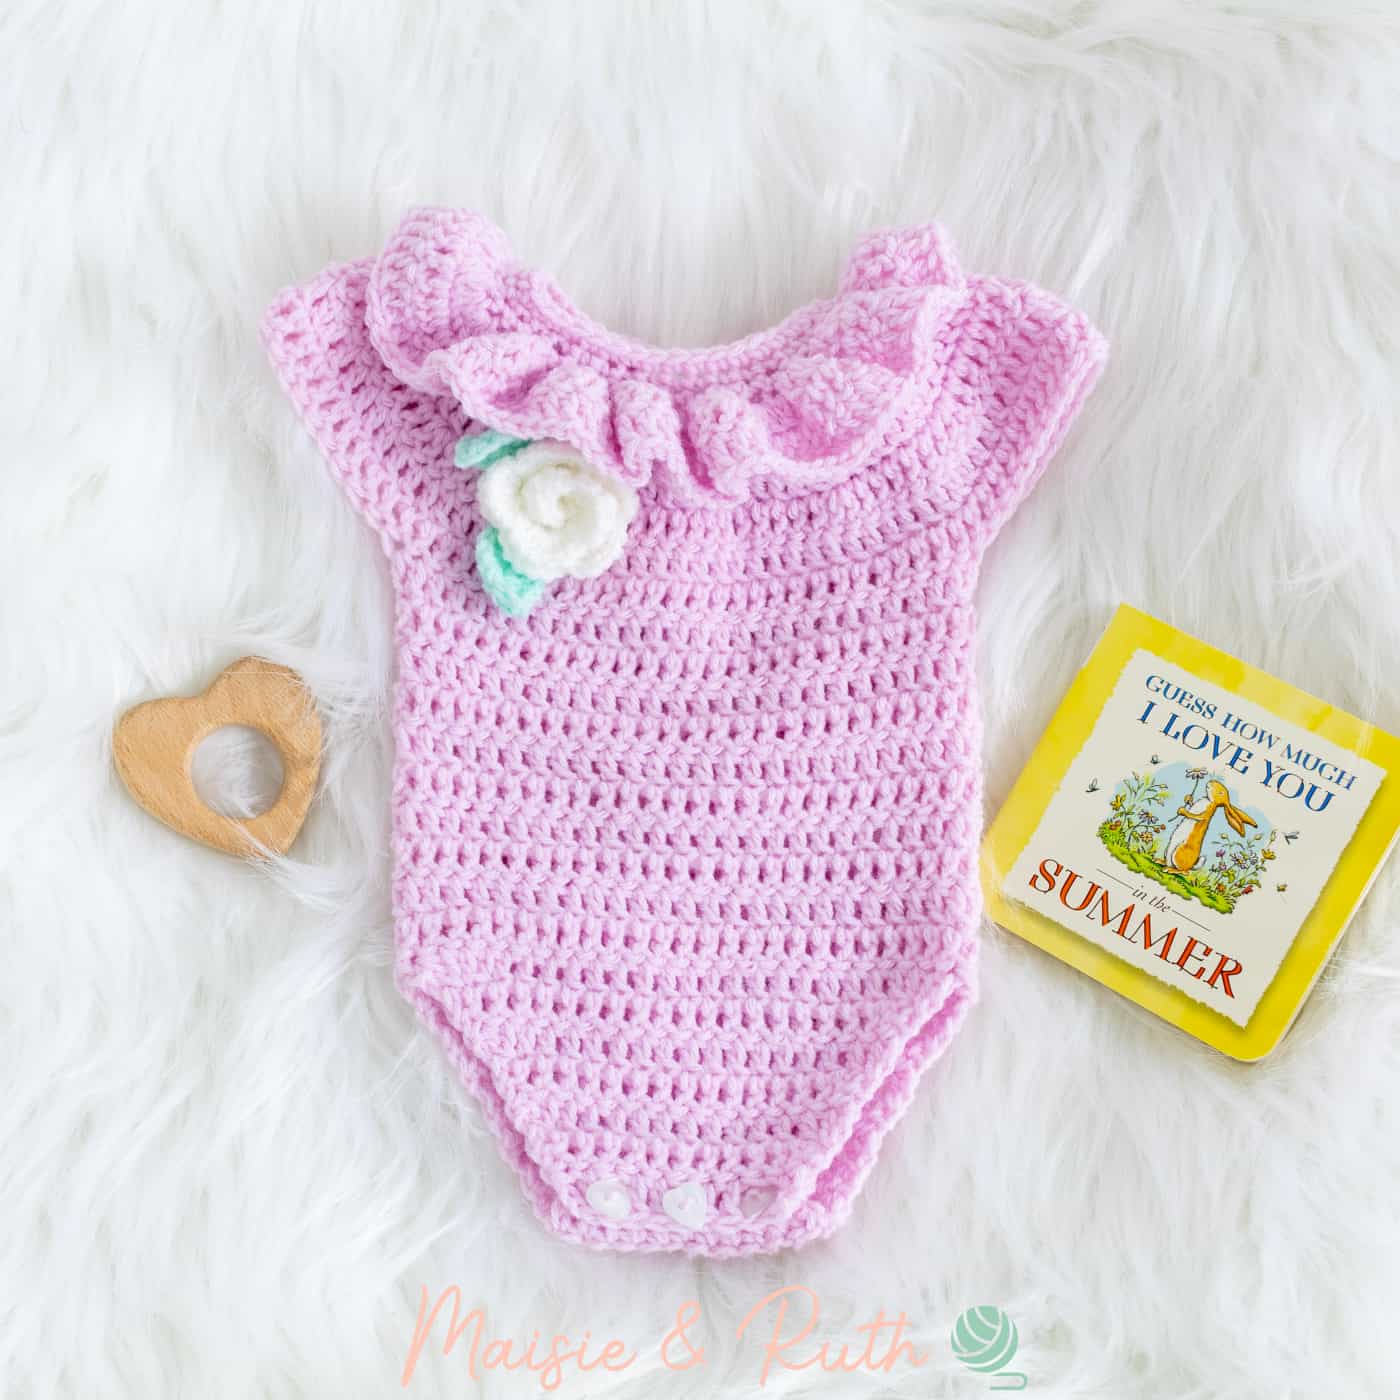
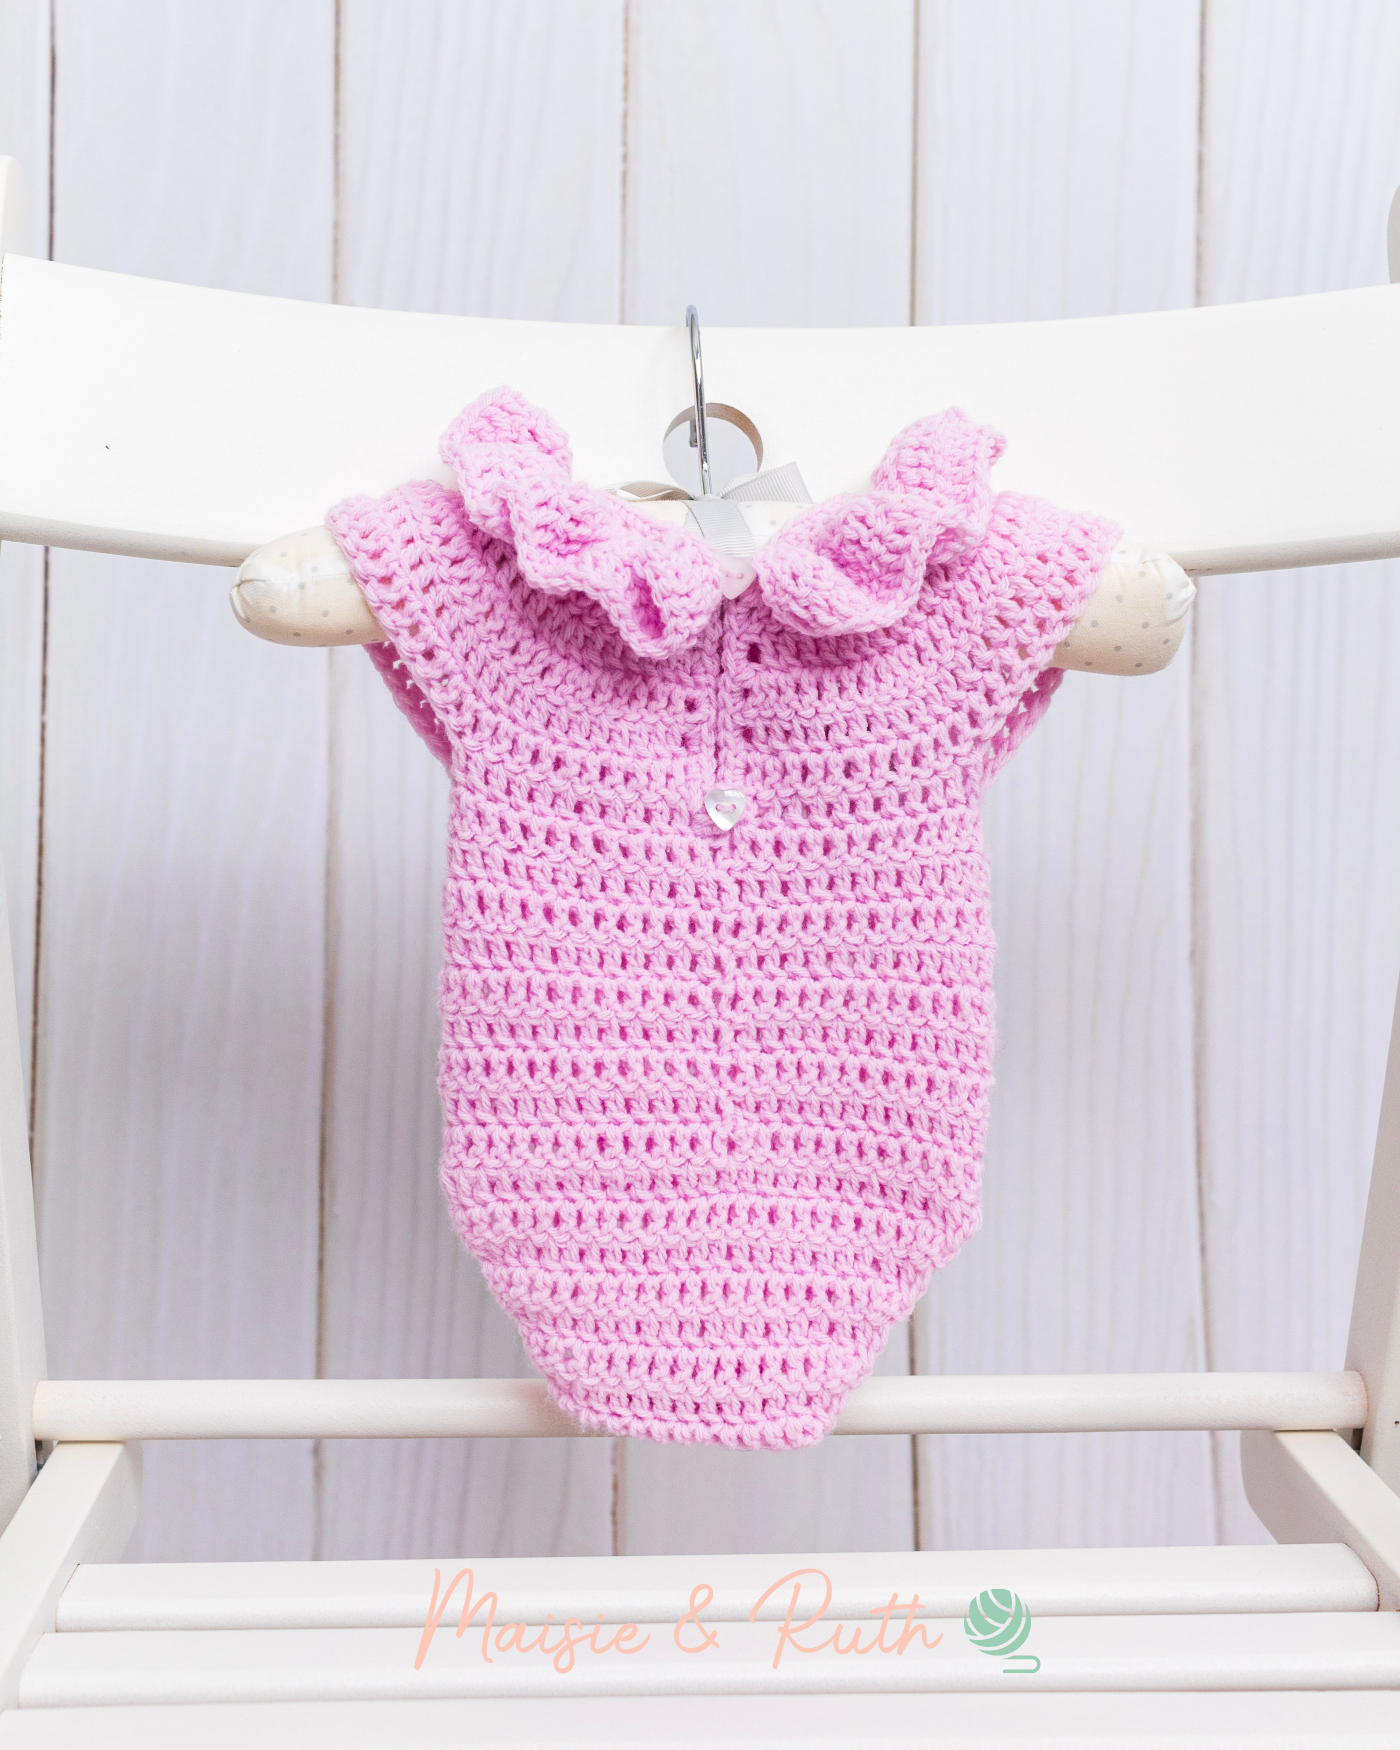
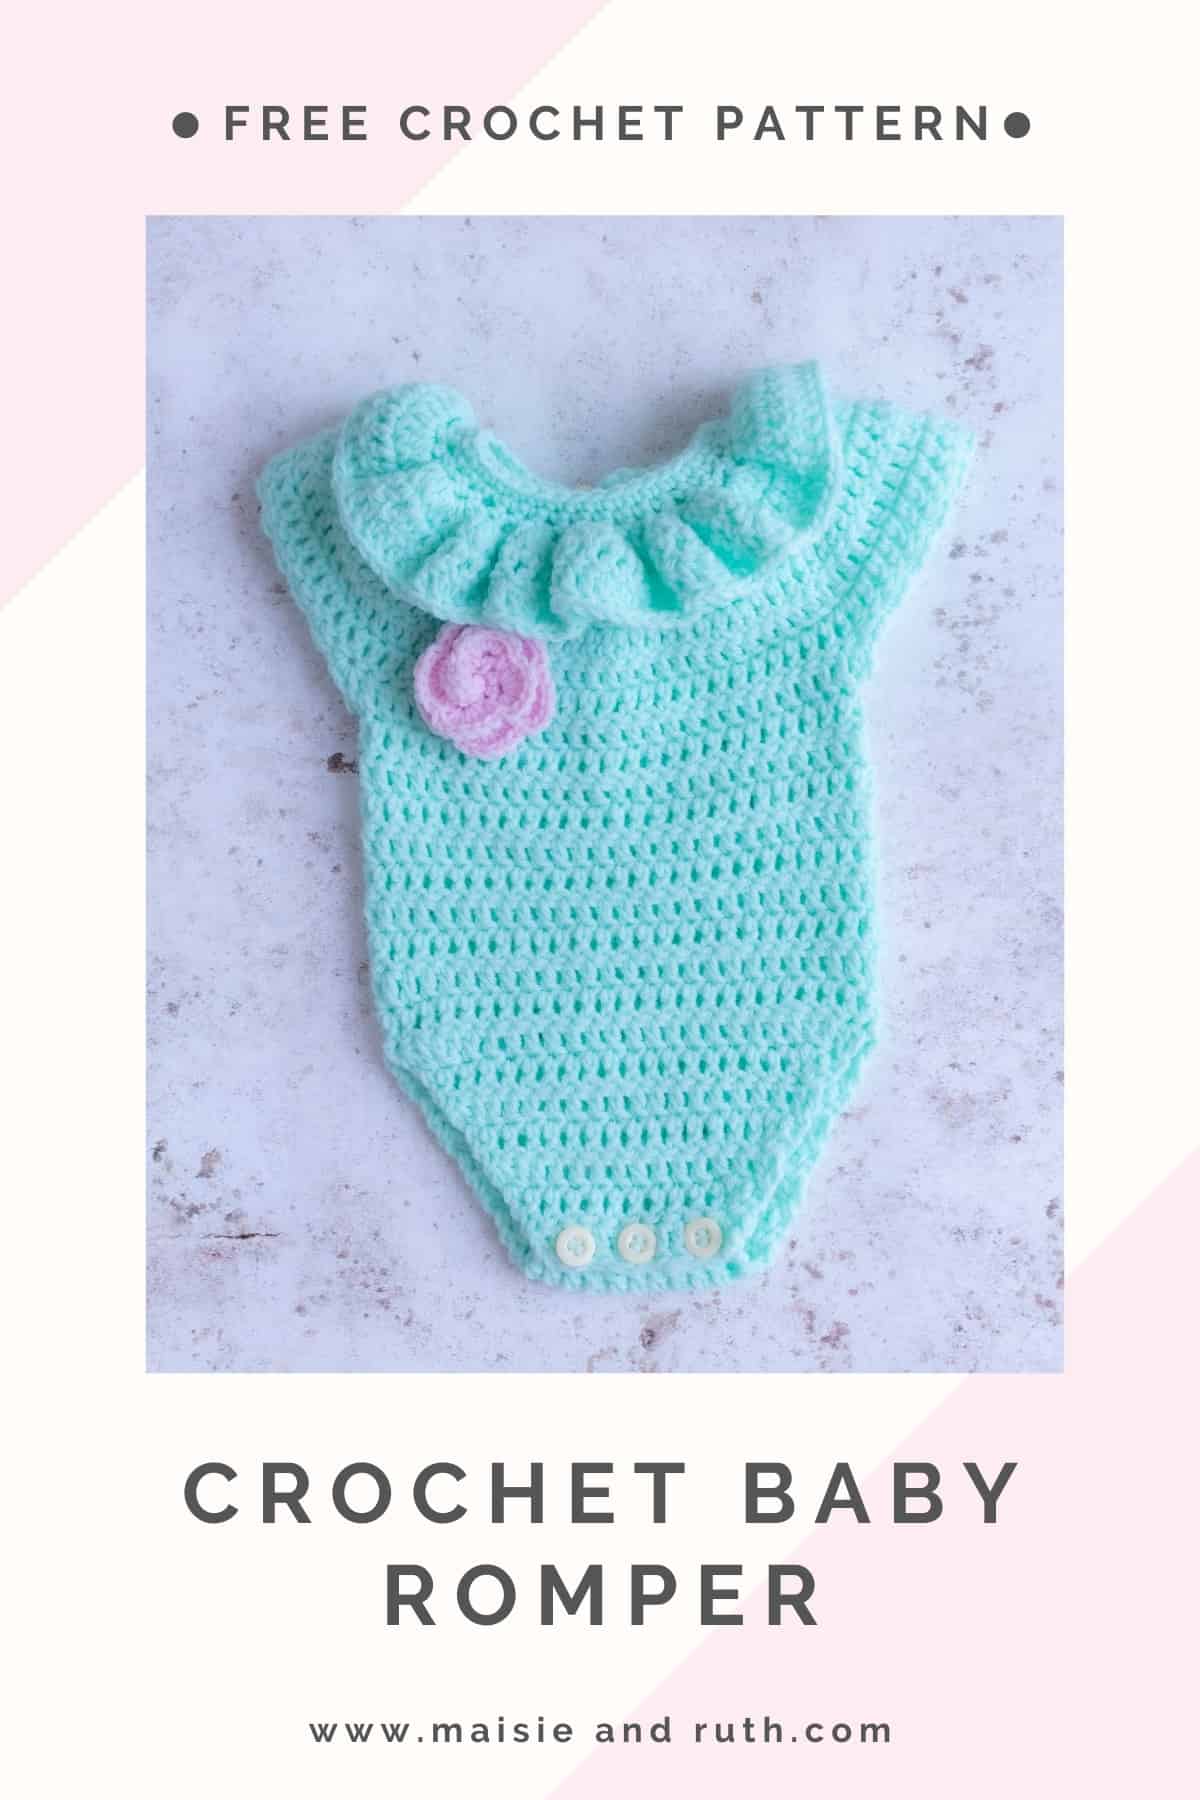
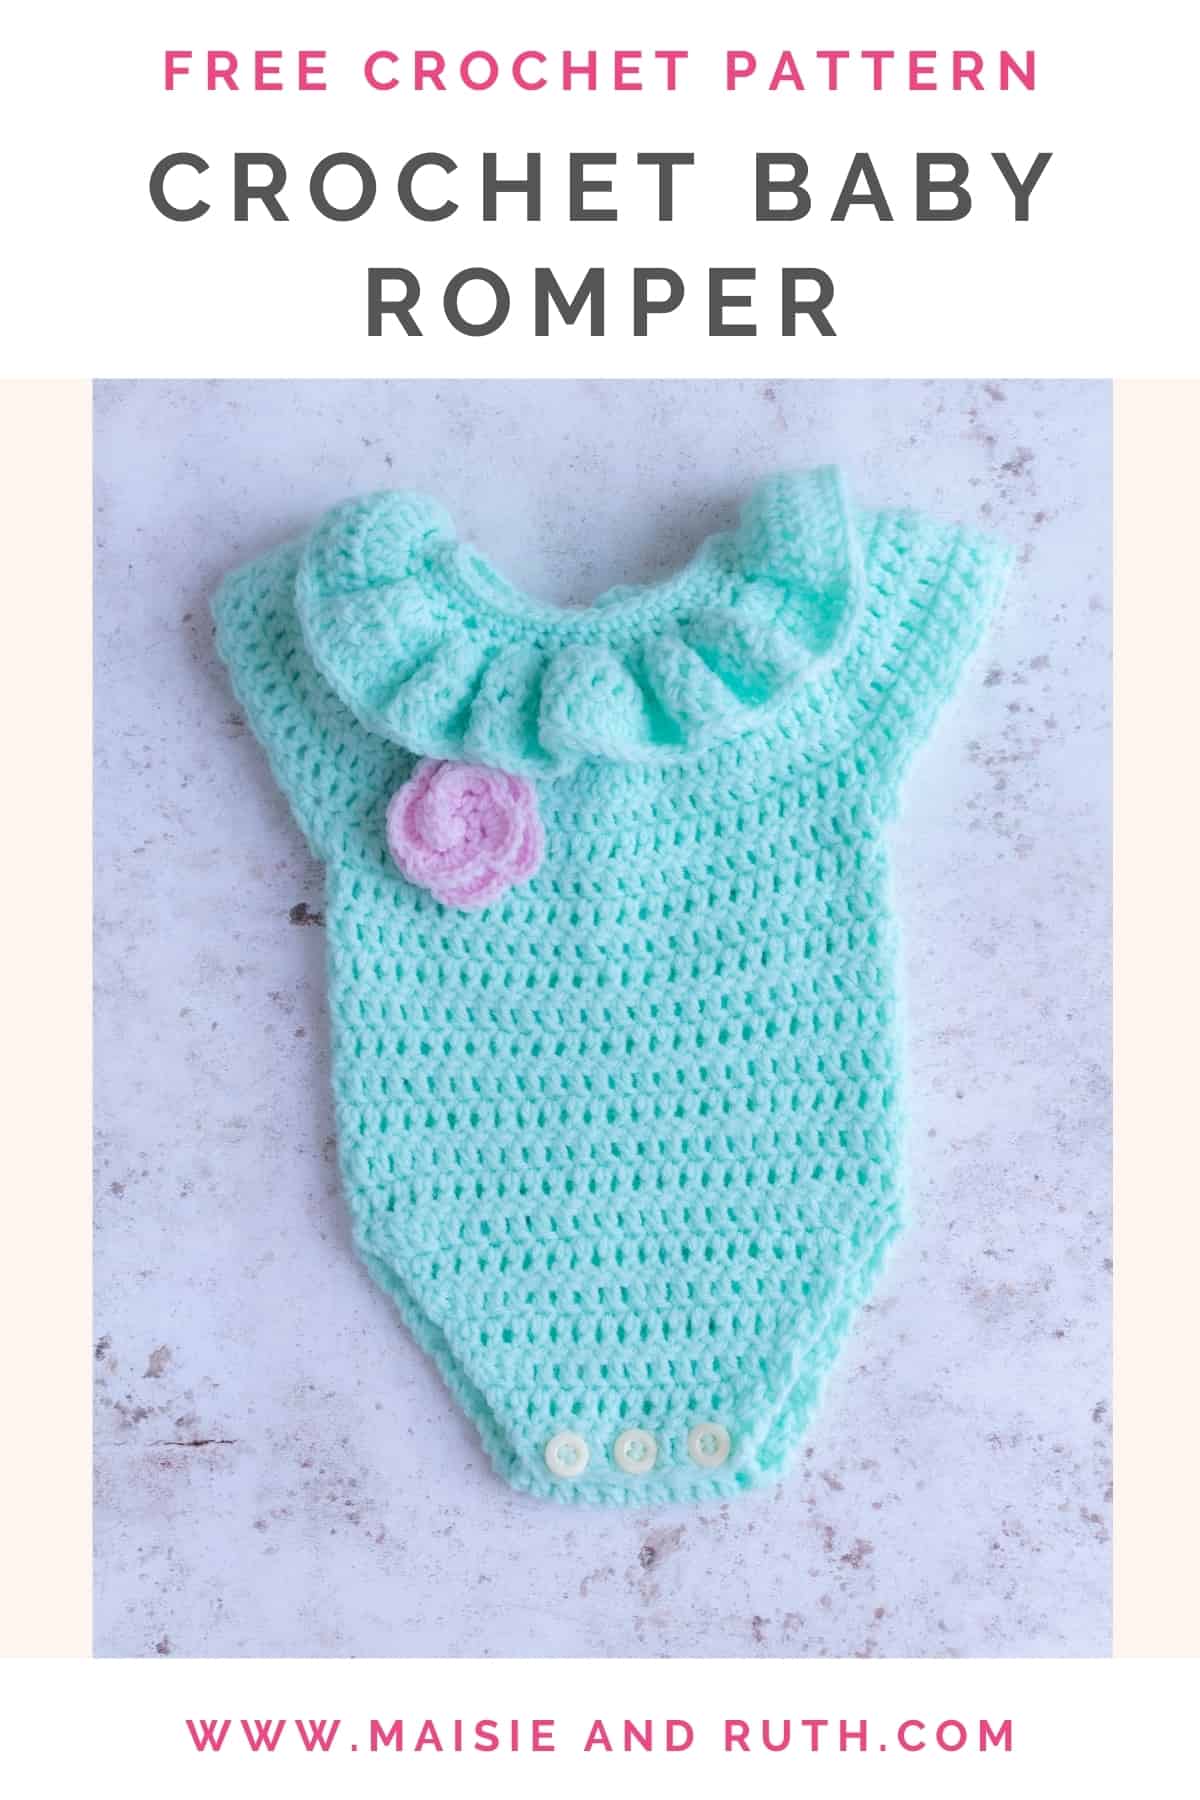
Follow along with the photo tutorial below and you’ll find you can create the adorable Freya romper with its sweet frilly collar in no time!
CROCHET BABY SET
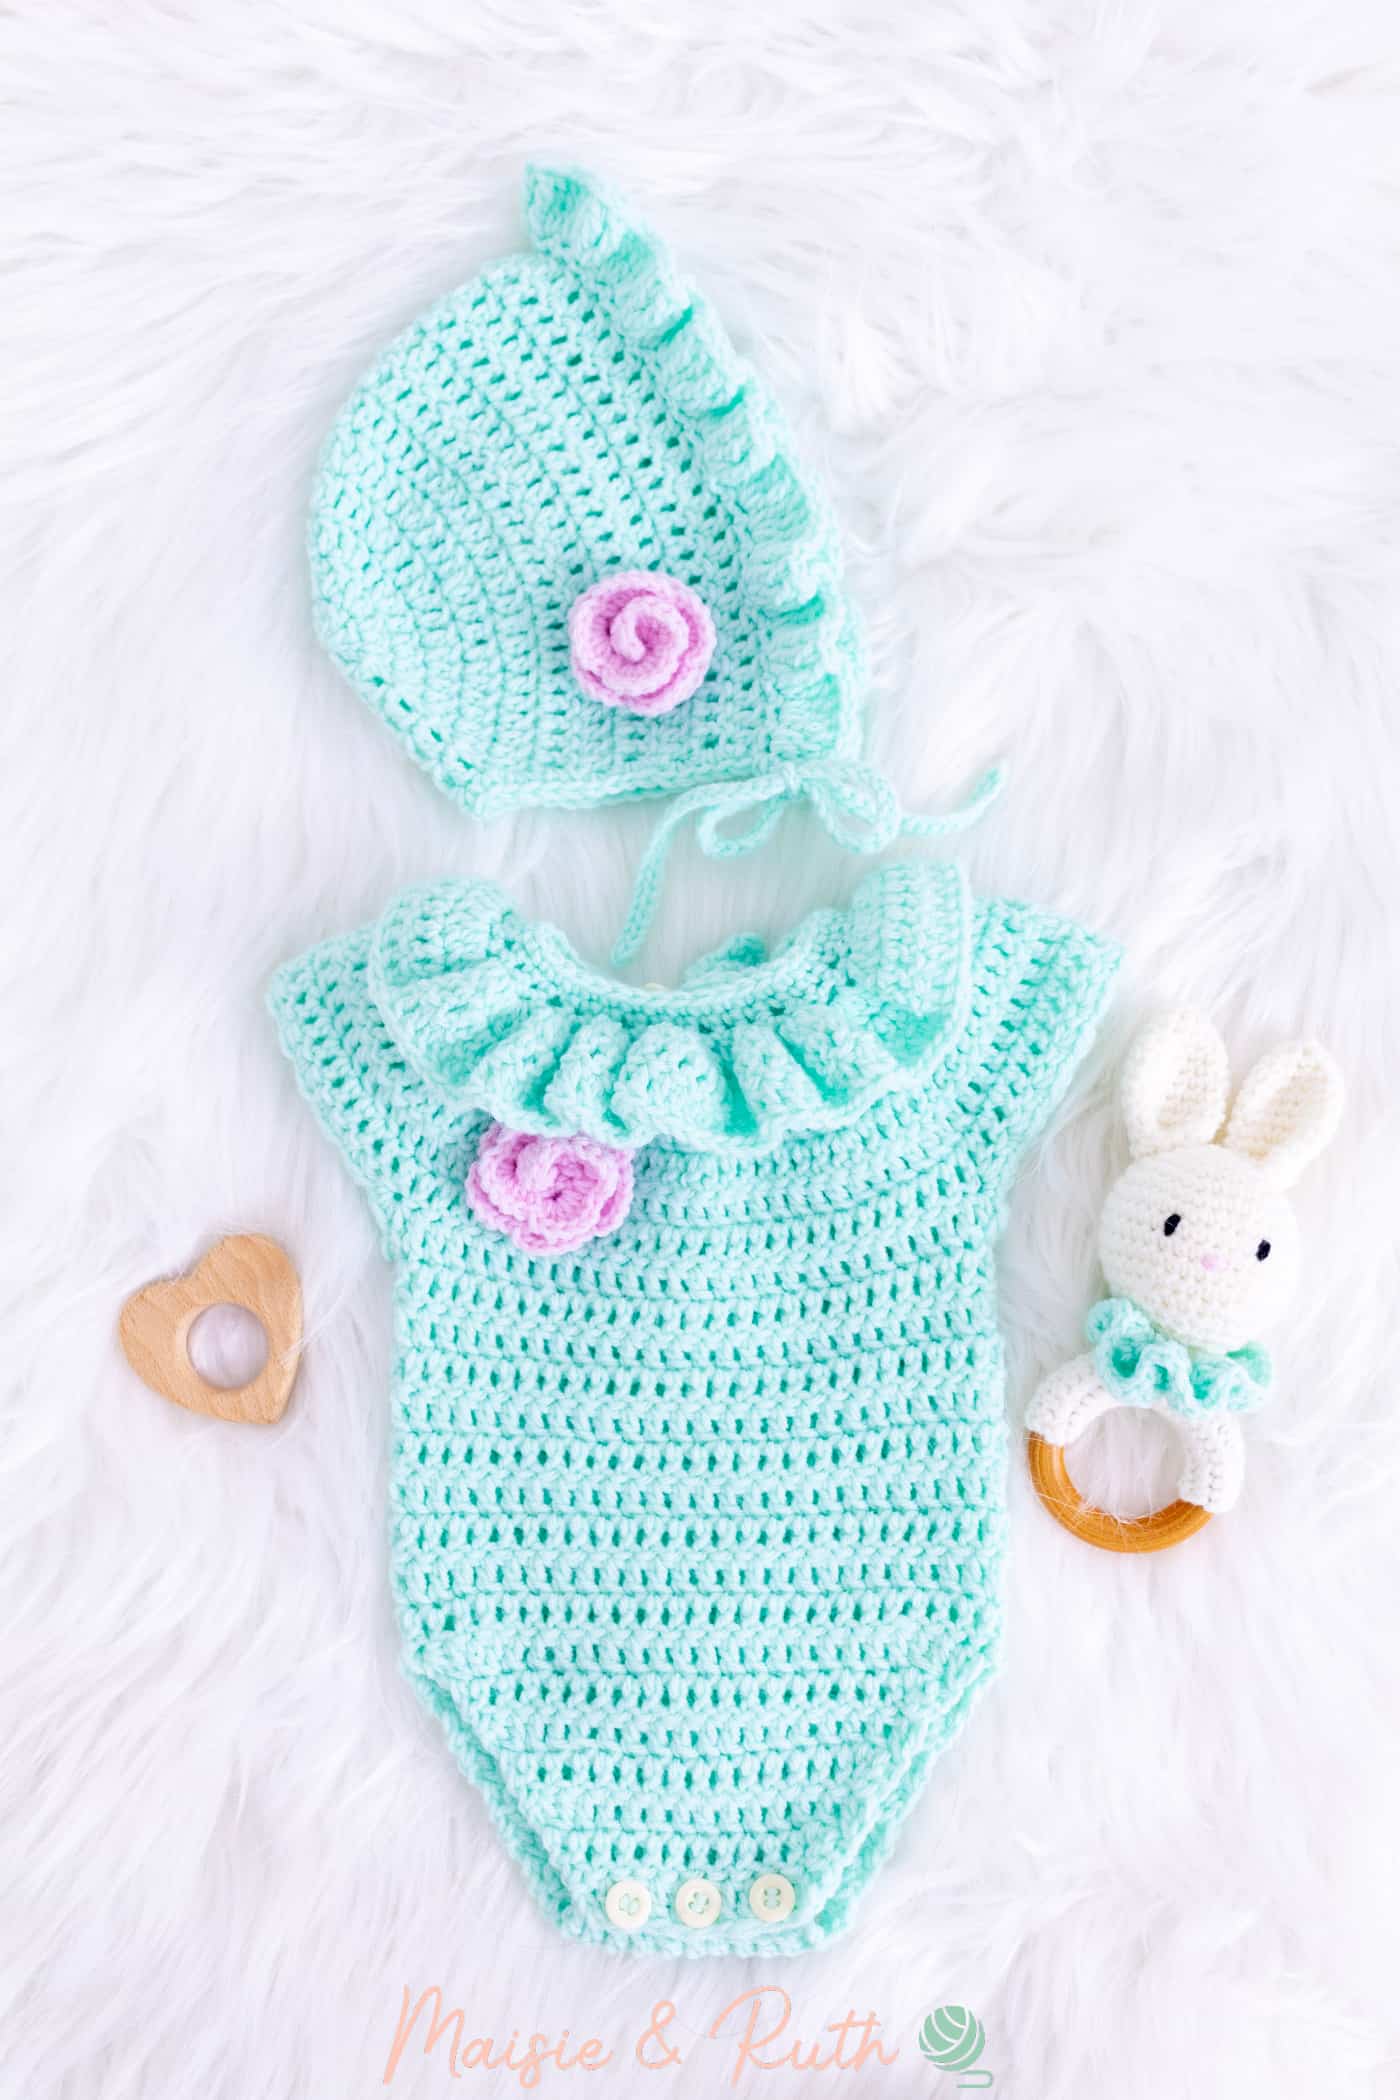
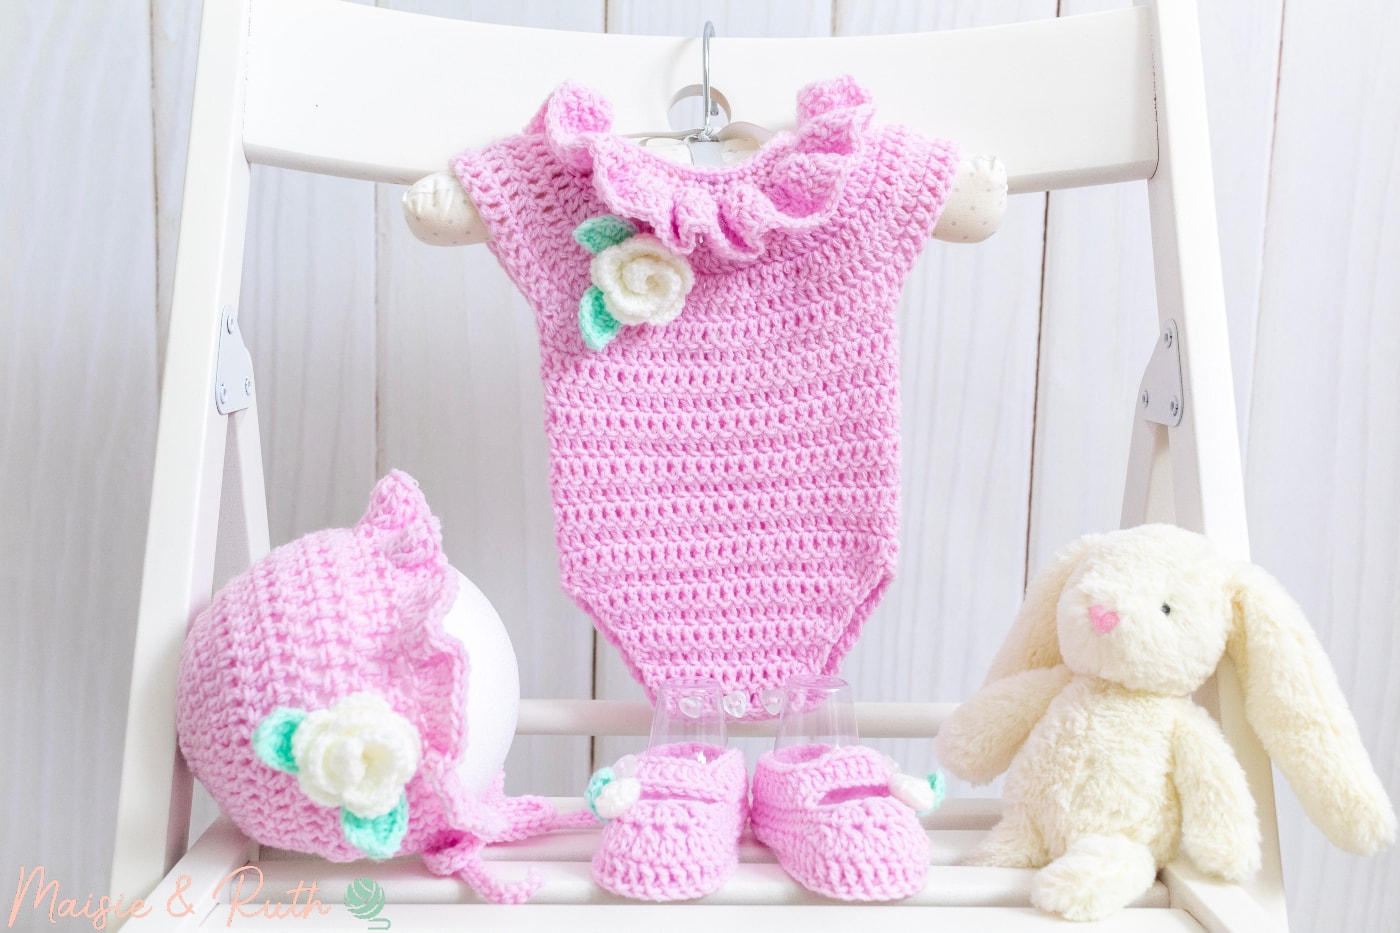
This cute crochet baby romper is part of a crochet baby set consisting of a bonnet, shoes and baby teether.
Make one or two, or indeed all of the items from this set(!), for a new arrival or upcoming baby shower… they would make the loveliest gifts!

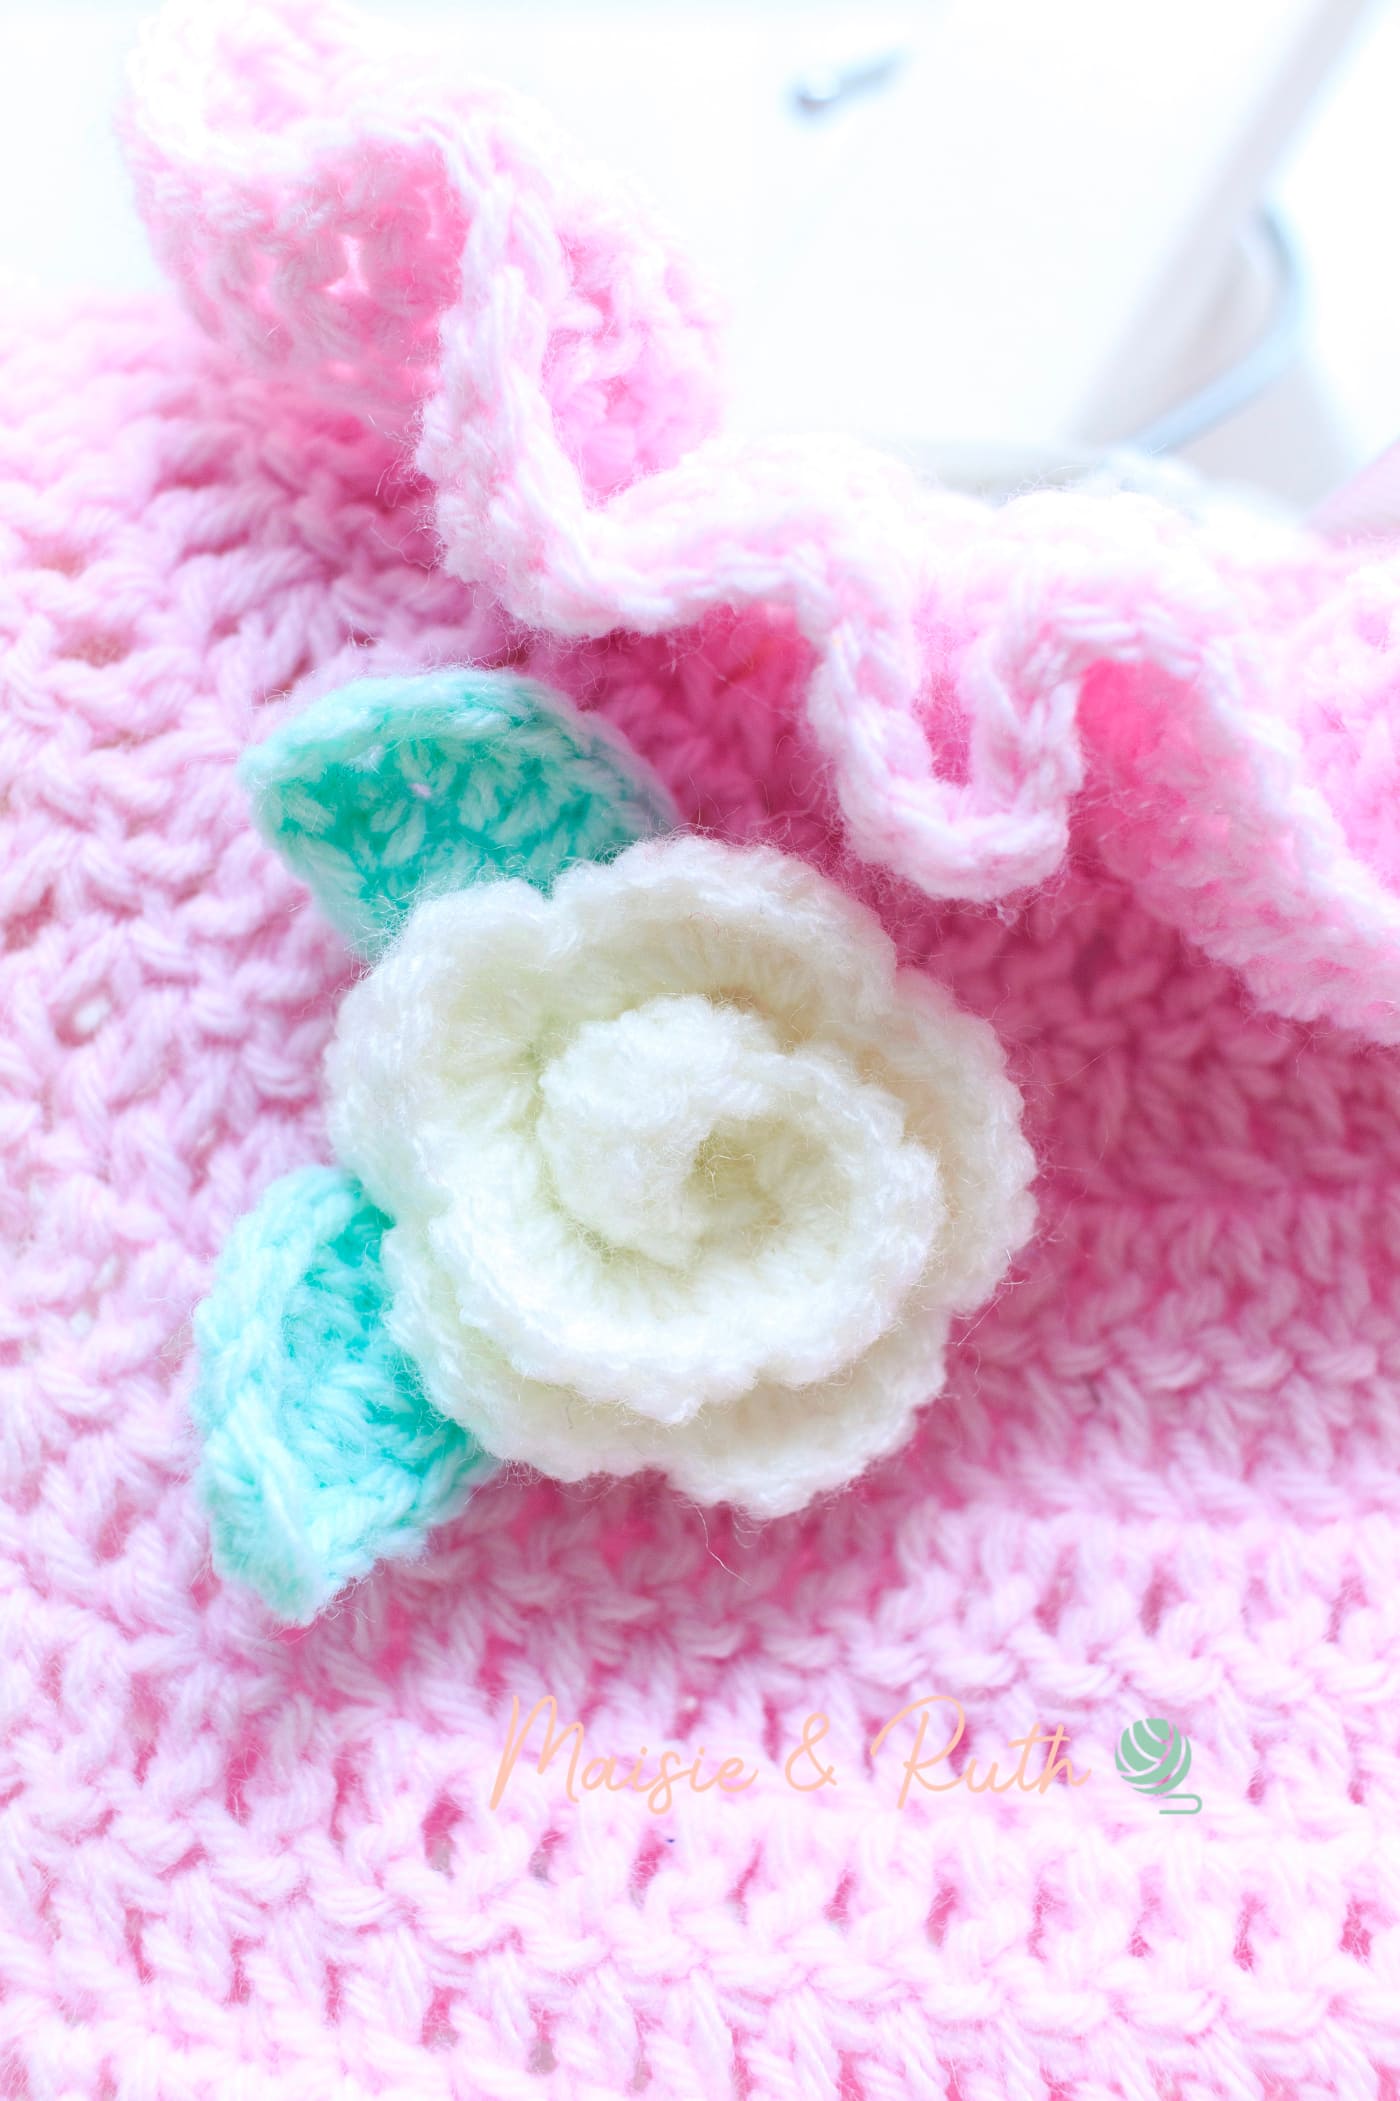
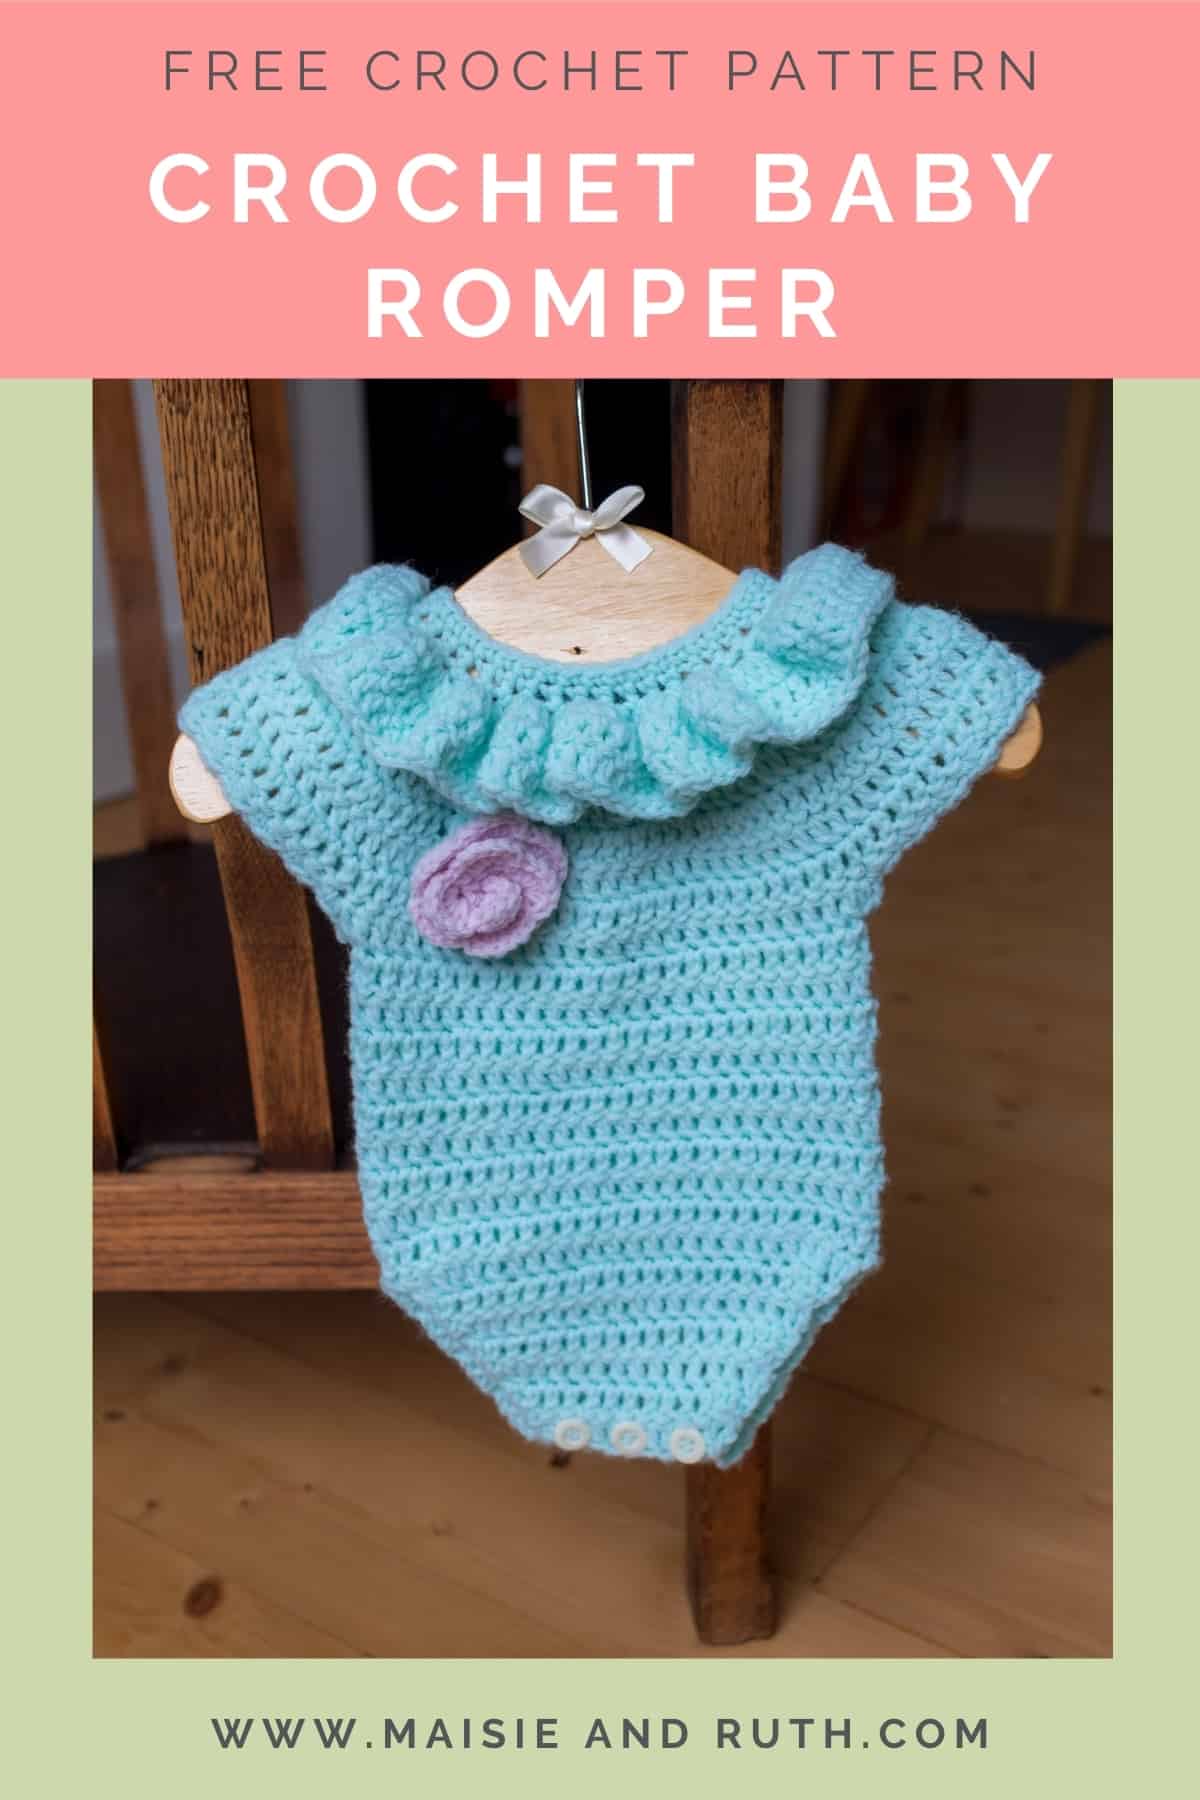
I’ve embellished the Freya romper with a super cute crochet rose. This step is completely optional but if you decide to attach it to your crochet baby romper you can make one in a matter of minutes for that sweet little finishing touch.
YARN USED
For this design I used Paintbox Yarns Baby DK, which is a perfect blend of acrylic and nylon.
This combination results in an incredibly soft yarn that also has a really nice drape to it.
Items made with this yarn can be comfortably cleaned in the washing machine and there’s no need to be worried about colour fade or loss of shape with this yarn either.
Paintbox Yarns offer their Baby DK in 25 different shades, ranging from delicate pastels to bold bright colours, so you can work this crochet baby romper up in whatever shade takes your fancy.
It really is a great yarn for babies, in my opinion!
SUBSTITUTE YARN
Feel free to substitute this pattern with any category 3 (light) / DK yarn. As long as your gauge matches the gauge detailed below, you’ll be absolutely fine for size.
You may substitute the Baby DK with the regular Paintbox Yarns Simply DK. I frequently work with this yarn and it’s a great choice for crochet projects.
If you opt for the Paintbox Yarns Simply DK, you’ll need 1 ball. The specified gauge for both the DK and the Baby DK is identical.
PDF PRINTABLE PATTERNS!
If you would prefer an ad-free, printable version of this pattern, you can purchase it from my Etsy store
The Freya Frilly Romper is also part of a Pattern Bundle! Check it out here
Thank you for supporting my shop!
Ready to make this adorable little crochet baby romper? Let’s get started then…
THE FREYA CROCHET BABY ROMPER: A FREE PATTERN
LEVEL
Easy. See details of project difficulty levels at the Craft Yarn Council website.
PATTERN NOTES
- US crochet terms used.
- The ch1 turning chain does not count as the first stitch of the next row. Therefore, you should make the first stitch of the row in the same stitch (at the base of the ch1). At the end of rows, do not crochet into the top of the ch1.
- The ch3 turning chain does count as the first stitch of the next row; please do not crochet into the same stitch. Instead, make one double crochet into the next stitch. At the end of rows, it’s important that you crochet into the top of the beginning ch3.
- The romper is worked top-down.
- The first 9 rows are worked flat for the button opening. The yoke will be gradually increased by working 2 double crochet stitches in the same stitch.
- You will then join the work to form the middle part of the romper, taking care to turn the work at the end of every round (to match the texture of the stitch that was created in the yoke).
- Once the middle part is complete, you will attach the yarn to the back of the romper to create the back lower part.
- Once the back lower part is completed, the yarn will then be attached to the front in order to work on the front lower part. You will also create 3 little button holes for easier fastening.
- Lastly, the ruffles around the collar will be worked up and edging will be applied to the back fastening of the yoke (2 button loops will be formed).
MATERIALS
- Yarn: #3, light worsted / DK / 8 ply. I used 2 balls of Paintbox Yarns Baby DK,183yds / 1.8 oz (167m / 50g). For the green romper I used the colour Mint Green (760); for the pink romper, I used the colour Candyfloss Pink (749).
- Crochet hook: Size G (4mm)
- 5 buttons- 9/16in (14mm) each
- Stitch markers x 2
- Yarn needle
GAUGE / TENSION
15 stitches & 9.5 rows = 4″ (10cm) in double crochet
In order to achieve the correct size and fit, it is important to test your gauge with a sample square before you begin.
If your tension is tight (too many stitches to 4″), try using a larger hook.
if your tension is loose (fewer stitches to 4″), use a smaller hook.
FINISHED SIZE
NEWBORN:
Width (across chest): 6 3/4″ (17cm)
Length: 10 1/2″ (27cm)
STITCHES AND ABBREVIATIONS (US CROCHET TERMS)
beg – beginning
BLO – back loop only: Insert your hook and work the required stitch(es) into the back loop only of the stitch (not under both loops).
ch – chain
dc – double crochet: Yarn over (yo), insert hook into stitch, yo, pull up a loop, 3 loops remaining on hook. Yo, pull through 2 loops, 2 loops remaining on hook. Yo, pull through remaining 2 loops. 1 double crochet completed.
dc2tog -double crochet two together (also known as a dc decrease): Yarn over (yo), insert hook into stitch, yo, pull up a loop, 3 loops remaining on hook. Yo, pull through 2 loops, 2 loops remaining on hook. Yo, insert hook into next st, yo, pull up a loop, 4 loops remaining on hook. Yo, pull through 2 loops, 3 loops remaining on hook. Yo, pull through remaining 3 loops. Dc2tog completed.
fasten off – To fasten off securely, work one chain, then cut the yarn leaving a 5 – 6” tail. Pull the tail through the loop that is on your hook. Tighten gently.
inc – increase
RS – right side: The side of your work that you want to have on display – the ‘pretty’ side.
sc – single crochet: Insert hook into stitch, yarn over (yo), pull up a loop, 2 loops remaining on hook. Yo, pull through both loops on hook. 1 single crochet completed.
sk – skip: Do not crochet into these stitches.
sl st – slip stitch: Insert hook into stitch, yarn over (yo), pull up a loop, 2 loops remaining on hook. Pull the first loop through the second loop. 1 slip stitch completed
sp(s) – space(es)
st(s) – stitch(es)
Turn: I prefer to turn my work clockwise.
WS – wrong side: The Back of your crochet piece.
* to * – Repeat instructions between asterisks as many times as directed.
( ) – Sets of stitches to be worked within one stitch or space.
[ ] – The total number of stitches at the end of a row.
USEFUL TUTORIALS
- How to Increase in Crochet
- Crochet Turning Chain (Does it Count as a Stitch?)
- How to Dc2tog (Double Crochet Two Together)
PATTERN INSTRUCTIONS
YOKE
Chain 37 (make your chain fairly loose)
Row 1. 1sc in 2nd chain from hook, 1sc in every ch until end of the foundation chain, TURN [36 sts].
Row 2. Ch1 (does not count as your first st), *1sc in next 2 sts, 2sc in next st (inc made)*, repeat from * to * across to end of row, TURN [48sts].
Row 3. Ch3 (counts as your first st here and throughout), 1dc in the BLO of the next 2 sts, 2dc in the BLO of the next st, *1dc in BLO of the next 3 sts, 2dc in BLO of next st*, repeat from * to * across to end of row, TURN [60sts].
Row 4. Ch3, 1dc in next 3 sts, 2dc in next st, *1dc in next 4sts, 2dc in next st*, repeat from * to * across to end of row, TURN [72 sts].
Row 5. Ch3, 1dc in next 4 sts, 2dc in next st, *1dc in next 5 sts, 2dc in next st*, repeat from * to * across to end of row, TURN [84 sts].
Row 6. Ch3, 1dc in next 5 sts, 2dc in next st, *1dc in next 6 sts, 2dc in next st*, repeat from * to * across to end of row, TURN [96 sts].
Row 7. Ch 3, 1dc in next 95 sts, TURN, [96 sts].
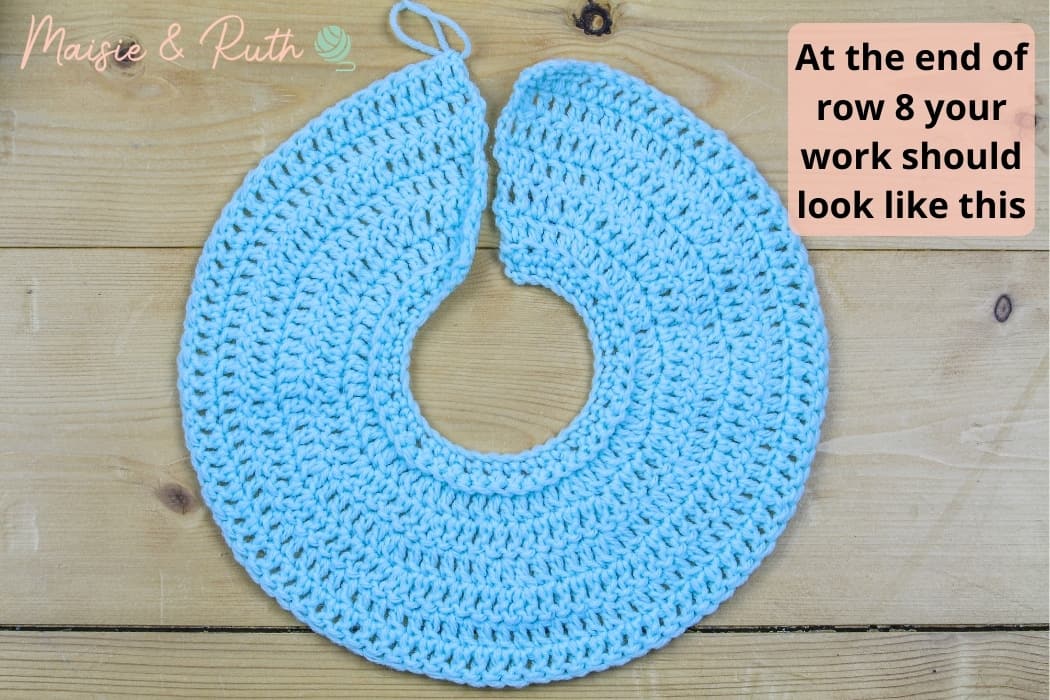
Row 8. Ch3, 1dc in next 95 sts, TURN, [96 sts].
At the end of row 8, your piece should look like this:
SLEEVES
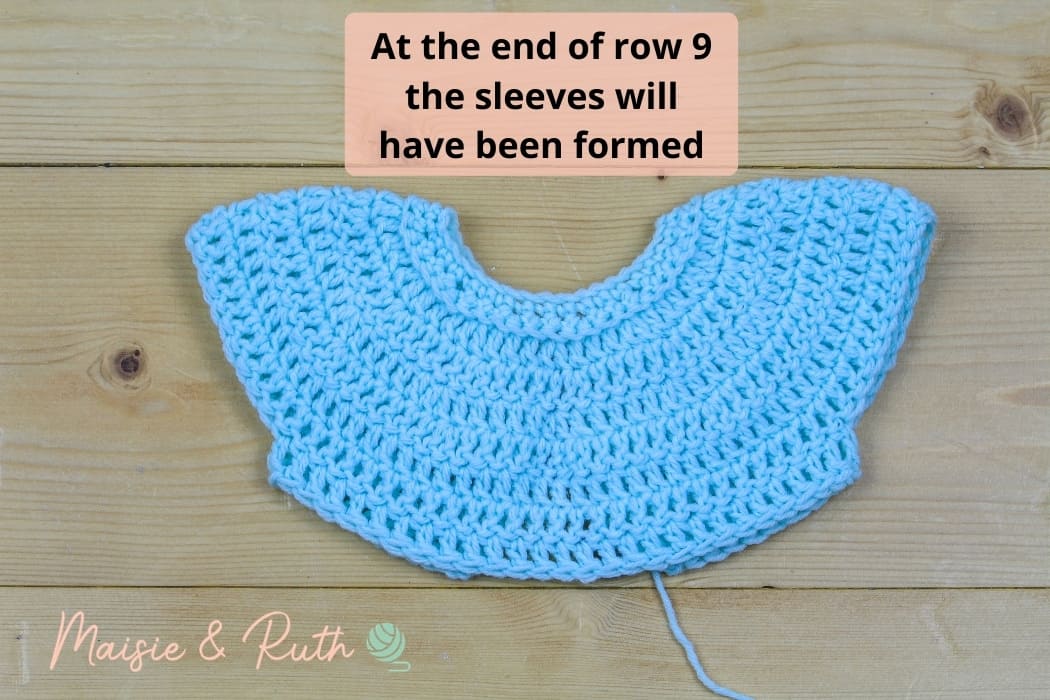
In row 9 you will form the sleeves.
Also, at the end of this row you will join your work so that you can begin working in the round.
Row 9. Ch3, 1dc in next 11 sts, sk next 22 sts, 1dc in next 28 sts, sk next 22 sts, 1dc in next 12 sts, sl st into the top of the ch3 you made at the beginning of the row to join, TURN [52 STS].
As you can see from the image below, you have now formed your sleeves:
MIDDLE SECTION
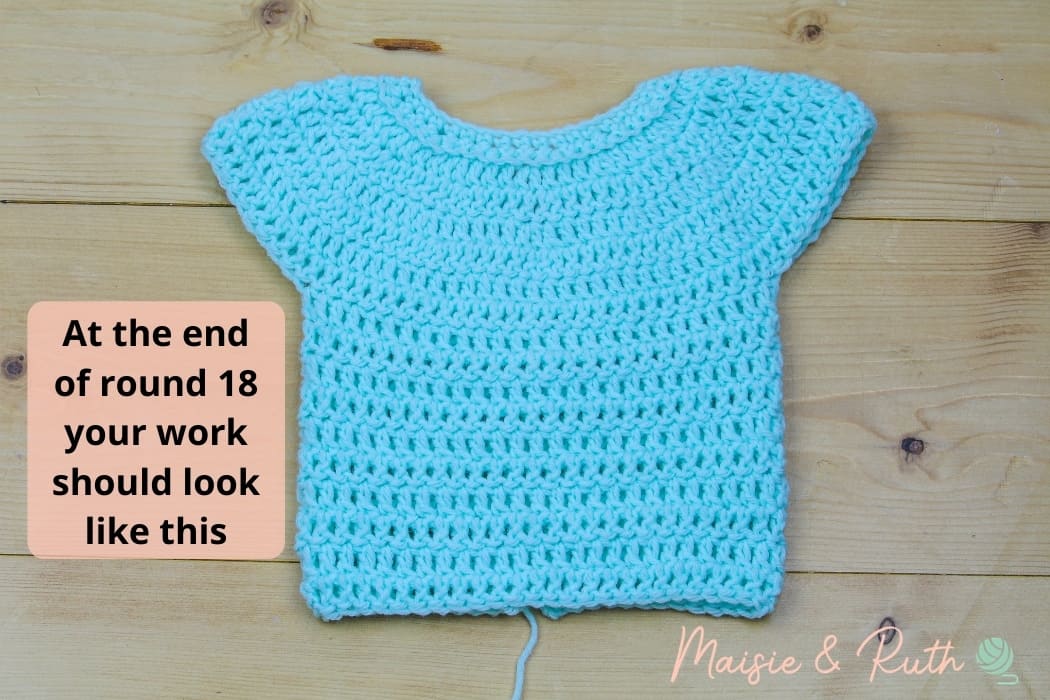
Round 10. Ch3, 1dc in next 51 sts, sl st to top of beg ch3 to join, TURN [52 sts].
Rounds 11 – 18. Repeat round 10.
At the end of round 18 cut the yarn, fasten off and weave in your ends.
NOTE: At the end of round 18, instead of joining with a sl st to the top of the beginning ch3, I prefer to make an invisible join.
This method is much neater and as we’ll be working into these stitches again, using an invisible join makes it much easier to do this.
Measuring from the top of the shoulder, your baby romper should measure 7″ (18cm) in length.
At this point, it should be looking like this:
BACK LOWER PART
It is now time to work on the back lower part.
You will work decreases at each edge of this section.
Make sure your work is lying with the back part facing up and away from you, as demonstrated in the image below:

Place a stitch marker into the stitch at the bottom right hand corner of your work. This will be the first stitch that you work into.
Place another stitch marker into the stitch at the bottom left hand corner of your work. This will be the last stitch that you work into.
Make sure that you have 27 stitches in the back (this leaves 25 stitches for the front lower part, which we will work into later):

At the bottom right hand corner, attach your yarn with a sl st into the stitch with the first stitch marker attached:
Row 1. Ch1 (does not count as your first st here and throughout),dc2tog, 1dc in next 23 sts, dc2tog, TURN [25 sts].
Row 2. Ch1, dc2tog, 1dc in next 21 sts, dc2tog, TURN [23 sts].
Row 3. Ch1, dc2tog, 1dc in next 19 sts, dc2tog , TURN [21 sts].
Row 4. Ch1, dc2tog, 1dc in next 17 sts, dc2tog, TURN [19 sts].
Row 5. Ch1, dc2tog, 1dc in next 15 sts, dc2tog, TURN [17 sts].
Row 6. Ch1, dc2tog, 1dc in next 13 sts, dc2tog, TURN [15 sts]
Row 7. Ch1, dc2tog, 1dc in next 11 sts, dc2tog, TURN [13 sts].
Row 8. Ch1, dc2tog, 1dc in next 9 sts, dc2tog, TURN [11 sts].
Row 9. Ch3 (counts as your first st), 1dc in next 10 sts, TURN [11 sts].
Row 10. Ch3, 1dc in next 10 sts, [11 sts].
Cut your yarn, fasten off and weave in ends.
The back lower part of your crochet baby romper is now completed.
This is what your romper should look like at this point:

FRONT LOWER PART
For the front lower part, there are slightly less rows compared with the back lower part.
As with the back lower part, you will work decreases at each edge of this section.
In the final row you will make 3 buttonholes.
To work the front lower part, ensure that your work is lying front side facing up and away from you:

25 stitches will remain at the front of your work. To create the front lower part, you will work across these 25 sts.
Place a stitch marker into the first stitch at the bottom right hand corner.
Place another stitch marker into the 25th stitch at the bottom left hand corner.
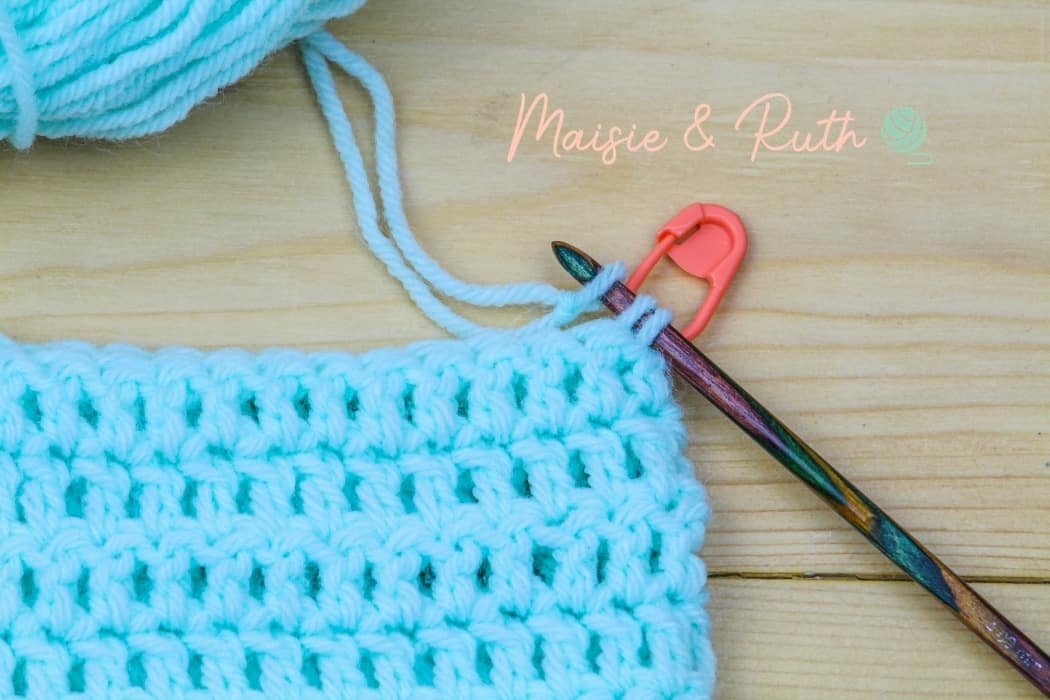
Attach your yarn with a sl st to the first stitch at the bottom right hand corner, as shown by my hook in the image below:

Row 1. Ch1 (does not count as your first st here and throughout), (dc2tog) twice, 1dc in next 17 sts, (dc2tog) twice, TURN [21 sts].
Row 2. Ch1, dc2tog, 1dc in next 17 sts, dc2tog, TURN [19 sts].
Row 3. Ch1 , dc2tog, 1dc in next 15 sts, dc2tog, TURN [17 sts].
Row 4. Ch1, dc2tog, 1dc in next 13 sts, dc2tog, TURN [15 sts].
Row 5. Ch1, dc2tog, 1dc in next 11 sts, dc2tog, TURN [13 sts].
Row 6. Ch1, dc2tog, 1dc in next 9 sts, dc2tog, TURN [11 sts].
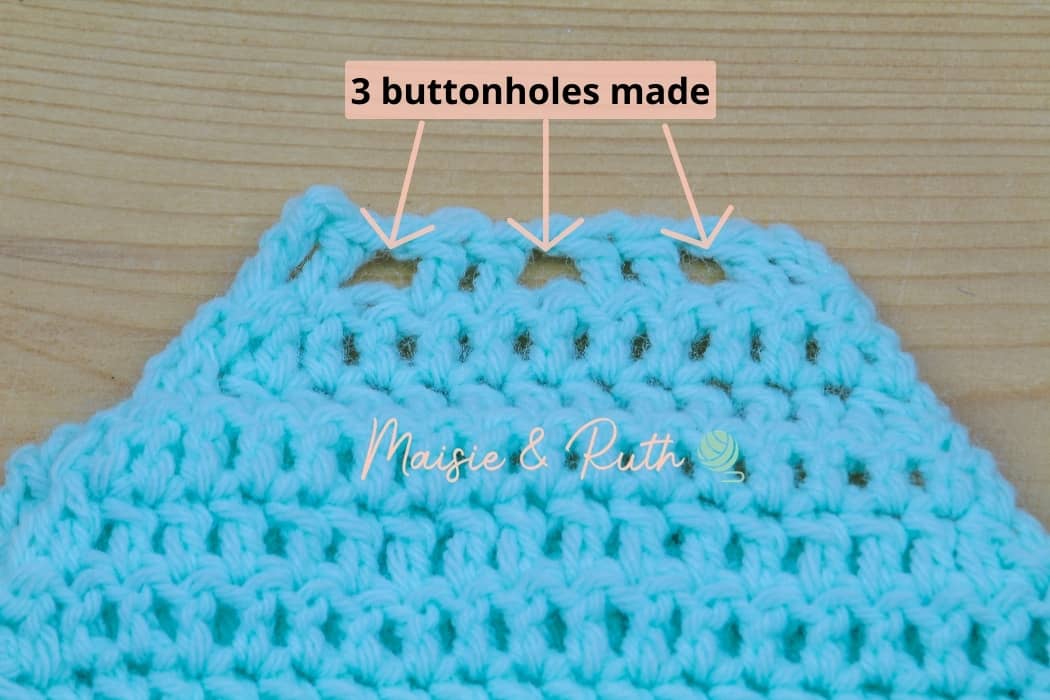
Row 7. (Buttonhole row) Ch3 (counts as your first st), 1dc in next st, ch1, sk next st, 1dc in next 2 sts, ch1, sk next st, 1dc in next 2sts, ch1, sk next st, 1dc in next 2 sts, [8 sts, 3 ch1 sps].
Cut yarn, fasten off and weave in ends.
You have just made 3 buttonholes:
At this point, your crochet baby romper should be looking like this:
FRILLY COLLAR
You will now work on the ruffled collar.
Make sure that the back part of your romper is facing up and away from you:

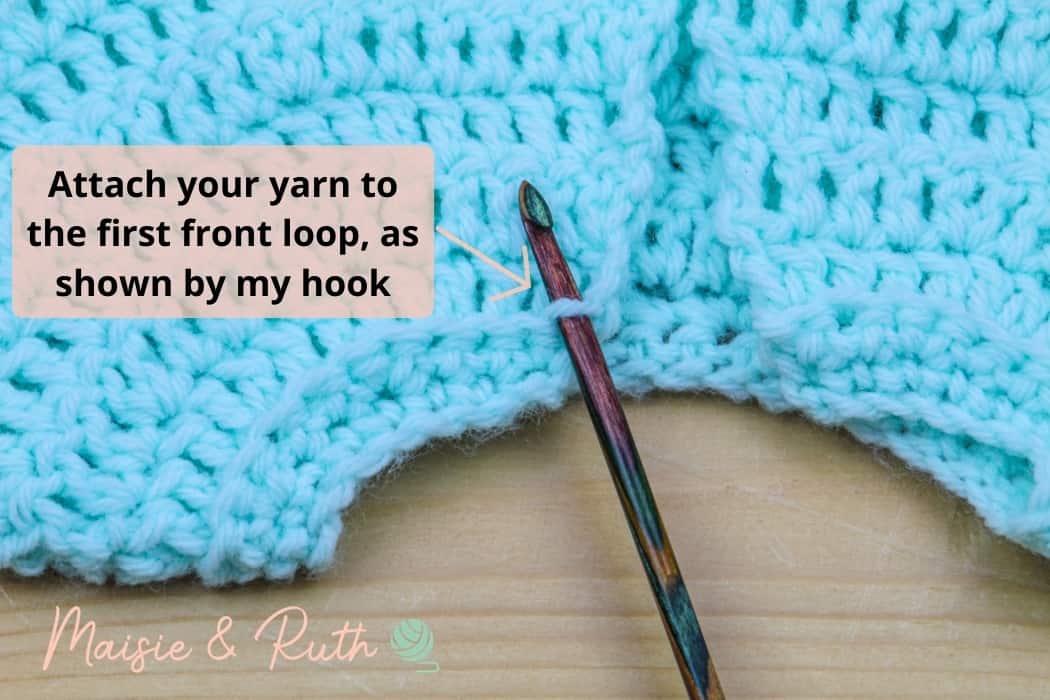
In the 3rd row of the yoke, you worked into the BLO of the stitches. Working in the BLO created a little ridge of raised front loop stitches. You will now work into these front loops to create your ruffled collar.
Insert your hook into the first loop and attach your yarn with a sl st:
Row 1. Ch3 (counts as your first st), 2dc in same st, *3dc in next st*, repeat from * to * across to end of row, TURN [147sts].
Row 2. Ch3 (counts as your first st), 1dc in next 146 sts, TURN [147 sts].
Row 3. Ch3 (counts as your first st), 1dc in next 146 sts, [147 sts].
Cut yarn, fasten off and weave in ends.
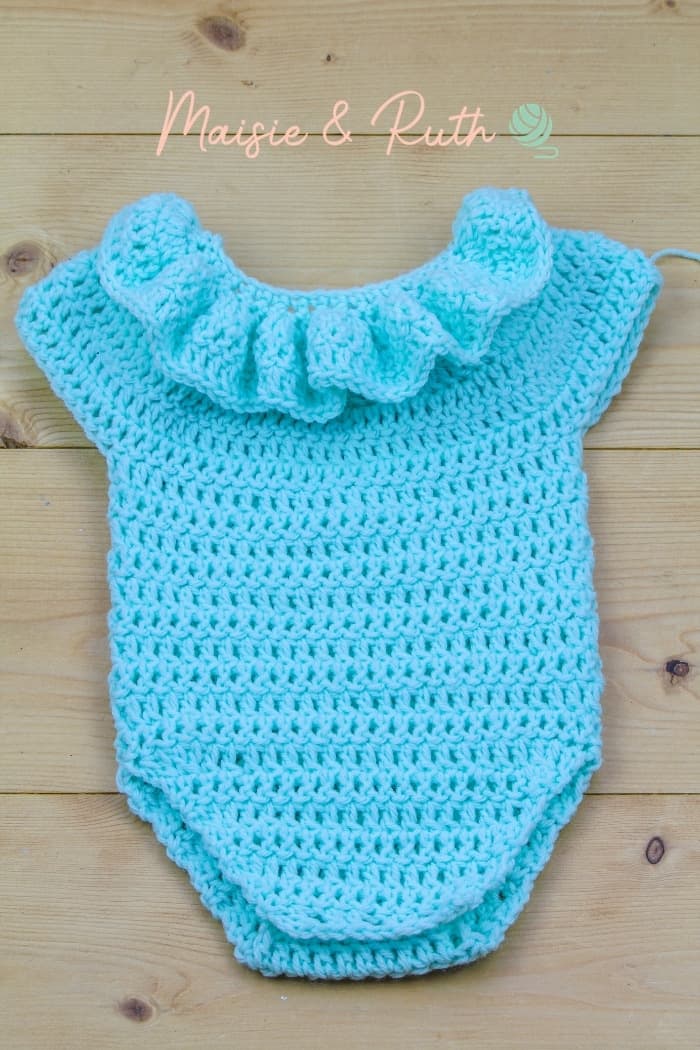
Below is an image of the romper with the frilly collar just completed:
EDGING FOR BACK AND NECK OPENING
The last step is to place some simple edging around the back and neck opening of the romper. This will be made up of sc stitches.
When working the edging, you will also make 2 loops for your buttons at the back opening.
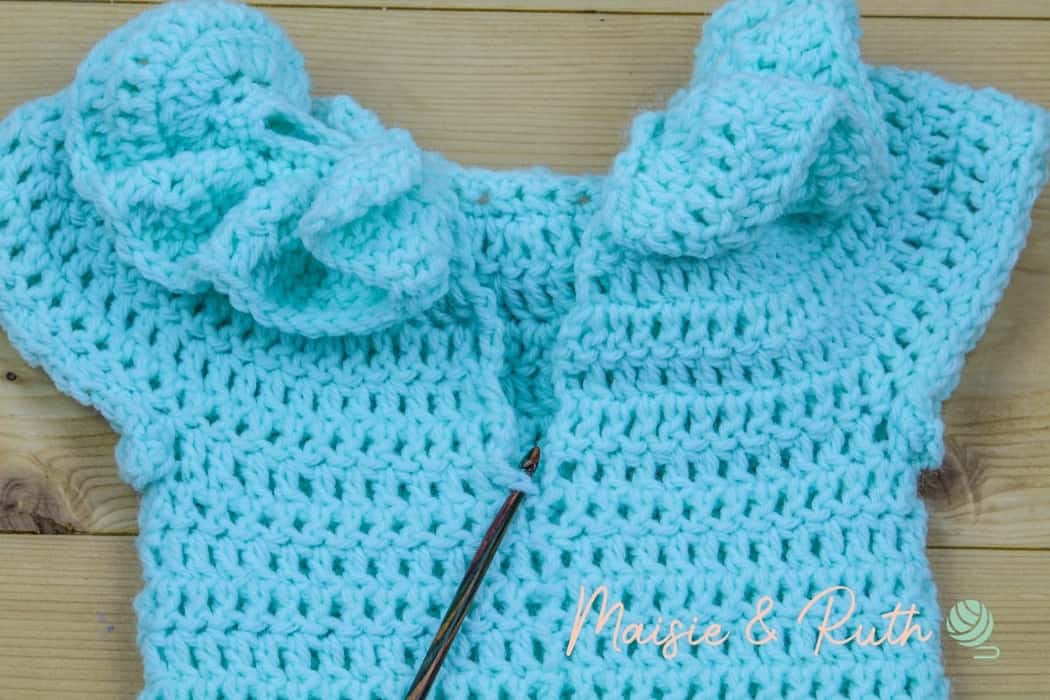
You will begin in the lower left corner of the back opening, work up to the neckline, crochet along the neckline and work down the other side of the back opening to the lower right corner.
Attach your yarn with a sl st to the lower left corner (where my hook is):
Row 1. Ch1 (does not count as your first st), 1sc in same st, ch4, 1sc in same st (1st button loop made), sc evenly up left side (I made 13sc before making 2nd button loop), ch4, sc in same st (2nd button loop made), 2sc in top corner st, 1sc in next 34 sts along neckline, 2sc in top corner st, sc evenly down right side (I made 15sc).
Cut yarn, fasten off and weave in ends.
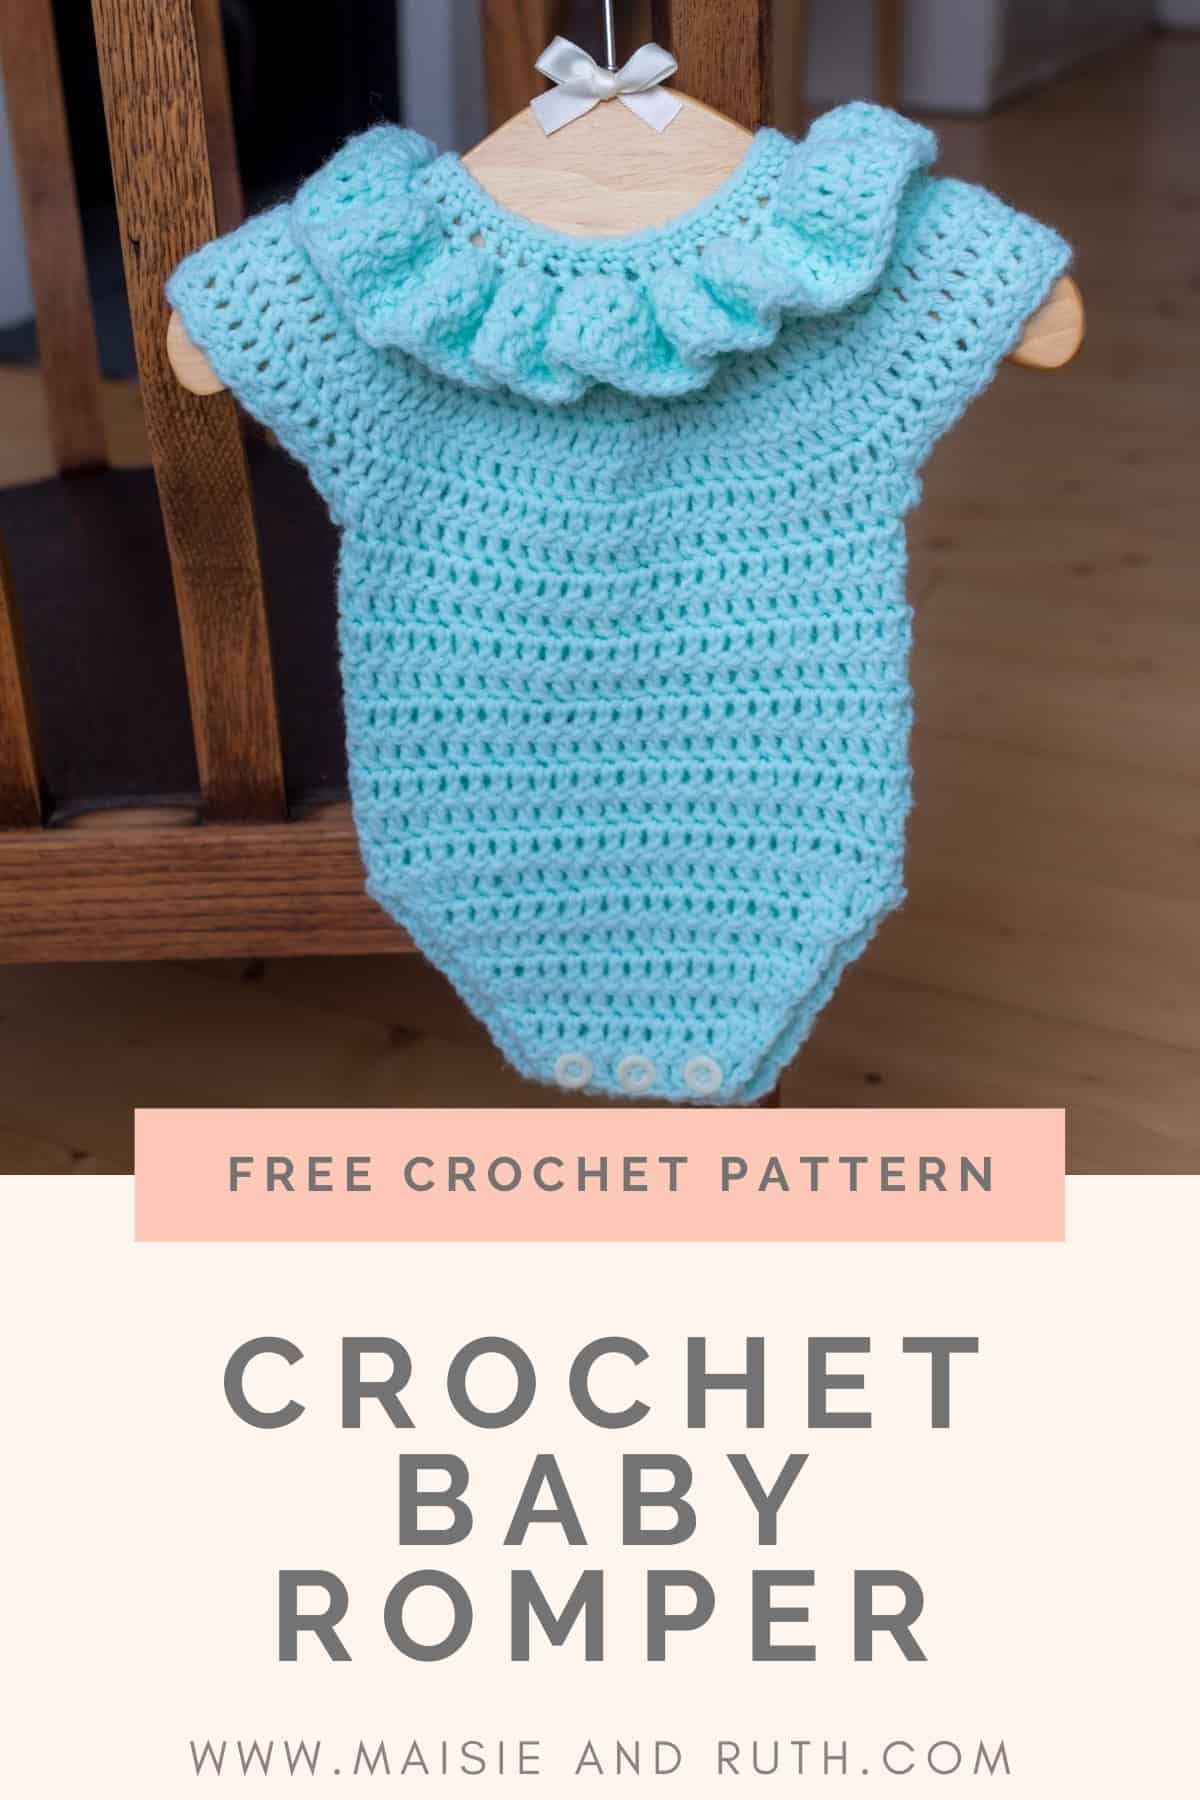
And that’s it! You’ve finished your adorable little Freya romper 😍

PIN IT FOR LATER!
I hope that you enjoyed this crochet baby romper pattern. Did you make it as part of the set that I designed?
If it looks good in any other colour I would be interested to know! You can tag a photo of your work on Instagram using @maisieandruth
And remember to pin this pattern for later if you can’t make it right now!
Happy crocheting,