I like to embellish a lot of my work with a small flower or two. If you would like to learn how to work up a crochet flower in two different sizes then read on to get the free pattern!
There’s also a VIDEO Tutorial to accompany the pattern for the small rose and leaf!
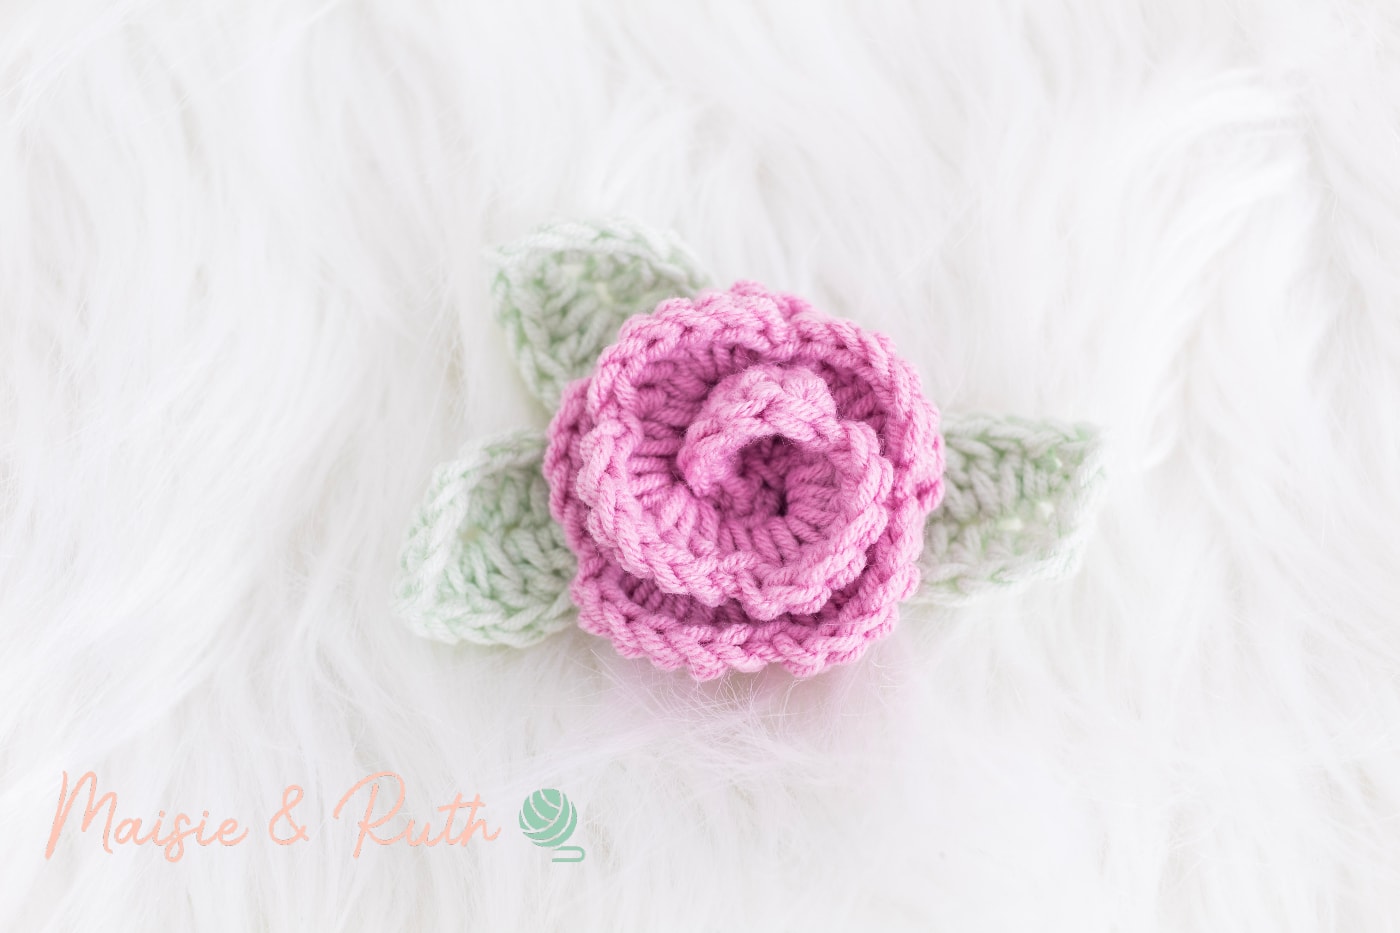
In this tutorial, you’ll find two crochet flower patterns for:
I’ve also included the pattern for the leaf to accompany this rose.
These adorable roses are very quick and simple crochet projects, perfect for beginners.
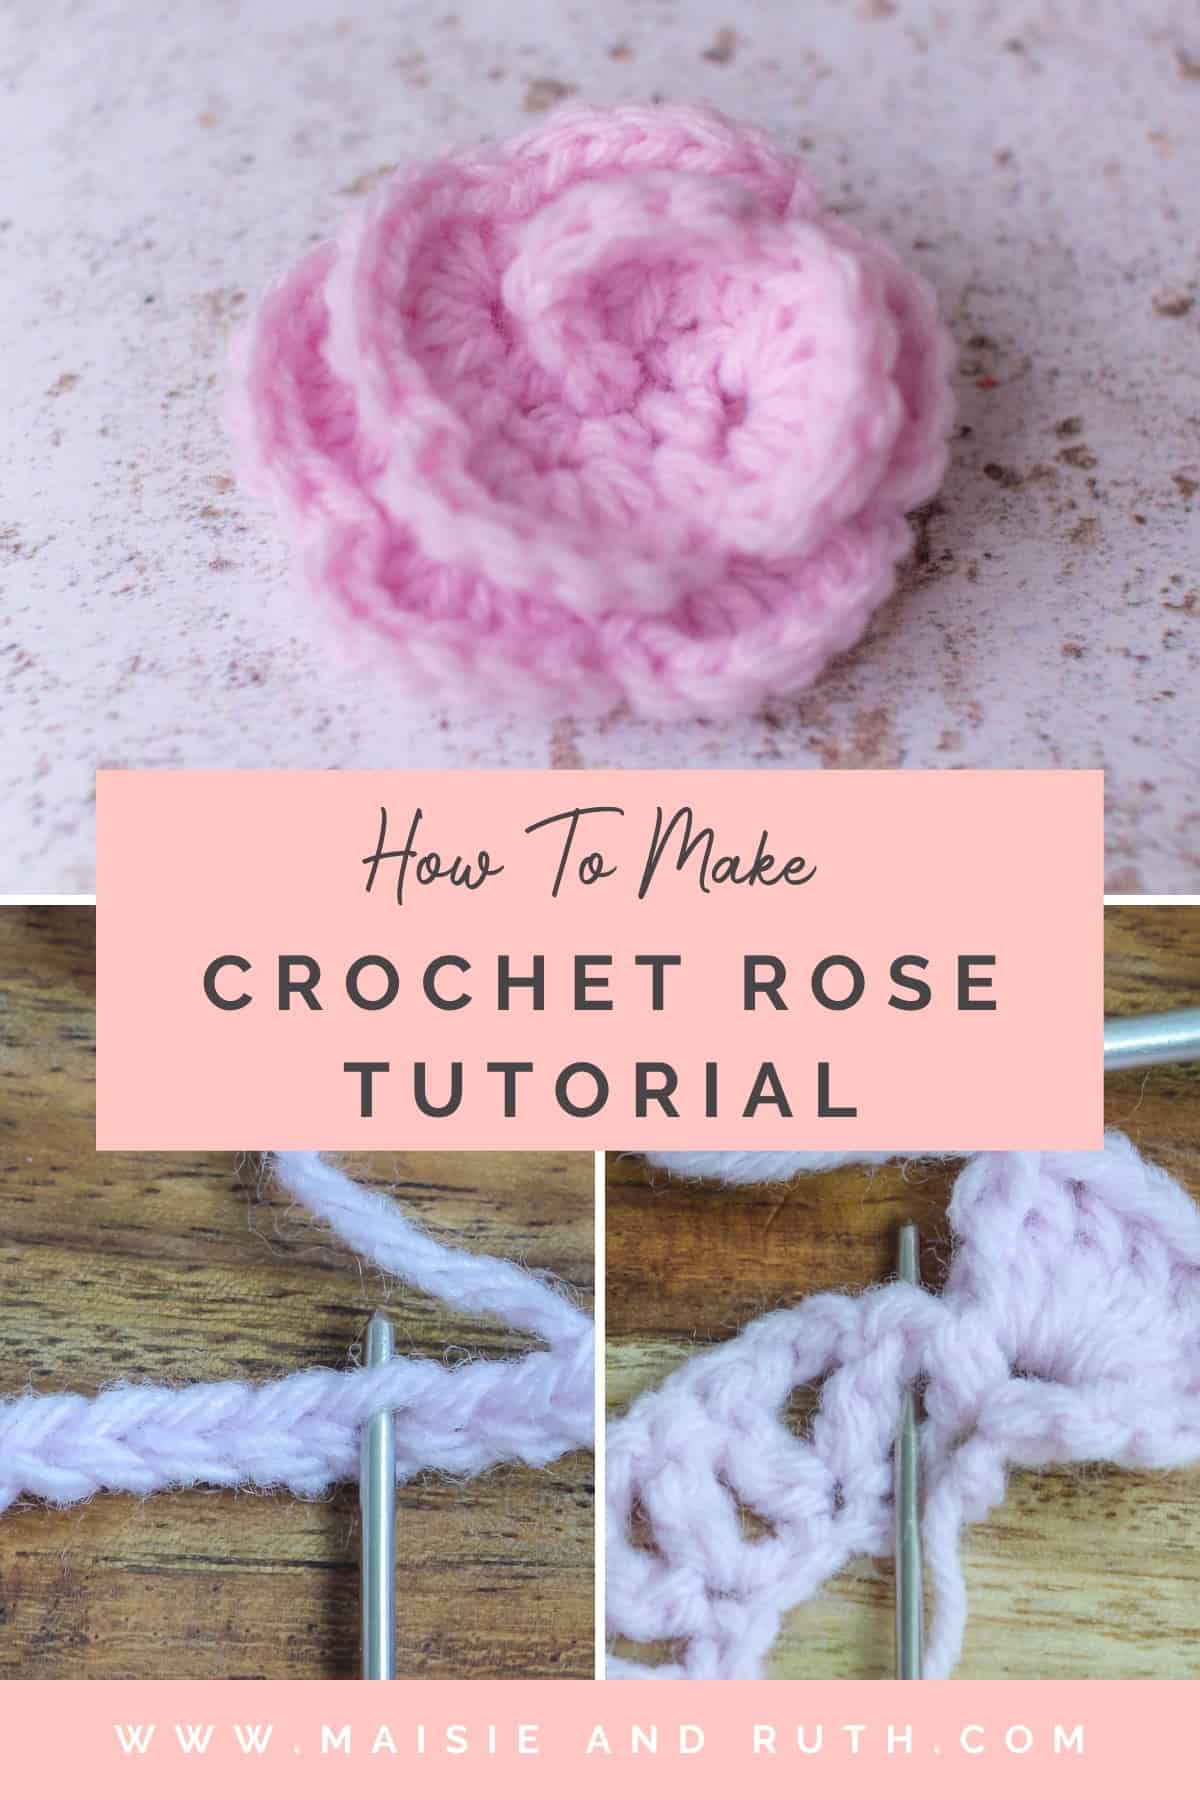
For the small rose pattern, I’ve included some photos of the process to make it easier for you.
USES FOR CROCHET FLOWERS
Crochet flowers can be added to any number of items such as blankets, hats, afghans and shoes to give a lovely finishing touch to a project.
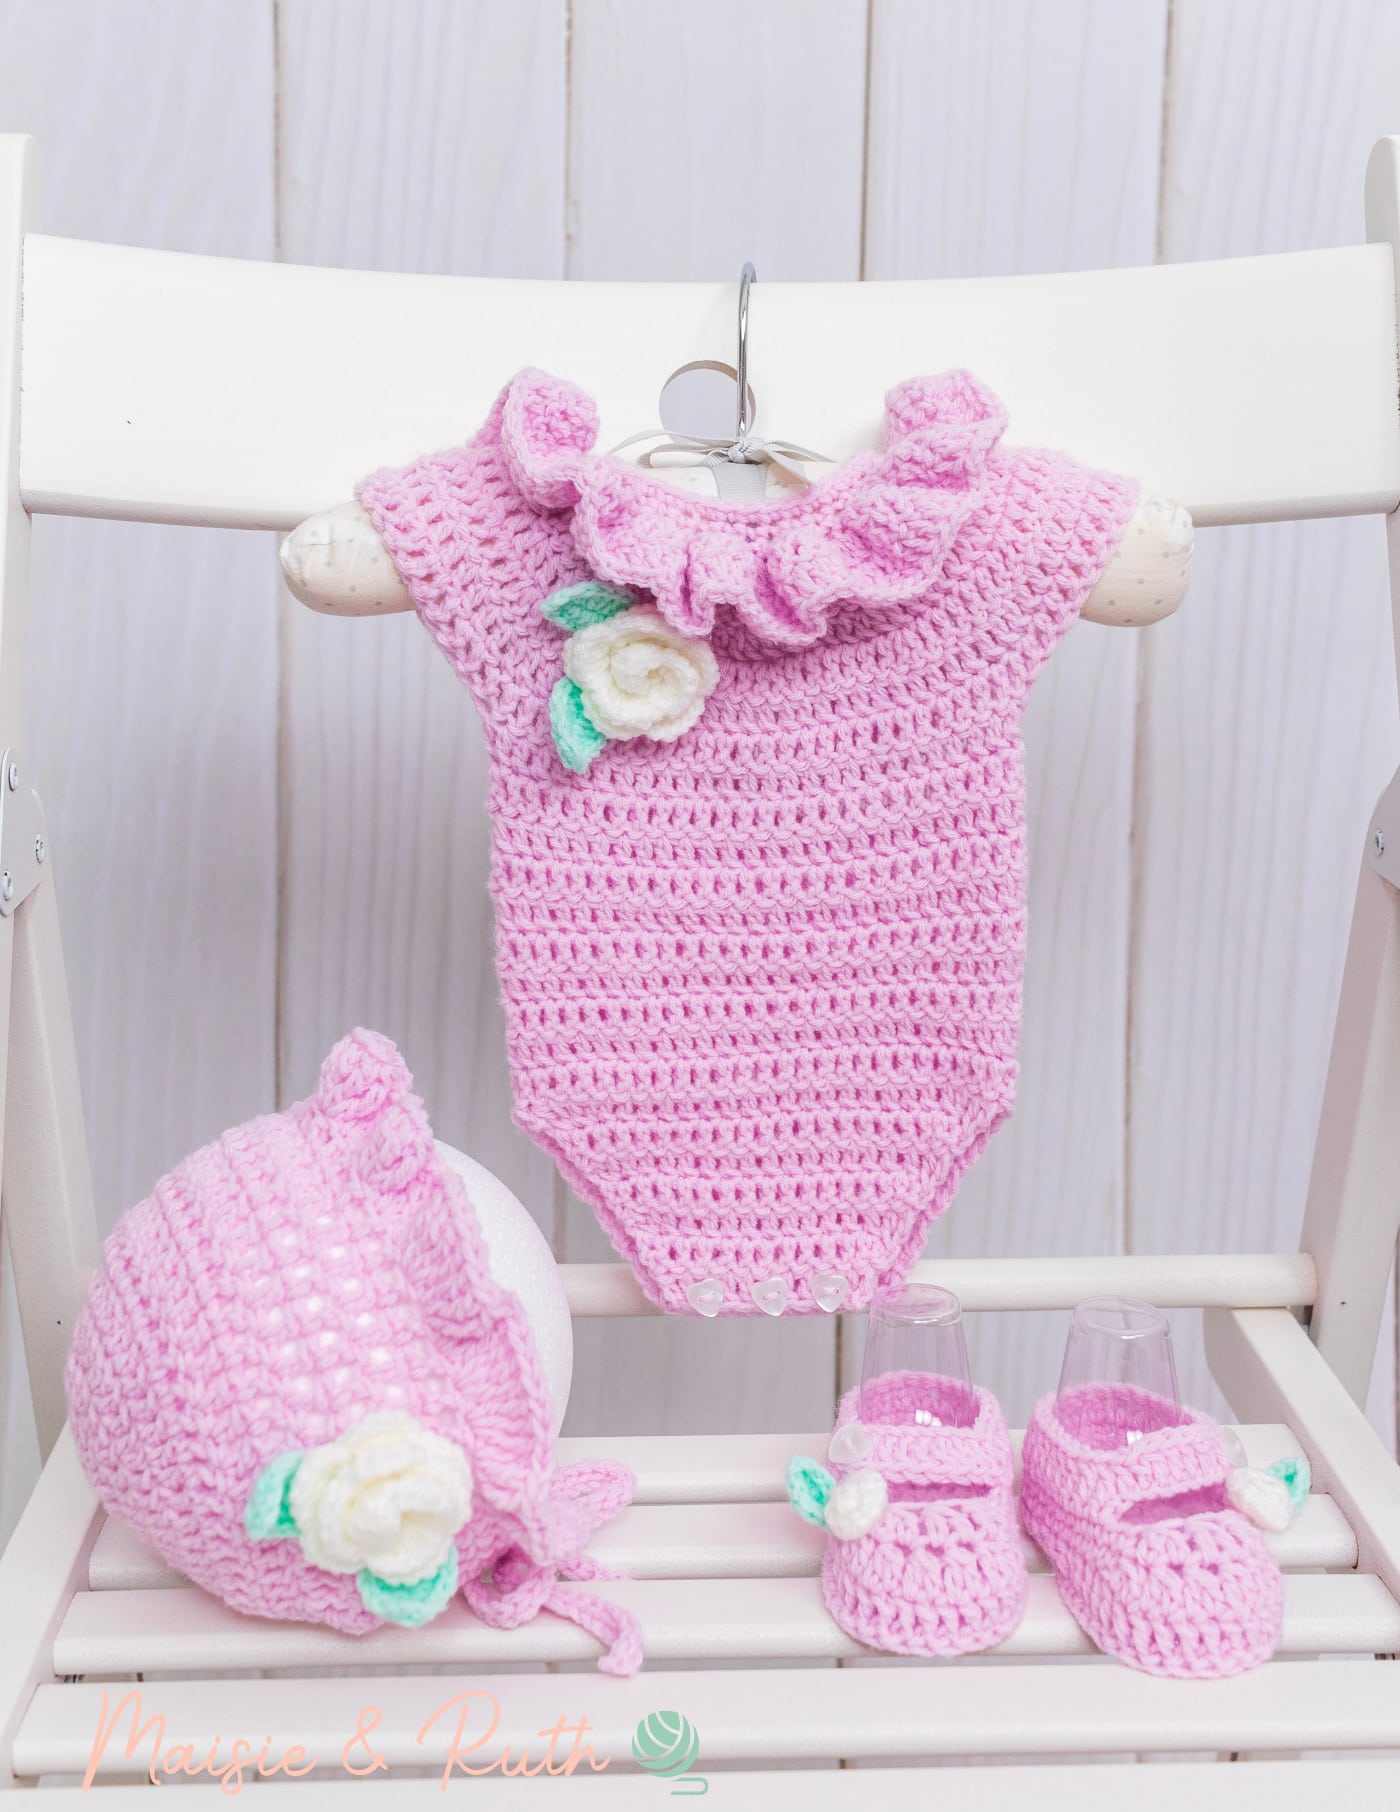
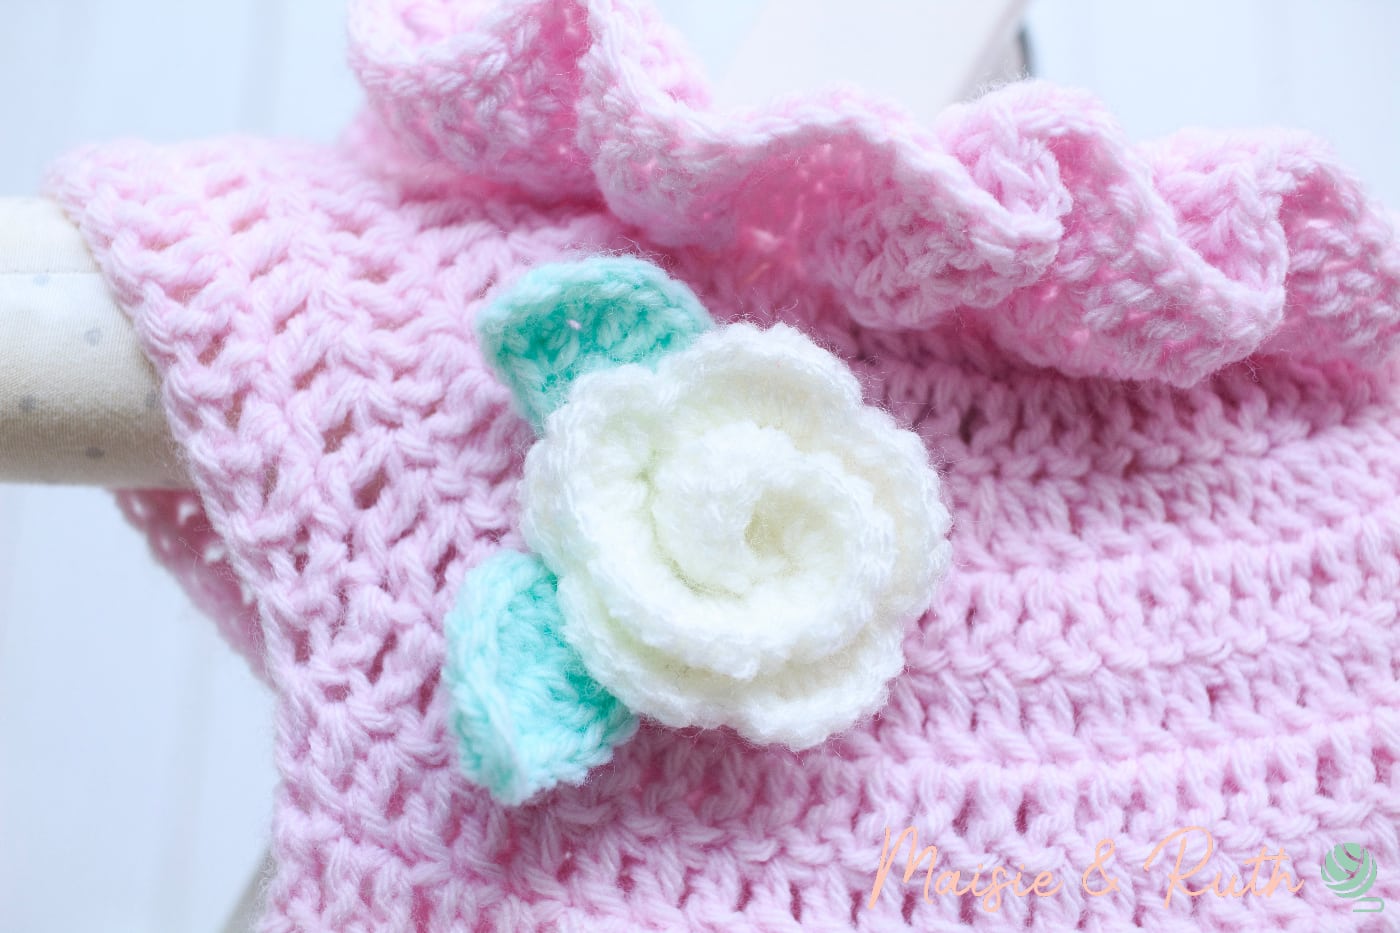
I decided to add the small rose to the Freya Frilly Romper and Bluebell Baby Bonnet (see image below). I think that it finishes both these items off very nicely and makes them even more charming!
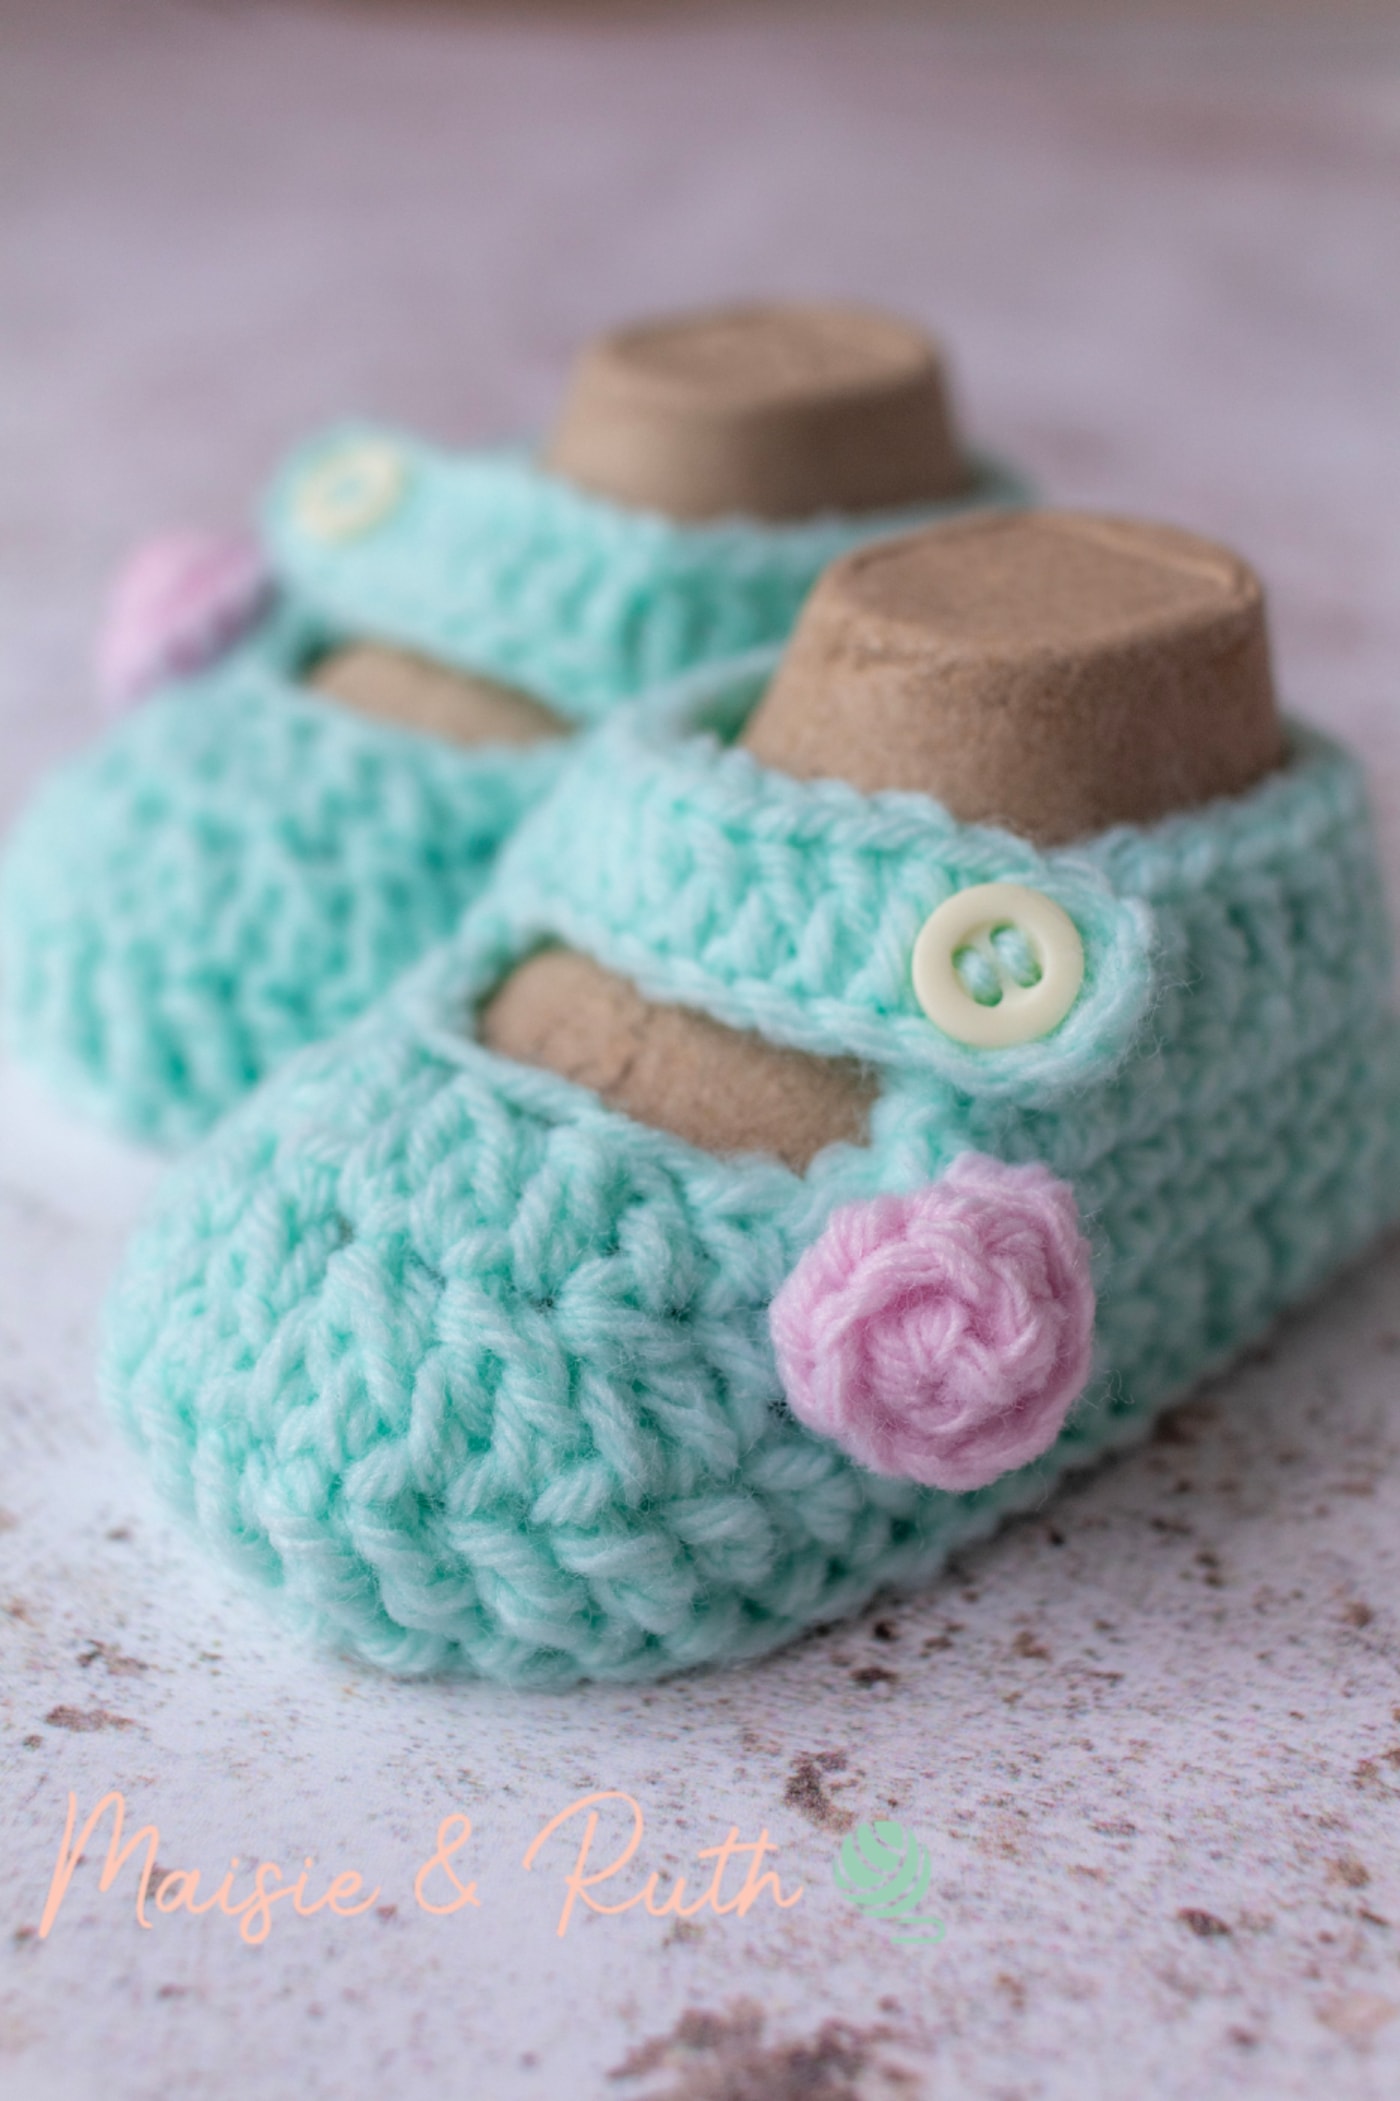
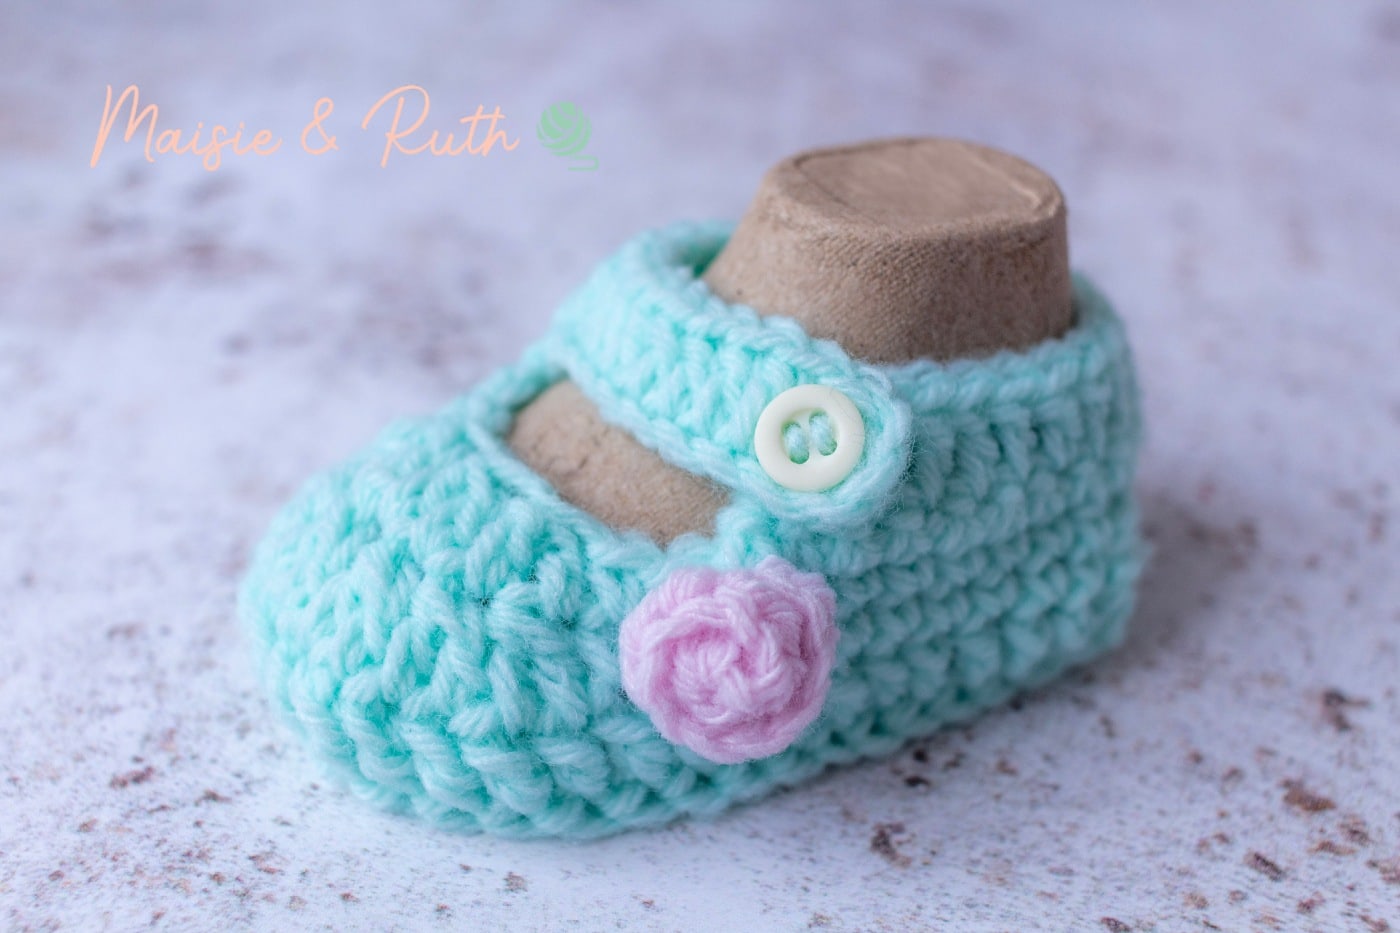
The mini rose is indeed very tiny, and it’s the perfect size to enhance a little baby shoe, such as the Gracie Baby Bootie:
VIDEO TUTORIAL
Crochet along with me to make this flower! Just click on the play button below:
If you’re ready to learn how to make these sweet little crochet flowers, let’s take a look now!
HOW TO CROCHET A FLOWER IN TWO SIZES
This post may contain affiliate links, which means I’ll receive a commission if you purchase through my links, at no extra cost to you. Please read full disclosure for more information.
The information detailed below applies to both the small rose and the mini rose.
LEVEL
Basic (see details of project levels at the Craft Yarn Council).
MATERIALS
- Yarn: Leftover yarn in #3, light worsted / DK / 8 ply.
- Crochet Hook: C (3mm)
- Scissors
- Tapestry needle (for weaving in ends)
FINISHED SIZE
Small rose:
2 inches x 2 inches (5cm x 5cm)
Mini rose:
3/4 inches x 3/4 inches (2cm x 2cm)
STITCHES AND ABBREVIATIONS (US CROCHET TERMS)
ch(s) – chains(s)
dc – double crochet: Yarn over (yo), insert hook into stitch, yo, pull up a loop (3 loops on hook). Yo, pull through 2 loops (2 loops on hook). Yo, pull through remaining 2 loops. 1 double crochet completed.
fasten off – To fasten off securely, work one chain, then cut the yarn leaving a 5 – 6” tail. Pull the tail through the loop that is on your hook. Tighten gently.
hdc – half double crochet: Yarn over (yo), insert hook into stitch, yo, pull up a loop (3 loops on hook). Yo, pull through all 3 loops. 1 half double crochet completed.
sc – single crochet: Insert hook into stitch, yarn over (yo), pull up a loop (2 loops on hook). Yo, pull through both loops on hook. 1 single crochet completed.
sk – skip: Do not crochet into this stitch or stitches.
sp – space
st(s) – stitch(es)
* to * – Repeat instructions between asterisks as many times as directed.
( ) – Sets of stitches to be worked within one stitch or space.
[ ] – The total number of stitches at the end of a row.
SPECIAL STITCHES
V stitch – (1dc, ch2, 1dc) in same stitch.
Shell st – 6dc in ch2 sp.
PATTERN NOTES
- US crochet terms used throughout.
- To adjust the size of the roses: use a thicker yarn and larger hook to increase the size; use a thinner yarn and smaller hook for smaller flowers.
- I have provided full written instructions at the beginning of each row. I then break down these instructions and provide photos of the required steps / stitches for greater clarification.
SMALL ROSE PATTERN INSTRUCTIONS
Ch25
Row 1. 1dc in 5th ch from hook (skipped 4 chs count as 1dc and ch2), *sk 1 ch, (1dc, ch2, 1dc) in next ch*, repeat from * to * until end of row, TURN [11 V sts].
Work 1dc in the 5th ch from your hook:
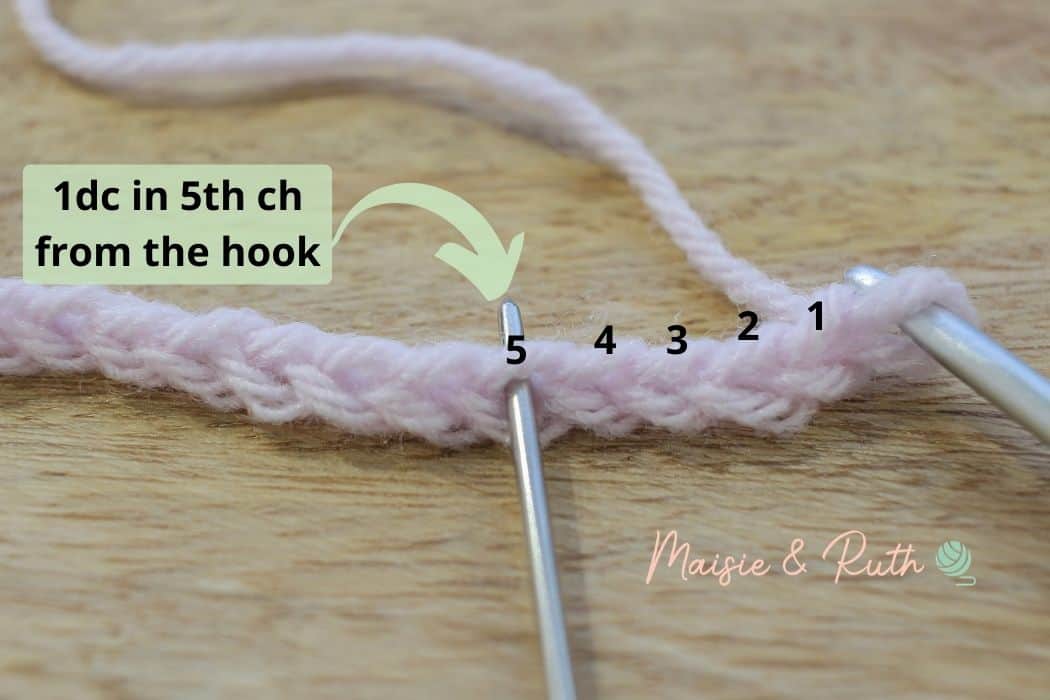
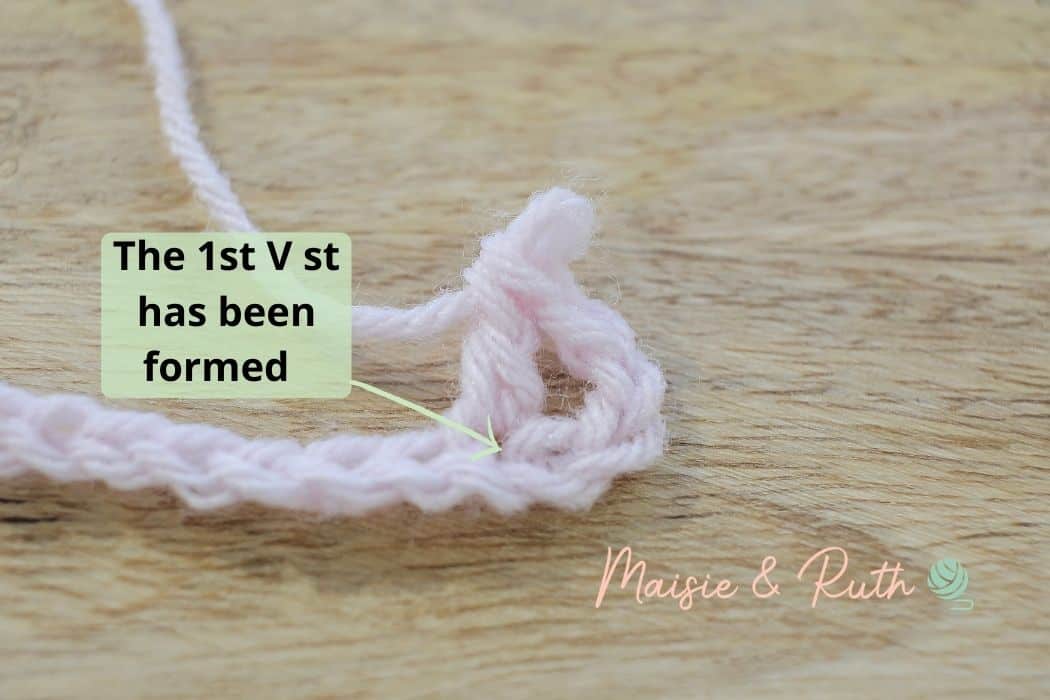
By working into the 5th ch from the hook, the first V st has been made (the 4 chs that you skipped at the beginning count as 1dc and a ch2):
The following stitches that you will now work will form the pattern repeat (the instructions between * to *):
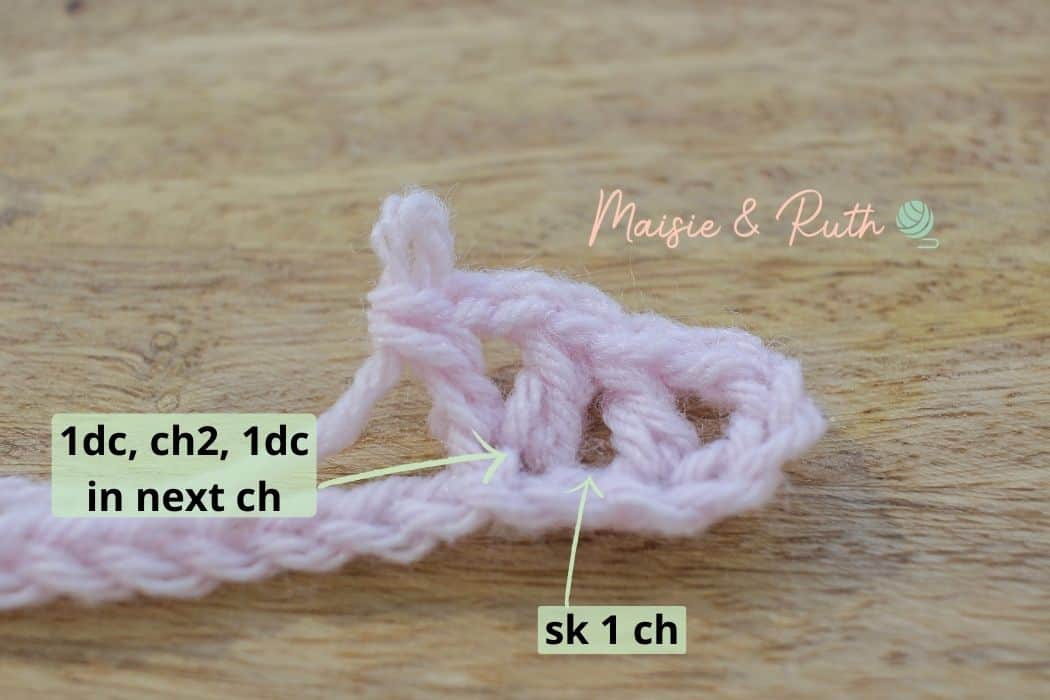
Sk 1 ch, work the next V st (1dc, ch2, 1dc) in the next ch:
Work the pattern repeat across to the end of the row.
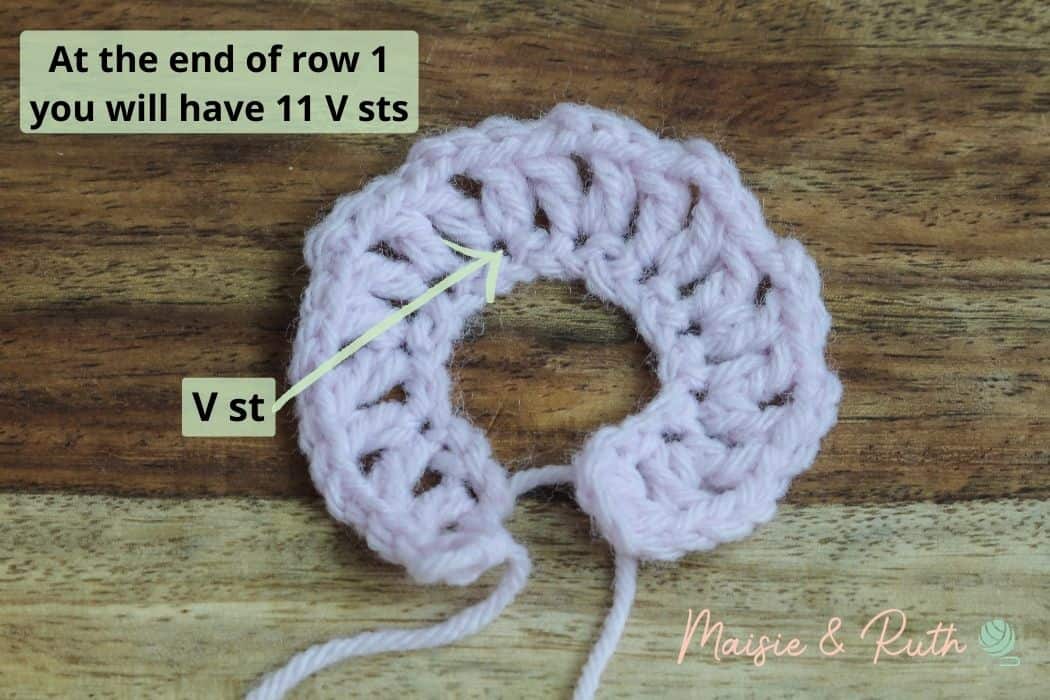
At the end of row 1 you should have 11 v sts:
Row 2. Ch1, 6dc in ch2 sp, *1sc in sp before next V st, 6dc in ch2 sp*, repeat from * to * until the end of the row (11 shell sts).
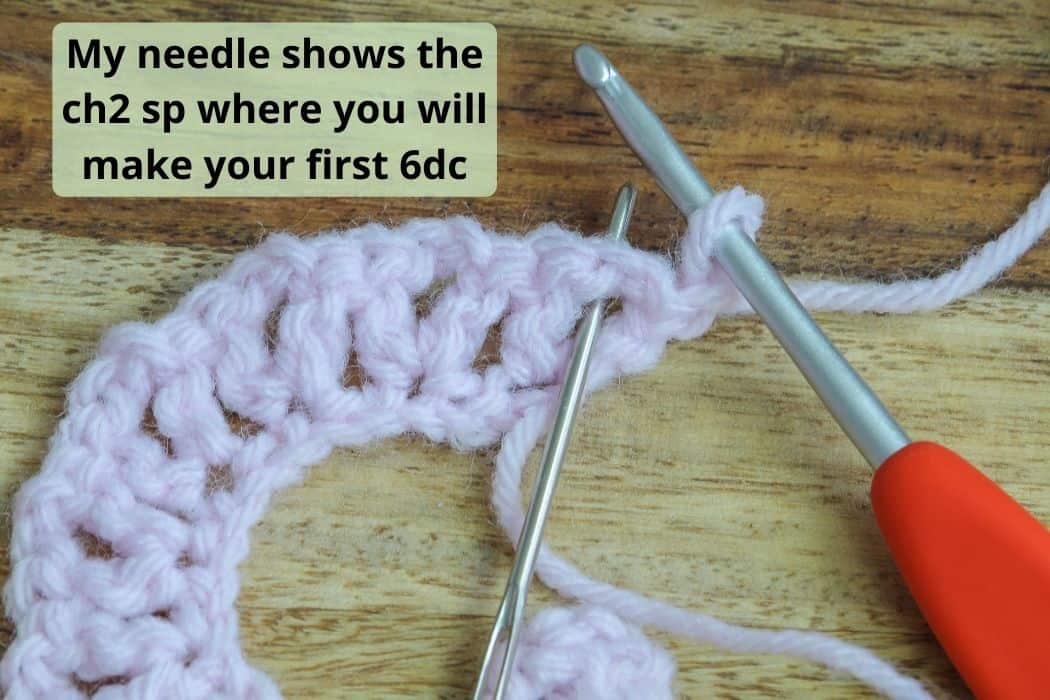
Ch1 and work 6dc in the 1st ch2 sp:

The following stitches that you will now work will form the pattern repeat (the instructions between * to *):
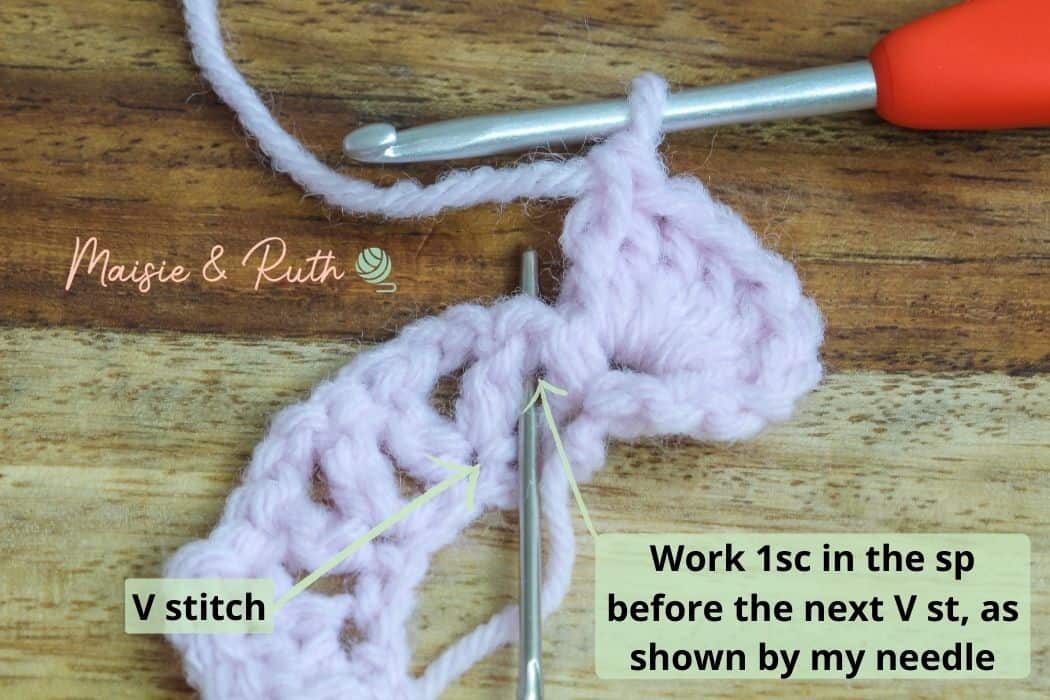
Work 1sc in the sp before the next V st:

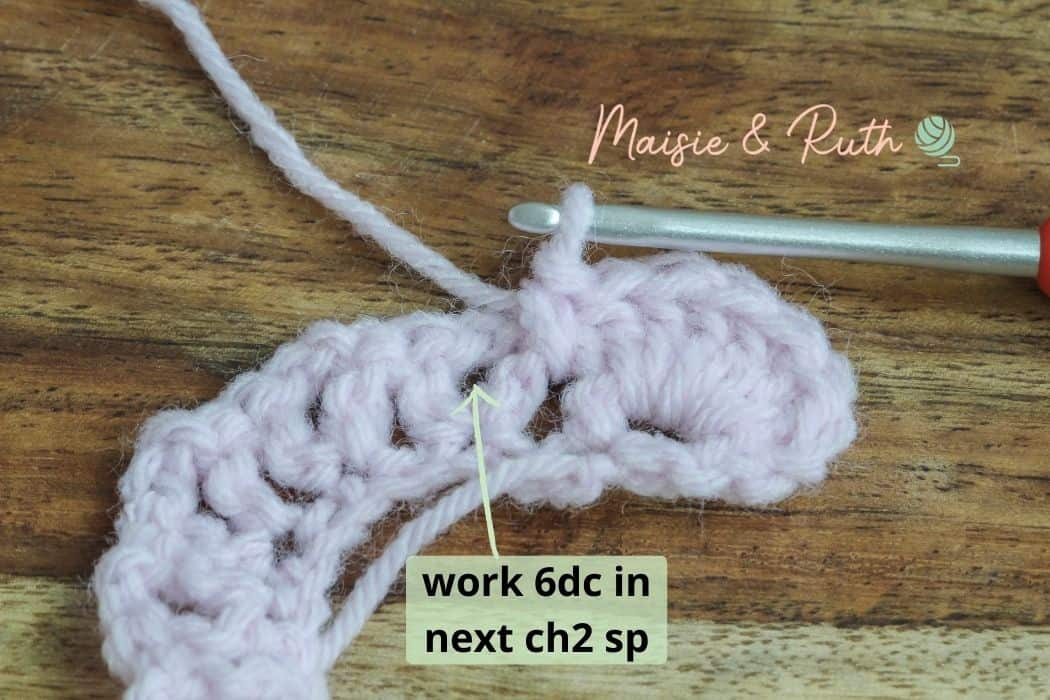
Work 6dc (shell) in the next ch2 sp:
Work the pattern repeat across to the end of the row.
At the end of row 2 you should have 11 shells:

Cut your yarn, leaving a long tail for forming and securing the shape of the rose, and for sewing it onto another item. Weave in tail from the beginning of the foundation chain.
FORMING THE ROSE
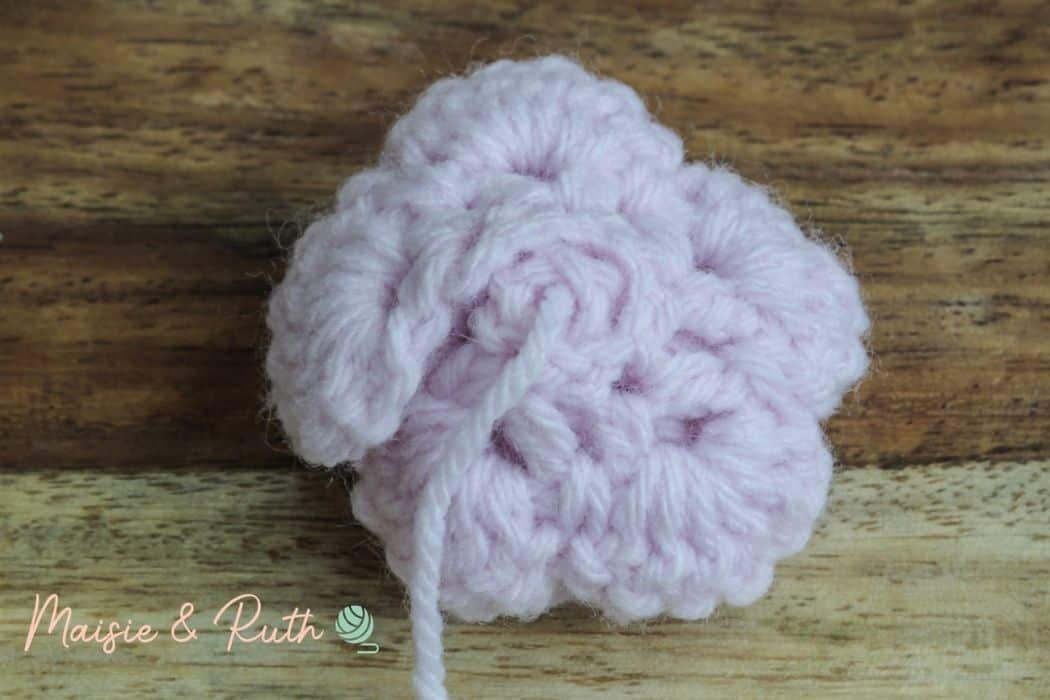
Starting with the end of row 2 that you have just worked, begin by rolling the petals into a spiral shape, as shown in the images below:

This is what the back of the rose will look like after it has been rolled fully:
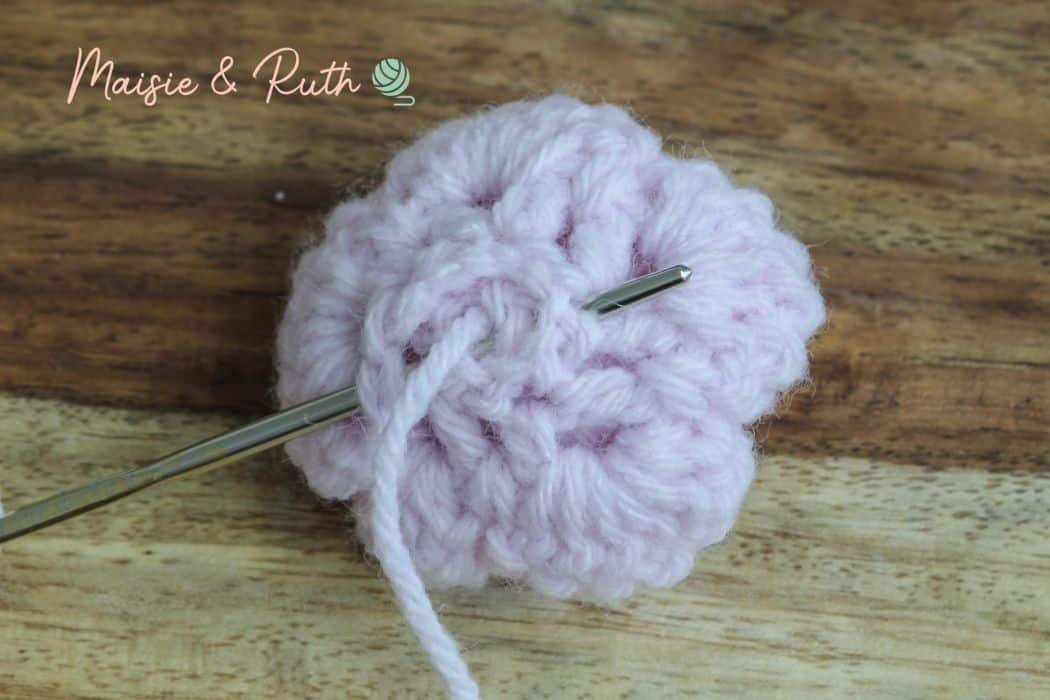
Once the flower has been formed, take your tapestry needle and make a few stitches on the underside of the rose to secure it and ensure the petals do not unravel. Do not worry about the stitching being too neat (see photo below):
LEAF PATTERN
Ch8
Row 1. 1sc in 2nd ch from hook, 1hdc in next ch, 1dc in next 2 ch, 2dc in next ch, 1hdc in next ch, 1sc in last ch, ch2, working up the other side of the ch, 1sc in 1st ch, 1hdc in next ch, 2dc in next ch, 1dc in next 2 ch, 1hdc in next ch, 1sc in last ch, sl st in tip of leaf to join.
Cut yarn, fasten off and weave in ends.
Below is a photo of the completed small rose attached to the Freya Frilly Romper:
MINI ROSE PATTERN INSTRUCTIONS
This is an even simpler design, consisting of just 1 row.
Ch6
Row 1. 1hdc in 2nd ch from hook, 2hdc in same ch, *3hdc in next ch*, repeat from * to * until end of row, [15 hdc sts].
Cut yarn, leaving a fairly long tail for sewing the rose onto another item.
This mini rose will naturally curl itself.
Sew it onto your baby bootie or other item of your choice.
And that’s the end of this crochet flower tutorial!
I hope that you enjoyed it 😊
PIN IT FOR LATER!
Remember to save the pin to your board if it’s something you would like to make at a later date.
Happy crocheting,

