Are you interested in learning how to block crochet?
Continue reading to discover how easy it is to block your crochet projects using one of three methods… it really isn’t as difficult as you may have previously thought!

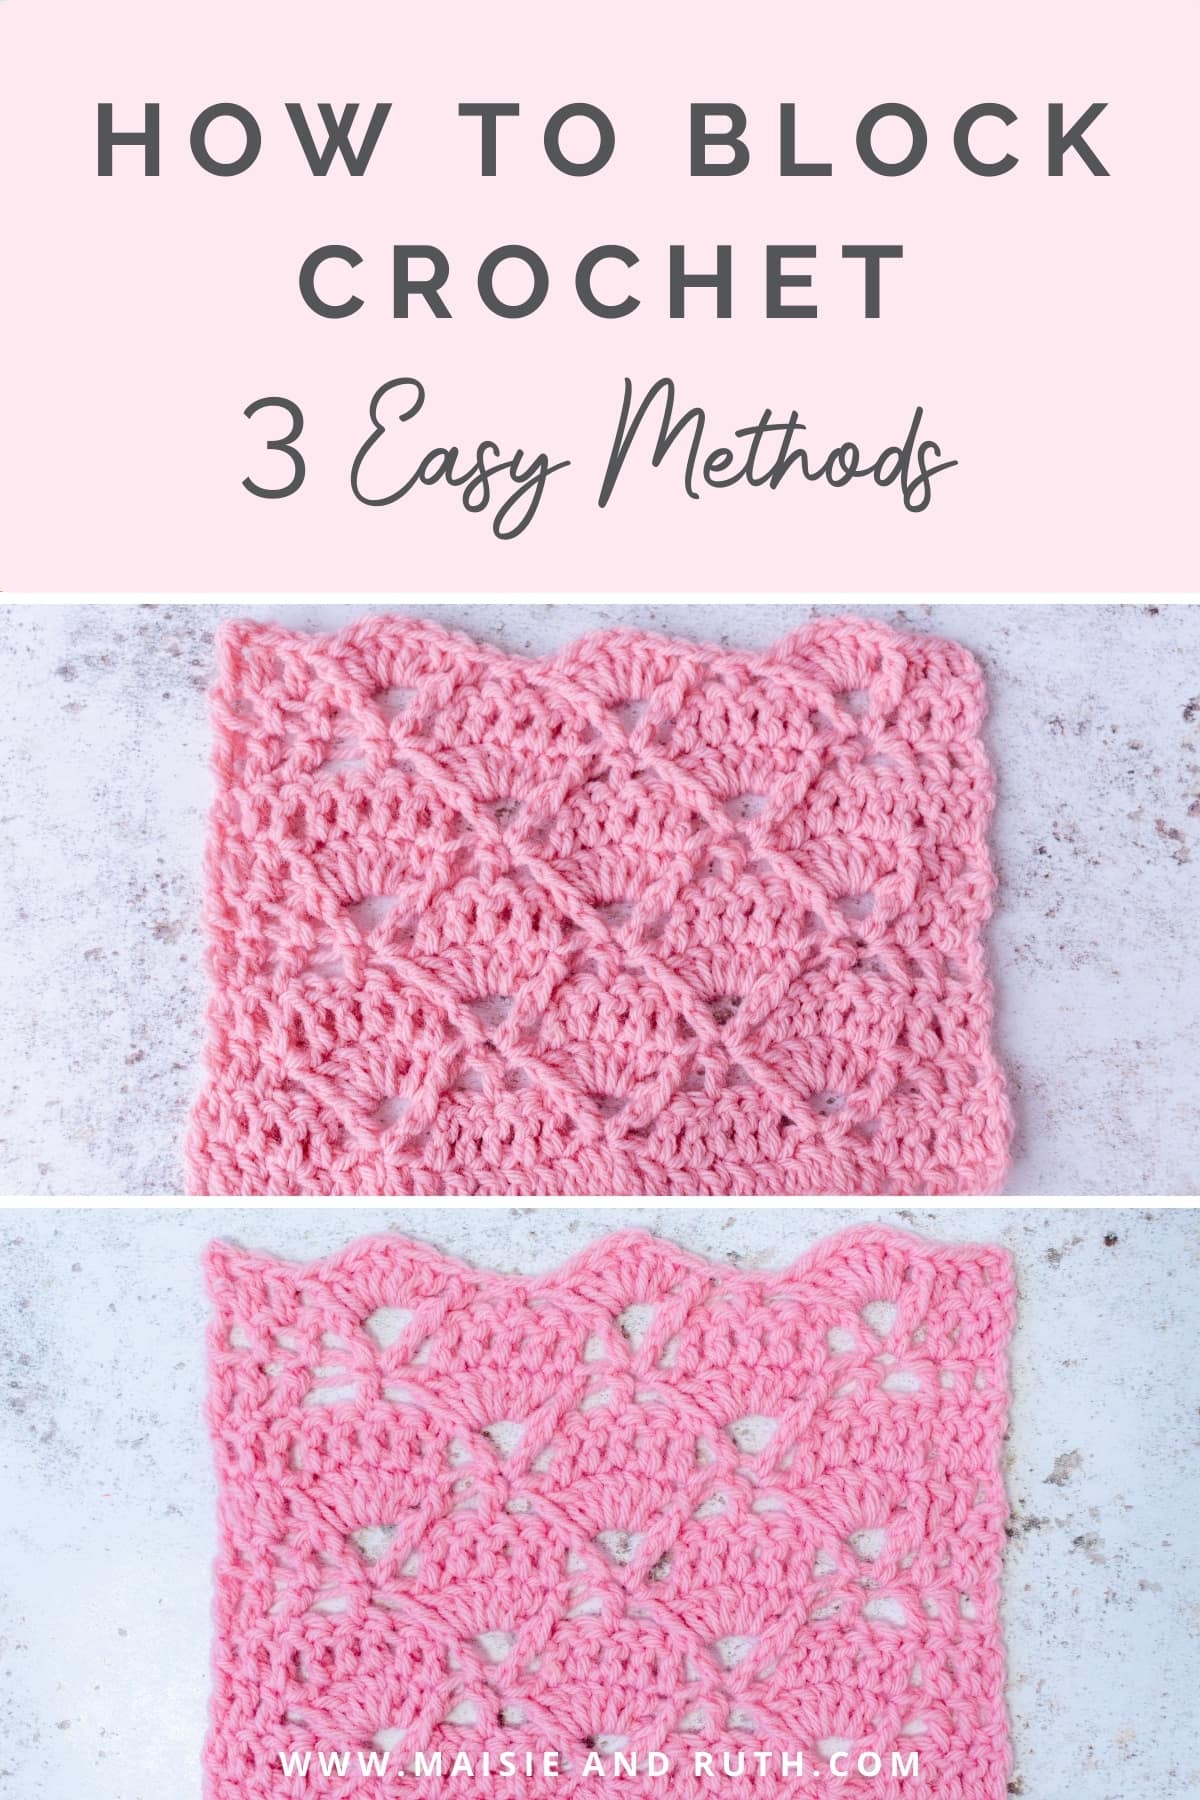
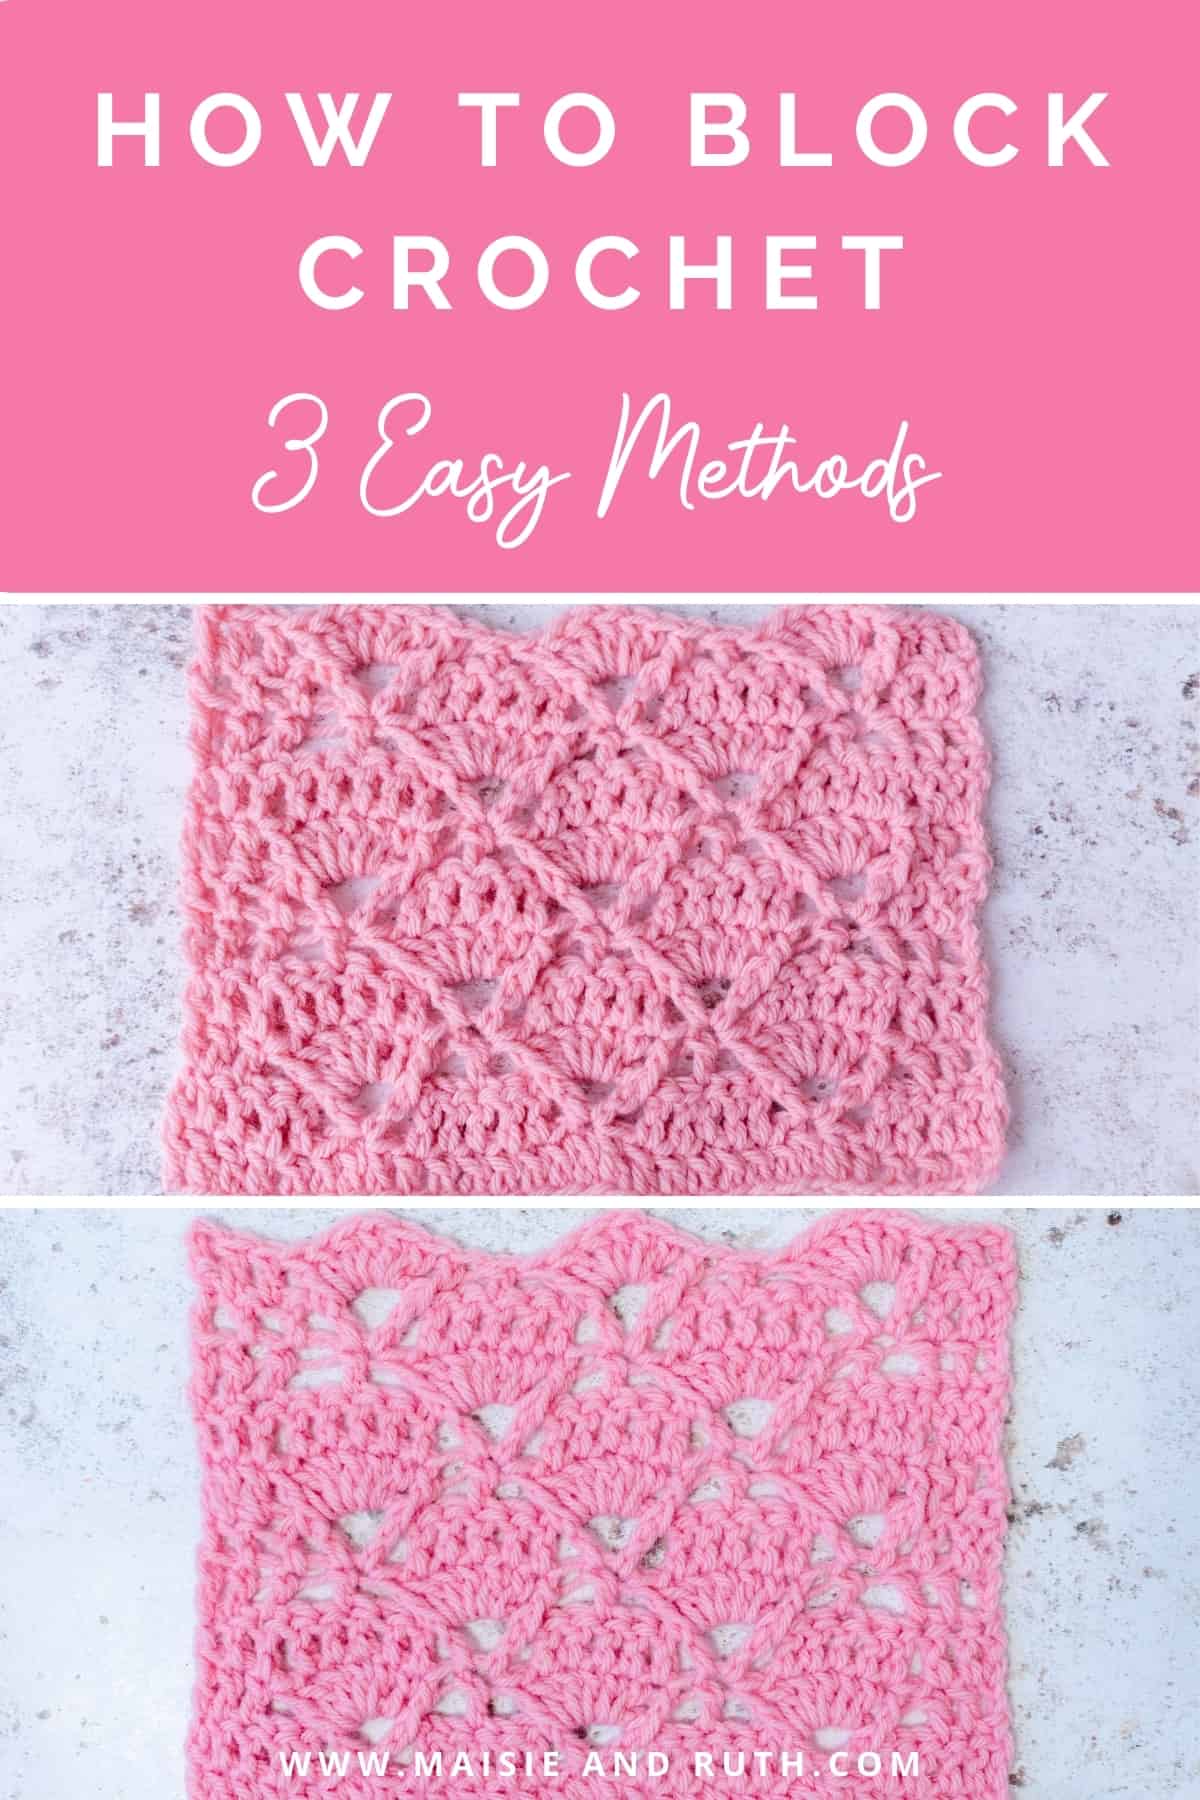
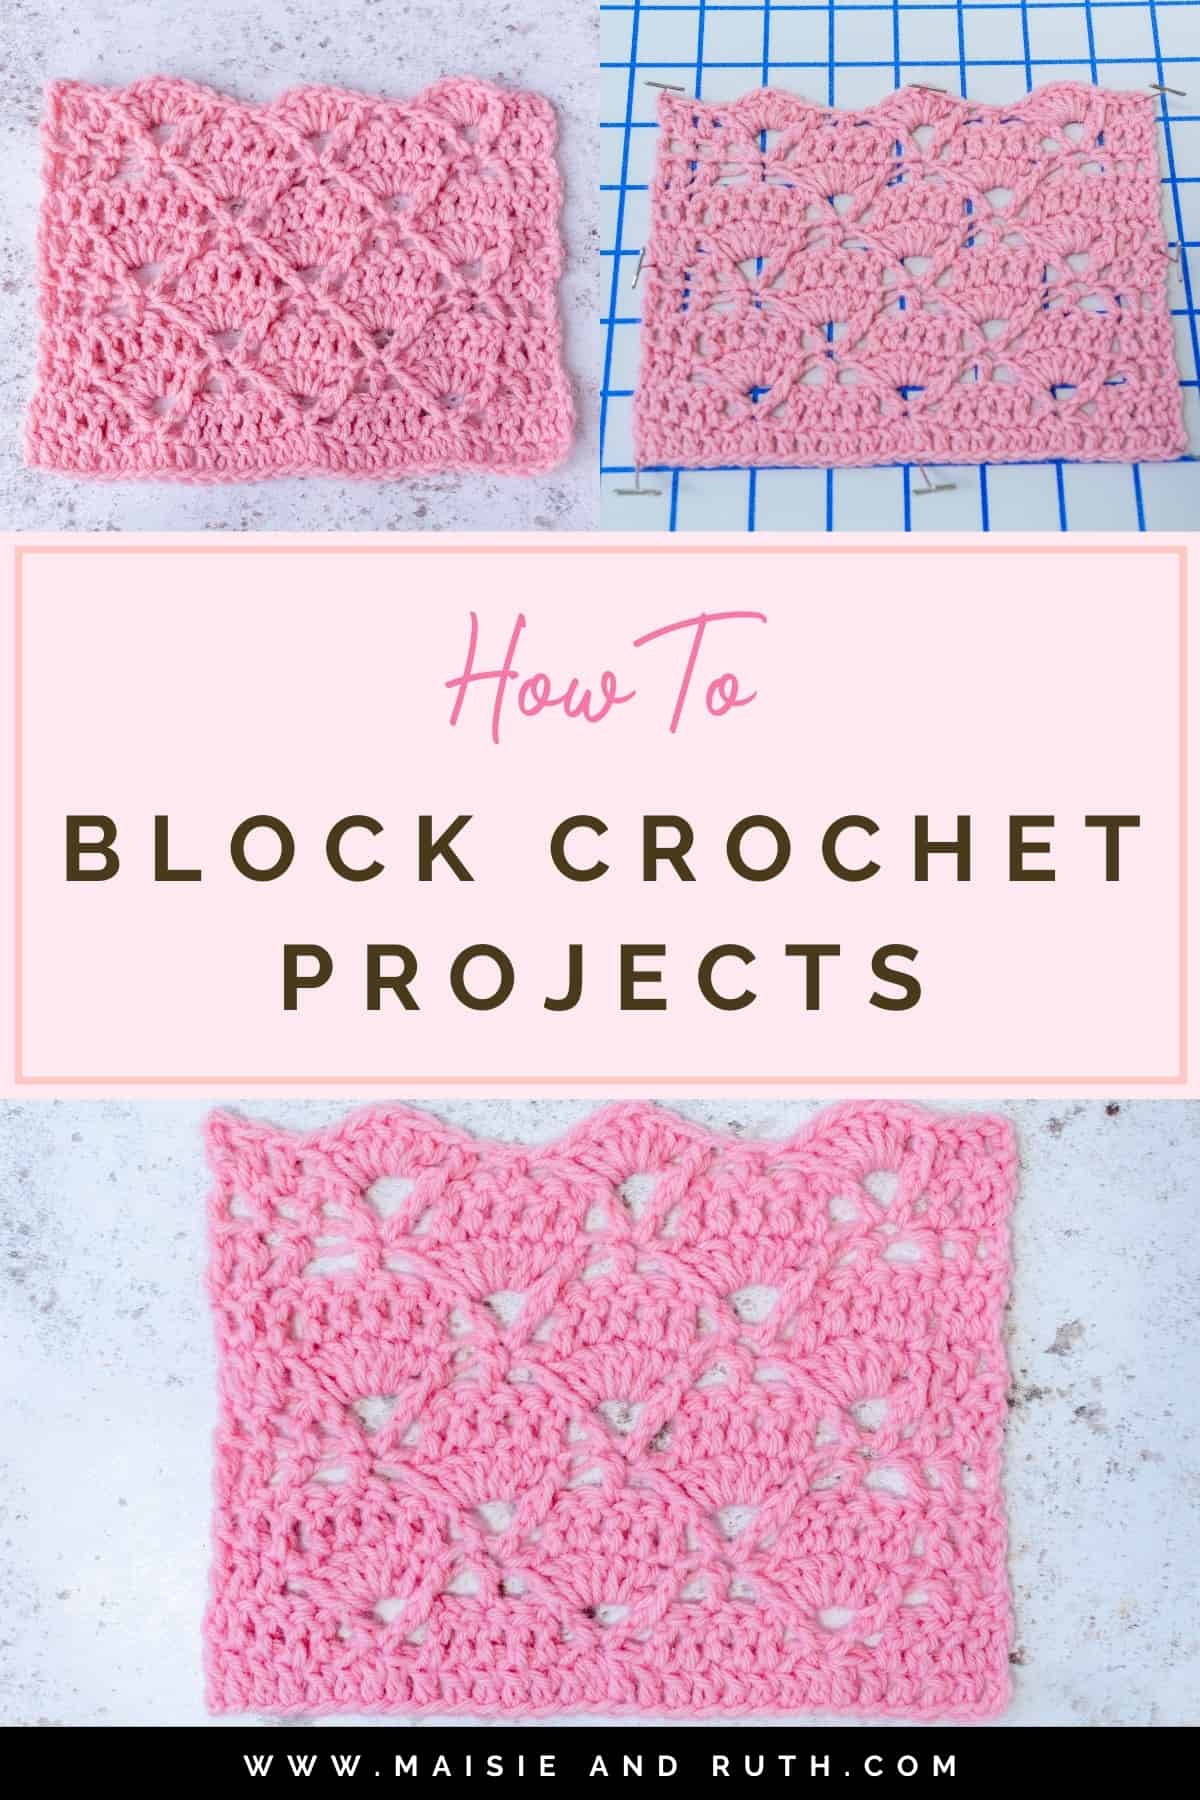
The swatches in the image above were made from my tutorial for the Diamond Trellis Stitch.
‘Gently block your finished piece’… you will commonly find this instruction, or words to that effect, at the end of many crochet patterns.
This final step of a pattern can oftentimes instil a feeling of dread amongst crocheters, which results in them swiftly ignoring this part of the process!
However, for certain crochet projects, I believe that taking the time to block your work is definitely worth it as it can take your finished piece to the next level and really give it that professional finish.
WHAT IS BLOCKING?
Blocking crochet is the process of gently stretching and manipulating your work so that the final piece is a certain shape and size.
There are a few methods on how to block your crochet work. The method you choose depends on the material you have used and also the type of garment / item you have made.
In this blog post, I’ll cover 3 ways you can block your crochet:
CROCHET PROJECTS THAT BENEFIT FROM BLOCKING
I don’t believe it’s essential to block every piece of crochet. Due to the nature of the stitch pattern, I didn’t feel it was necessary to block the Robina Rainbow Blanket or the Barclay Baby Blanket. I also didn’t block Bella the Bunny (amigurumi doesn’t benefit from blocking in general).
But there are certain projects that do benefit from blocking, such as:
- Openwork and lace work
- Mesh and filet projects
- Squares for afghans/ blankets (makes for easier joining)
- Completed blankets (to even out a slightly wonky shape)
- If you’re a beginner crocheter and you would like to even out your stitches so they are all more uniform in size and shape.
Let’s dive in now and get all the details on how to block crochet…
HOW TO BLOCK CROCHET: 3 EASY METHODS
WET BLOCKING INSTRUCTIONS
This method is suitable for:
- Animal fibres such as wool, alpaca, merino
- Acrylic based yarns
- Doilies. This is my preferred method when blocking my finished doilies.
Avoid using this method on:
- Delicate animal fibres such as mohair, cashmere, angora and silk as they can be fragile when soaking wet and overstretch easily (they benefit from the steam and spray blocking methods below).
Some designers don’t recommend that you wet block acrylic… they find that due to the nature of the material, acrylic yarn doesn’t respond to wet blocking.
However, this method is my personal favourite. I find that this method of blocking is very effective and works very well for all my crochet projects involving acrylic yarn.
MATERIALS REQUIRED:
- Blocking boards (I like these boards from KnitIQ as the grid lines make it so much easier to define the final shape and size).
- Rustproof pins (these are included with the Knit IQ boards).
- Wool detergent (optional).
- Start by soaking your crochet piece in lukewarm water. I add a splash of wool detergent, but this step is completely optional. Soak for about 5 -10 minutes.
- After soaking, gently rinse and squeeze out the excess water – do not wring or twist your work!
- To remove excess water, lay your work on a clean towel and then roll it up (so that it resembles that of a swiss roll!). Gently pat it with your hands, or stand on it a few times, to remove as much of the excess dampness as possible.
- Remove your piece from the towel and lay it out on a blocking mat. Other alternatives to the professional knit / crochet blocking boards are interlocking playmats for children, yoga mats, rugs and carpets.
- Use your hands to gently smooth out and shape your work, pinning at intervals with your rustproof (important!) pins to secure everything:

When inserting the pins, I like to start at the top edge and place the first pin in the centre (1).
I then add pins to both corners at the top edge (2, 3) before moving on to the bottom edge and inserting a pin in the middle (4).
Pins are placed in the bottom edge corners (5, 6) and finally the centre of the remaining two edges will be secured (7, 8).
You can use as many pins as necessary to define the desired shape and size (I generally add them around the edges every inch or so).
If your piece has picots or a scalloped or lace edge, place a pin into the centre of the picot or shell or point to add maximum definition to the shape (you can see I’ve done this with pin no. 1 in the image above)
Whether your piece of work is a small square, or an entire blanket, the process for positioning the pins is the same.
- Leave to dry. This may take a few hours or 1-2 days depending on the fiber used and / or room temperature.
- Once your work is completely dry, remove the pins.
STEAM BLOCKING INSTRUCTIONS
This method is suitable for:
- All fibres / materials.
WARNING: Do not let your iron, or other steaming device, touch your work (especially acrylic as it will melt!).
To steam block your items, follow the steps below:
- Lay your work out on a blocking mat.
- Use your hands to gently smooth out and shape your work into the desired shape / size, pinning at intervals with your rustproof pins to secure everything (see step 5 above on the order of pinning that I prefer).
- Using your iron or steamer, give your piece a good blast of steam. As warned above, don’t let your appliance touch your work… just hover over your item as you’re releasing the steam.
- Leave to dry completely.
- Once your work is completely dry, remove the pins.
SPRAY BLOCKING INSTRUCTIONS
The final method is suitable for:
- All fibres / materials (particularly well-suited to more delicate fibres such as mohair and silk).
To spray block your items, follow the steps below:
- Lay your work out on a blocking mat.
- Use your hands to gently smooth out and shape your work into the desired shape / size, pinning at intervals with your rustproof pins to secure everything (see step 5 above on the order of pinning that I prefer).
- Spray with water until damp.
- Leave to dry completely.
- Once your work is completely dry, remove the pins.
After blocking, your crochet item that you have invested so much time, love and dedication into is now ready to be used or gifted to that special someone!
If you’re new to blocking or are doubtful about its benefits, try it out with a small swatch first and see how it transforms the final look.
And that ends this blog post on how to block crochet using 3 easy methods😊
Do you block some, all or none of your crochet projects?!
What method of blocking works best for you? Are you a fan of wet blocking your acrylic work, like me?
Let me know your thoughts in the comment section below!