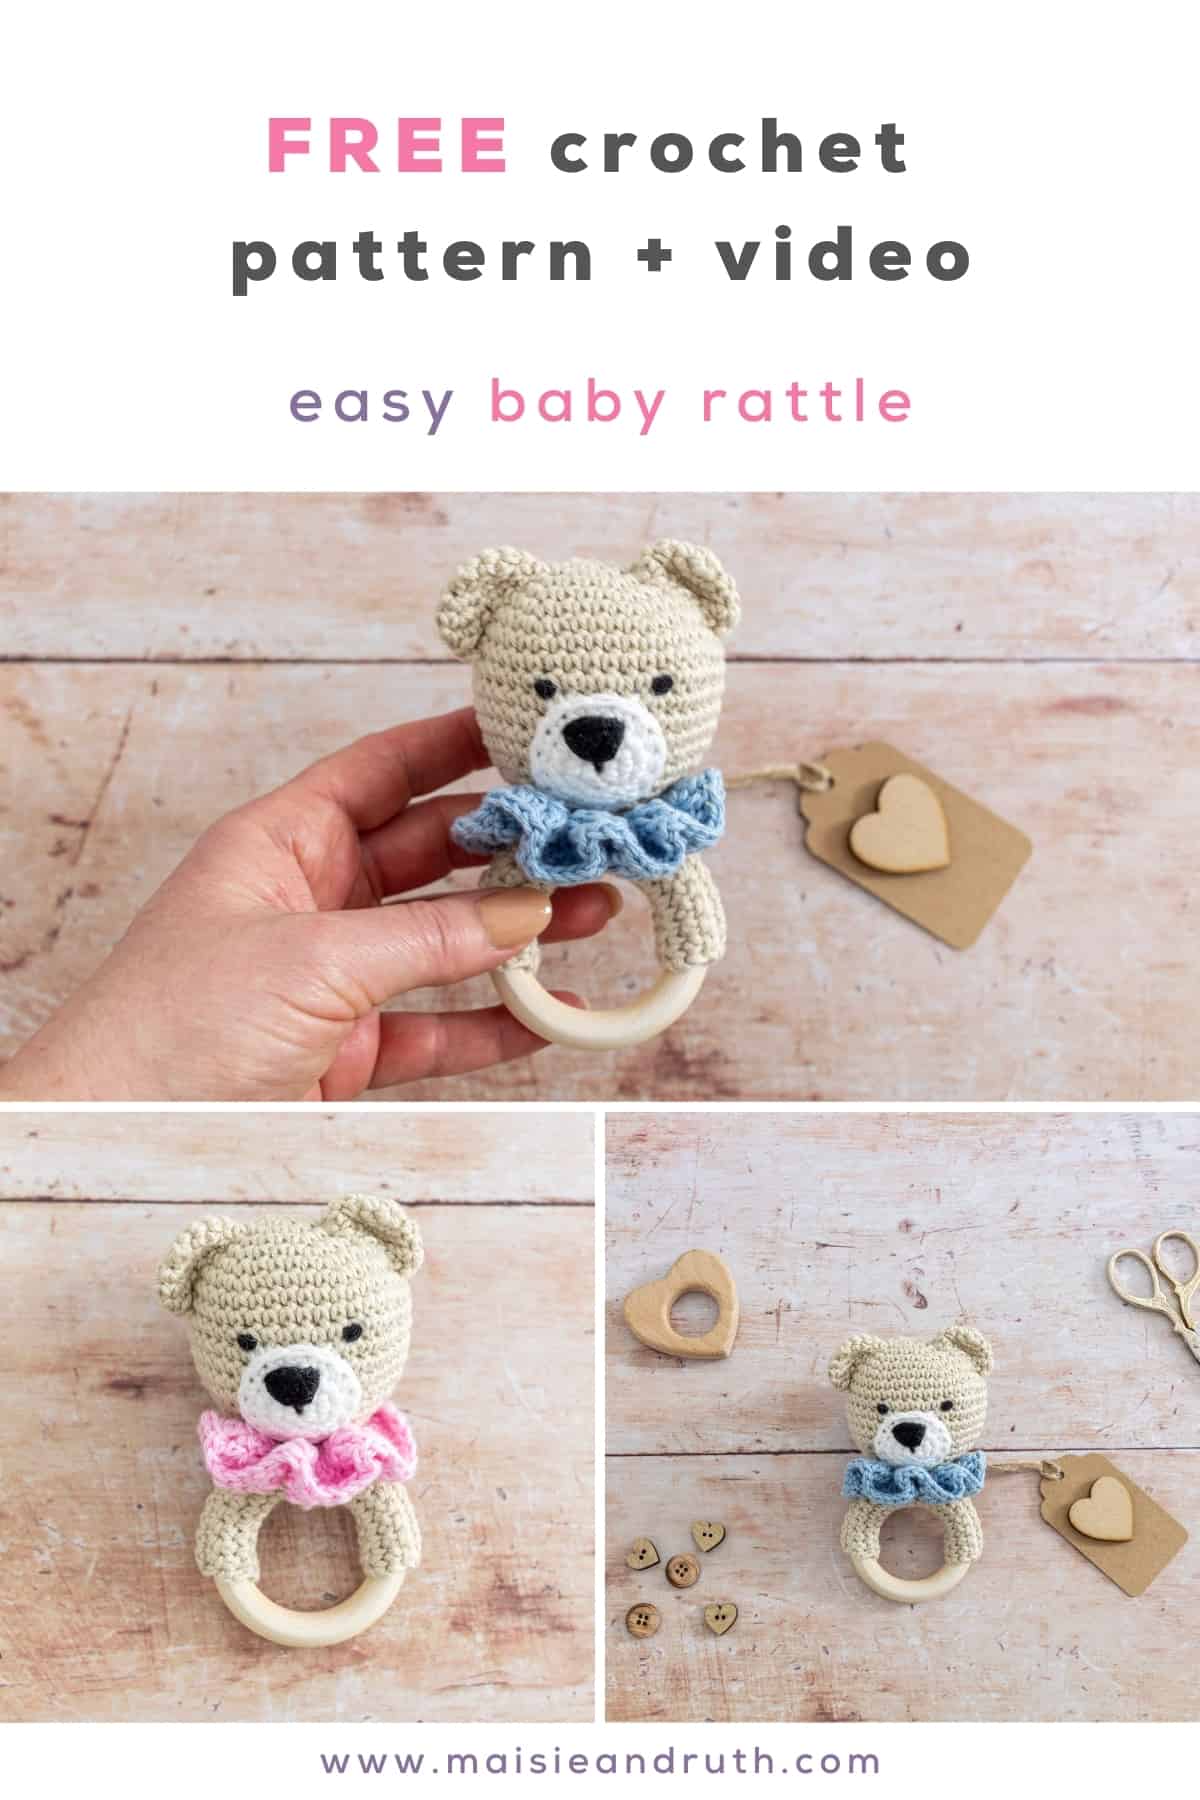
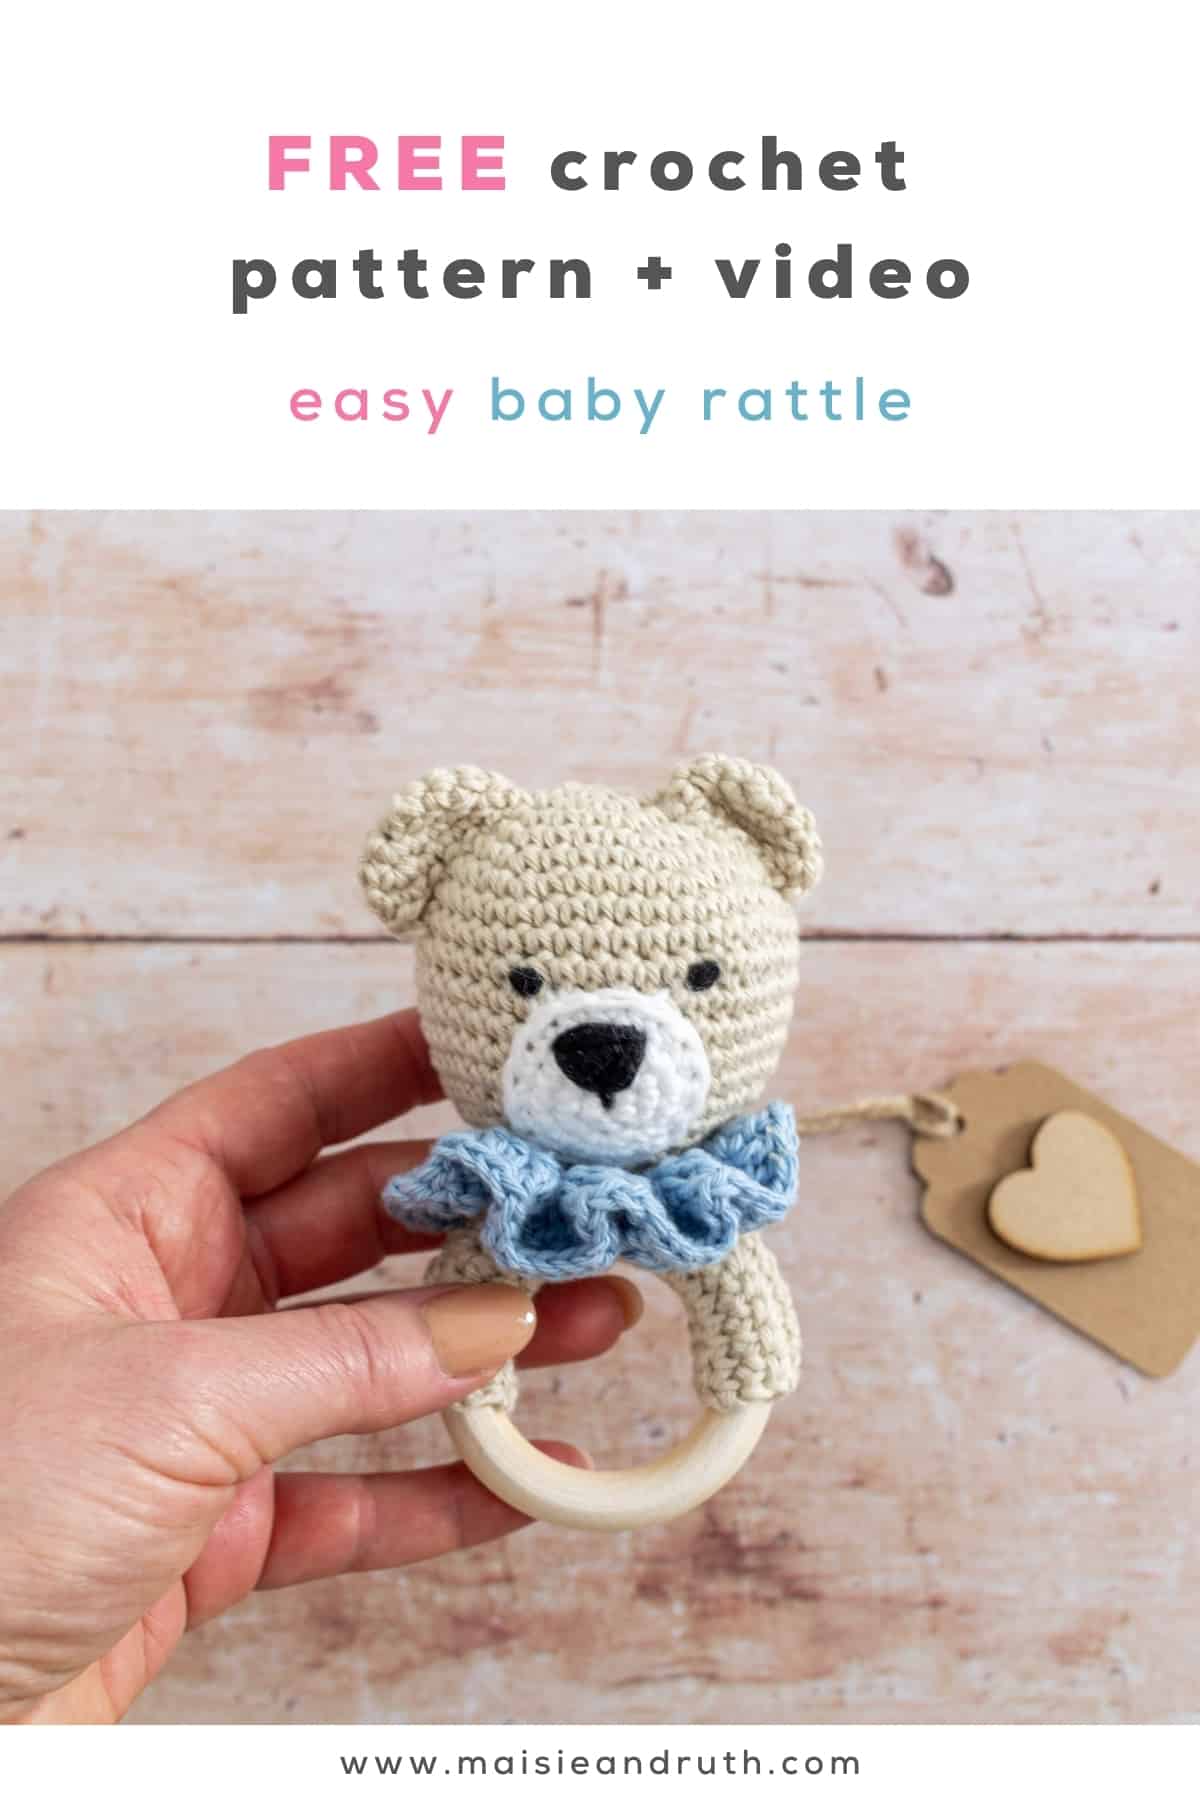
Do you need a gift for a new arrival or upcoming baby shower? If so, I’ll show you How to Crochet a Baby Rattle that is not only super cute but is a fast and easy project too!
This FREE crochet pattern also comes with a step-by-step video tutorial. And to purchase an ad-free printable version, please visit my Etsy store HERE

A SWEET AND FUNCTIONAL TOY FOR BABY
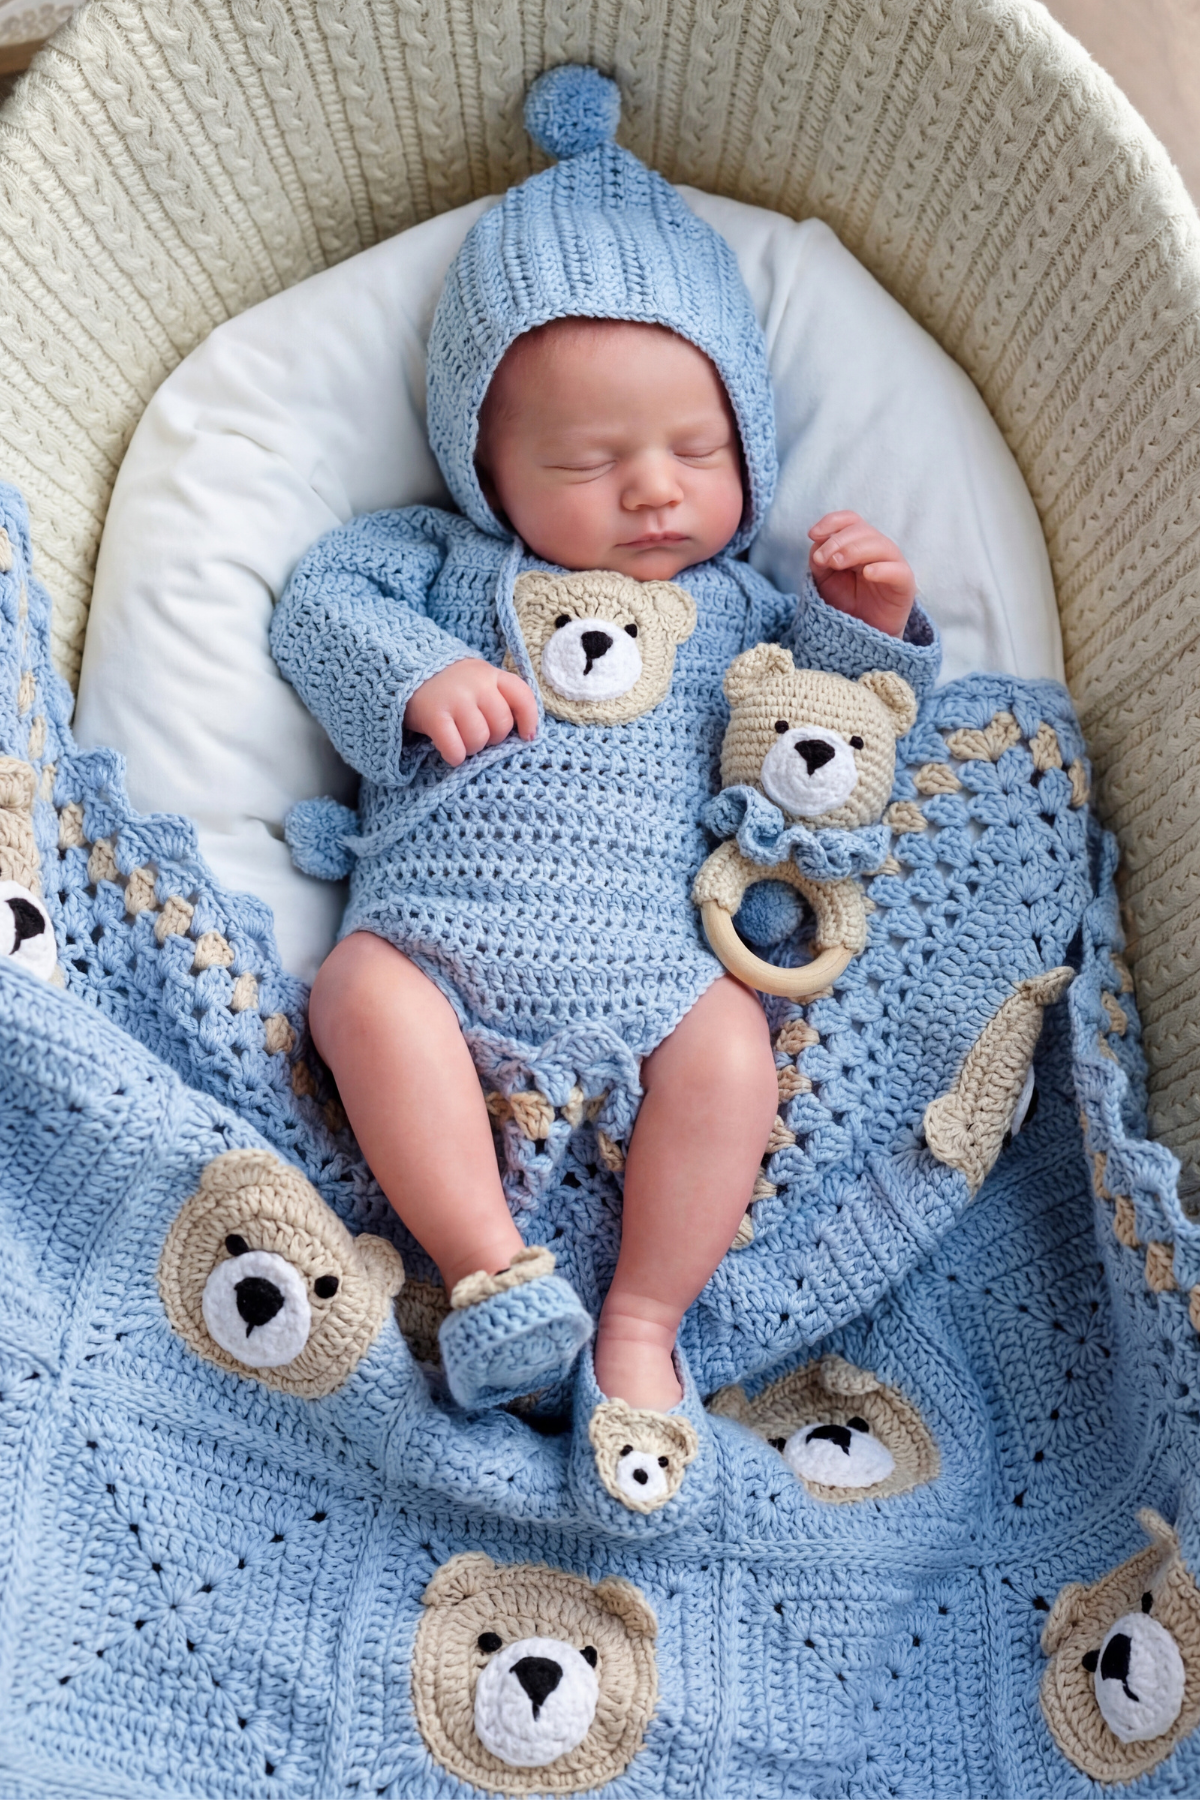
This crochet baby rattle also doubles up as a teether.
Teethers are great for soothing babies’ tender gums. By chewing on the wooden rings, they get some relief when light pressure is applied.
Just make sure that the wooden ring you select is non-toxic and unpainted as you don’t want baby to be ingesting potentially harmful chemicals.
CUTE BABY SET
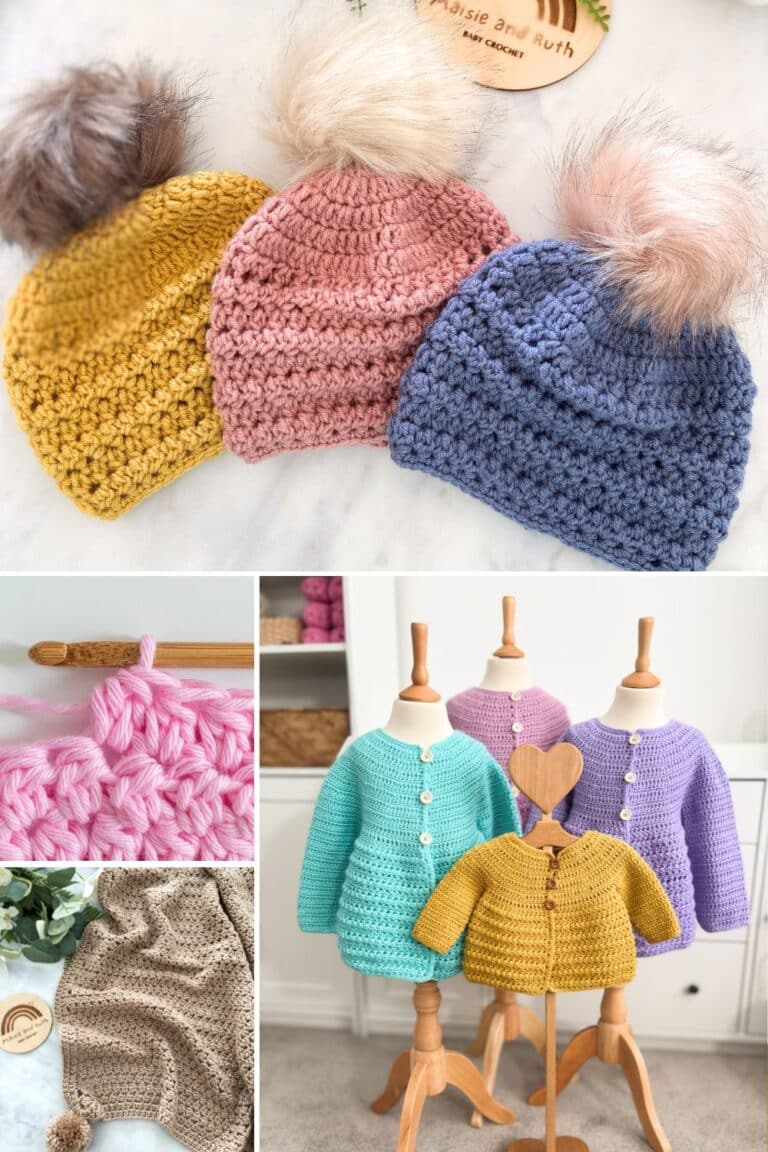
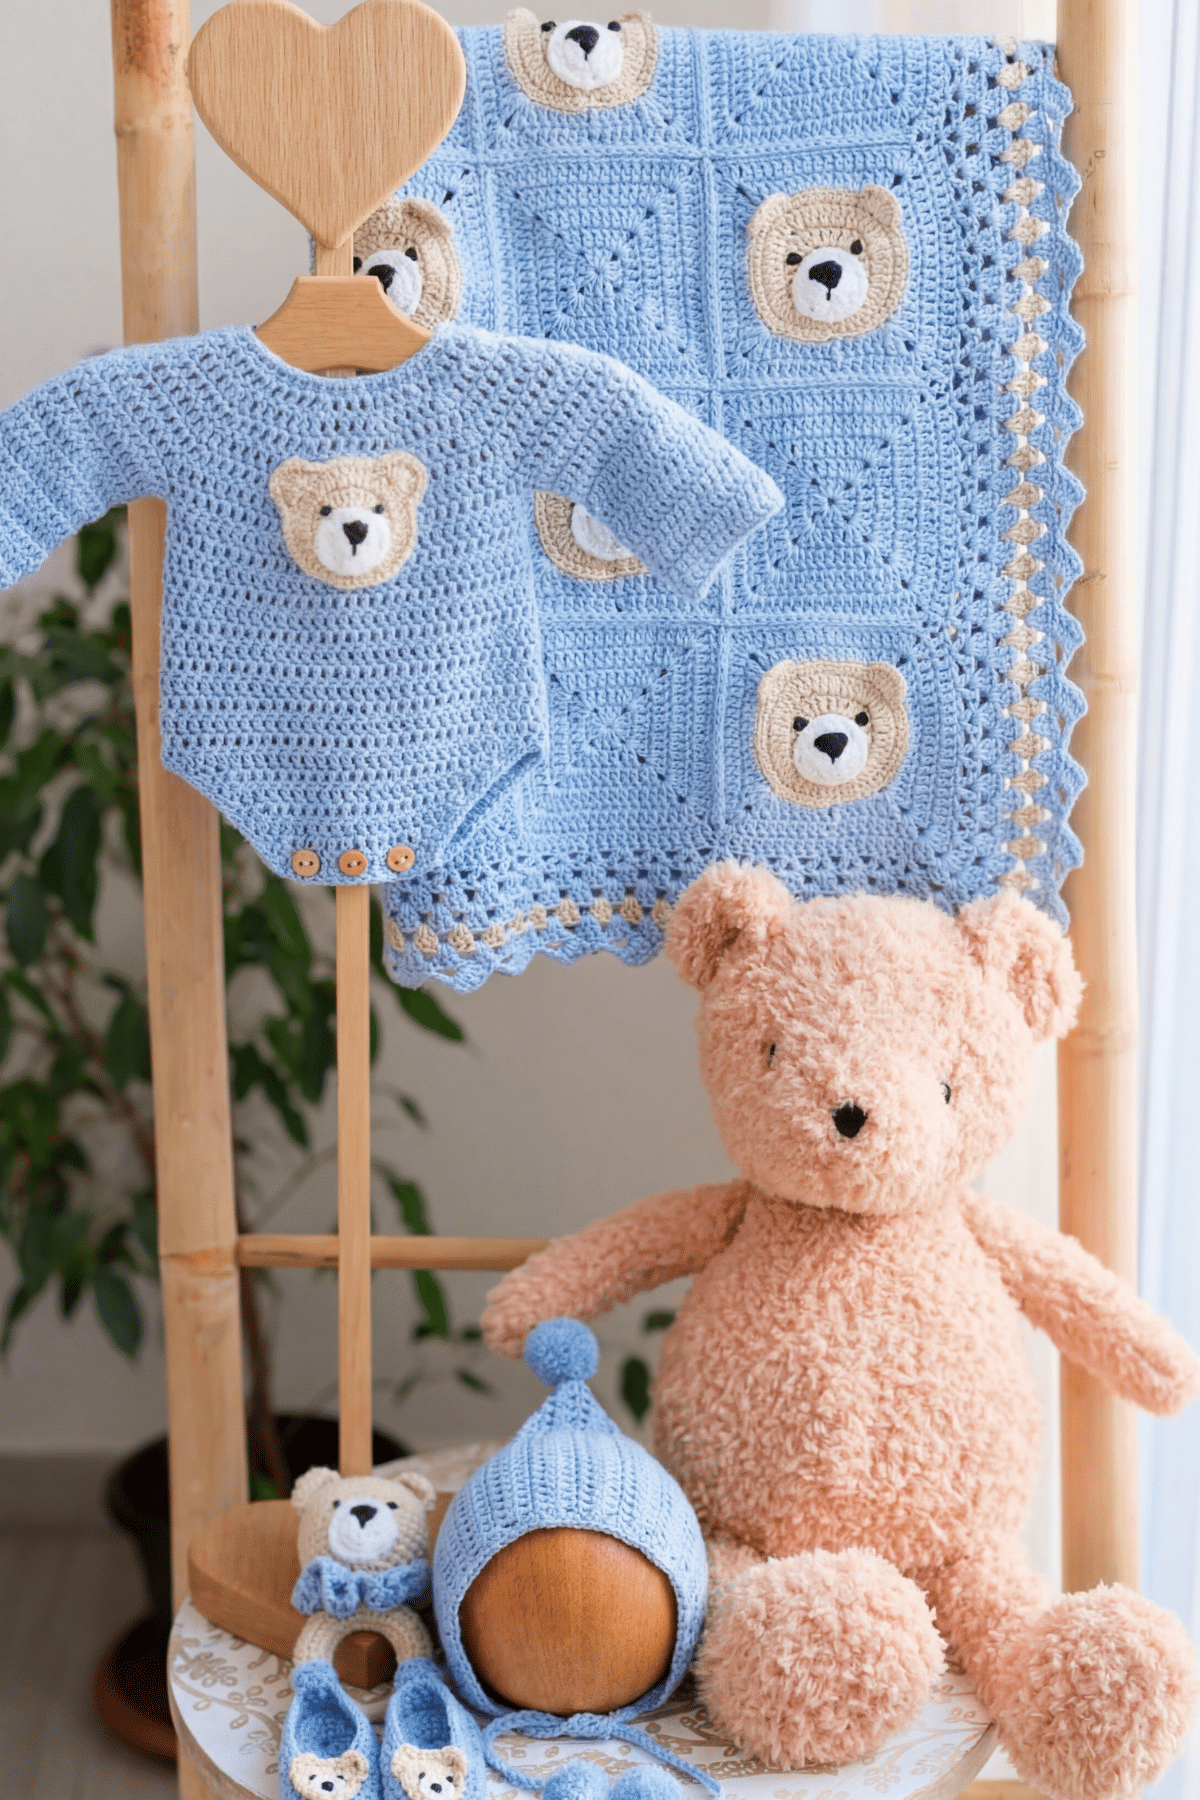
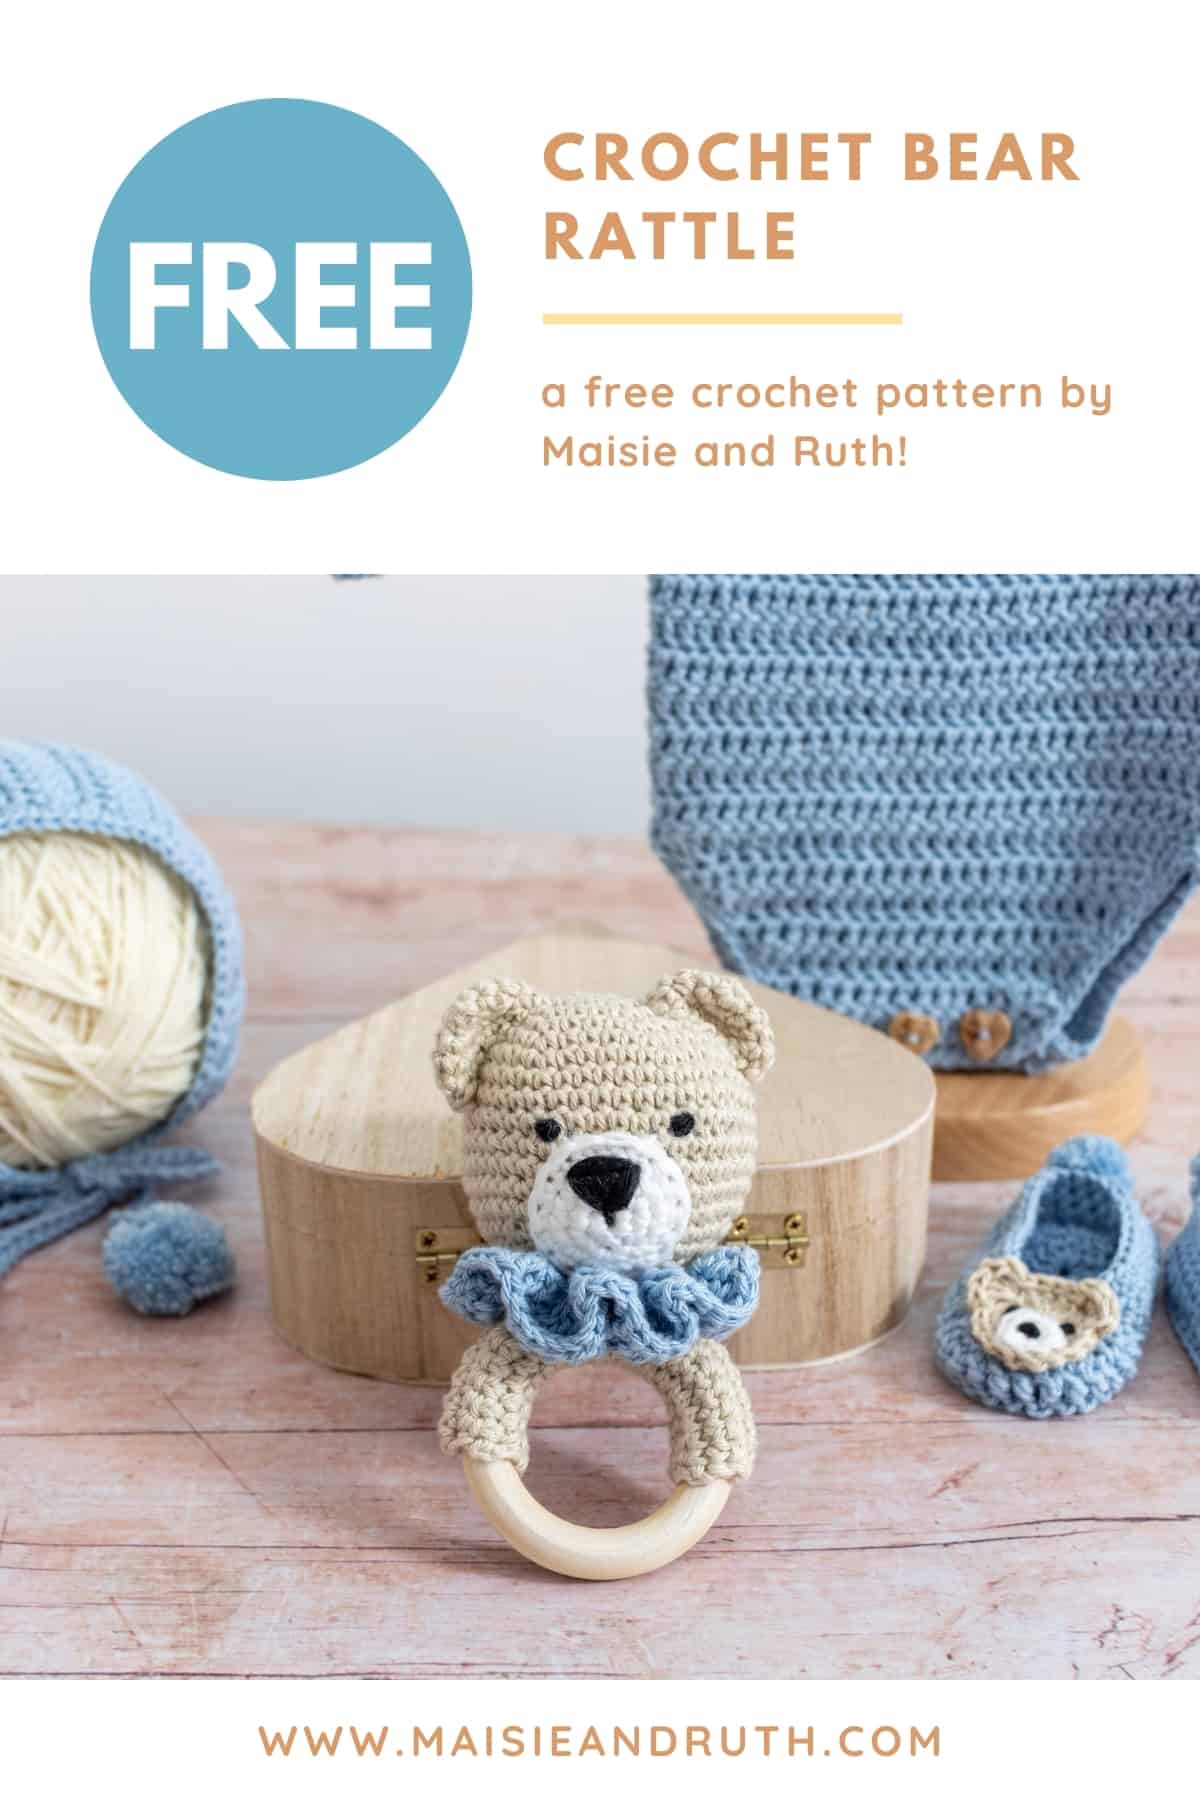
I designed this baby rattle as part of a baby set consisting of a onesie, shoes, bonnet and matching baby blanket.
All of these items are quick and easy to work up, making them ideal projects if a new baby or baby shower is just around the corner!
YARN USED
For this rattle I used Hobbii’s Rainbow Cotton 8/4, a beautiful and wonderfully soft 100% cotton yarn.
Although advertised on their website as a #1 superfine yarn, in my opinion it acts more like a #2 sport / 4 ply yarn.
It’s a real joy to work with as it feels lovely and silky, does not split and crochets up evenly, with the most fabulous stitch definition.
To embroider the nose and eyes I used Hobbii’s Rainbow Cotton 8/8, which is a thicker weight yarn and is pretty similar to a worsted / aran yarn.
You can make this bear rattle in whatever colour you like… there are LOADS of beautiful colours to choose from in this range, so have fun browsing through all the different shades on offer!
Another point worth mentioning is that this brand of cotton is OEKO-TEX® certified, meaning that it’s an ideal choice for baby items. You can find out more about what this means here

PIN IT FOR LATER!

PDF PRINTABLE PATTERNS!
If you would prefer an ad-free, printable version of this pattern, you can purchase it from my Etsy store
This rattle is also part of a Pattern Bundle! Check it out here
Thank you for supporting my shop!

Let’s head to the free pattern now…
PATTERN: HOW TO CROCHET A BABY RATTLE
LEVEL
Easy (see details of project levels at the Craft Yarn Council).
MATERIALS
- Yarn: Category #2 (fine) / sport / 4 ply yarn. I used 3 balls of Hobbii Rainbow Cotton 8/4,186yds / 1.75oz (170m / 50g) in the following colours:
1 ball each of:
Colour A: Beige (004)
Colour B: White (001)
Colour C: Baby Blue (032)
- Yarn for the eyes and nose: I used a scrap amount from 1 ball of Hobbii Rainbow Cotton 8/8, 82yds/ 1.8oz (75m /50g) in the following colour:
Colour D: Black (009)
- Crochet Hook: 3mm (these hooks are fabulous – the yarn just glides off them!)
- Yarn needle (the bent tip makes sewing and weaving in ends much easier)
- Scissors (super sharp… and pretty)
- Stitch marker x 1
- Pins
- Polyfill stuffing
- Wooden Teething Ring: 2 ¼ ” (5.5cm) to 2 ½” (6.25cm) in diameter. I recommend that you choose an organic, non-toxic wooden ring, preferably CPSIA compliant.
- Toy Rattle Noise Insert (optional)
PATTERN NOTES
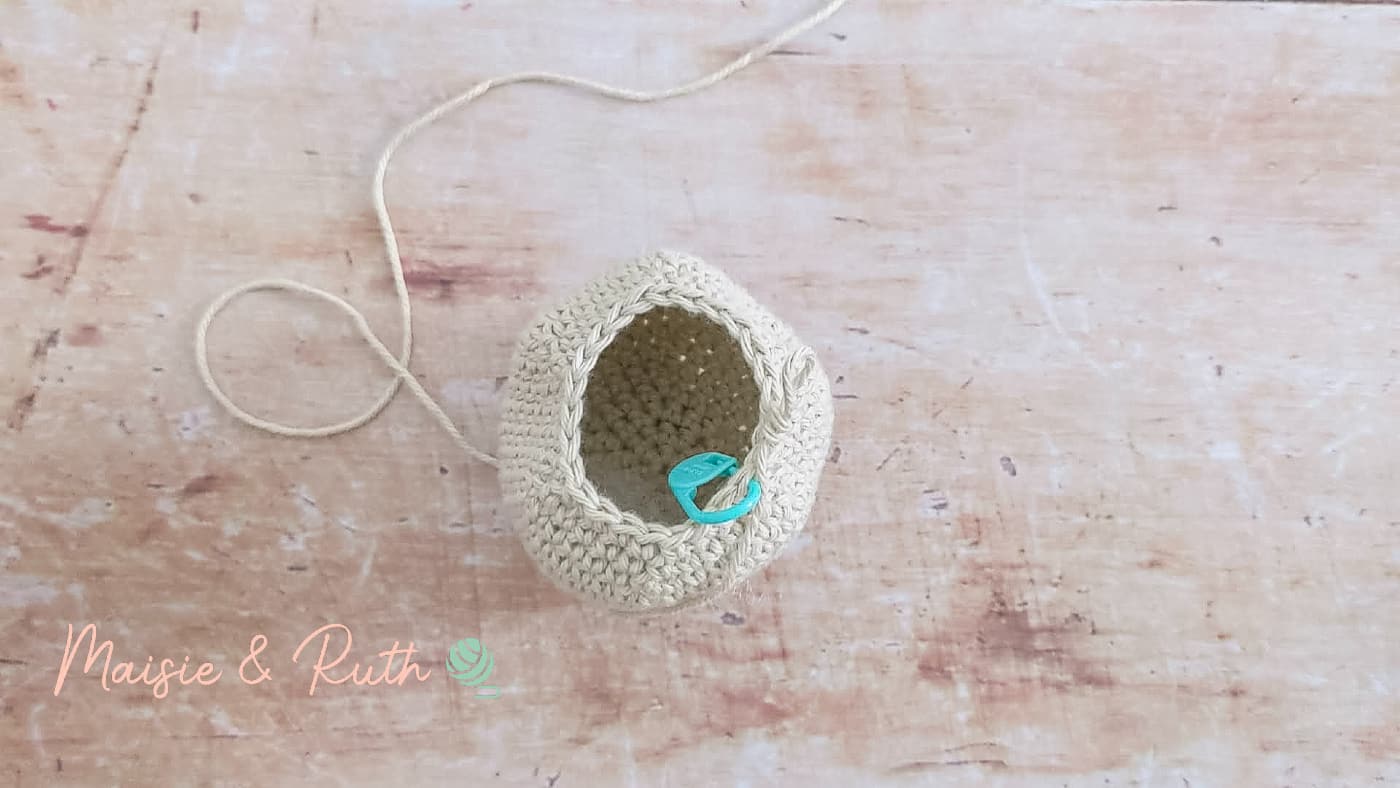
- The head, snout and ears are worked in continuous rounds: you do not join to the first stitch at the beginning of the round. Working in this way ensures that there is no seam.
- When working in continuous rounds, it’s important to attach a stitch marker to the first stitch of each round otherwise it will be extremely hard to spot the beginning of each round.
- You will stuff the head. The snout and ears will remain unstuffed.
STITCHES AND ABBREVIATIONS (US CROCHET TERMS)
ch(s) – chain(s)
dc – double crochet: Yarn over (yo), insert hook into stitch, yo, pull up a loop (3 loops on hook). Yo, pull through 2 loops (2 loops on hook). Yo, pull through remaining 2 loops. 1 double crochet completed.
fasten off – To fasten off securely, work one chain, then cut the yarn leaving a 5 – 6” tail. Pull the tail through the loop that is on your hook. Tighten gently.
Inv sc dec – invisible single crochet decrease: Insert your hook into the front loop only of the next stitch (2 loops on your hook). Insert your hook into the front loop only of the following stitch (3 loops on your hook). Yarn over, pull through the first 2 loops on your hook (2 loops left on your hook). Yarn over, pull through the remaining 2 loops on your hook. 1 invisible single crochet decrease completed.
sc – single crochet: Insert hook into stitch, yarn over (yo), pull up a loop (2 loops on hook). Yo, pull through both loops on hook. 1 single crochet completed.
sl st – slip stitch: Insert hook into stitch, yarn over (yo), pull up a loop, you will have 2 loops on your hook. Pull the first loop through the second loop. 1 slip stitch completed.
st(s) – stitch(es)
* to * – Repeat instructions between asterisks as many times as directed.
( ) – Sets of stitches to be worked within one stitch or space or as many times as directed.
[ ] – The total number of stitches at the end of a row.
USEFUL TUTORIALS
PATTERN INSTRUCTIONS
HEAD
Using Colour A
Make a magic circle (if you do not like the magic circle method, see the Alternative Round 1 below).
Round 1. 6sc in the magic circle, do not join round, instead place a st marker in the first sc of the round [6sts].
Alternative Round 1. Ch2, 6sc in 2nd ch from hook, do not join round, instead place a st marker in the first sc of the round [6sts].
Round 2. 2sc in each st around [12 sts].
Round 3. (1sc in next st, 2sc in next st) 6 times [18 sts].
Round 4. (1sc in next 2 sts, 2sc in next st) 6 times [24 sts].
Round 5. (1sc in next 3 sts, 2sc in next st) 6 times [30 sts].
Round 6. (1sc in next 4 sts, 2sc in next st) 6 times [36 sts].
Round 7. (1sc in next 5 sts, 2sc in next st) 6 times [42 sts].
Rounds 8 – 14. 1sc in each st around [42 sts].
You will now start your decreases.
Round 15. (1sc in next 5sts, 1 inv sc dec) 6 times [36 sts].
Round 16. (1sc in next 4 sts, 1 inv sc dec) 6 times [30 sts].
Round 17. (1sc in next 3 sts, 1 inv sc dec) 6 times [24 sts].
At the end of round 17, firmly stuff the head with polyester filling before moving on to the last few rounds.
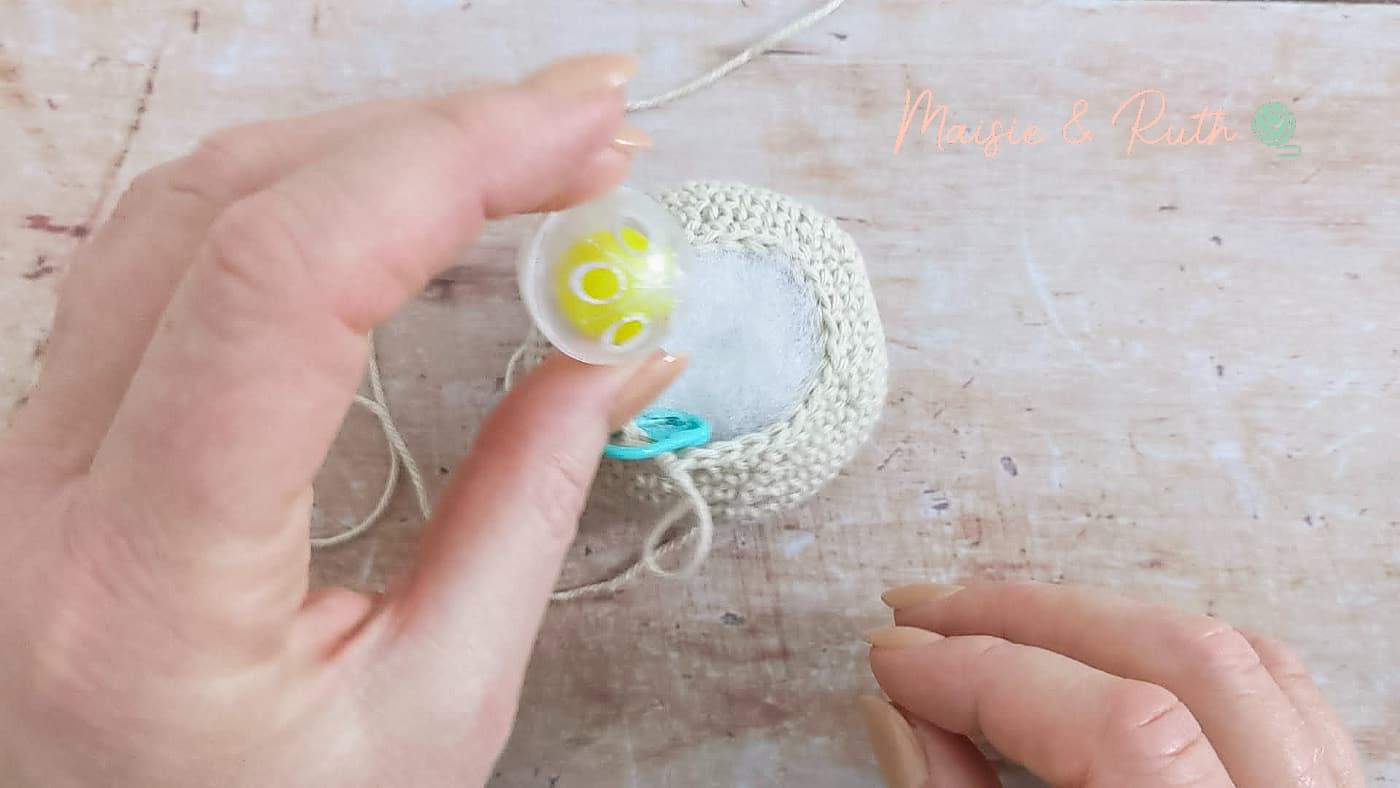
You can also insert the rattle noise maker at this stage also (ensure that it is completely surrounded by the polyester filling):
Round 18. (1sc in next 2sts, 1 inv sc dec) 6 times [18 sts].
Round 19. (1sc in next st, 1 inv sc dec) 6 times [12 sts].
Round 20. (1 inv sc dec) 6 times [6 sts].
Cut yarn, leaving a long tail to attach head to teething ring later on.
SNOUT
Using Colour B
Make a magic circle. (if you do not like the magic circle method, see the Alternative Round 1 below).
Round 1. 6sc in the magic circle, do not join round, instead place a st marker in the first sc of the round [6sts].
Alternative Round 1. Ch2, 6sc in 2nd ch from hook, do not join round, instead place a st marker in the first sc of the round [6sts].
Round 2. 2sc in each st around [12 sts].
Round 3. (1sc in next 2 sts, 2sc in next st) 4 times [16 sts].
Round 4. 1sc in each st around [16 sts]. Sl st to 1st sc to join or make an invisible join.
Cut the yarn, leaving a long tail to sew the snout to the head after.
EARS (MAKE 2)
Using Colour A
Make a magic circle. (if you do not like the magic circle method, see the Alternative Round 1 below).
Round 1. 6sc in the magic circle, do not join round, instead place a st marker in the first sc of the round [6sts].
Alternative Round 1. Ch2, 6sc in 2nd ch from hook, do not join round, instead place a st marker in the first sc of the round [6sts].
Round 2. 2sc in each st around [12 sts].
Round 3. (1sc in next 2 sts, 2sc in next st) 4 times [16 sts].
Round 4: 1sc in each st around [16 sts].
Cut yarn (leave a long tail for sewing on later), fasten off.
RUFFLED COLLAR
Using Colour C
Ch13
Row 1. 1dc in 3rd ch from hook (counts as your first st), 4dc in same ch, *5dc in next ch*, repeat from * to * across to end of foundation ch, TURN.
Row 2. Ch2 (counts as your first st), 1dc in each st until end.
Cut yarn, leaving a tail for sewing a couple of stitches to join the collar later.
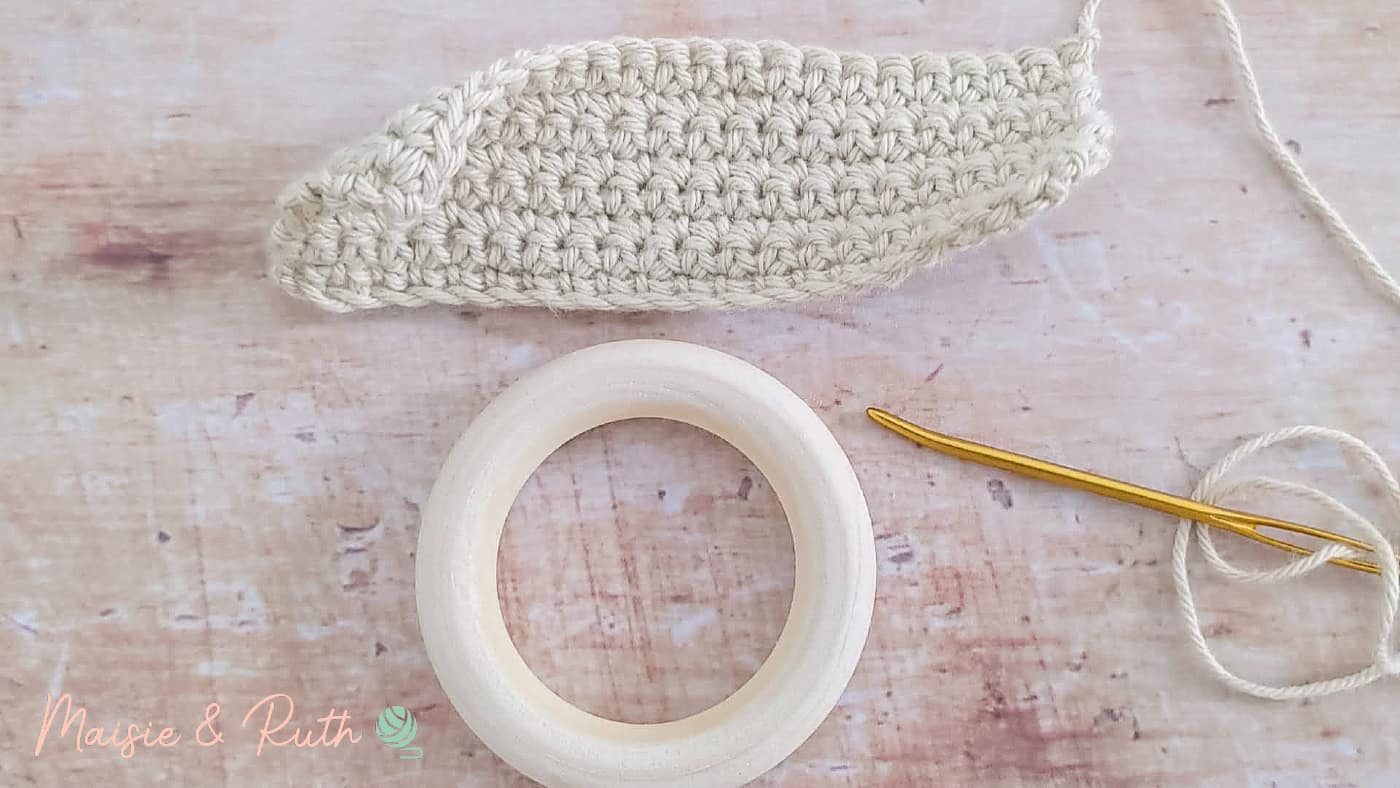
COVER FOR WOODEN TEETHING RING
Using Colour A
Ch22
Row 1. 1sc in 2nd ch from hook, 1sc in next 20 ch, TURN [21 sts].
Row 2. Ch1 (does not count as your first st), 1sc in same st, 1sc in next 20 sts, TURN [21 sts].
Rows 3 – 8. Repeat row 2.
Cut yarn and fasten off, making sure that you have left a long tail for seaming the cover around the teething ring later.
ASSEMBLY
(See the video tutorial below for further guidance).
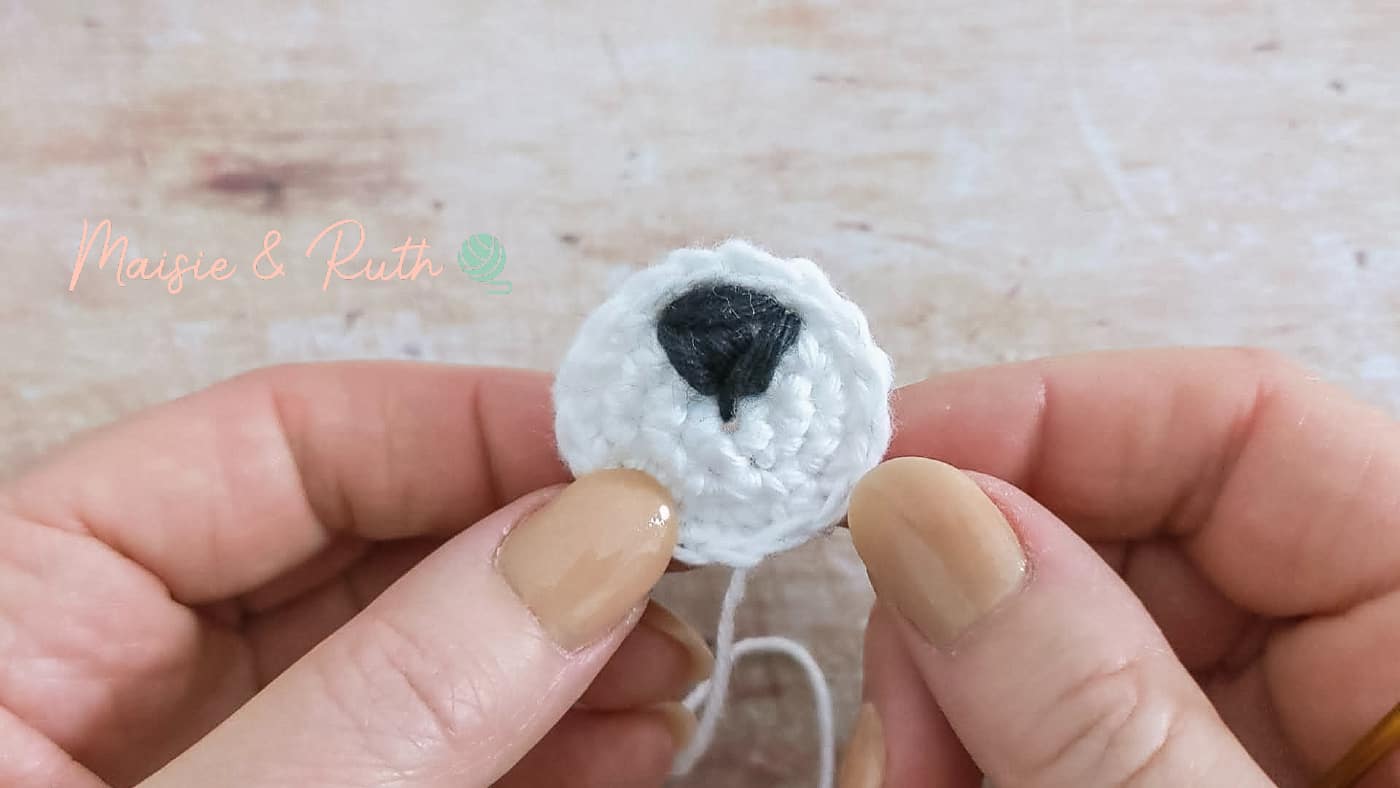
Step 1: Embroider the nose onto the snout with colour D:
Step 2. Sew the snout onto the head (counting from the top of the head, I placed mine under the 10th round):
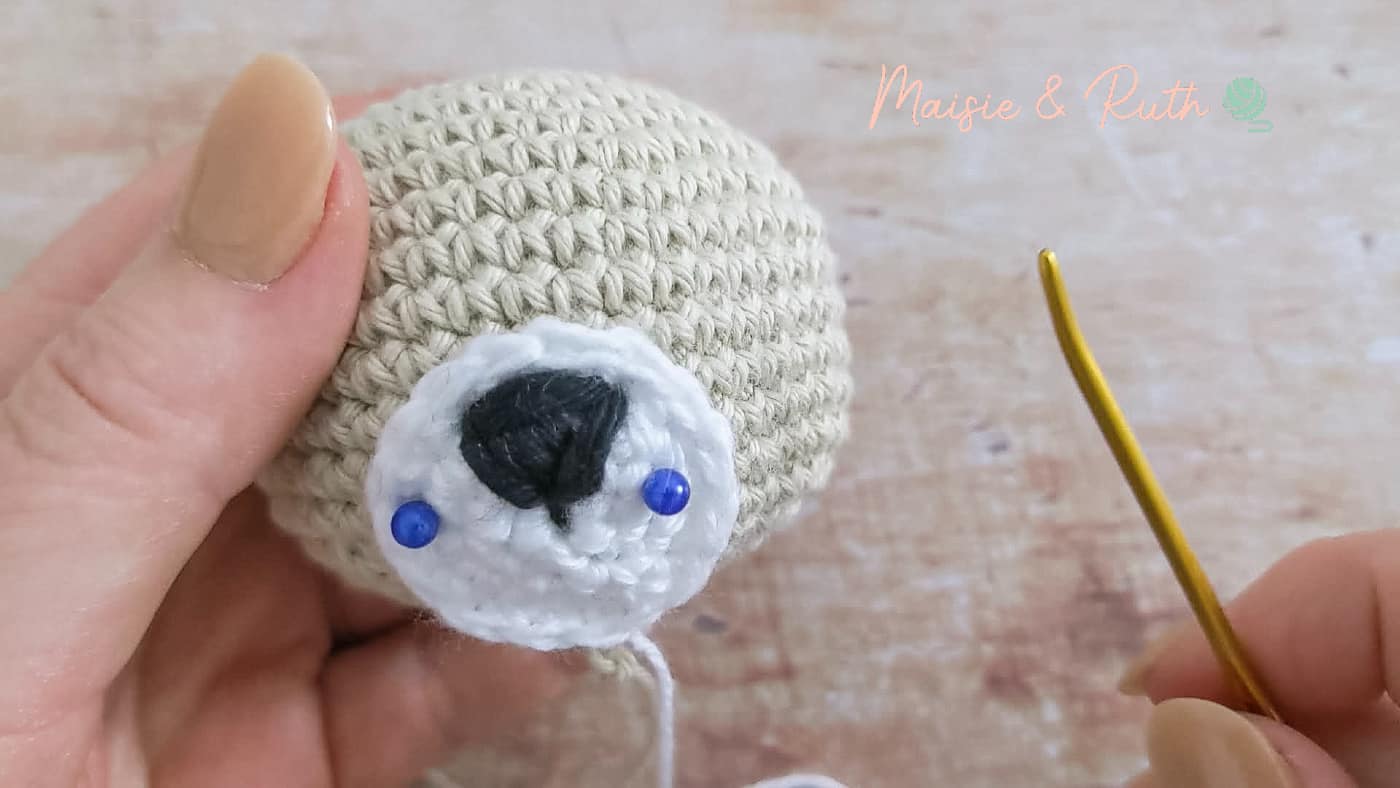
Step 3. Embroider the eyes on either side of the snout with colour D:

Step 4. Sew the ears to the head. I attached the ears between the 2nd and 3rd rows from the top of the head:

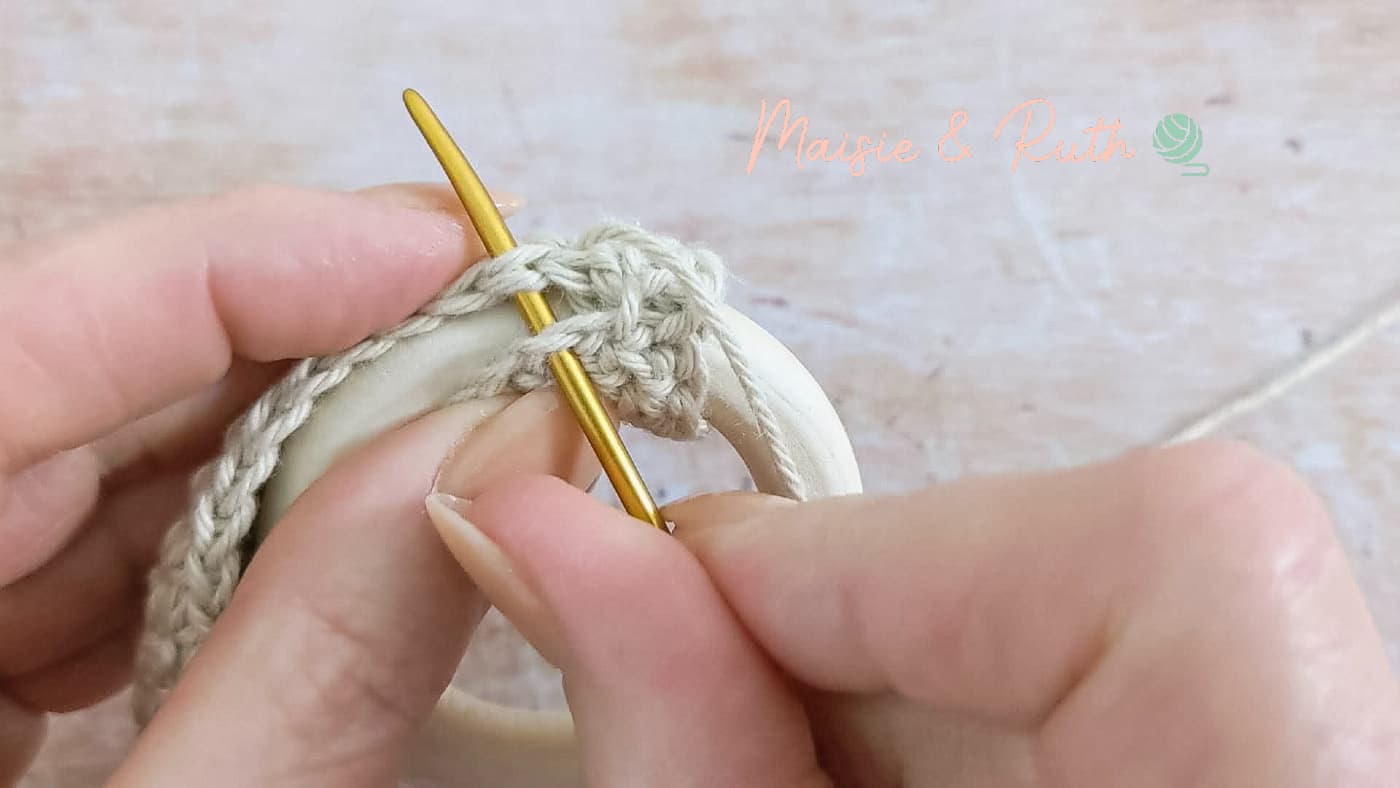
Step 5. Position the cover over your wooden ring and whip stitch the two sides together. You will need to stretch the cover over the ring as you seam, but making the cover to this measurement ensures a nice snug fit and will prevent it from sliding around the ring:
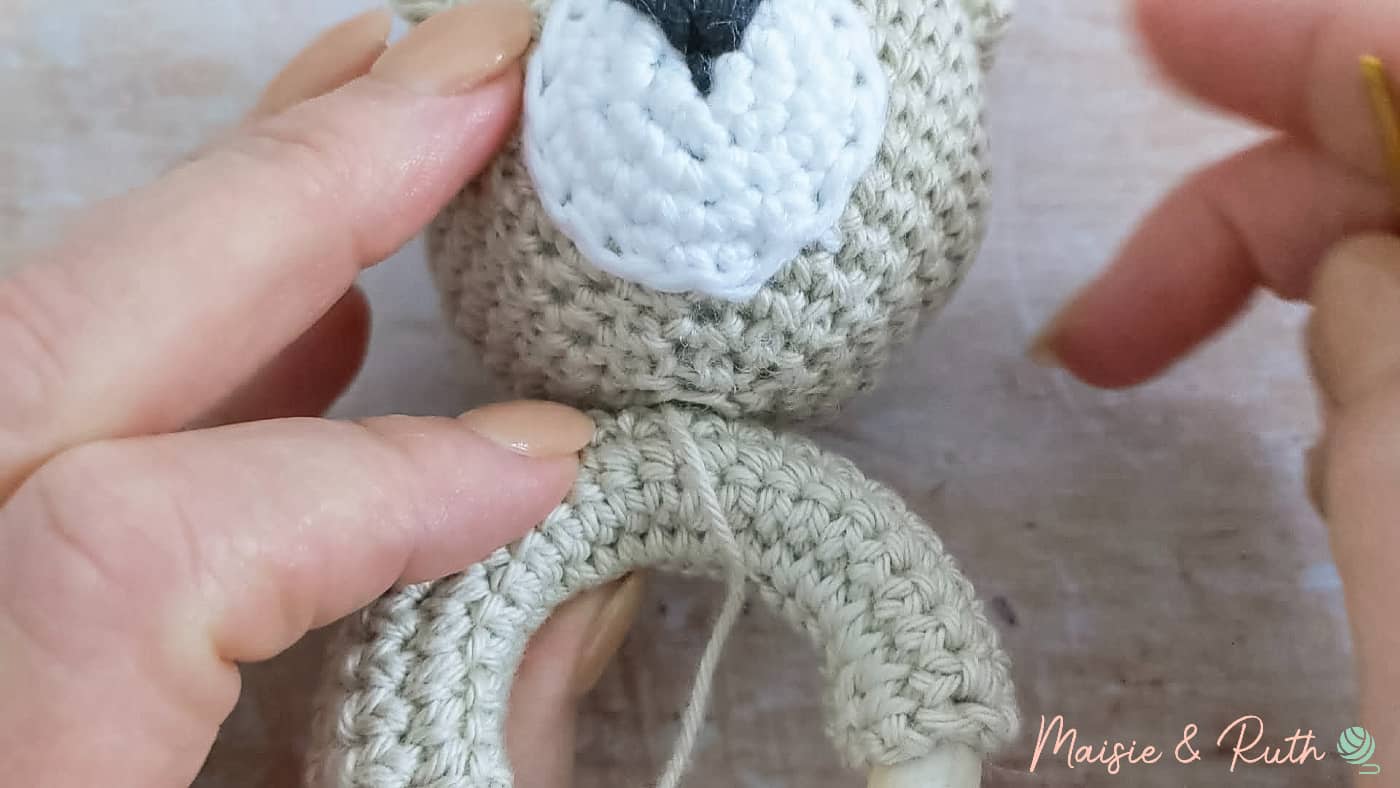
Step 6. Sew the head to the middle of the teething cover (this doesn’t need to be especially neat as it will be covered by the ruffled collar). You may need to sew around the head and cover a few times to make sure it’s not too floppy:
Step 7. Wrap the ruffled collar around the bottom of the head and sew the two sides together.
And that’s it, your cute little bear rattle is now complete!

SHARE YOUR WORK!
I really hope that you enjoyed this pattern and you now know how to crochet a baby rattle!
I would LOVE to see your work; share your photo in the Maisie & Ruth Facebook Group or tag me on Instagram using @maisieandruth
Happy crocheting!