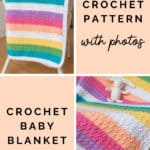
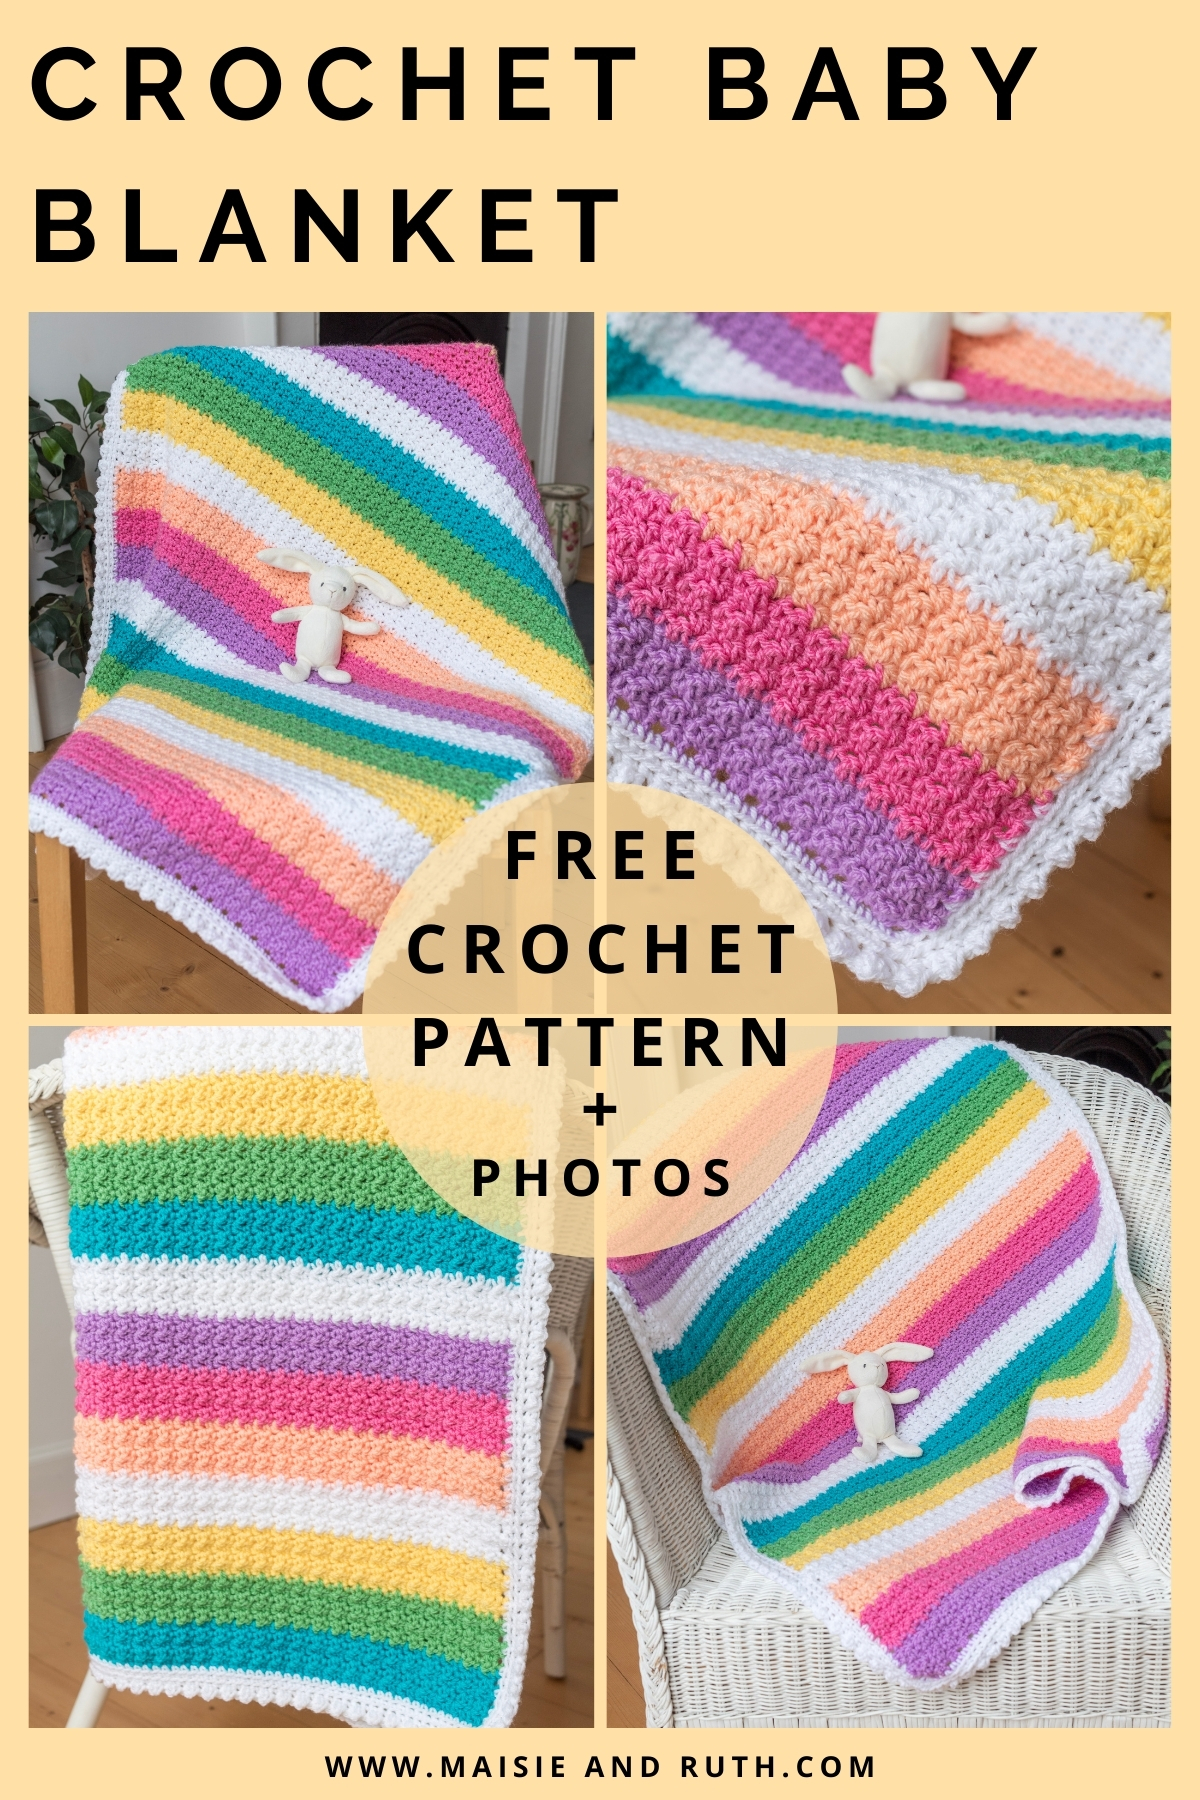
If you would like to learn how to crochet a baby blanket then continue reading to get my free pattern for the Robina Rainbow blanket!
In addition to a photo tutorial, there’s also a step-by-step video to accompany this pattern! And to purchase an ad-free printable version, please visit my Etsy store HERE
QUICK AND EASY CROCHET PATTERN
This baby blanket is a quick crochet project. Consisting of a 1-row repeat, it’s easy to work up – perfect for beginners.
To make it even easier, I’ve included photos detailing the main steps of the pattern.
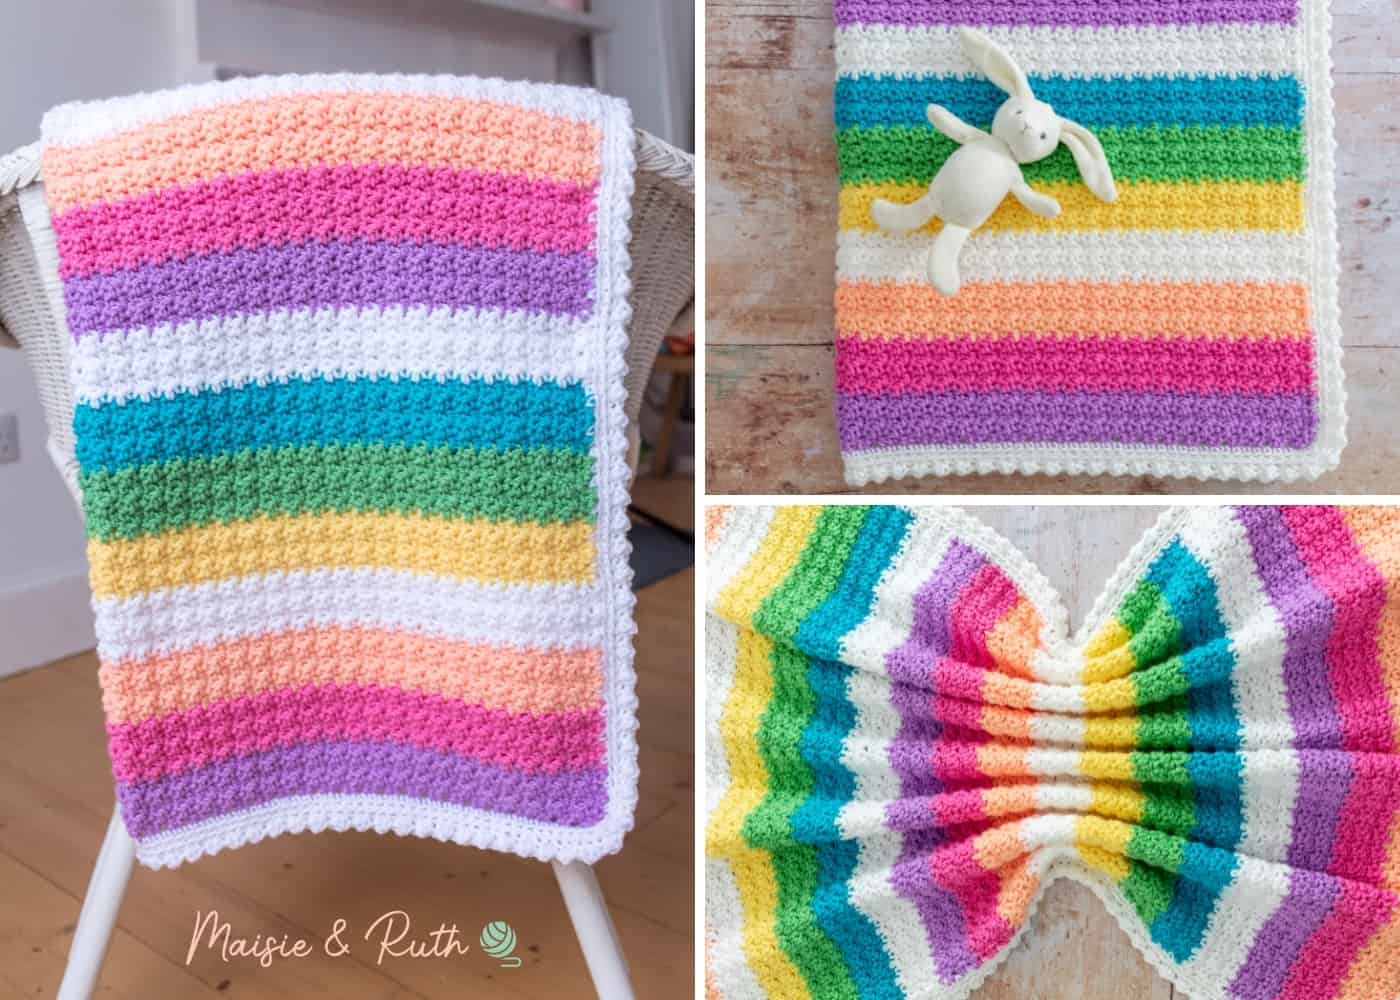
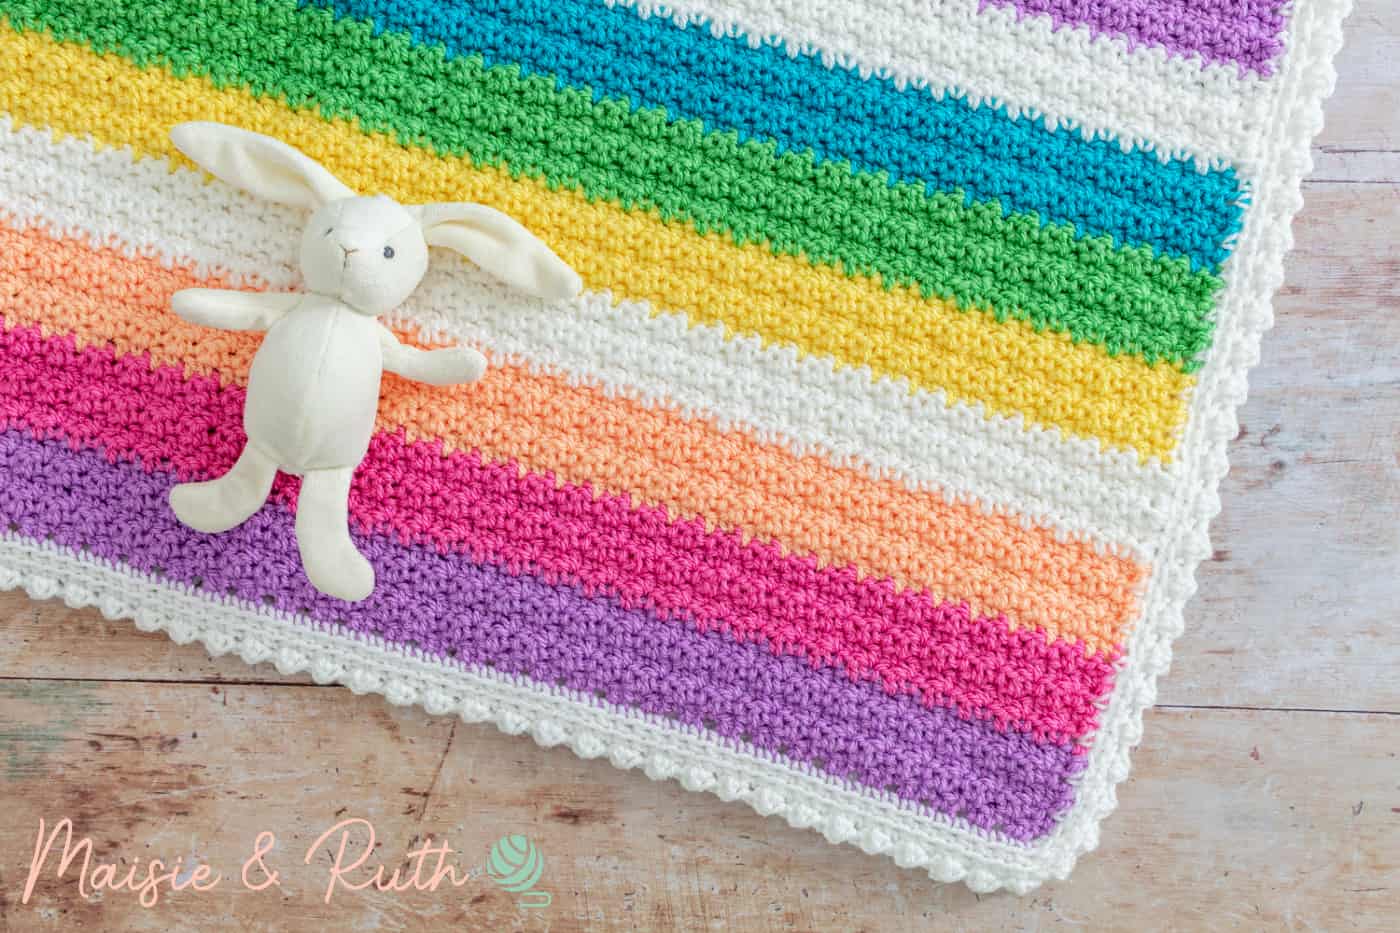
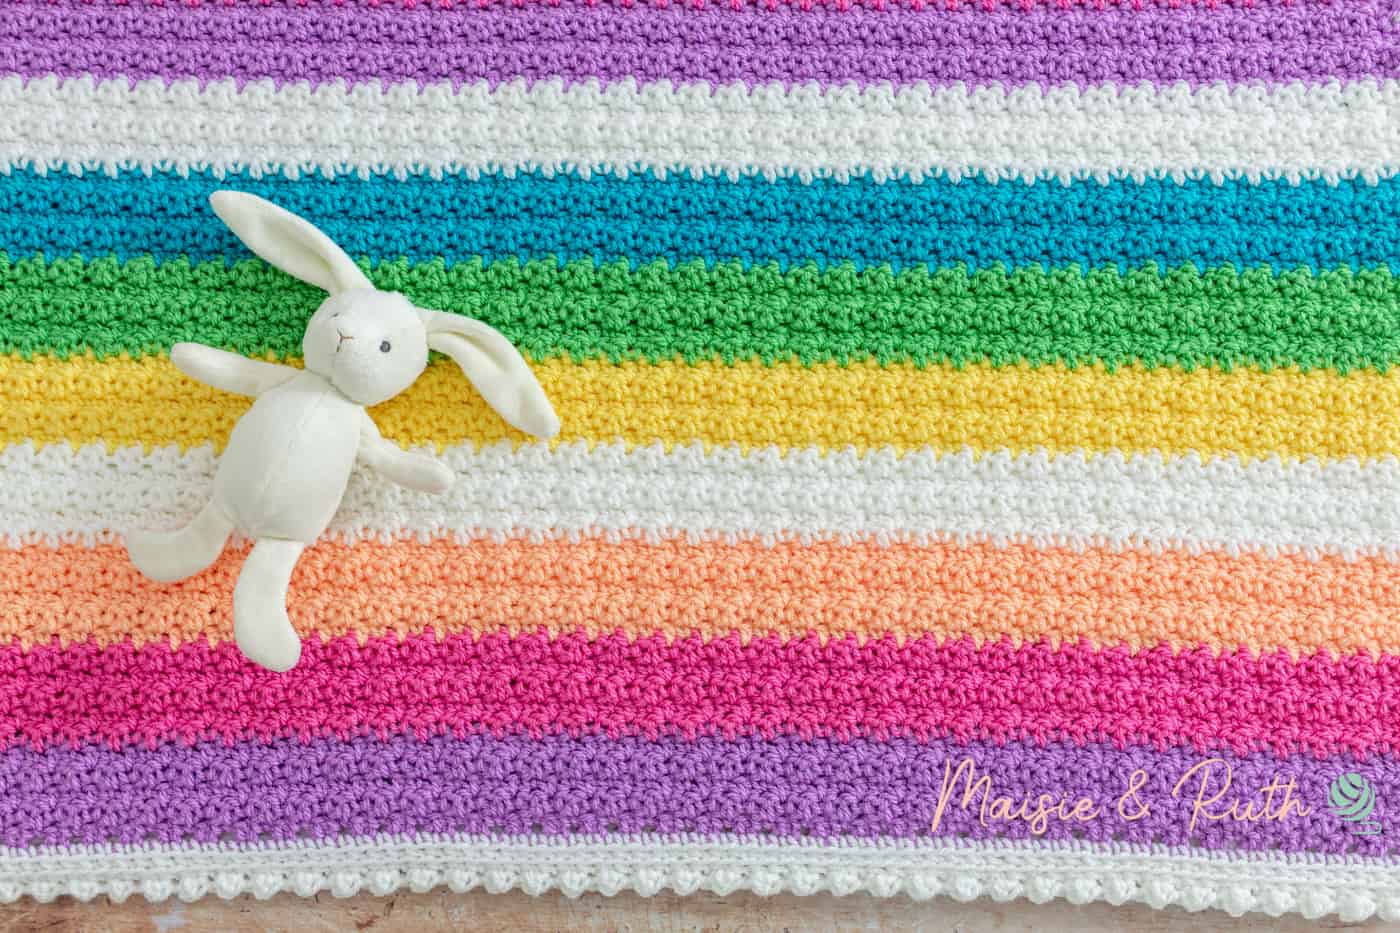
The stitch used throughout this crochet blanket pattern is the lemon peel stitch. By using alternating single and double crochet stitches the result is a lovely textured blanket. It’s also very pretty to look at.
You can use the lemon peel stitch in a wide variety of crochet projects such as blankets, dishcloths and scarves.
RELAX WITH CROCHET
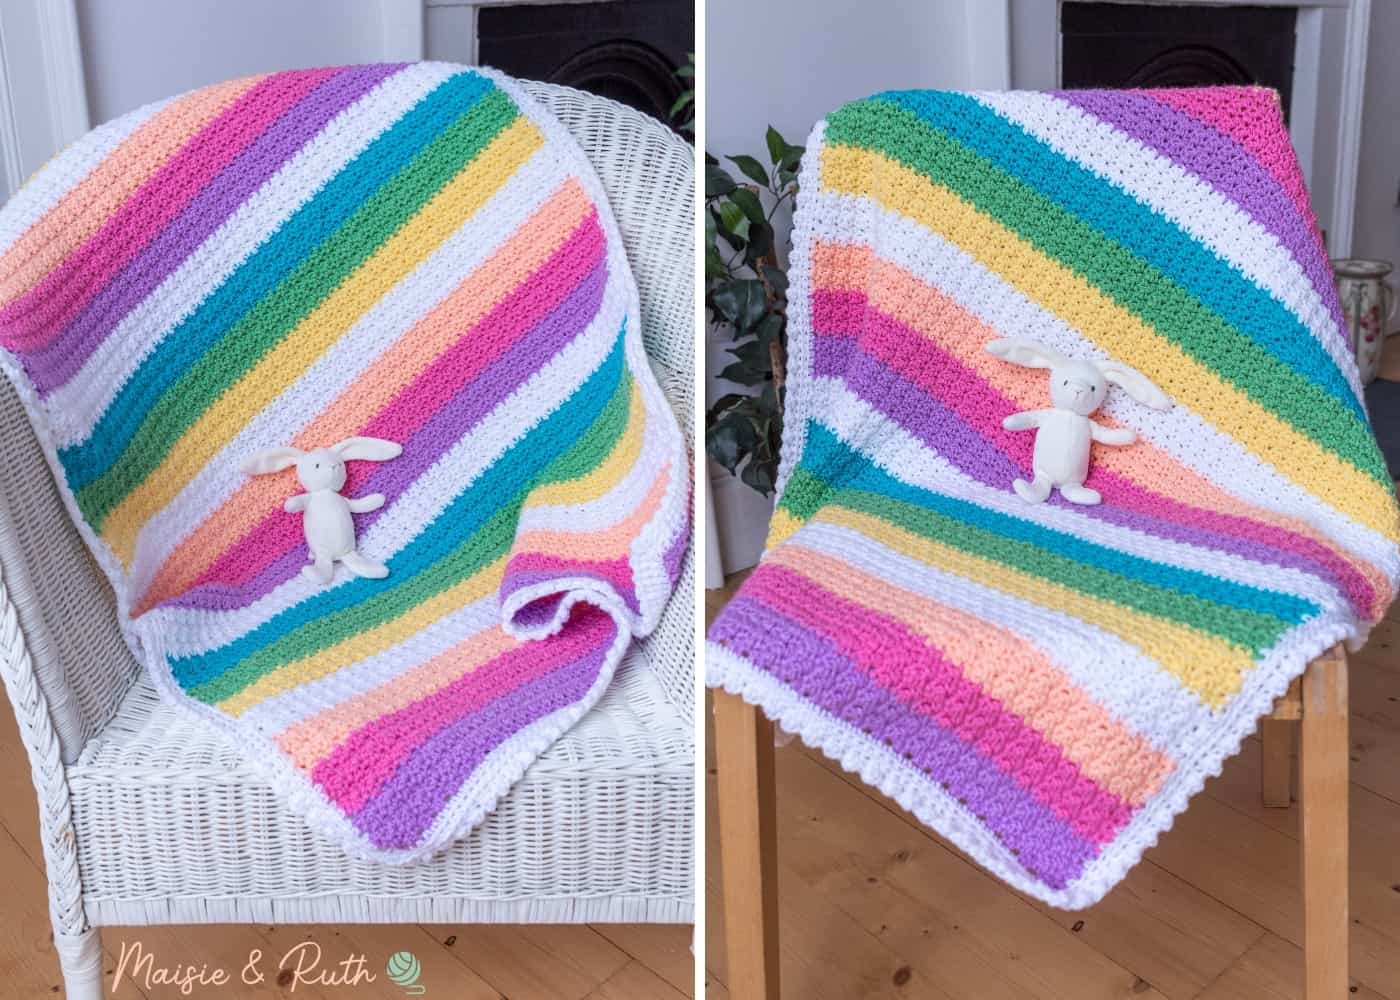
If you believe in colour therapy then this blanket is a great mood booster due to the bright rainbow colours used throughout… it certainly cheered me up anyway!
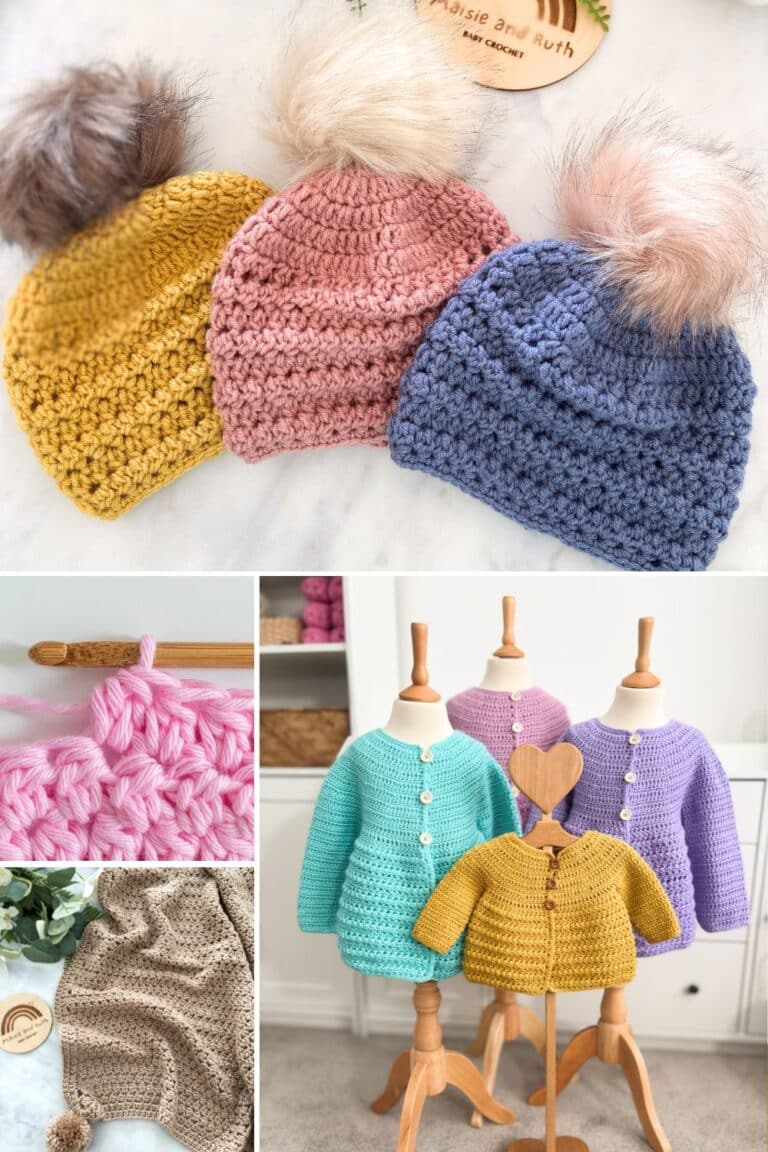
If you like relaxing with a baby blanket project in your lap, I have other patterns for you to try… the Paisley Baby Blanket and Barclay Baby Blanket are two patterns available for free on the blog.
These patterns also include photo tutorials in order to make the process clearer for you, especially if you’re a beginner crocheter.
ADJUST THE SIZE OF YOUR CROCHET BABY BLANKET
If you prefer, you can make this blanket in any size you wish…just make sure that your foundation chain is an odd number of stitches.
I used a worsted (aran) weight yarn for this project but you could consider using a bulkier yarn and larger hook so that it works up even quicker.
I also think that the blanket would look very sweet in a lighter weight yarn, a sport (4 ply) yarn perhaps.
For more information about yarn weights and corresponding hook sizes, see the Craft Yarn Council’s helpful article Standard Yarn Weight System
If you would like to resize this pattern, please check out my posts Crochet Baby Blanket Size Chart and How to Resize a Crochet Blanket Pattern. Both these articles contain useful tips and handy charts of the most common blanket sizes.

YARN USED
For this pattern I decided to use Paintbox Yarns Simply Aran.
I’m a big fan of this brand and this particular type of yarn is made from a very soft acrylic that can be easily, and very conveniently, machine washed (important when you have a baby!).
All of these factors make it a great choice of yarn for your crochet baby projects.
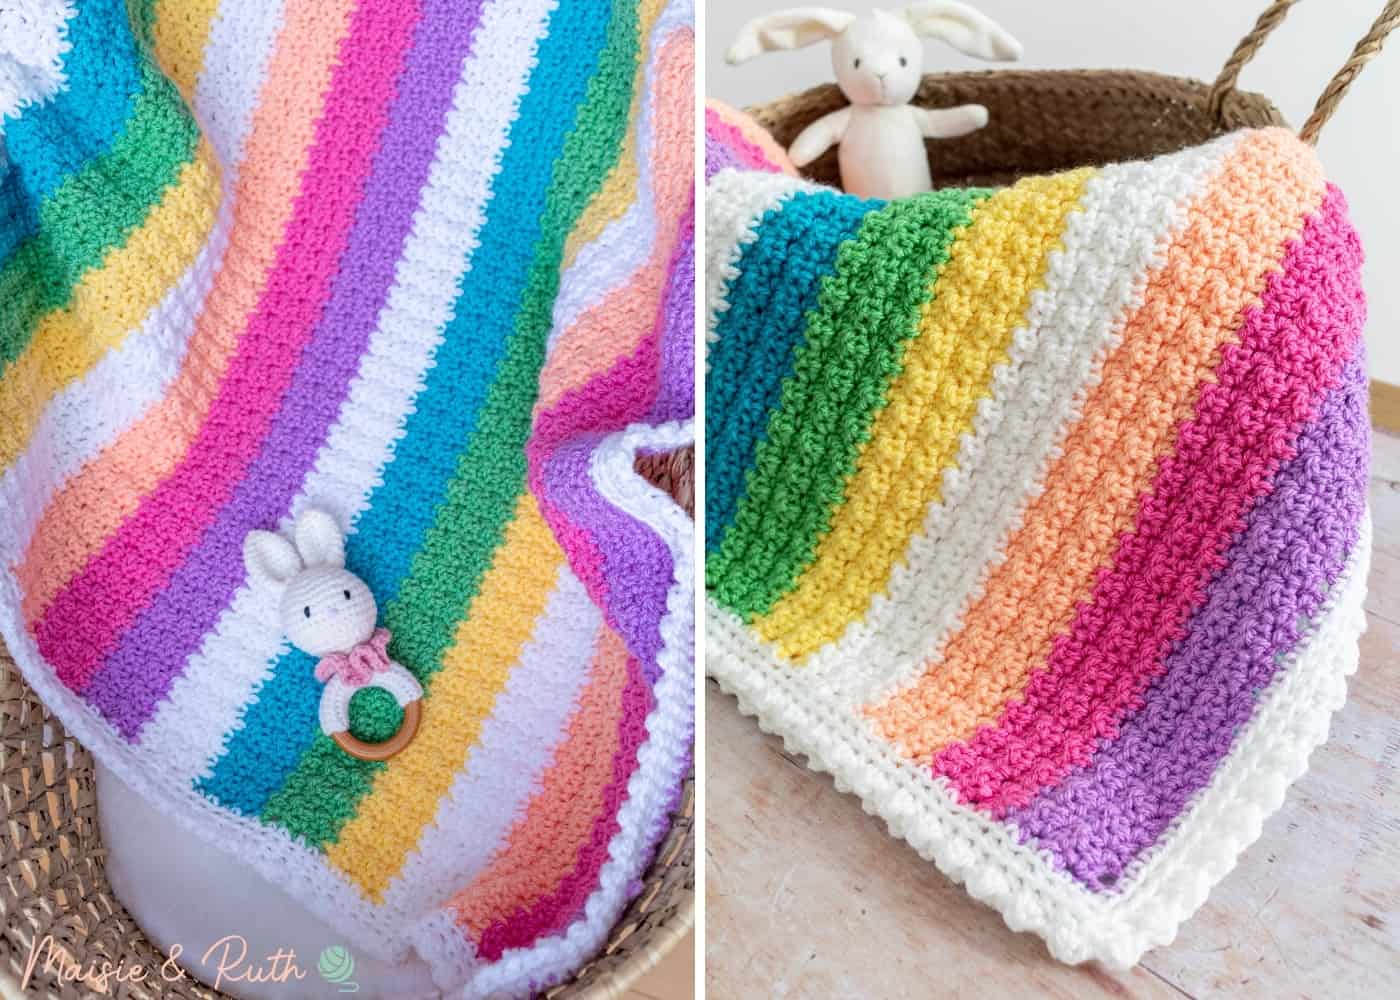
In designing the pattern for this blanket, I settled on a really fun colour palette consisting of six fairly bold rainbow colours, but you can make this blanket up in whatever colourway you like!
The range of colours for this yarn is extensive, so have fun selecting the shades that best suit your requirements.
SUBSTITUTE YARN
According to Yarnsub, there are many suitable substitutes for Paintbox Yarns Simply Aran.
Stylecraft Special Aran is a great alternative and one that I’ve often used for blankets.
Check with YarnSub to see whether your favourite yarn would make a good substitute, and always do a gauge swatch if the finished size is important to you.
When making the blanket, I decided to use a slightly larger hook (J / 6mm) than the recommended size. The texture of the stitch is still nice and firm but the blanket has an even lovelier drape to it, and it’s just ever so slightly squishier also!
PDF PRINTABLE PATTERNS!
If you would prefer an ad-free, printable version of this pattern, you can purchase it from my Etsy store
Please sign up to the Maisie and Ruth newsletter to be informed of any upcoming sales and special offers.
Thank you for supporting my shop!
Wondering how to make the Robina Crochet Baby Blanket? Read on to get all the details…
CROCHET BABY BLANKET: A FREE PATTERN (THE ROBINA BLANKET)
Before you begin, please carefully read all the information below… I’ve included useful points that will aid you in making this blanket.
LEVEL
Easy (see details of project levels at the Craft Yarn Council).
MATERIALS
- Yarn: #4, worsted / aran / 10 ply. I used 8 balls of Paintbox Yarns Simply Aran in the following colours:
1 ball of each colour:
Colour A: Tea Rose (242)
Colour B: Bubblegum Pink (250)
Colour C: Peach Orange (254)
Colour D: Daffodil Yellow (221)
Colour E: Spearmint Green (225)
Colour F: Marine Blue (233)
2 balls of the following colour:
Colour G: Paper White (200)
- Crochet Hook: Size J (6mm)
- Scissors
- Yarn needle
- Stitch marker x 1 (OPTIONAL)
GAUGE
13 sts and 12 rows = 4″ (10cm) in pattern
FINISHED SIZE
Width – 32″ (81cm)
Length – 42″ (107cm)
STITCHES AND ABBREVIATIONS (US CROCHET TERMS)
beg – beginning
BLO sc – back loop only single crochet: Insert your hook and work a single crochet into the back loop only of the stitch (not under both loops).
ch(s) – chain(s)
dc – double crochet: Yarn over (yo), insert hook into stitch, yo, pull up a loop, 3 loops remaining on hook. Yo, pull through 2 loops, 2 loops remaining on hook. Yo, pull through remaining 2 loops. 1 double crochet completed.
fasten off – To fasten off securely, work one chain, then cut the yarn leaving a 5 – 6” tail. Pull the tail through the loop that is on your hook. Tighten gently.
RS – right side: The side of your work that you want to have on display – the ‘pretty’ side.
sc – single crochet: Insert hook into stitch, yarn over (yo), pull up a loop, 2 loops remaining on hook. Yo, pull through both loops on hook. 1 single crochet completed.
sk – skip: Do not crochet into these stitches.
sl st – slip stitch: Insert hook into stitch, yarn over (yo), pull up a loop, 2 loops on hook. Pull the first loop through the second loop. 1 slip stitch completed.
sp – space
st(s) – stitch(es)
WS – wrong side: The back of your crochet piece.
* to * – Repeat instructions between asterisks as many times as directed.
( ) – Sets of stitches to be worked within one stitch or space.
[ ] – The total number of stitches at the end of a row.
PATTERN NOTES
- US crochet terms used throughout.
- 1-row pattern repeat (repeat row 2).
- You can easily adjust the size of this blanket – make sure that your starting ch is an odd number of stitches.
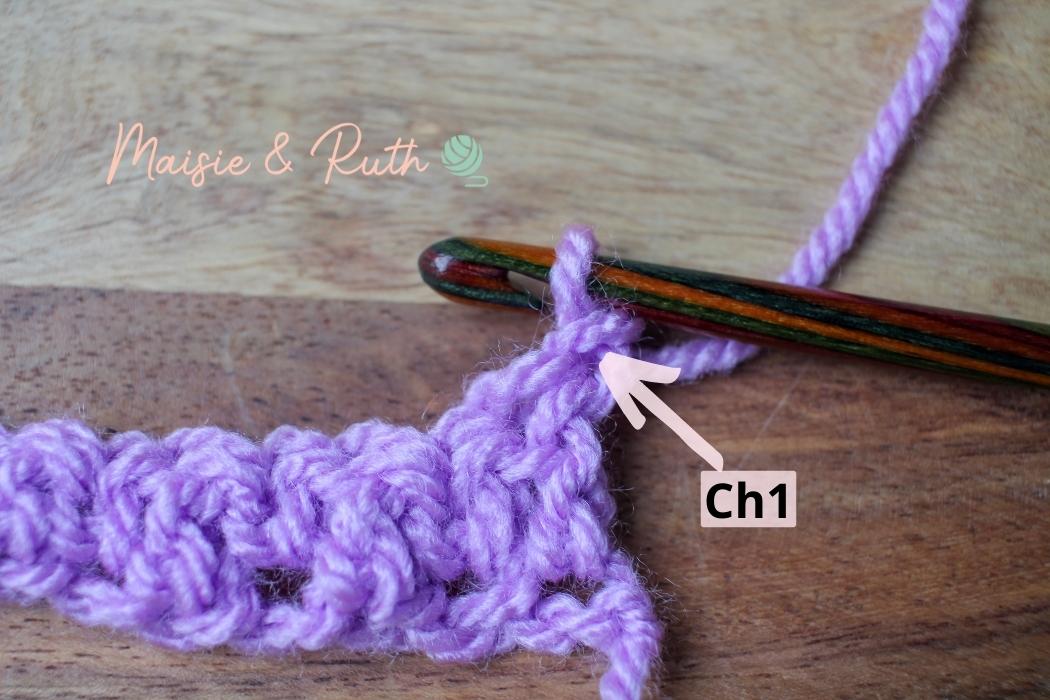
- The ch1 made at the beginning of each row does not count as the first sc in the row.
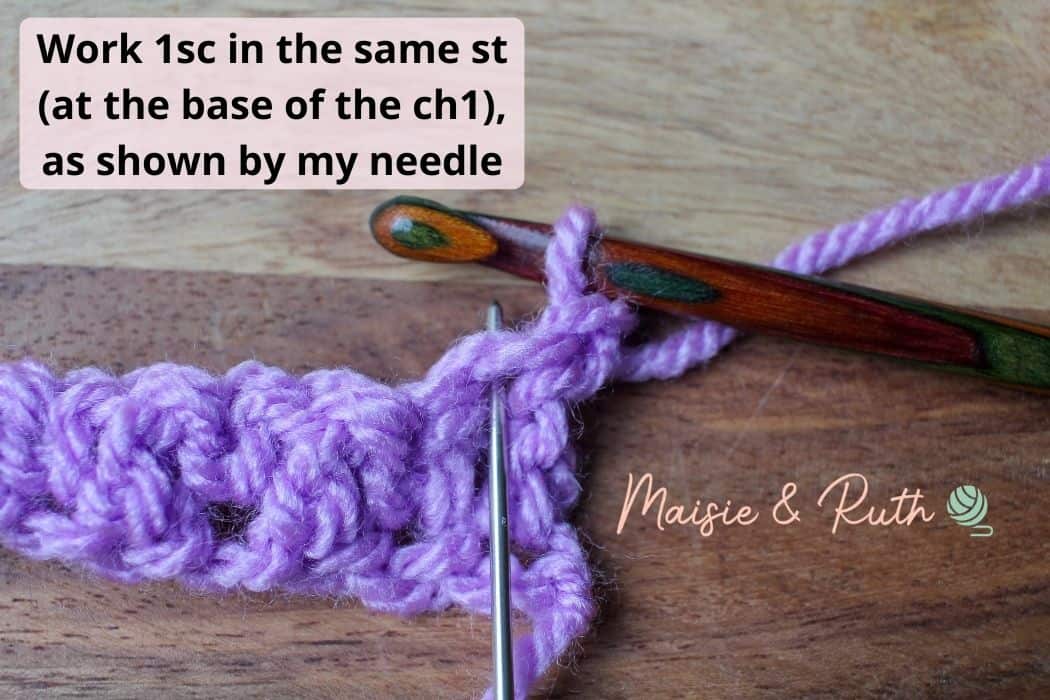
- You will, therefore, make your first single crochet of the row into the same stitch (at the base of the chain 1).
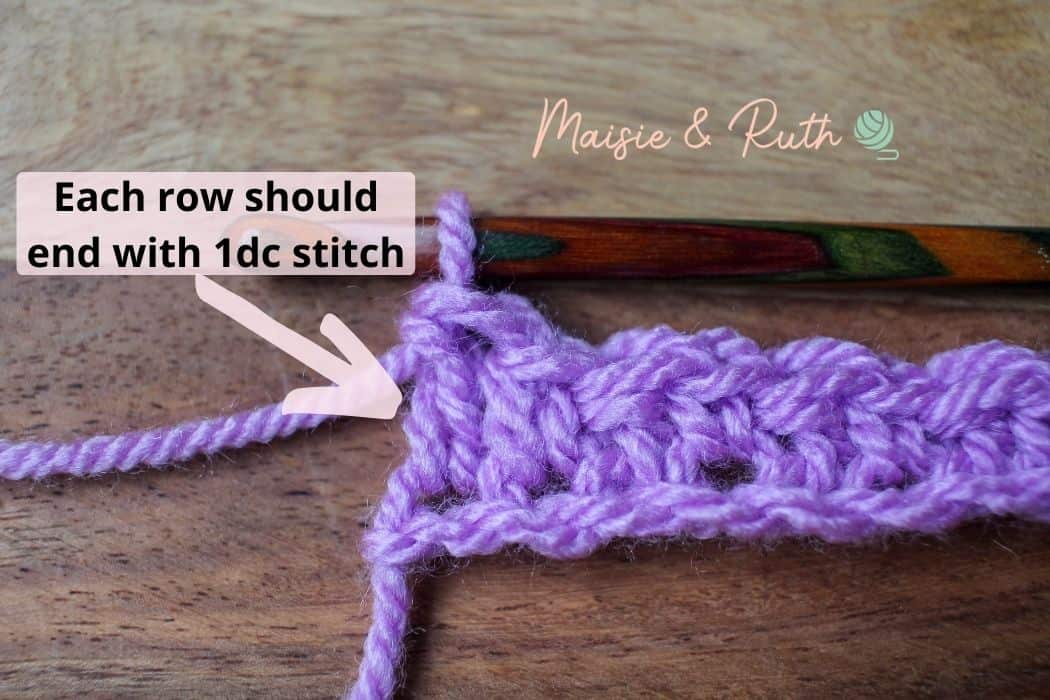
- At the end of rows, your last stitch should be a dc. If you do not end with a dc then you have made an error somewhere in the row.
- You will turn at the end of rows, unless otherwise indicated.
- I have provided full written instructions for each row. These are then followed by photos for greater clarification.
PATTERN INSTRUCTIONS
Starting with Colour A:
Ch 85
Row 1. 1sc in the 2nd ch from hook, 1dc in next ch, *1sc in next ch, 1dc in next ch*, repeat from * to * until end of row, TURN, [84 sts].
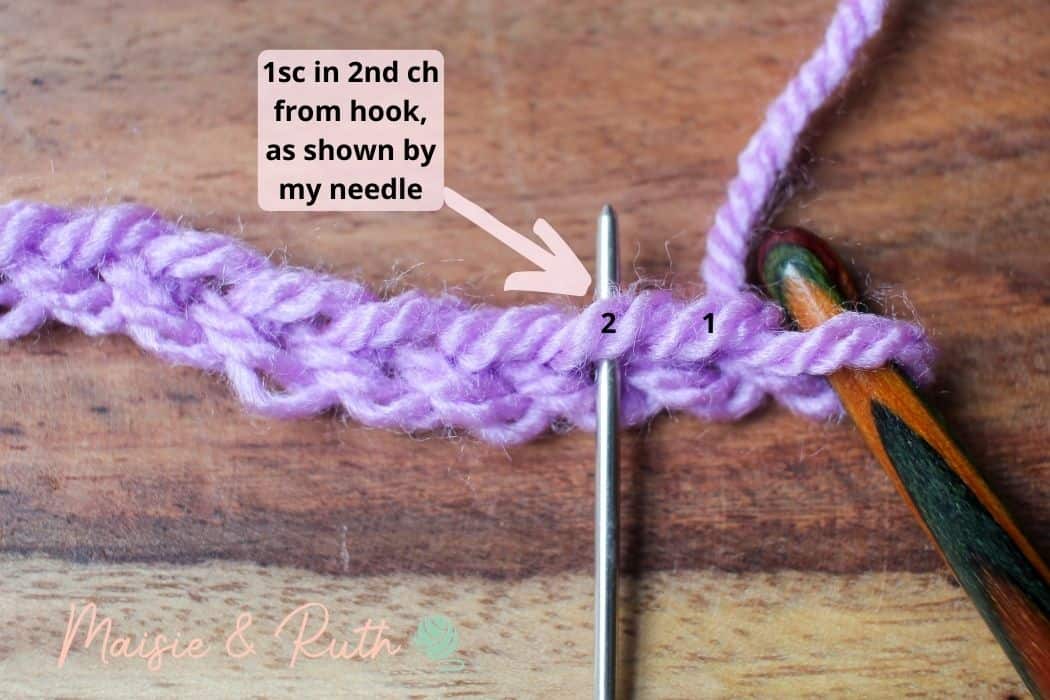
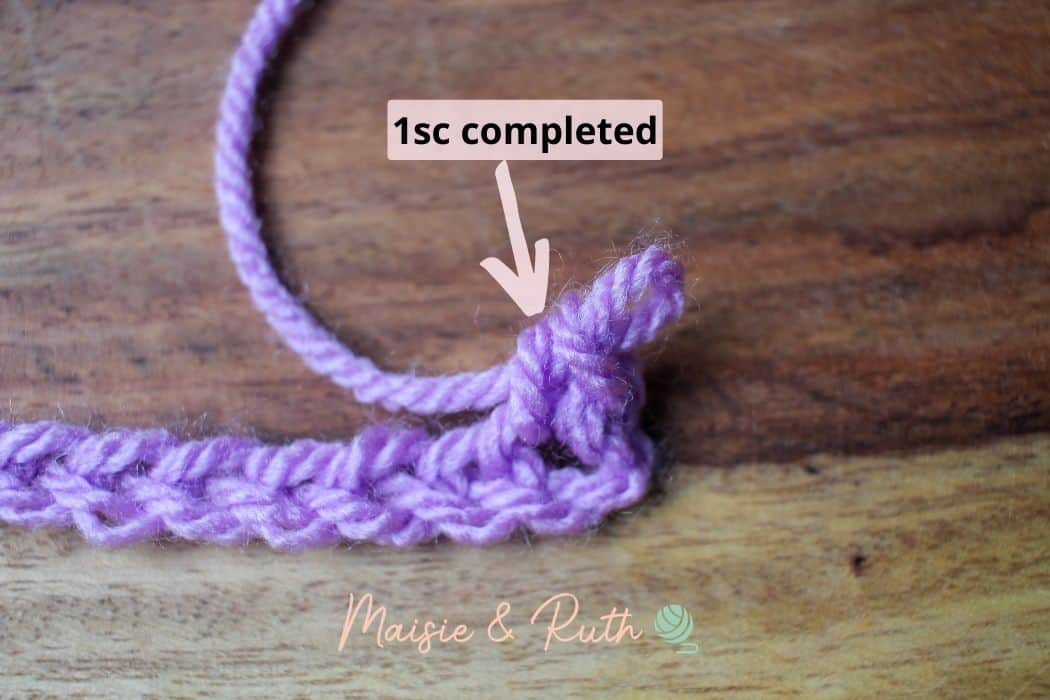
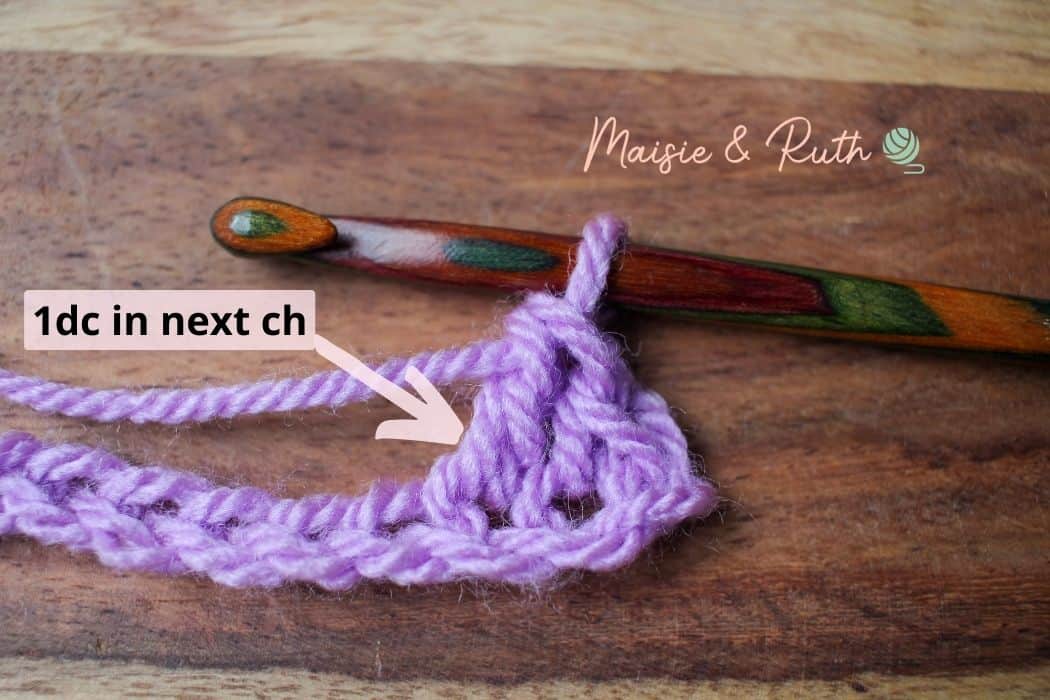
You will then alternate between working 1 single crochet in the next chain and 1 double crochet in the following chain (the instructions above from * to *). Work this sequence until the end of the row.
You will end the row with 1 double crochet. This is how you will end each row of the blanket (see photo below):
Row 2. Ch1 (does not count as a st), 1sc in same st, 1dc in next st, *1sc in next st, 1dc in next st*, repeat from * to * until end of row, TURN, [84 sts].
You will then work 1 double crochet in the next stitch (you can see that the single crochet has already been worked):
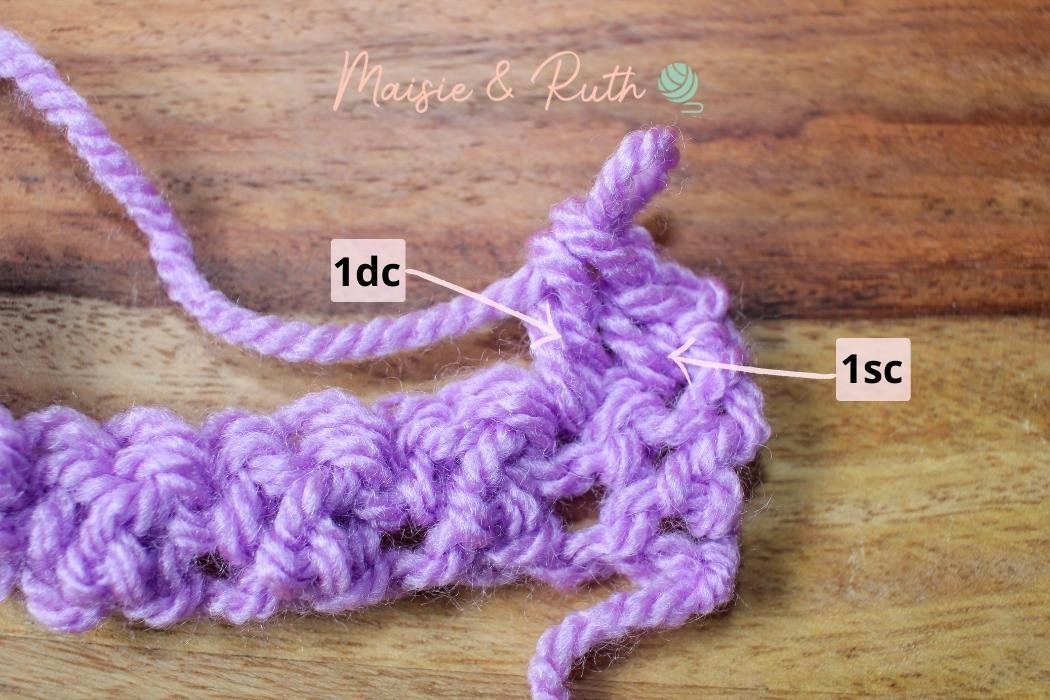
Continue working in this way -alternating between 1 single crochet in the next stitch and 1 double crochet in the following stitch (the instructions above from * to *) – until the end of the row.
Rows 3-5. Repeat row 2.
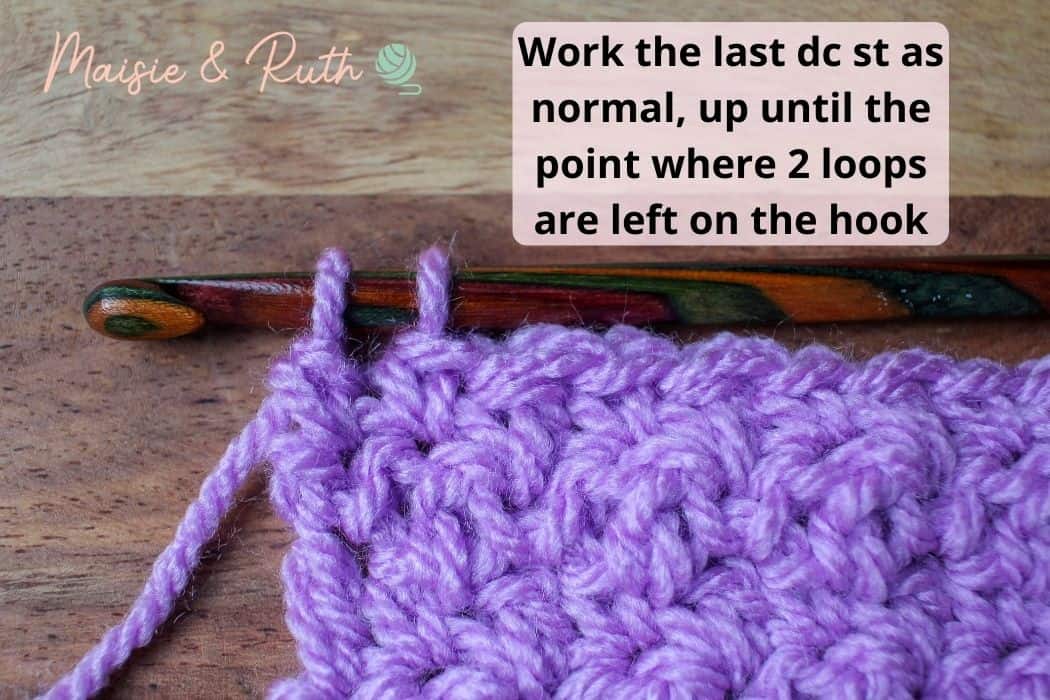
At the end of row 5 you will change to Colour B as follows:
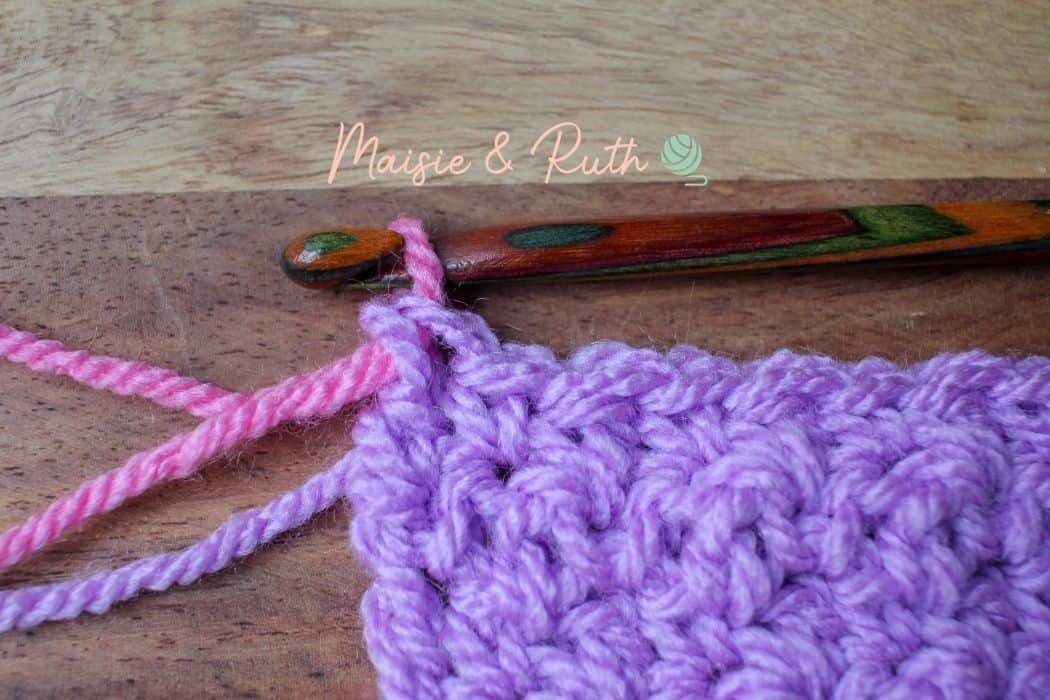
Work the last dc st as normal, up until the point where you have 2 loops left on your hook (see image below):
Grab the new colour and fold it so that you form a loop (leave a 5 – 6 inch tail for weaving in later). Place the loop on your hook (see image below):

Pull the loop in the new colour through the remaining 2 loops on your hook (see photo below):
Cut the yarn in the old colour, again making sure that you leave a 5 – 6 inch tail for weaving in later (or you can weave in the ends as you go).
Repeating row 2 throughout the entire blanket, you will make 5 rows of each colour as follows:
Rows 6 – 10: Colour B
Rows 11 – 15: Colour C
Rows 16 – 20: Colour G
Rows 21 – 25: Colour D
Rows 26 – 30: Colour E
Rows 31 – 35: Colour F
Rows 36 – 40: Colour G
Rows 41 – 45: Colour A
Rows 46 – 50: Colour B
Rows 51 – 55: Colour C
Rows 56 – 60: Colour G
Rows 61 – 65: Colour D
Rows 66 – 70: Colour E
Rows 71 – 75: Colour F
Rows 76 – 80: Colour G
Rows 81 – 85: Colour A
Rows 86 – 90: Colour B
Rows 91 – 95: Colour C
Rows 96 – 100: Colour G
Rows 101 -105: Colour D
Rows 106 – 110: Colour E
Rows 111 – 115: Colour F
At the end of the last row, fasten off and weave in ends (if you haven’t done so already).
BOBBLE STITCH BORDER
The blanket will now be finished off with a simple border.
The bobbles will be made in the last round. At the end of round 3, you will turn your work. This ensures that the bobbles appear prominently on the right side (RS) of the blanket.
The bobbles are achieved by alternating sl st and dc sts (the difference in height between these 2 stitches results in a ‘bobble’).
With the RS of your work facing up, attach your yarn to the top right hand corner of the blanket (see image below):
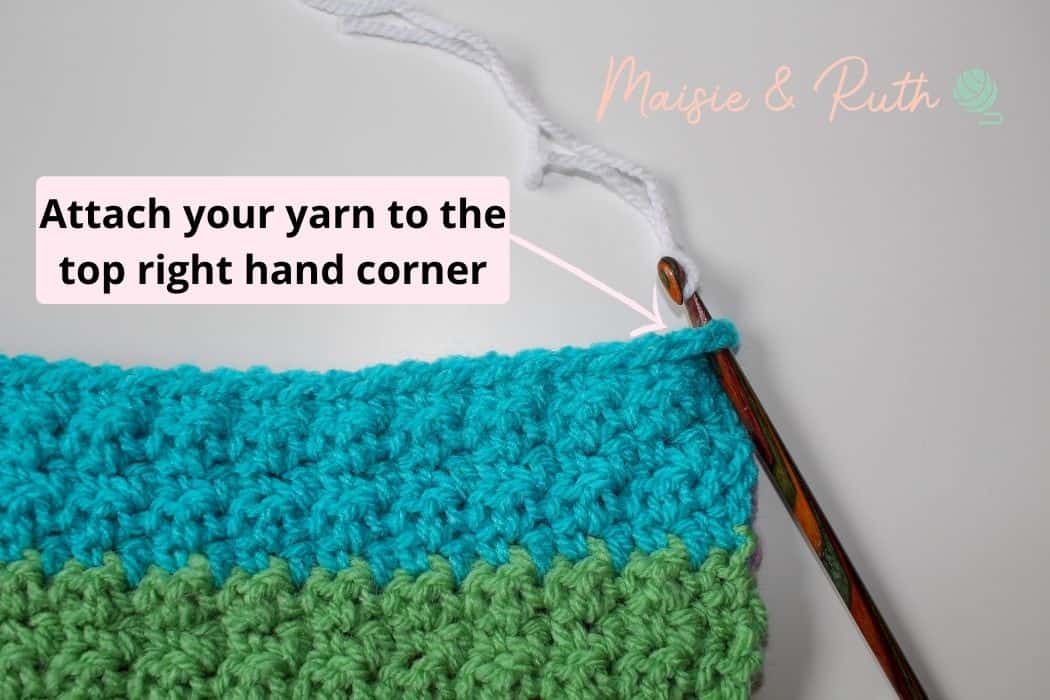
Round 1: Ch1 (does not count as a st), sc evenly spaced all the way around the blanket, working 2sc in each corner. Sk the ch1 at the beg of the round and sl st to the 1st sc to join, DO NOT TURN.
When working sc sts down the sides of the blanket, place 5 sc sts along each block of colour (see photo below):

Round 2. Ch1 (does not count as a st), BLO sc in each st around, working 2 BLO sc in each corner st, sl st to 1st BLO sc to join, DO NOT TURN.
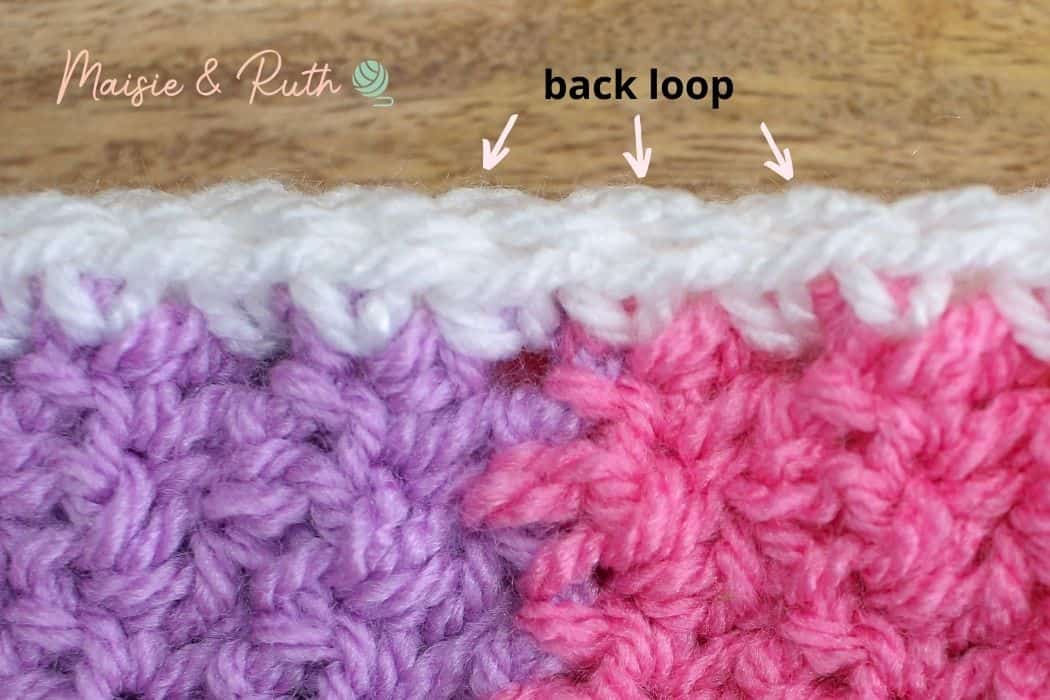
Round 3. Repeat round 2. TURN at the end of this round.
Round 4. Ch1 (counts as a st), 1dc in next st, *sl st in next st, 1dc in next st*, repeat from * to * around blanket, sl st to beg ch1 to join.
Cut yarn, fasten off and weave in ends.
PIN IT FOR LATER!


And that’s it for this tutorial in how to crochet a baby blanket 😃
If you make the Robina Rainbow blanket I’d love to see it!
Follow me on Instagram and post photos of the blanket there. You can tag me using @maisieandruth.
Happy crocheting!