Follow along with the photo tutorial below and learn how to join your crochet pieces together with the whip stitch!

The ever popular whip stitch is a fast and easy way of joining your granny squares or other crochet pieces together.
There are a couple of different ways to work the whip stitch:
- For a flat seam, the whip stitch can be worked in the back loops only. To prepare for this method, place your crochet pieces edge-to-edge with the right sides facing up.
- For a studier and thicker seam, the whip stitch can be made by going under both loops of the stitch. I will demonstrate this technique in the tutorial below.
For other seaming techniques, have a look at my tutorials for the Flat Slip Stitch Seam and the Slip Stitch Seam.
Let’s take a look at the whip stitch now…
HOW TO WHIP STITCH: A STEP-BY-STEP TUTORIAL
NOTES
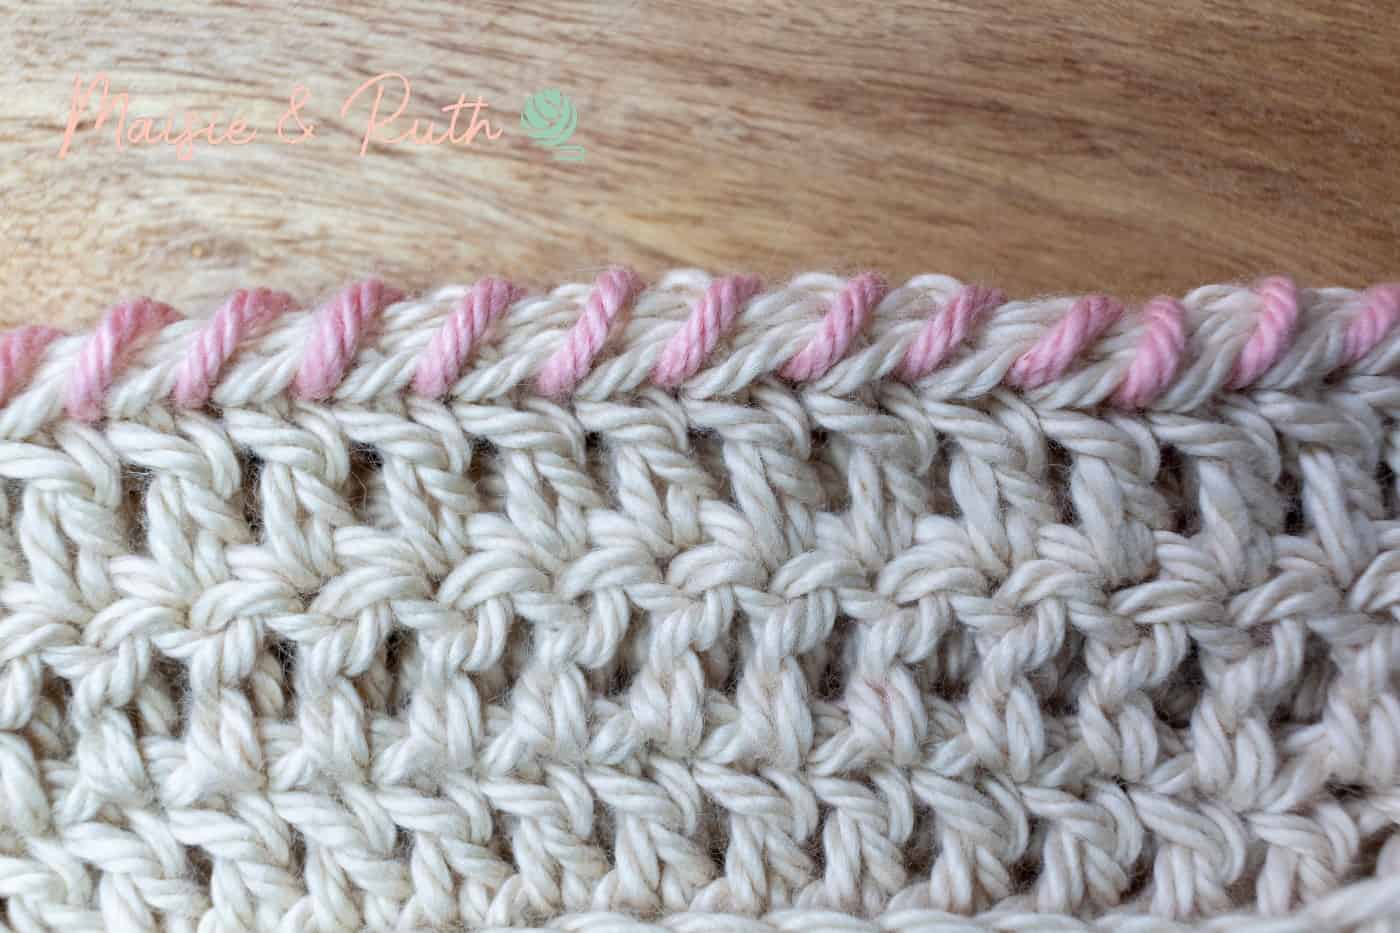
- Usually a matching yarn is used for seams, but in the photos below I decided to use a yarn of contrasting colour for greater clarity.
- Your needle will be working in one direction only – in this case from front to back.
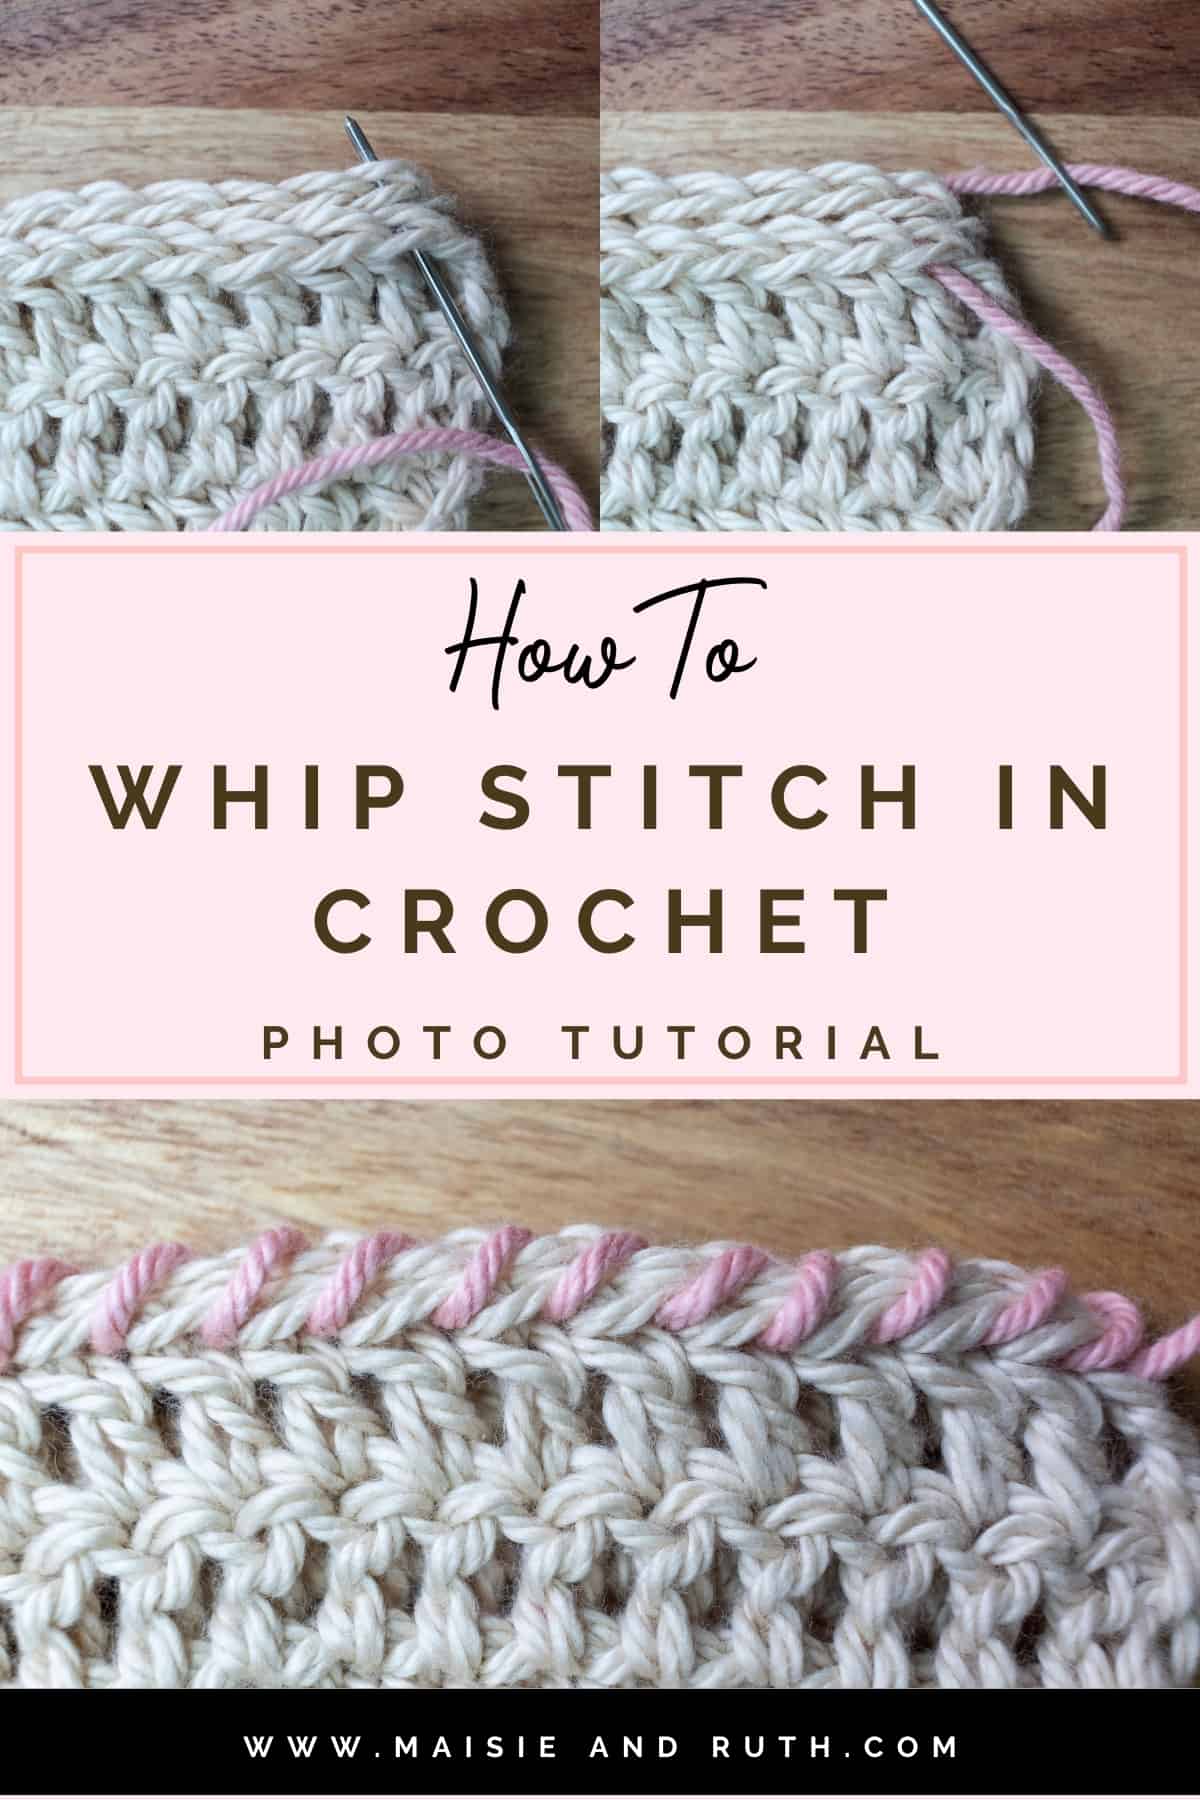
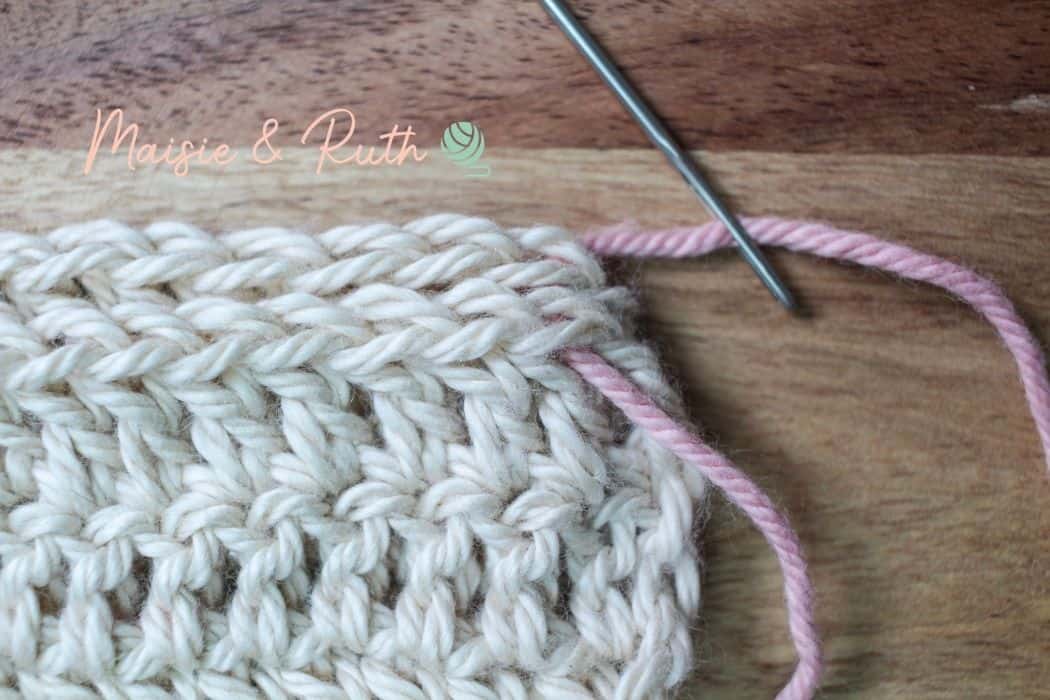
Step 1.
Thread your tapestry needle with a piece of yarn that is approximately three times as long as the edge you wish to seam.
Step 2.
Align your crochet pieces with the right sides facing up (it can also be done with the wrong sides facing you).
Step 3.
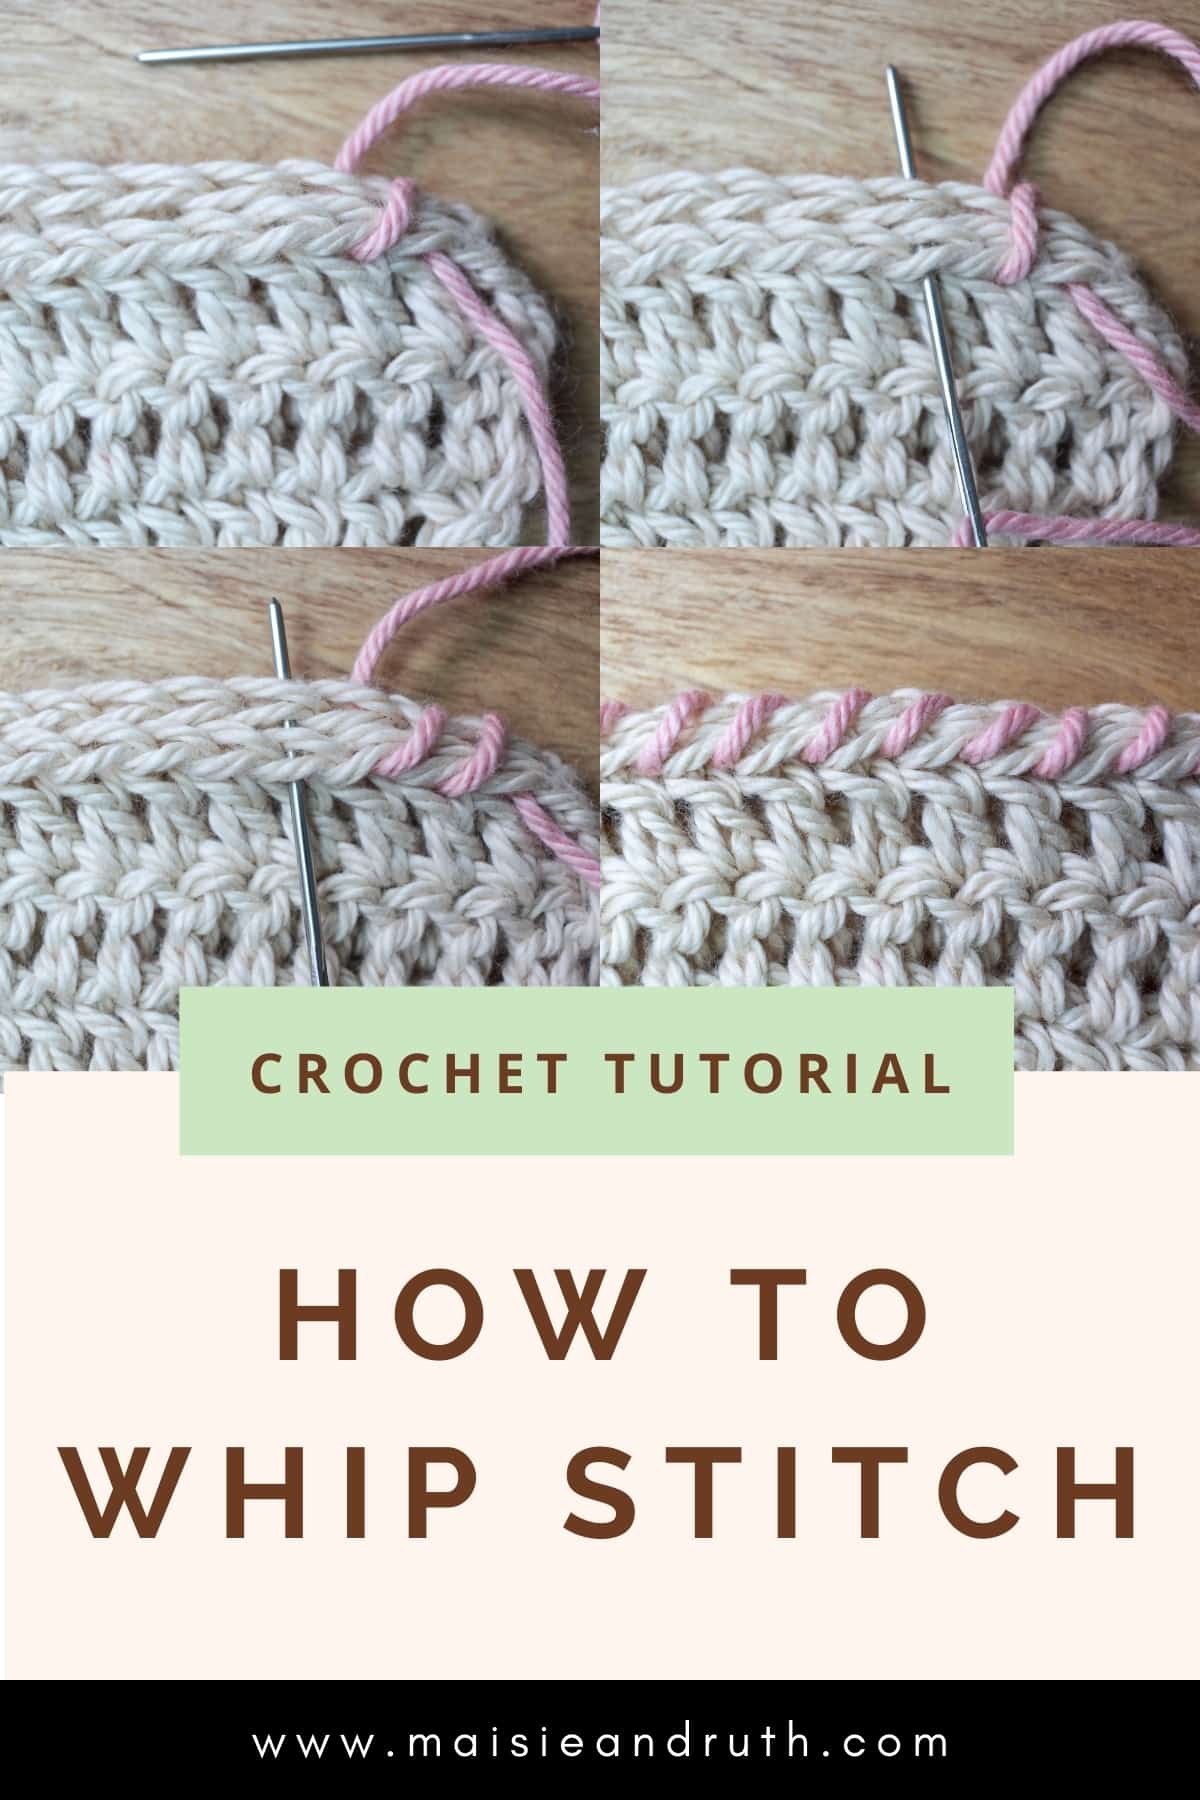
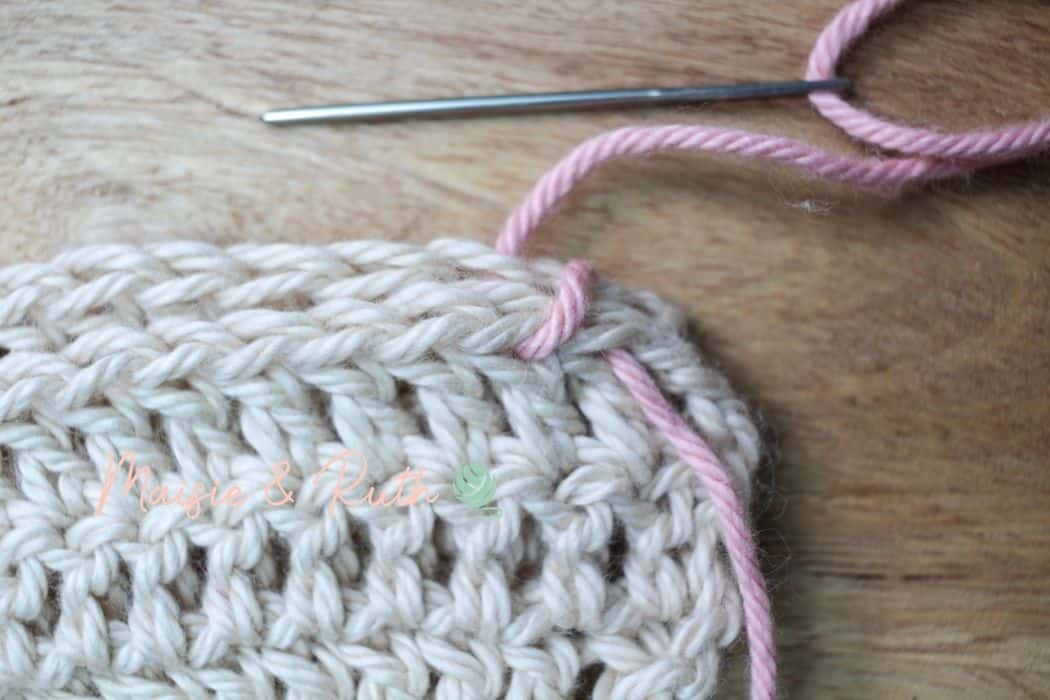
Starting at the outermost edge, insert your needle under both loops of both pieces and pull the yarn through, leaving a 5 – 6 inch tail for weaving in later:
In the image below, the yarn has been pulled through the stitches:
Step 4.
Repeat step 3 (re-insert your needle and pull your yarn through the loops you just went under) to secure the stitch at the edge:
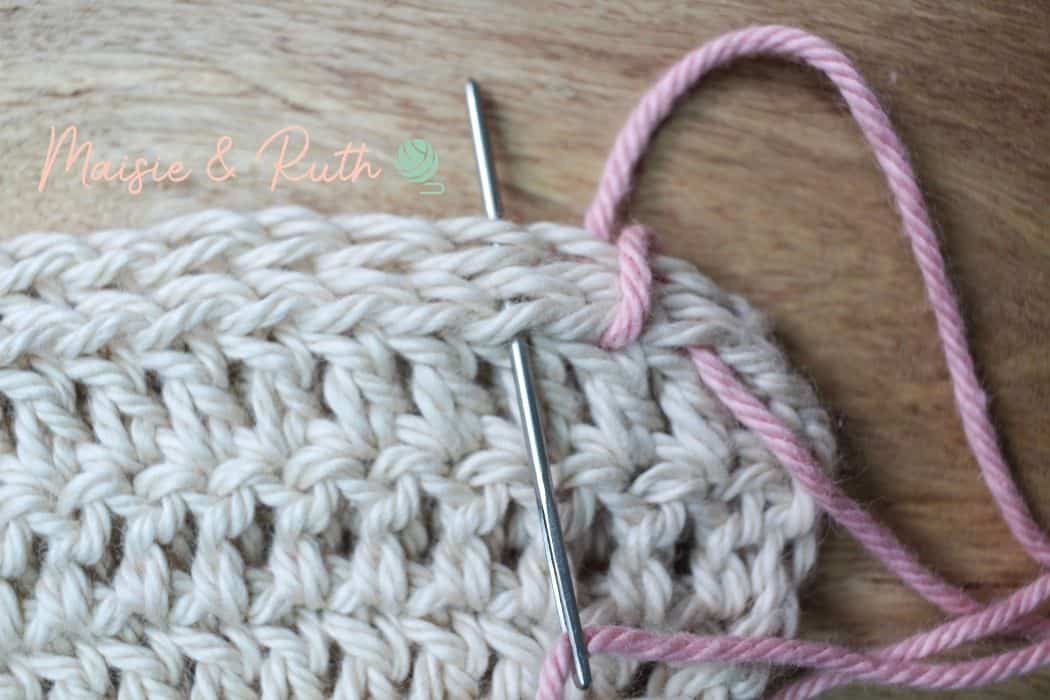
Step 5.
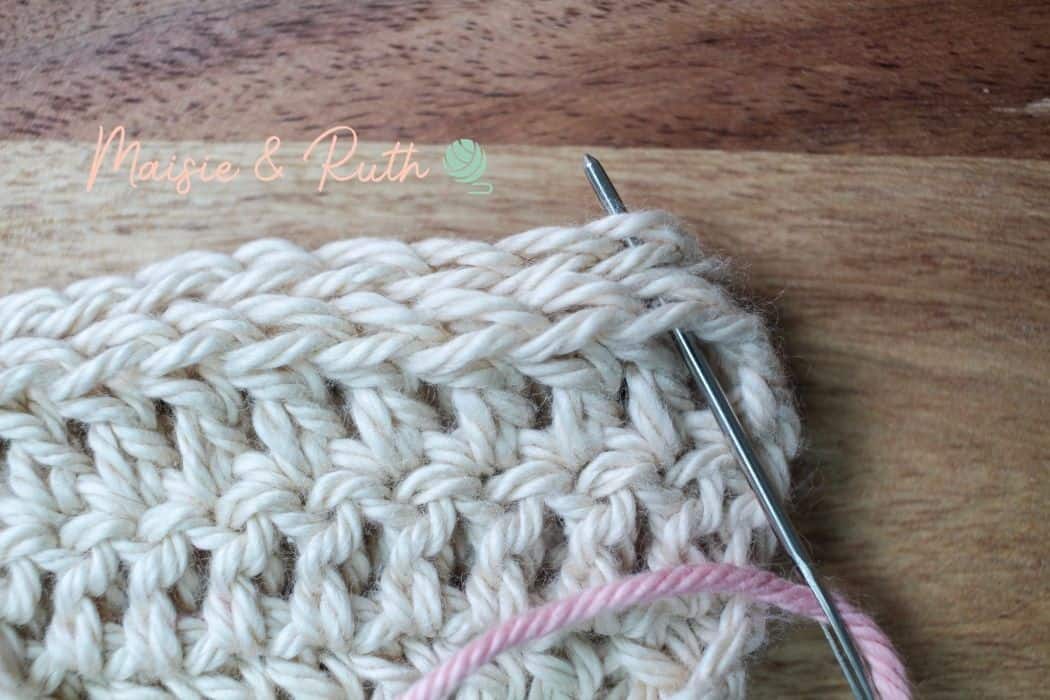
Moving on to the next set of stitches, insert your needle through both loops of both of your crochet pieces and pull the yarn through:
Repeat these steps all the way along your work:
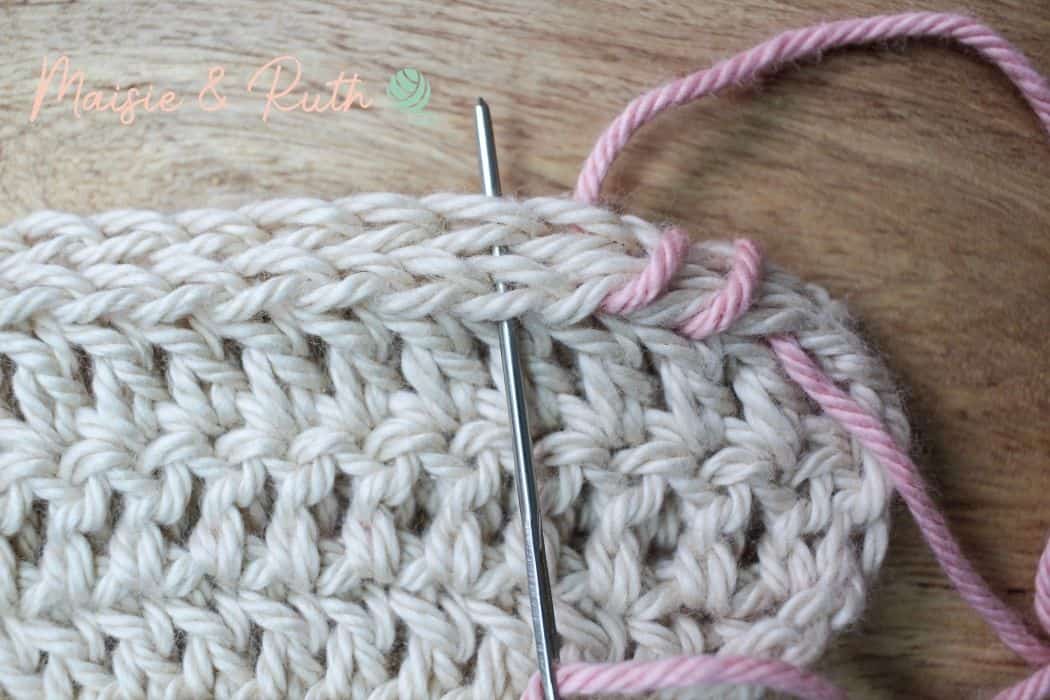
In the photo below, I’ve whipped stitched along both edges:
Once you’ve made your seam, cut your yarn, fasten off and weave in your ends.
And that’s how to whip stitch!
I hope that this tutorial was helpful for you 😃
Do you enjoy sewing your crochet pieces together? Or do you prefer to join your work with a crochet seam? Leave me a comment below!
MORE CROCHET TUTORIALS
- Join Granny Squares (With the Flat Slip Stitch Seam)
- Alternate Crochet Cluster Stitch
- How to Block Crochet (3 Easy Methods)
USEFUL RESOURCES
Happy crocheting,